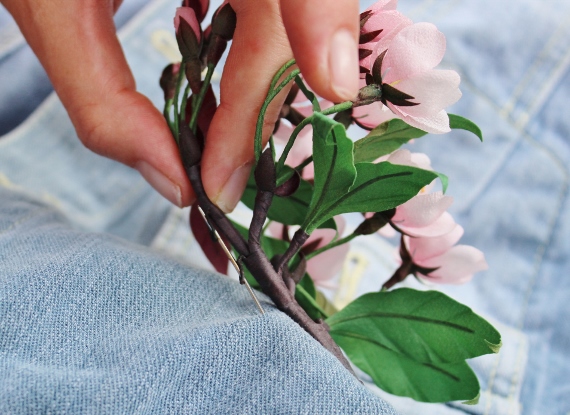
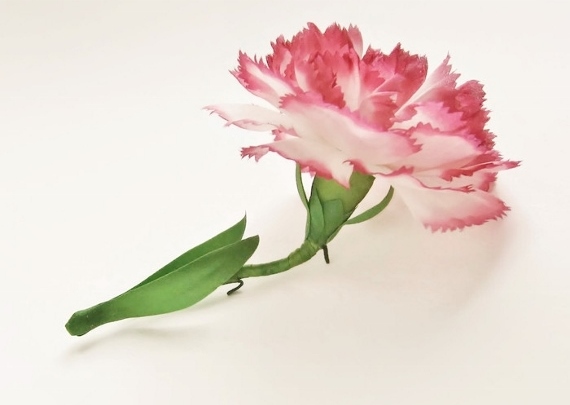
At the very beginning of my career in fabric flower making I often made my pieces with 2 small loops on the back side as a way of finishing them. Here is how it looked
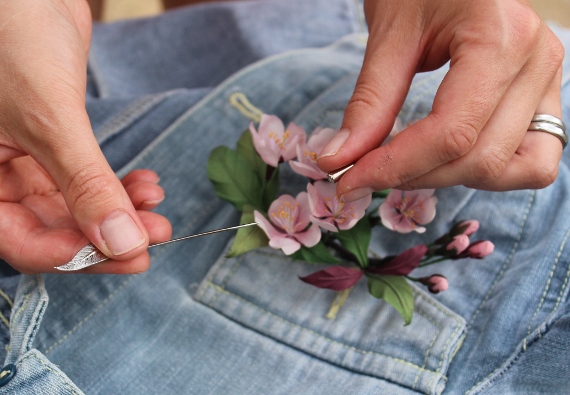
This finish is very versatile that is why it is dabbed a multifunctional, all-purpose or universal. Indeed, the flower can be stitched using the loops, it can be pinned with a stick pin or safety pins; with an alligator clip or a couple of bobby pins threaded through the loops it easily turns into a hairpiece etc.
Sometimes I still make flowers with this sort of finish although they are rare these days. Because it is not always clear how to attach a flower finished with 2 loops I have been asked by my customers for some clarifications. That is why I decided to write a blog post explaining in pictures what to do.
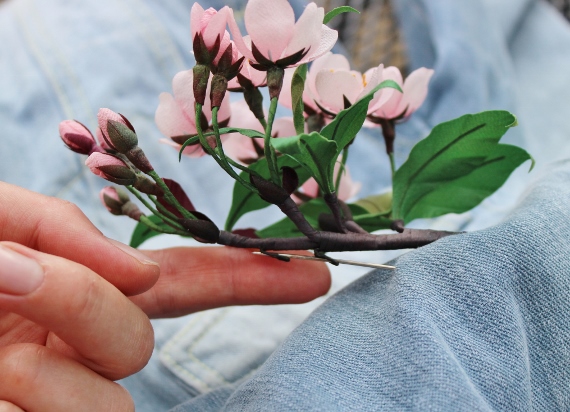
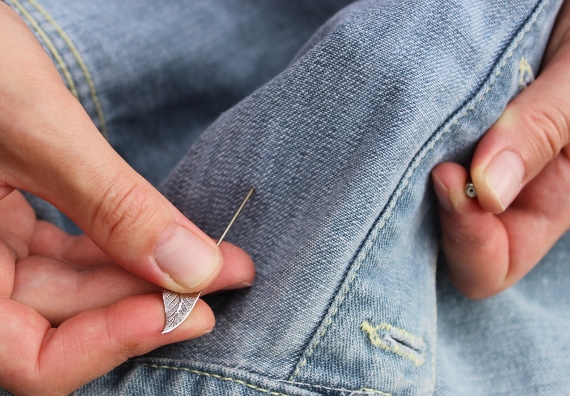
Here are the photos I have taken to show how to use the stick pin when attaching a flower. Usually my flowers come with a nice stick pin to be attached to a garment, a bag or a hat as a brooch.
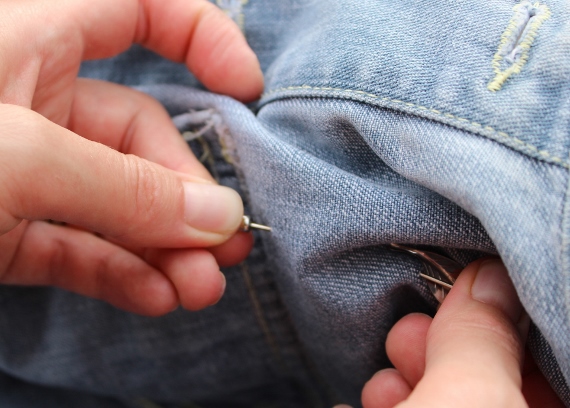
So what one has to do is basically pierce an item of clothing from inside out, then thread the needle of the stick pin through both loops, then pierce the fabric again onto inside and there cover the sharp end with a little protector which is usually supplied with a pin. A small sized hat pin will work well too.
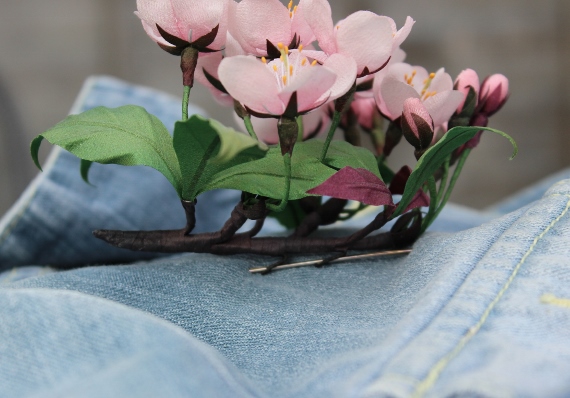
So this is how you attach a flower that has an all-purpose finish. I have prepared a two part article on most popular and useful finishes for fabric flowers which get sent via my newsletter. If you have not yet subscribed to it but would like to get our updates, useful articles and discounts please feel free to subscribe below by filling in your details [grwebform url=”http://app.getresponse.com/view_webform.js?wid=10297802&u=3lMQ” css=”on”/]
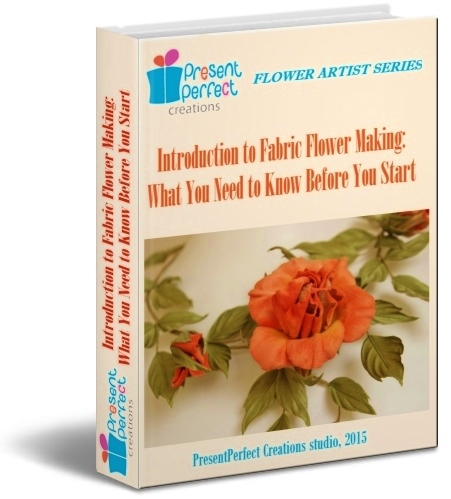
As a welcome gift from us you will get a chance
to flick thorough our new e-book that introduces
into the exciting world of fabric flowers as well as
provides some stiffening recipes for you to try.

