❀ Advanced techniques: let’s dye fabrics to match ❀

Fabric flowers are perfect for SS special events, weddings, races, garden parties, you name it. Unless you are planning on making white flowers or working exclusively with shop bought factory dyed fabrics, you will have to dye your own.
Why do we spend our precious time dyeing fabrics by hand? As the answers might not be so obvious, allow me to elaborate.
As we know well by now, to produce good quality, attractive, 3D realistic or stylised flowers, we have to combine a number of fabrics in each flower. Different fabrics have very different properties and deliver different results depending on a flower you want to make and a project you are making it for.

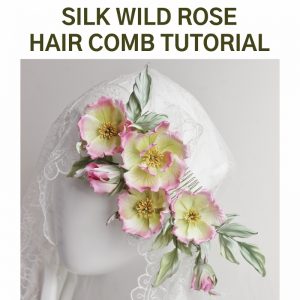
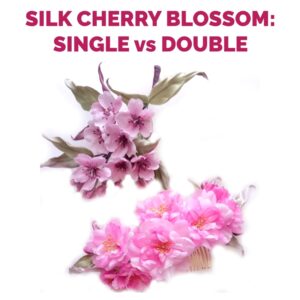
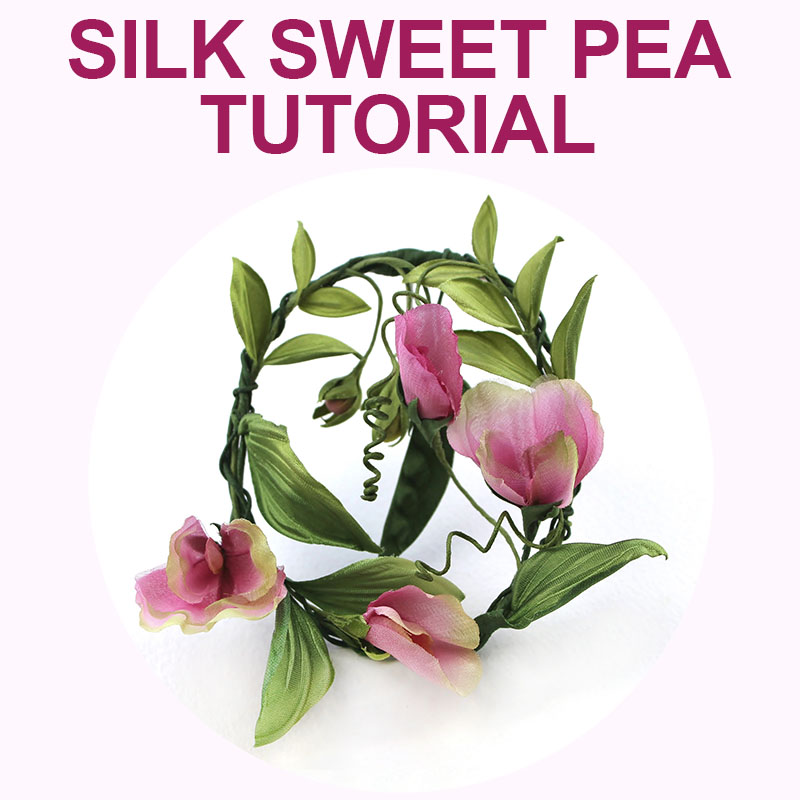
To ensure that all the elements then come seamlessly together in one flower piece (like in the fabric lily of the valley headpiece or the cherry blossom corsage you can see in the photos above) we have to have them colour coordinated or matched. As an option you can spend time browsing online catalogues, ordering swatches or going to shops in person to obtain all the required fabrics in the colours you need. However the chances of finding the right types of fabrics AND in the right colours are, let’s admit it, slim. At the very least it is going to be a time consuming job to do. In the worst case scenario you will be limiting yourself and your customers in the choice of colours you are able to offer…
But that’s not all.
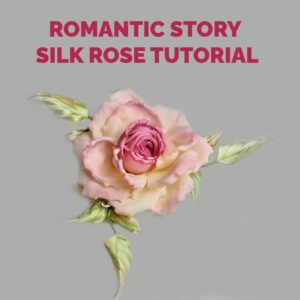
Whilst sourcing factory dyed fabrics in the required colours might partially work with simpler “block colours”, it is not an option for achieving realistic looking petals or leaves that feature gradation of colour, (see the Silk Romantic story rose), colour streaks, veining, fading, watercolour effect etc.

In one of the mini video tutorials that I create exclusively for my patrons on Patreon I am demonstrating how to shape these custom stylised fabric feathers using a number of different fabrics.
As you can see such stylised fabric feathers can also be dyed in whatever colour or colour combination you (or your customer) wish to have.
Play with gradation, similar or completely different colours to create these unique eco feathers that are perfect for hat trims.
If you wish to learn how to shape fabric feathers like these ones, you are welcome to join my Creative Club on Patreon or simply purchase this Video tutorial as a one off. To find out more about the Creative Club on Patreon use the button below
In a situation when a customer requests their piece to be in “peachy-apricot” tones featuring soft oranges and pinks, there is nowhere to go to shop for a fabric like that.
The only option left is to get your dyes and brushes out, close your eyes tightly and … jump into dyeing. No need to be too scared, let’s see what’s important to keep in mind here
The only option left is to get your dyes and brushes out, close your eyes tightly and … jump into dyeing. No need to be too scared, let’s see what’s important to keep in mind here
As you already know, to dye fabrics for making flowers (either for fabric or leather flowers) I use fibre reactive dyes that penetrate fabrics through and bond with the fibres without forming any coating on the surface unlike acrylic. The colours they give are brilliant, mouth-watering, and permanent.
They dyes are economical, safe, and easy to use. They come primarily in two forms: powdered or concentrated liquid (which is basically diluted powdered), although I know of a gel form too, but I have yet to try such dyes.

Powdered dyes are very economical, last ages and come in a wide palette of colours.
One minor drawback, is measuring the quantities when mixing a matching colour can be tricky. Because these powder dyes are so concentrated, usually we need small quantities (unless you are dyeing 10 flowers at once) which are difficult to measure and write down in a formula.
Using tiny lab spoons can help with the task.
To test your dye use an offcut of the same fabric you are going to be using in your flower (because different fabrics can take the same dye VERY differently) and apply the dye in the same way you would normally do it (if you normally wet the fabric first, you will need to wet your testing offcut too). Then wait till the sample is completely dry and only then in the daylight assess the results by comparing your dried fabric with the customers sample (a fabric swatch etc.) or sinamay, parasisal or other materials your hat will be made of.
Do not get disheartened if you haven’t managed to achieve the right colour straightaway. Continue tweaking your formula and testing the dye on a new piece of fabric every time you’ve made a change. Remember to update your formula, especially if you like this colour, or you feel it is going to be a popular one and you will have to mix it again in the future.
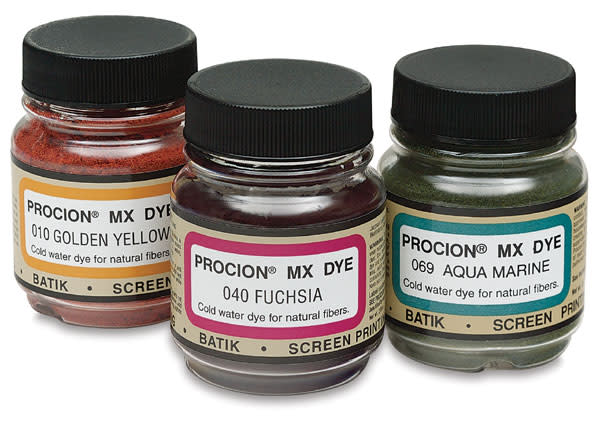
Having tested a number of different dyes in the past, now I mainly work with Jacquard Procion MX dyes, which is a popular and globally available brand. With their 40+ colour palette and gorgeous hues they are a perfect choice for any flower making artist. You can even find some formulas on how to mix a wide range of colours using the standardised 12 colours.

To achieve a realistic look when dyeing petals and leaves, dye them individually rather than as a large piece of fabric.
After you’ve cut all the flower parts out of stiffened fabric, place them on a newspaper and wet them with a brush and some clean water. Moistening petals and leaves with water first allows the dyes to travel through the wet fabric and create a realistic subtle gradation that looks beautiful (and natural!) in finished flow

ers later.
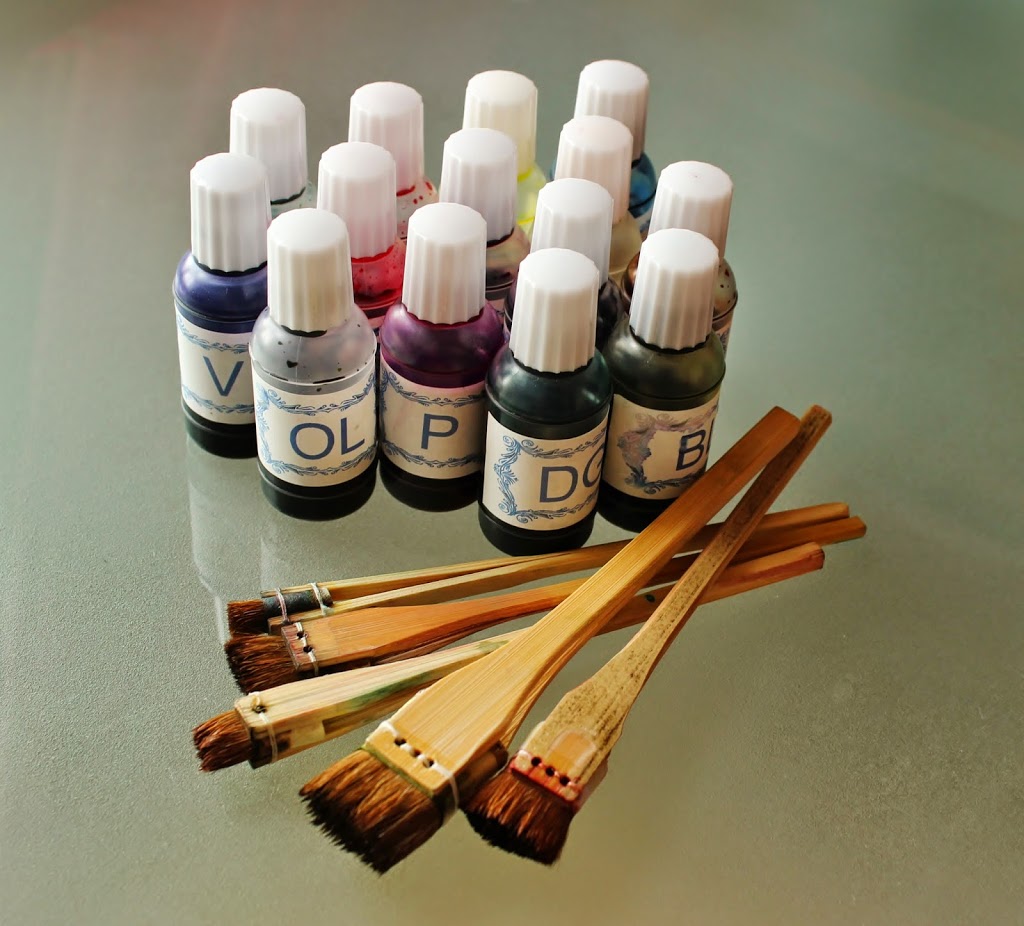
For dyeing petals and leaves use either flat synthetic brushes or specialist horse and deer hair ones, that are designed to hold a lot of dye in between the bristles (as shown above).
You can pick suitable synthetic brushed on Amazon or at your local art supplies shop. I offer sets of the specialist Japanese brushes in my online shop if you prefer to work with them .
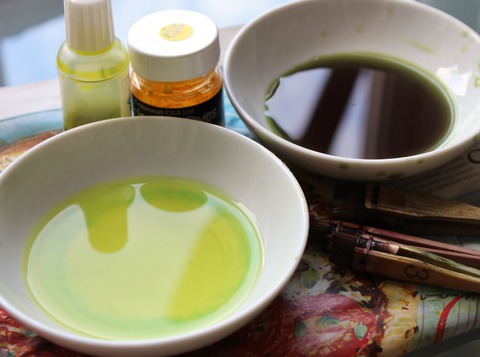
It is best to use small white porcelain dishes to dilute and mix dyes. They are stable and can hold a decent amount of dye enough for the project in hand.
You can keep the leftovers in small jam jars (I recommend labelling them for easy colour identification) or let them dry out to be re-hydrated later when needed (cling film them to keep them dust free for best results).
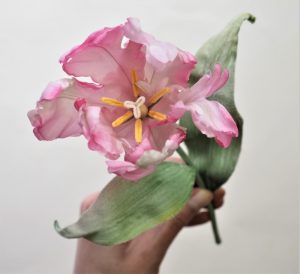
There are a range of dyeing techniques we have explored in my tutorials over the years. We have dyed velvet in Velvet Lily Tutorial, Sweet Briar Rose Tutorial, Velvet Pansy Tutorial, Silk Passion Flower Tutorial, Velvet Strawberries Tutorial to name a few. We have explored realistic silk dyeing in Silk Parrot Tulip Video Course, Silk Water Lily Tutorial, Silk Clematis Video Course and Silk Orchid Tutorial as well as some others.
We have even tried and succeeded in dyeing leather. Check out my Leather Rowanberry Tutorial, Transformer Leather Rose 3-in-1 Video Course and Leather Maple Leaf Tutorial.
Find below other flower making tutorials that might be useful if you want to learn more about dyeing your handmade flowers: