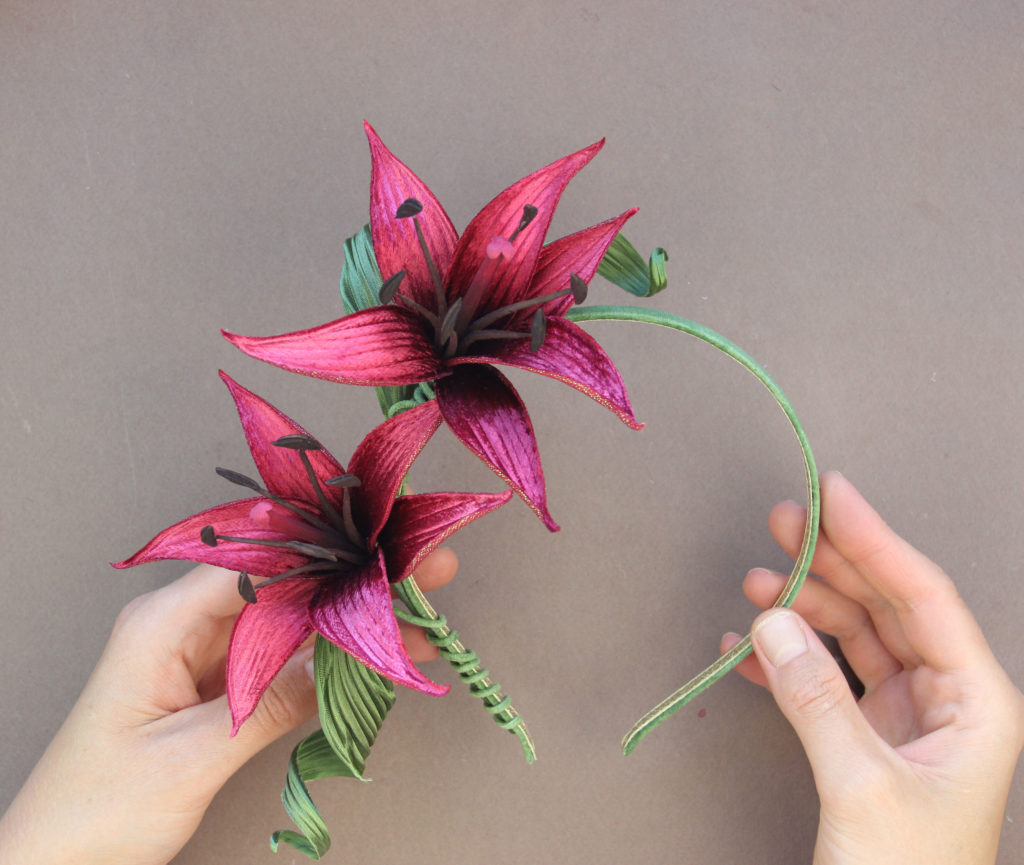
There are different ways of attaching your couture silk or leather flowers to a headband.
Here's one of them that I like using in my work. This way your flower (s) is not permanently attached to a headband, therefore can be taken off at attached to a hat or used in another way.
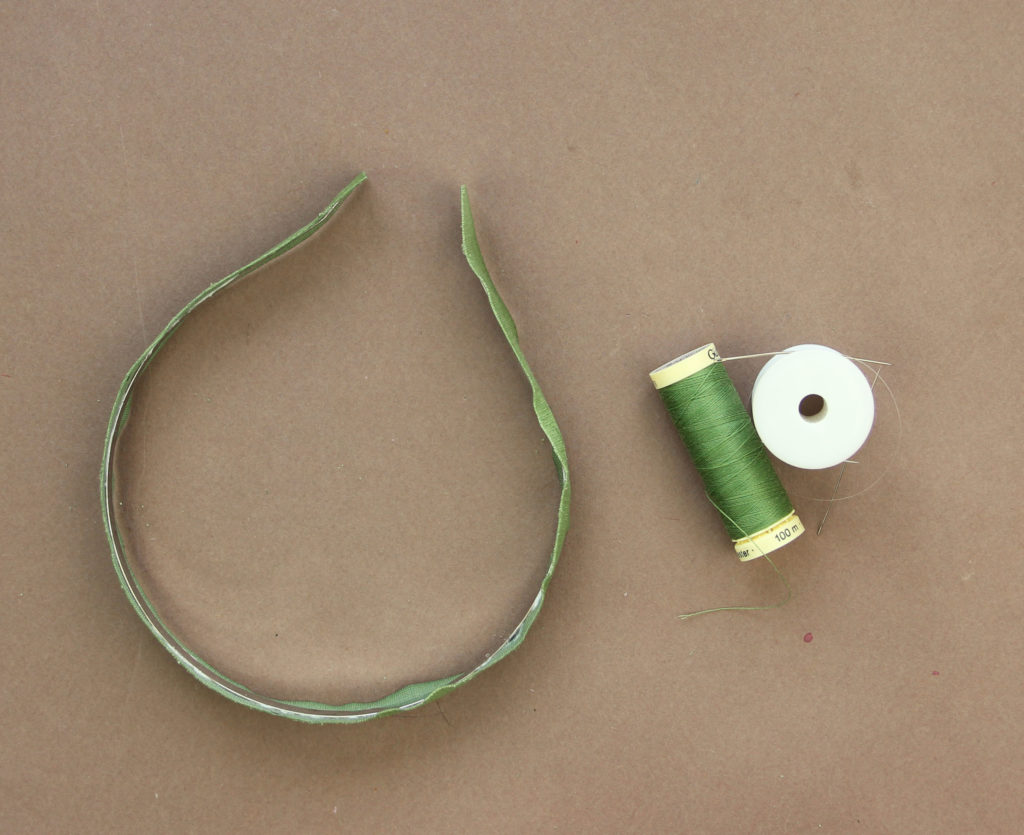 First, cover the headband with a strip of velvet in the chosen colour (hand dyed or otherwise).
Prepare a strip of velvet about twice as wide as the headband (my headband is 7mm wide, my strip of fabric is 15 mm wide) and long enough to cover the headband + about 3 cm ends allowance.
Start by covering the headband with a layer of glue and glue the strip onto the headband (the headband is right in the middle of the strip).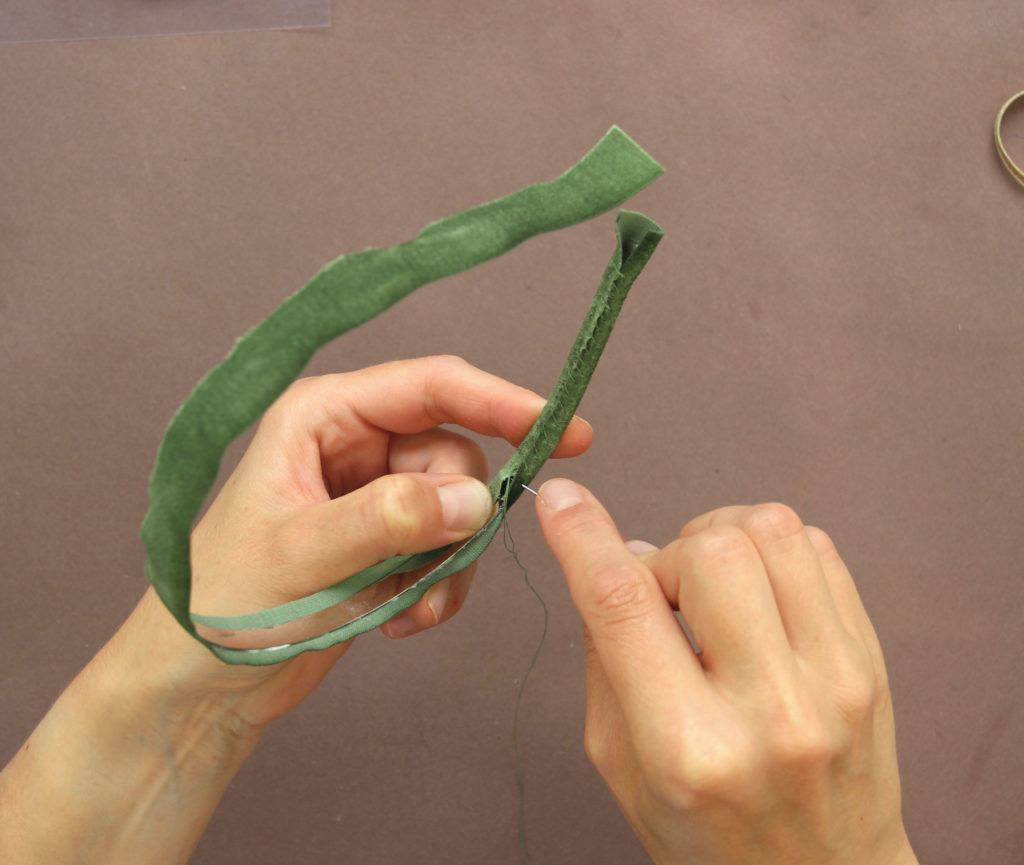
Using a matching thread or an invisible one sew the edges of the velvet strip all along the underneath of the headband. Make sure the velvet strip covers the headband very snugly (see the photos).
 Neatly sew in the edges, try to make the seams in this area as flat as possible.
To make them even flatter, apply a small dot of glue onto the seams and then rub it in either with your fingers or better still against the worksurface by pressing hard on the headband.
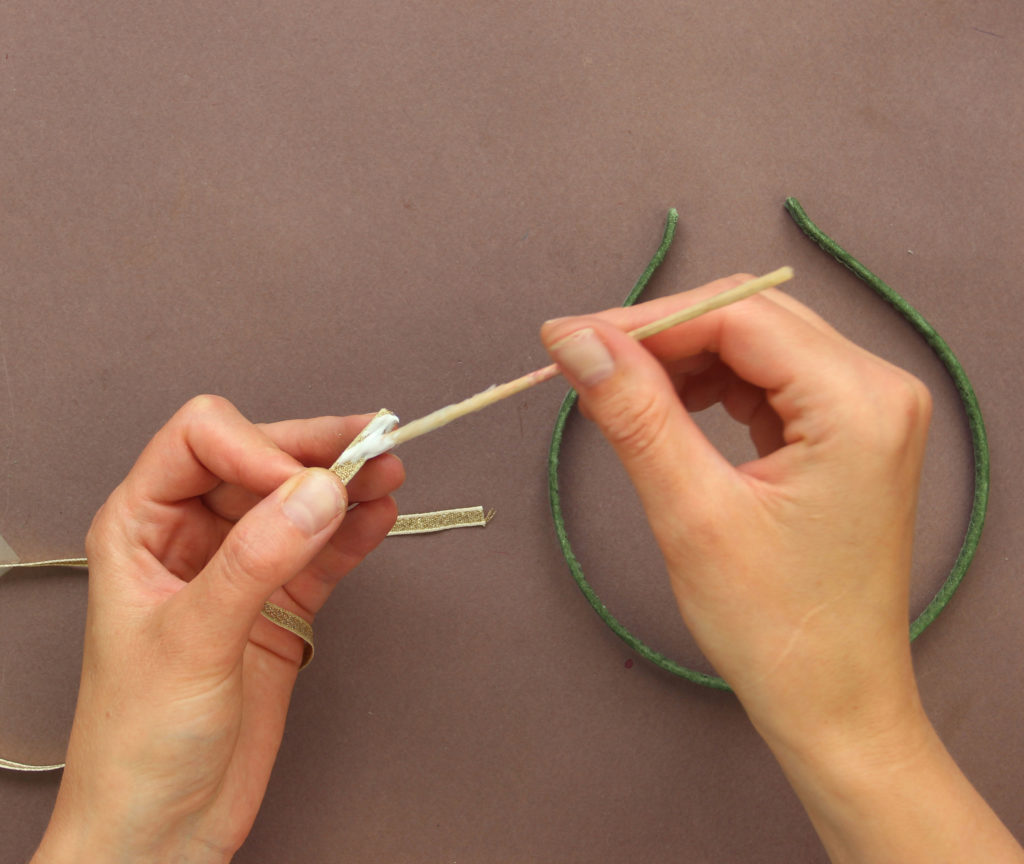
Next, to hide the seam and finish the headband prepare a nice ribbon in the appropriate width. I am using a golden lame ribbon here.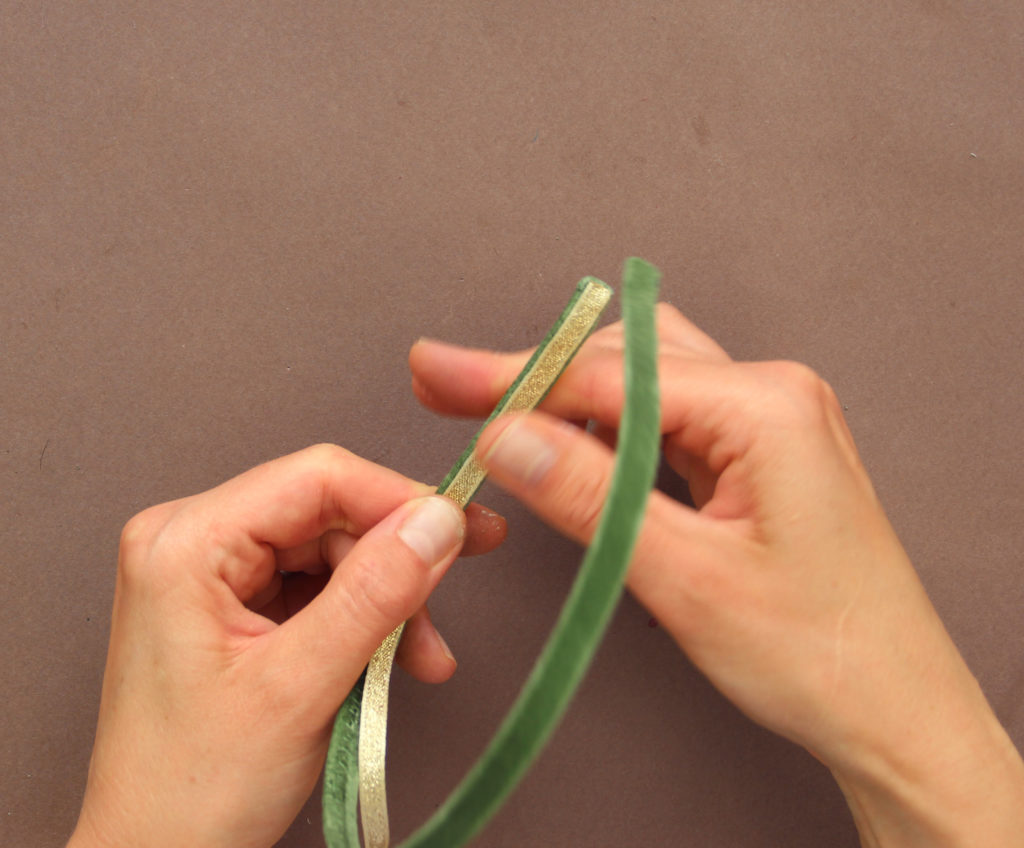
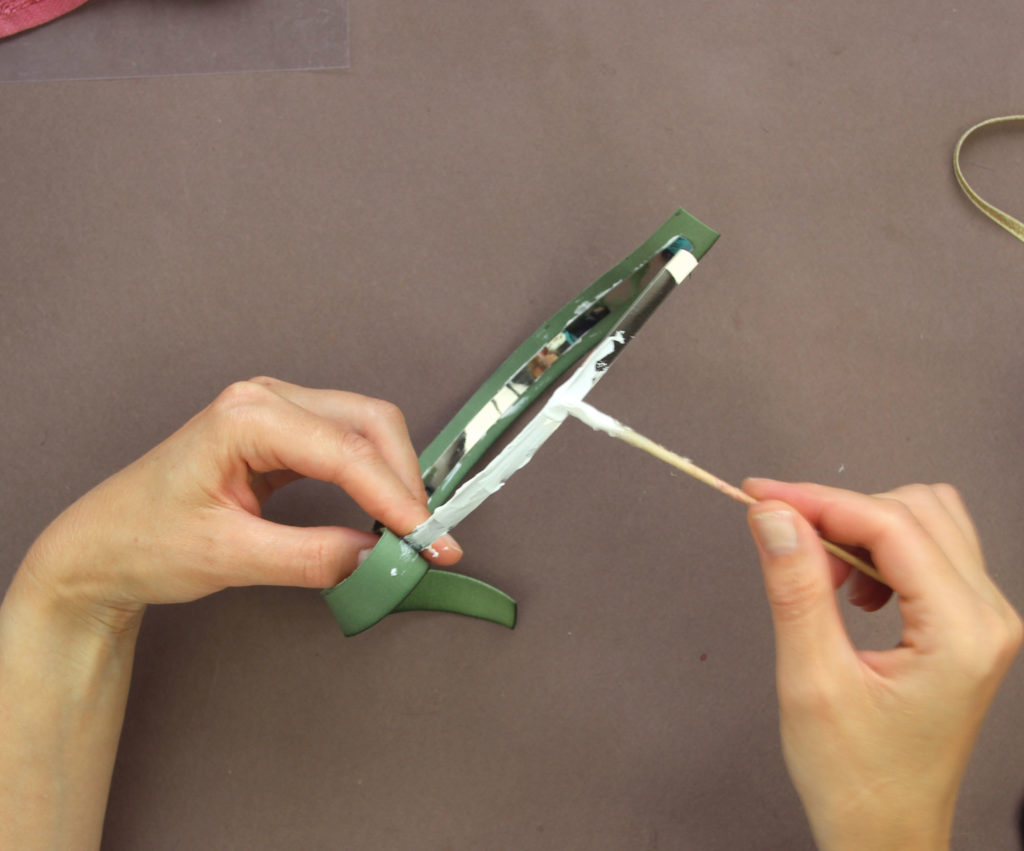
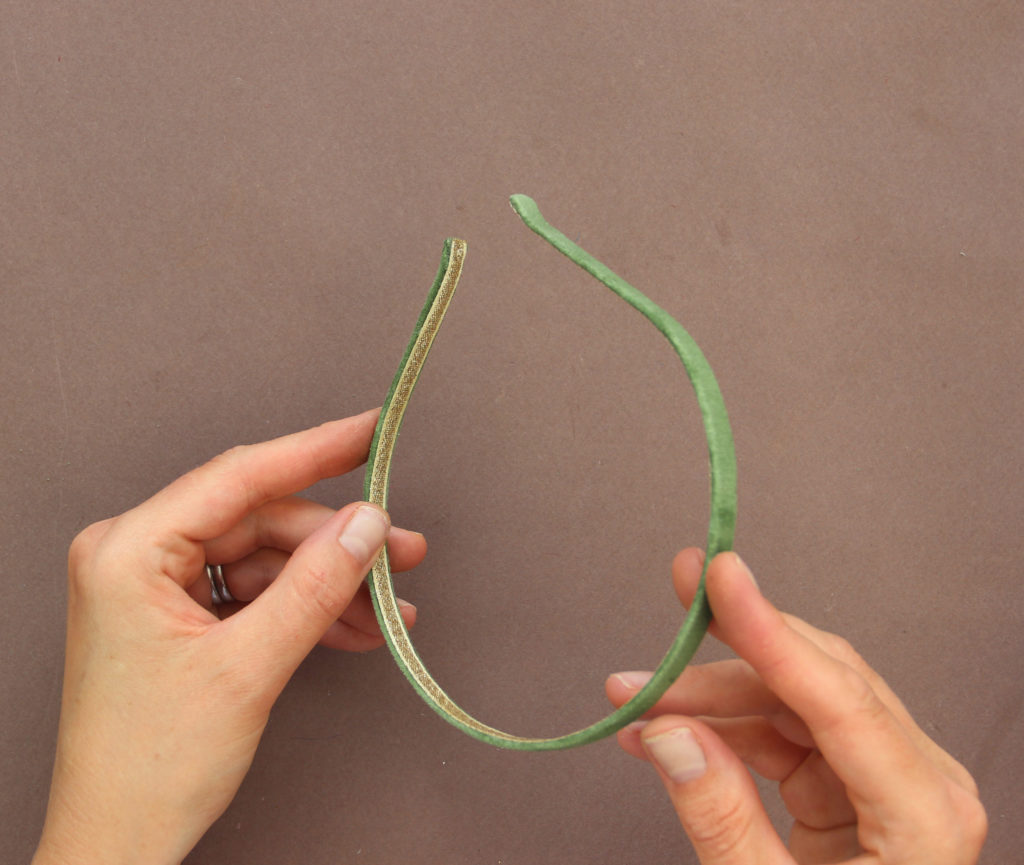
Apply thick HARD glue onto the ribbon and glue it to the underside of the headband all along its length (see the photos).
Leave the finished headband to dry completely.
Next, you need to make the 2-3 velvet covered wires that will be used to attach the flowers to the headband.
To make these velvet covered wires prepare 3 cuts of wire #24 about 15-25 cm long and strips of velvet about 1.5 cm wide and as long as the wires.
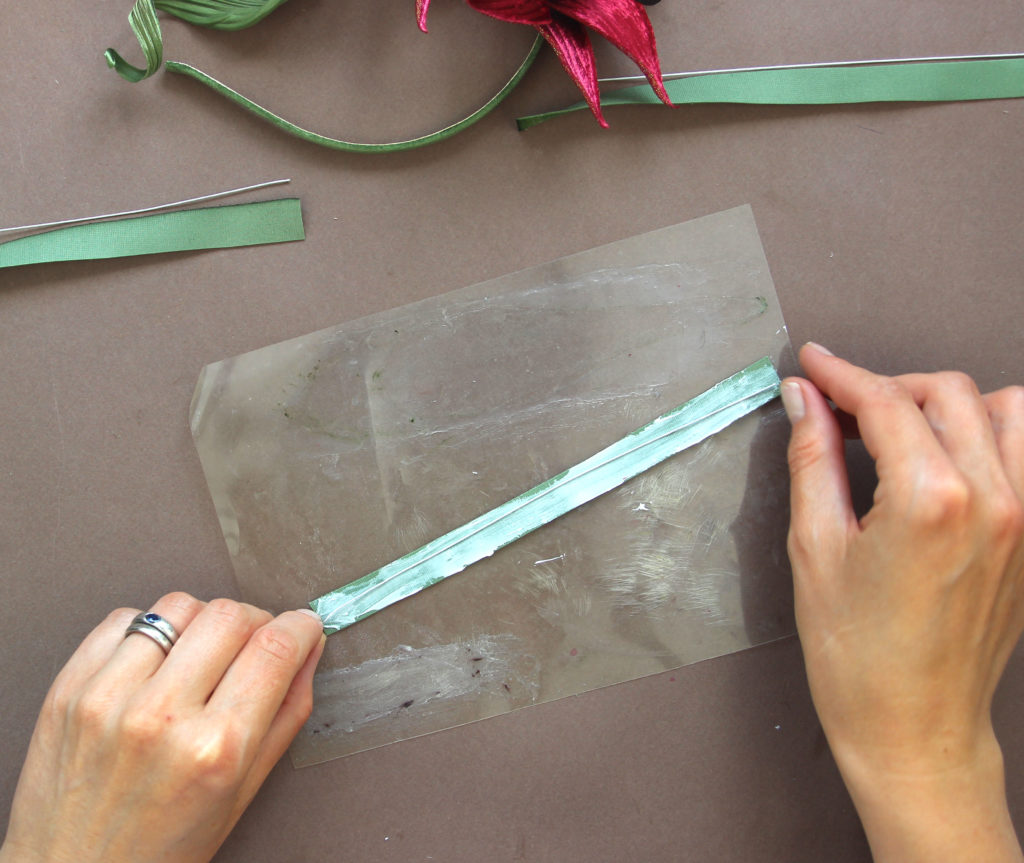
Apply a layer of glue onto the wrong side of one of the strips of velvet. Then, place a wire right in the middle of the strip (see the photo on the
right).
Fold the strip and press the edges together to hide the wire well in the fold of the fabric.
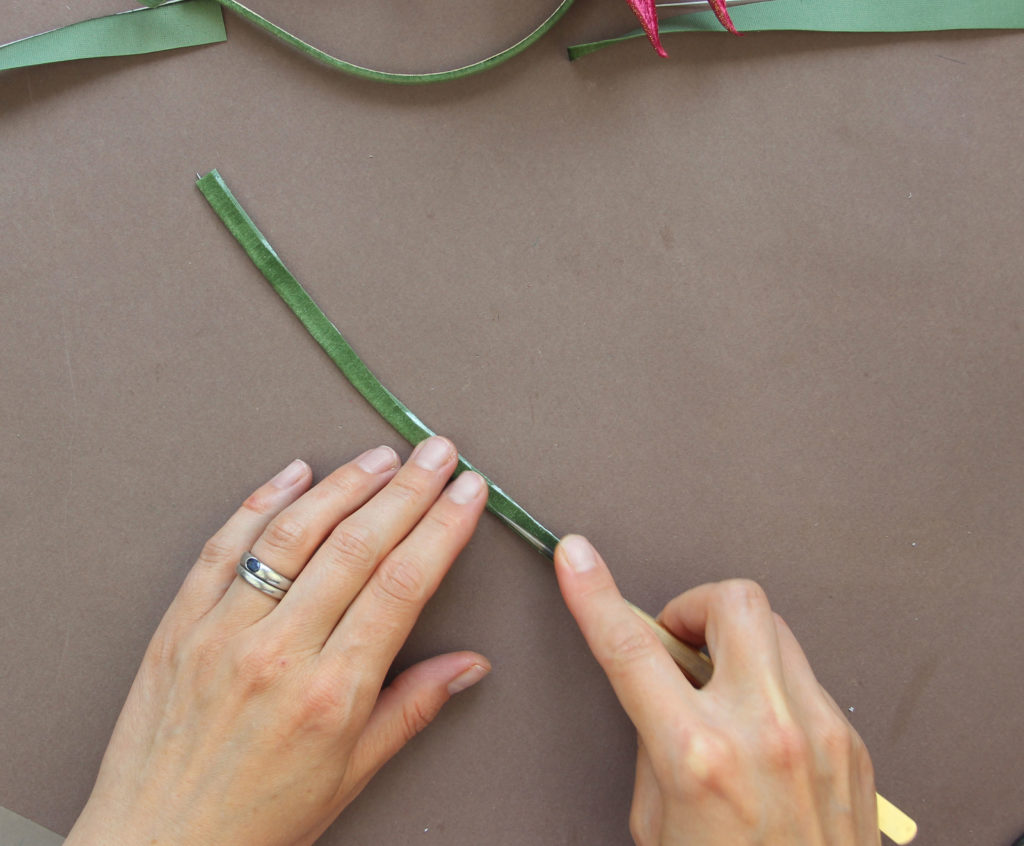
Then, lay the wire on the work surface and using a sharp object (tweezers or awl) press its tips along the whole length of the wire slowly but steadily (see the photo on the right).
The wire should be snugly hidden inside the fold of the green velvet fabric.
Next, using the line that you have just pressed with the tweezers as your guide, cut off any excess fabric in one smooth cut (the left picture). BE CAREFUL here and do not cut too close to the wire to avoid exposing it. The right picture shows the 3 ready velvet covered wires. Leave to dry completely. 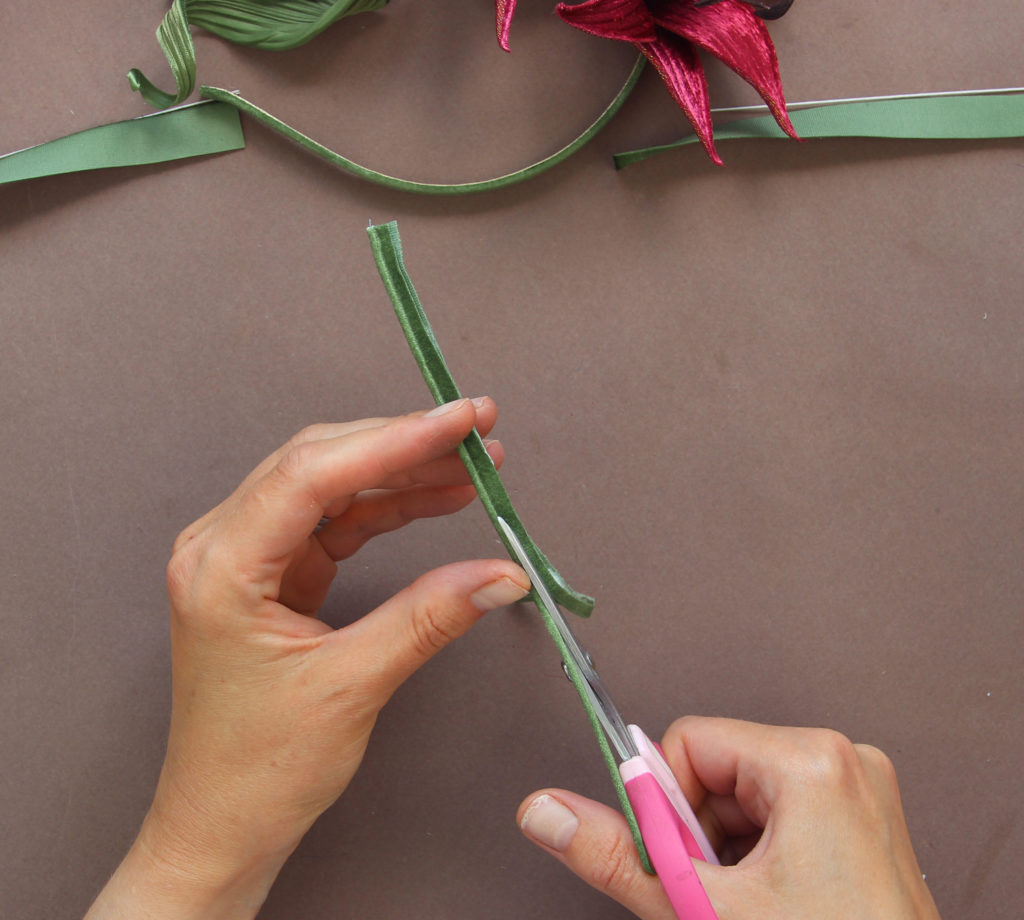
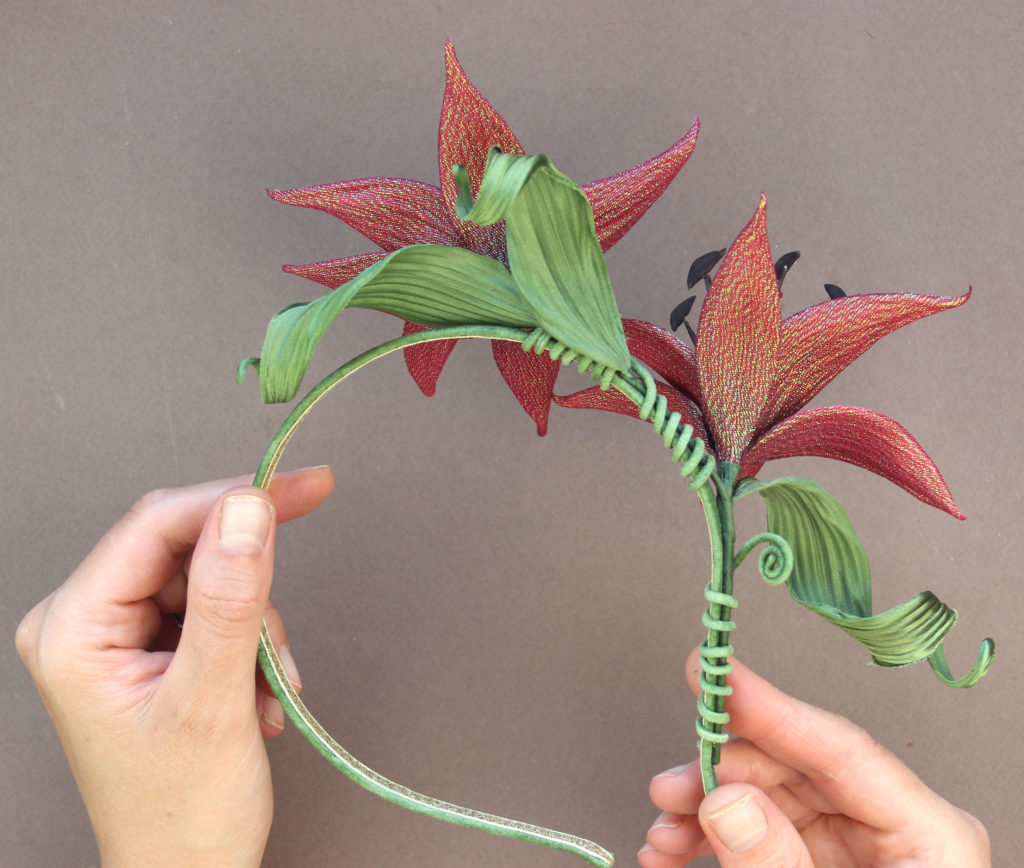
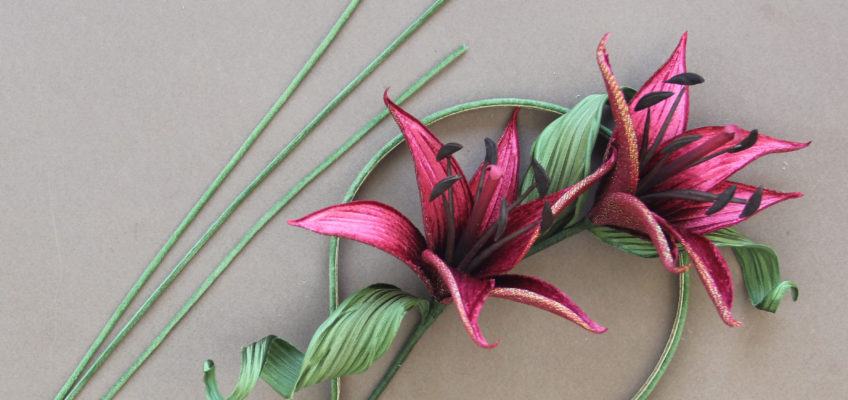
To attach the flowers curve the lily stem slightly to sit well over the headband. Using your velvet covered wires attach this stem in 2-3 places by wrapping the wires around the stem and the headband as shown above.
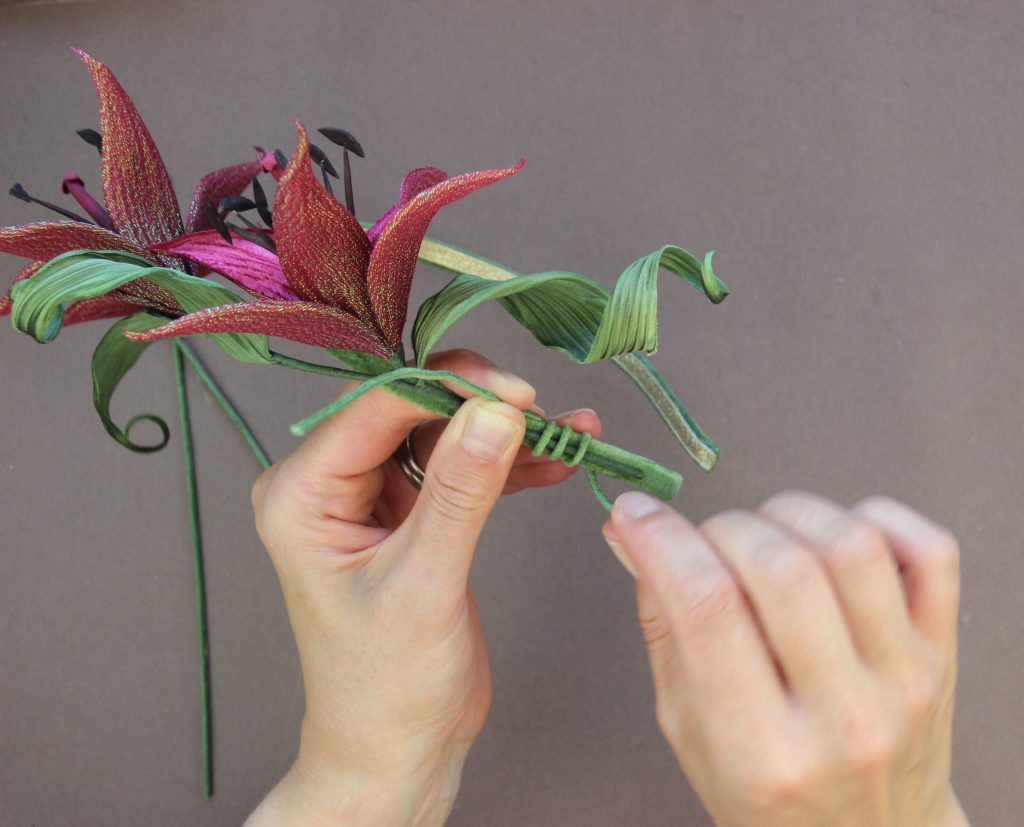 You can curl up the ends of the wires with a pair of pliers to turn them into additional decorative elements as shown in the photos.
The photo below shows the finished velvet lily headpiece from the back.





Leave a Reply