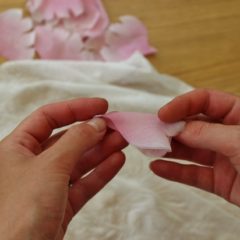
As you know making flowers is a lengthy process with a number of steps involved like cutting out parts, dyeing, shaping, assembling etc.
Although there is not a great deal we can do about speeding this lengthy process up, however there are a few shortcuts that allow us, makers, save a bit of time creating beautiful hand made flower masterpieces.
When it comes to dyeing, one thing you can and should do is to dye your petals in small piles (usually it is 2 or 4 depending on the thickness and stiffness of your chosen fabric). But what about foliage? Similarly, leaves can be dyed in piles, too if the fabric allows you.
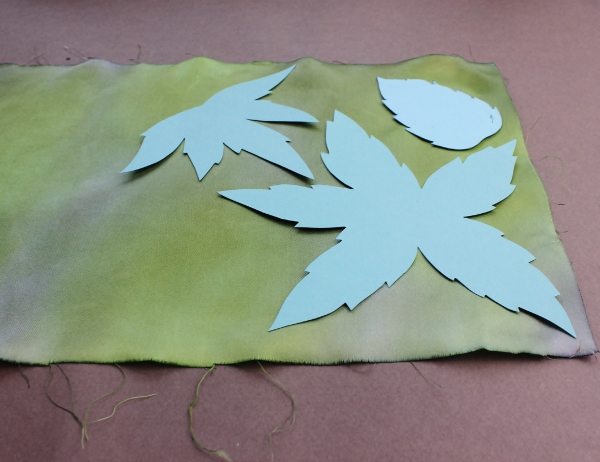
Alternatively, you can use the method I am describing below, which is dyeing larger pieces of fabric to be cut up for leaves, calyxes, stems etc later on.
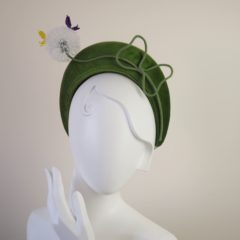
You will see that I also add a little purple colour to my fabric. This is done to tie the foliage with the petals of your flower and is often a very good idea to bring the whole flower piece together, but can be omitted.
I am dyeing a rectangular piece (about 20 cm by 30 cm) of factory stiffened rayon satin (see at the end of the post) which is known for its beautiful soft shine and is easy to dye. If you have not got any, feel free to use pure silk satin or dupioni silk, or other fabric that suits your project (like cotton velvet etc).
Here are a couple of points I'd like to draw your attention to before you watch the video:
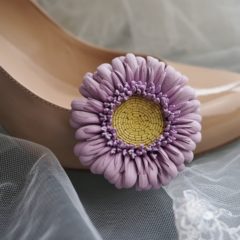
Cotton Velvet

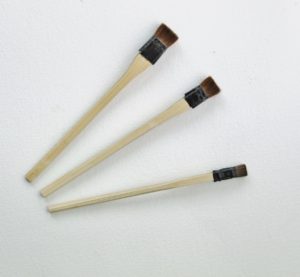
Horse Hair Brushes
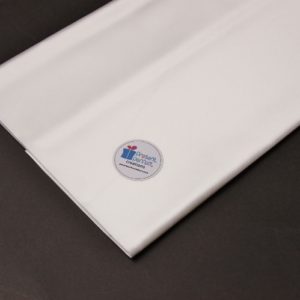
Rayon Satin


Leave a Reply