 Let’s talk about the ways to dye silk petals to achieve intense colours.
If you, like me, do a great deal of custom work, you are
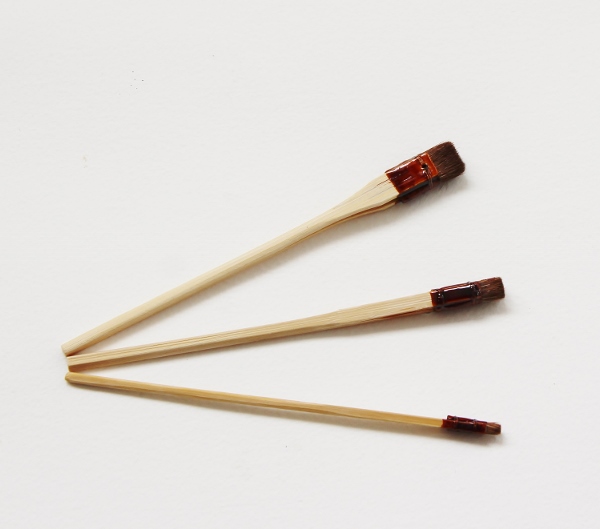
constantly presented with an issue of matching colours. Whilst mixing dyes to match colours is a task in itself, today I wanted to talk about the ways to achieve an intense colour when dyeing petals/ leaves. If you prefer to use natural hair brushes specially designed for dyeing silks and other fabrics check this horse hair painting brush set.
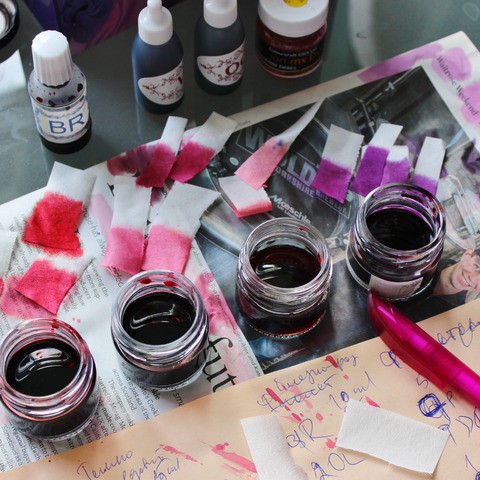
The FIRST, probably the most obvious way, is to prepare a very concentrated dye. If you work with powdered dyes, use more powder and less water to dilute it. For liquid dyes, again, add a small amount of water or none at all to achieve a deeper colour. When you colour match it is always a good idea to prepare some fabric swatches (using the same fabric that you are going to dye).After you have mixed the dye apply some on them. Then let the swatches dry before comparing the colours. Remember that a wet swatch will invariably be more intensely coloured.
THE SECOND way is good to use when the first one has not quite worked out. You simply paint your petals again to achieve the intensity of colour.
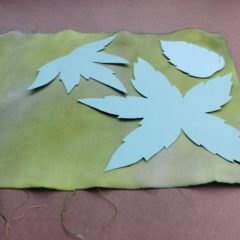
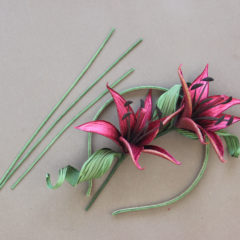
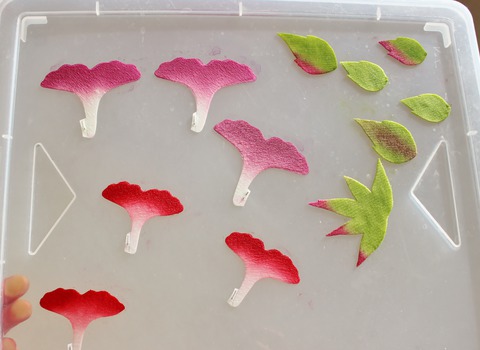 THE THIRD method is the one I probably use more often than others. The trick is to let petals or foliage dry on a non porous surface like glass or plastic. This method works especially well for velvet and similar thick fabrics that absorb a lot of water and dye and then lose the dye drying on a newspaper. I paint my petals and leaves as normal on a newspaper. Then I transfer them onto a piece of plastic with a pair or tweezers careful enough not to ruin the colouring work (see the photo on the left)
Once the fabric parts are on plastic, I often add some more dye with a brush where it is most needed and then leave them to dry completely. Please note that drying this way will take considerably more time (especially for velvet) than drying on a newspaper. But the result is worth it.
 ense colours when dyeing fabric, but we will talk about them another time.
If you have not got a copy of our Introduction to Fabric Flower Making ebook, you can purchase one HERE. The ebook will introduce you to the materials and tools you will require for making flowers. You will know what dyes and brushes are good to use, which silk to buy and how to prepare the fabric for flower making.

Leave a Reply