denim wild rose brooch

New Video Course on Fabric Flowers in partnership with Domestika


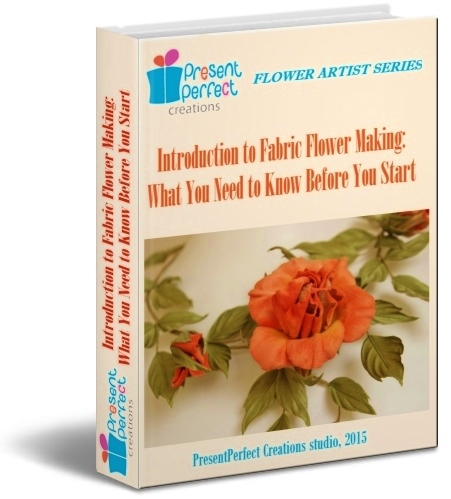
If you follow me on social media, you have probably already noticed some of my posts on the textile flower course I have been preparing in collaboration with Domestika, the largest global creative community.

The filming and shooting for this course was done last July in London, where a team of professionals helped me create this beginner friendly yet exciting video tutorial on textile flowers made with denim.
In the course I show and teach how to create two very different roses using such well known and universally loved material as denim.

The course is aimed at beginner flower makers, because you will not need any specialist tools here, just your hands, patience, my guidance and an odd pair of tweezers. So even if you have not made any textile flowers before, you are welcome to join this course.


diy kit denim wild rose


NEW
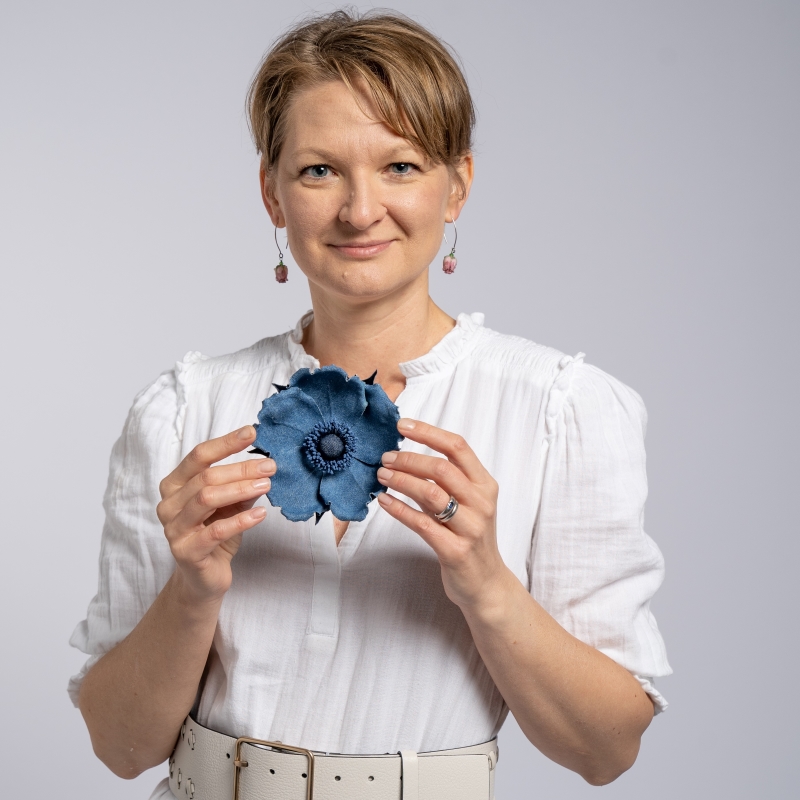
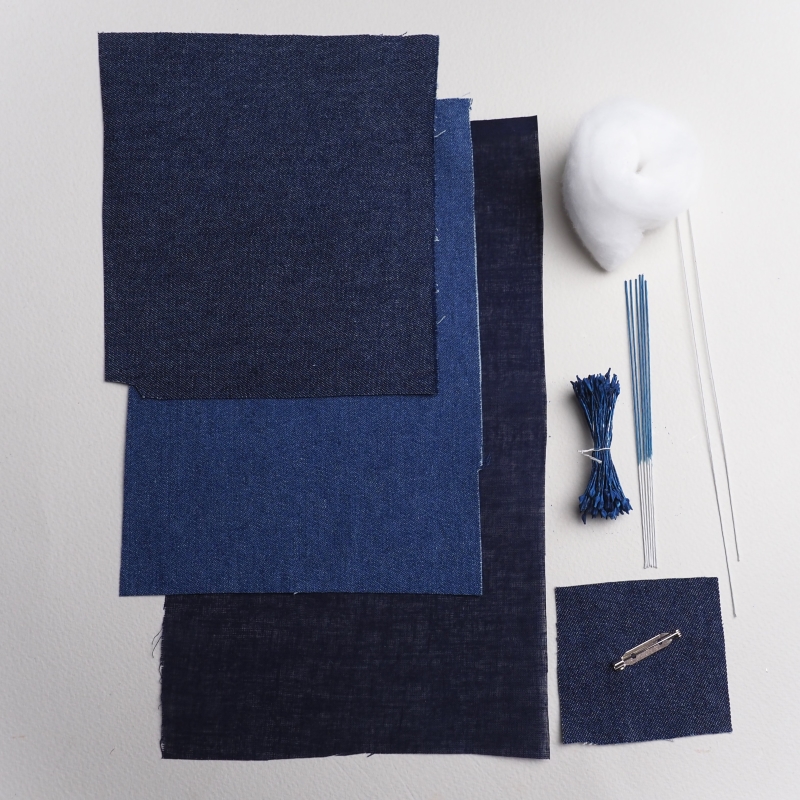
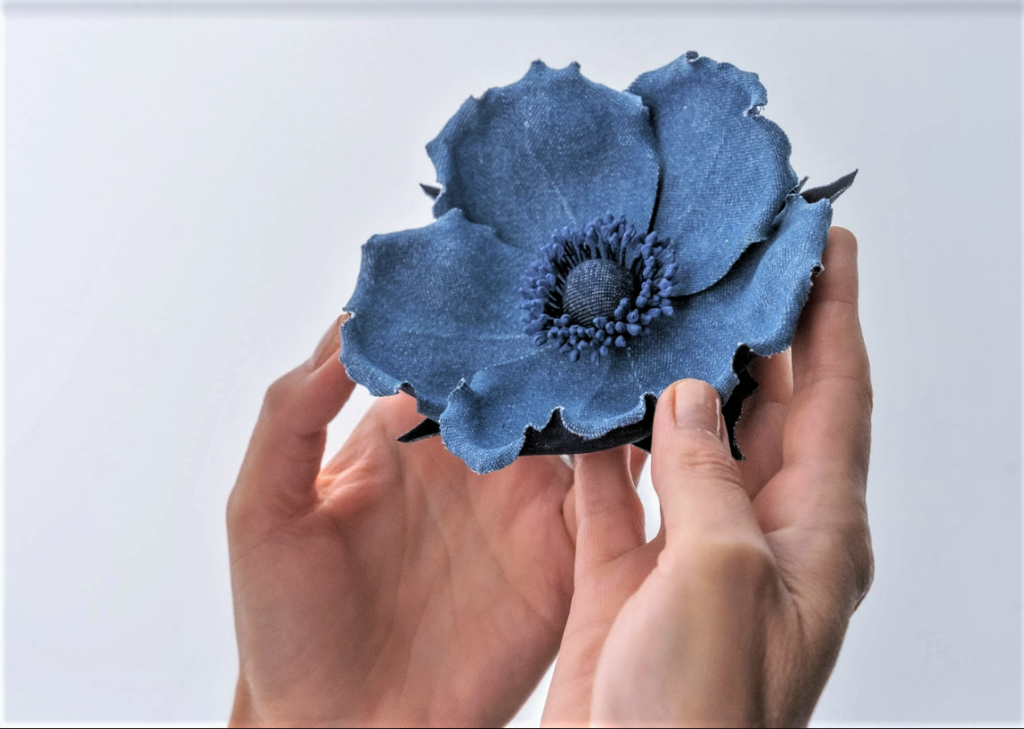
You can now order a DIY kit for making your own Denim Wild Rose if you prefer to work with specially designed kits.

The kits are avaialble from my online shop here


However, as it always happens with flower tutorials, even flower artists with experience will be able to find some useful tips and tricks to use in these as well as other flower designs they make.
Amongst other techniques I have included my method of finishing open roses (and other similar flowers) absolutely flat which I extensively employ in many of my designs, including leather flowers.
Another great benefit, thanks to Domestika, is that the course comes with subtitles in
❀ English
❀ Spanish
❀ Portuguese
❀ German
❀ French
❀ Italian
❀ Polish
❀ Dutch
So if the language was an obstacle on your way to learning textile flowers before, it is not an issue any more 🙂 You can choose your language and enjoy the creative process.

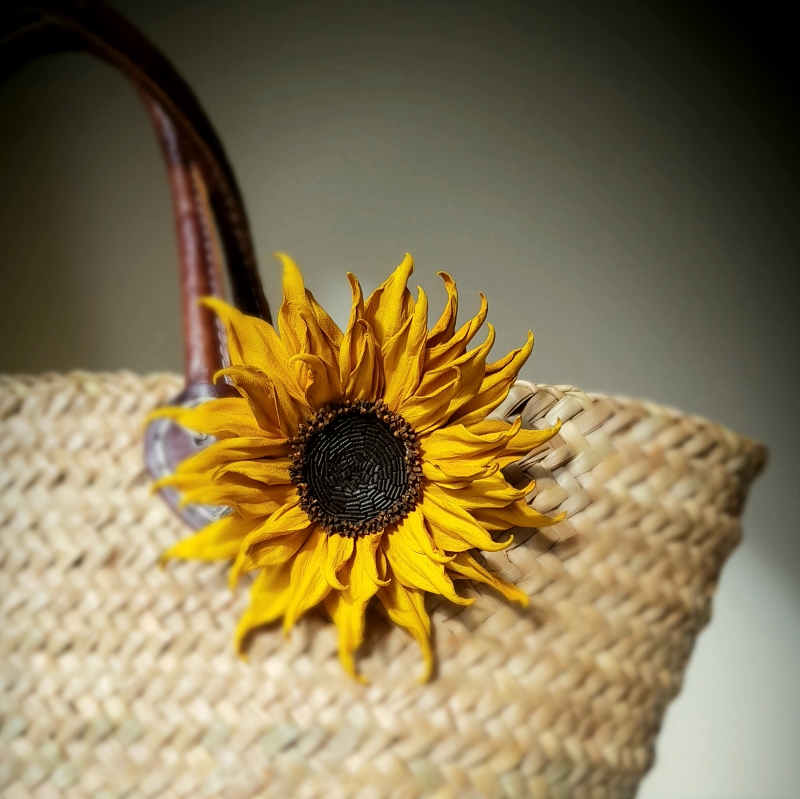
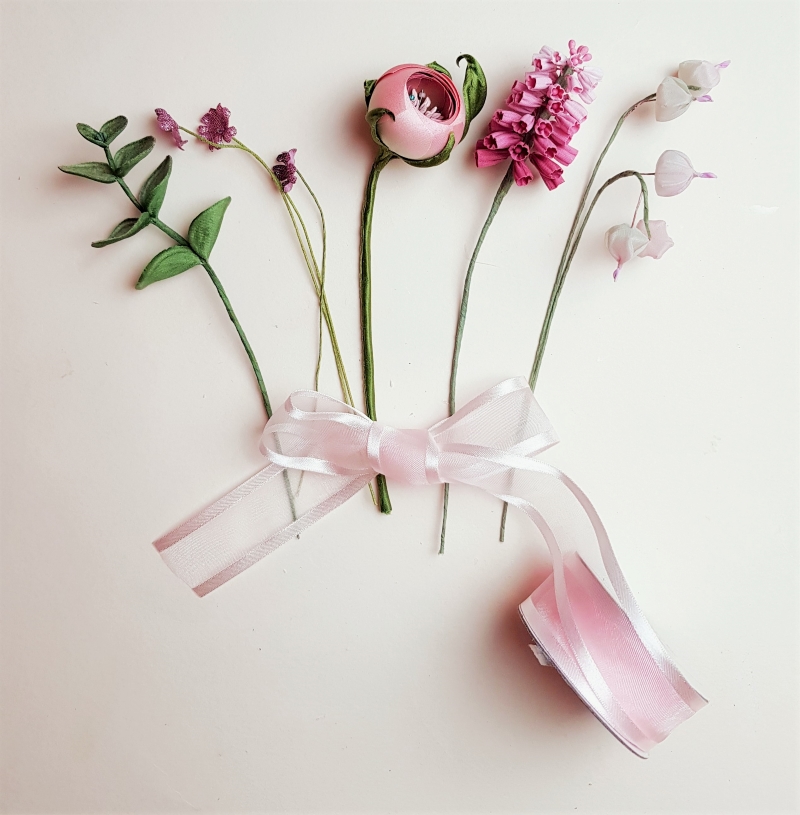
In the course I am sharing a number of ideas on how you could make other accessories with the flowers we’ve covered. By changing the size, the finish, the fabric, the stamens etc you will be able to create infinite number of roses suitable for every occasion and taste.

Now I would like to invite you to watch the introductory trailer to my Domestika course after which you will be able to purchase it from Domestica website at the special launch price if you decide to join

I am really excited about this course and so happy it is finally out and available for students to learn, experiment and enjoy the therapy of handmaking. I hope you will be able to join me on this course.
To watch the trailer and purchase the course use the button below.
denim wild rose brooch
no tool flower making tutorials for beginners

NO TOOL flower making tutorials for beginners

shaping fabric flower petals without the use of tools 8NO tool flower making tutorials for beginners: are there any?

I am well aware of the fact that not every flower making artist (especially a beginning one) has got a set of traditional millinery tools to shape flower petals and leaves. Although this does cause serious restrictions with regards to the techniques that can be used and the final results that can be obtained, there are several methods that could be successfully applied without the use of tools and help make certain flowers. There are several no tool flower making tutorials for beginners too.
Here on my blog I am explaining how you can shape petals using a so called cold shaping method. This method works great for such flowers as peonies, poppies, irises etc.


Then of course there is a whole branch of flower making that uses artificial fabrics and their qualities. These fabrics can be singed
on the flame of a candle to be shaped into petals and leaves. This technique cannot be used for natural fabrics as they simply burn in the flame. To learn more about this technique and make a bright poppy brooch please check out our Fabric Poppy Brooch Tutorial here.


silk dandelion clock tutorial cover


Luckily some fabric flowers do not require tools simply due to their nature and the way they are. This is the case with Silk Dandelion Clock Brooch. Yes, you’ve got it right, to make a dandelion clock out of pure silk you do not need any millinery tools. We do use tools to shape the foliage in the tutorial, so if you wish you can get those tools from our website (hurry as the offer is very limited). Otherwise feel free to omit the tooling.


If you have not yet invested into a set
of tools but would really like to have a go at making flowers why not try leather blooms? The thing is, leather is such a luxurious and beautiful material to work with that often you do not need to do much before you turn it into a lovely flower. Hand shaping combined with the use of a pair of tweezers can create beautiful as well as pretty realistic flowers.


leather sunflower brooch
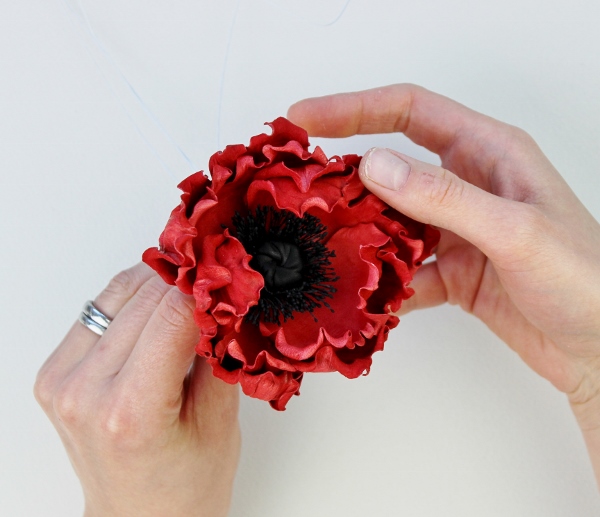
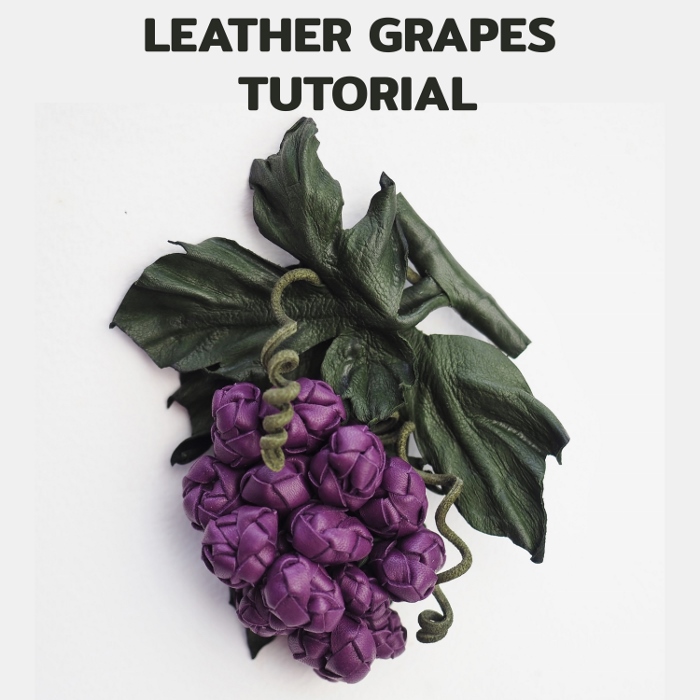
We are happy to offer 3 leather flower making tutorials that require no millinery tools, on Wild Leather Rose leather poppy flower tutorialBrooch , on Leather Sunflower Headband and on Leather Poppy Choker.
They are a good point to start from if you want to explore leather flower making
without the need to invest in a set of millinery tools.
leather grape tutorial
One of our latest no-tool leather tutorials in on the Leather Grapes. Again, using only your hands and some specialist techniques you can create a beautiful bunch of grapes in a variety of  colours and sizes to be used as a brooch, a hat trim or another accessory.
To learn more about the Leather Grape Tutorial click here


silk and lace butterfly tutorial

If you wish to work with more unusual material like lace, the iconic tutorial on Lace and Silk Butterfly can be a good one to explore. Although butterfly wings can be shaped with millinery  tools (and there’s a BONUS on how to do this), the butterfly in the picture can be made without the use of tools. DIY kits for the lace and silk butterfly are also available and sold separately. To learn more about the Lace and Silk Butterfly Tutorial click here.


I hope you will find some of these no tool flower making tutorials for beginners useful. Feel free to share photos of you finished pieces with us ☺

Subscribe to our YouTube Channel for more flower making videos.

pink flowers buttonhole

3 ways to dye silk petals to achieve the intensity of colour

silk painting brushesLet’s talk about the ways to dye silk petals to achieve intense colours.

If you, like me, do a great deal of custom work, you are
constantly presented with an issue of matching colours. Whilst mixing dyes to match colours is a task in itself, today I wanted to talk about the ways to achieve an intense colour when dyeing petals/ leaves. If you prefer to use natural hair brushes specially designed for dyeing silks and other fabrics check this horse hair painting brush set.

how to dye silk petals
The FIRST, probably the most obvious way, is to prepare a very concentrated dye. If you work with powdered dyes, use more powder and less water to dilute it. For liquid dyes, again, add a small amount of water or none at all to achieve a deeper colour. When you colour match it is always a good idea to prepare some fabric swatches (using the same fabric that you are going to dye).After you have mixed the dye apply some on them. Then let the swatches dry before comparing the colours. Remember that a wet swatch will invariably be more intensely coloured.silk orchid tutorial


THE SECOND way is good to use when the first one has not quite worked out. You simply paint your petals again to achieve the intensity of colour.

You can do it whilst they are still slightly wet, i.e. have not dried out completely. If they are completely dry, you need to moisten them again and paint as normal.
how to dye silk petals
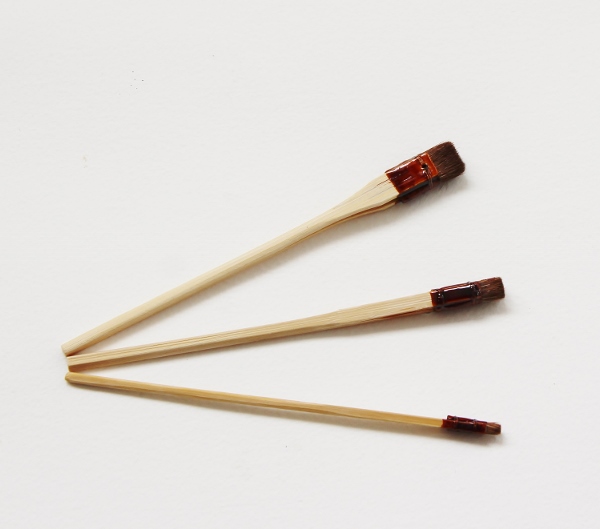
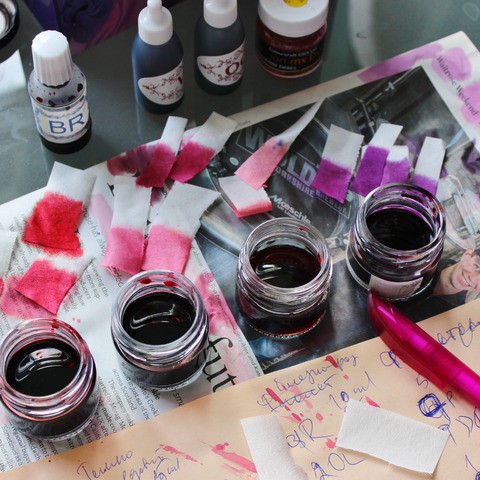
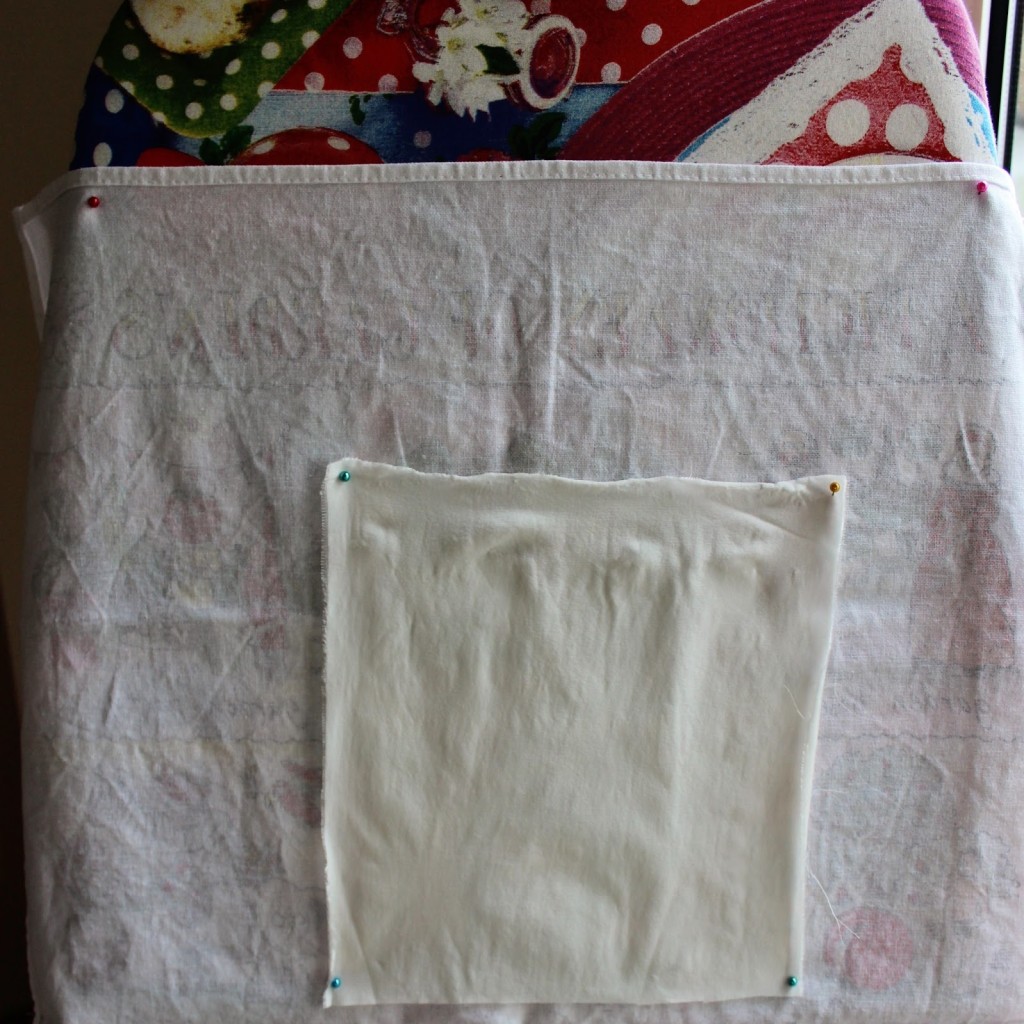
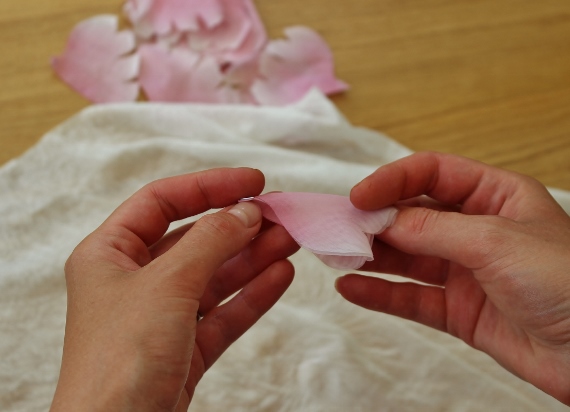
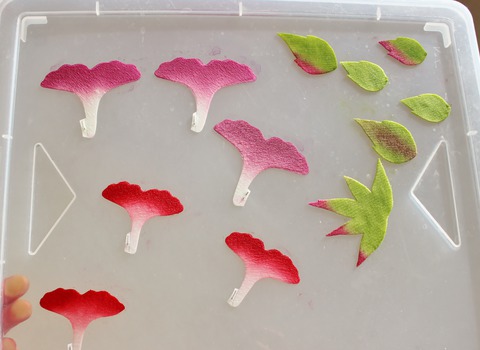
THE THIRD method is the one I probably use more often than others. The trick is to let petals or foliage dry on a non porous surface like glass or plastic. This method works especially well for velvet and similar thick fabrics that absorb a lot of water and dye and then lose the dye drying on a newspaper. I paint my petals and leaves as normal on a newspaper. Then I transfer them onto a piece of plastic with a pair or tweezers careful enough not to ruin the colouring work (see the photo on the left)
Once the fabric parts are on plastic, I often add some more dye with a brush where it is most needed and then leave them to dry completely. Please note that drying this way will take considerably more time (especially for velvet) than drying on a newspaper. But the result is worth it.

There are a couple of other ways for achieving intsilk camellia tutorialense colours when dyeing fabric, but we will talk about them another time.
I hope you’ve found this information useful and applicable to your projects. In case if you need more information on dyeing parts of fabric flowers I recommend you watch my detailed video tutorial on Silk Camellia Corsage . In it I explain the whole process of dyeing different parts of a silk flower step by step.
For more detail on this silk camellia video tutorial  simply click on the picture of the cover to the right.
Have fun creating!
Introduction to fabric flower making ebook
P.S. 

If you have not got a copy of our Introduction to Fabric Flower Making ebook, you can purchase one HERE. The ebook will introduce you to the materials and tools you will require for making flowers. You will know what dyes and brushes are good to use, which silk to buy and how to prepare the fabric for flower making.


Silk Passion flower tutorial

lace orchid circlet

How to stiffen lace and velvet for the new tutorial

lace orchid headband 2At the moment I am working on a new video tutorial on Silk and Lace Orchid flowers where I will show you and explain how to make an open hair circlet with lace and silk orchids decorated with freshwater pearls.

All the fabrics that are used for making flowers using a flower iron have to be stiffened and lace is no exception here. Please read through a mini-tutorial below to learn how you can prepare your velvet and lace for making flowers.

I often use lace and velvet fabrics for making leaves to enhance my fantasy flowers.

Whilst it is possible to obtain industrially treated delicate fabrics tutorial 1
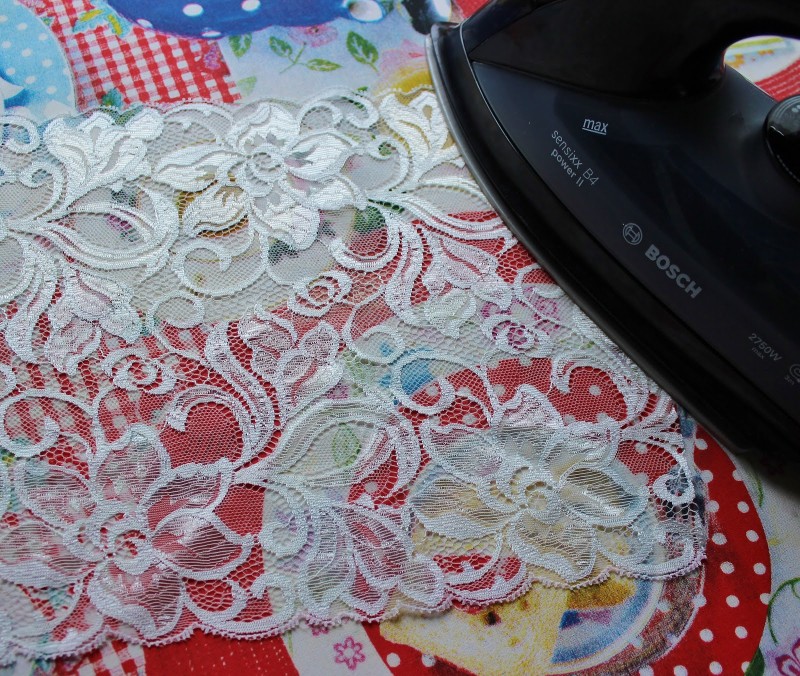
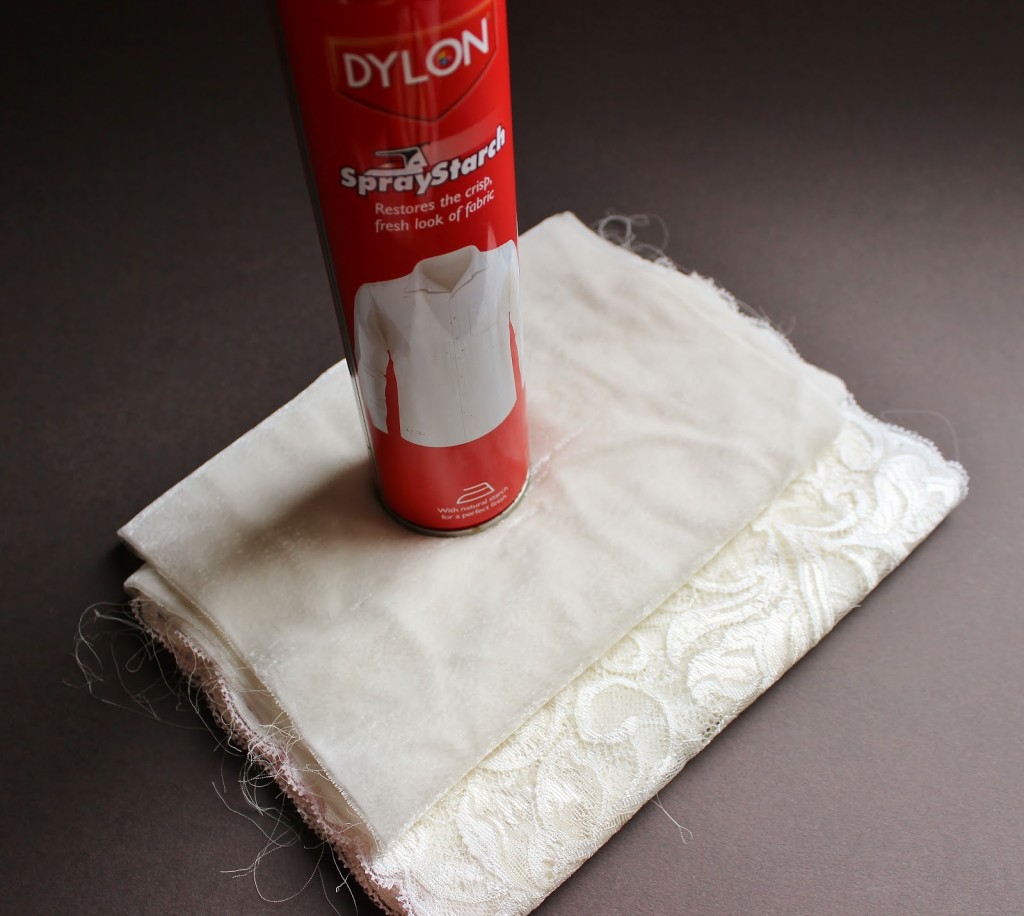
velvet ready for making flowers, I have never seen any ready to use lace fabric. So what to do if you have that nice piece of vintage lace or gorgeously coloured square of velvet you would like to incorporate into your design? Use gelatine? I can tell you from my experience these attempts have not been very successful as the gelatine tends to form a film on the structure of the lace and makes the velvet pile all stuck together. So how to prepare these delicate fabrics for using in flower making?

1. What I discovered is that I can use the starch spray for this job. Not only does it give a better result but it is also easier and quicker to use.

I use the spray starch which is normally used for shirts.
delicate fabrics tutorial 2
2. For the lace just follow the instructions on the can, that is spray the piece of lace with the spray starch and iron it. In minutes your lace is stiffened and ready to use.
delicate fabrics tutorial 3
3. As for the velvet I pin it to some vertical surface (an ironing board in my case), and spray the wrong side of the velvet fabric with the starch spray. After that I leave it to dry naturally. You can try and iron it but I have noticed that it makes it too stiff and affects the pile, especially of silk and viscose velvets. After the velvet has dried it is ready to use.The spray starch might give less body to the fabrics than the gelatine that is why it is strongly recommended to back both lace and velvet with another layer of fabric. You can use decorative metallic thread fabrics like this specialist Lame Backing Fabric here, or thin natural silk or rayon pongee fabric.
For more information on how to back petals and leaves check out our other tutorials
I hope you found this information useful and will now be using some beautiful fabrics with more confidence in your designs.
Stiffened lace or velvet as the case may be are ideal for creating delicate butterfly wings. To learn how please check out this .pdf tutorial on a lace butterfly headband
lace butterfly tutorial
 You might also like these articles

3 ways to dye silk petals to achieve the intensity of colour

Colouring stamens for flowers

Choosing the right glue for making flowers

leather flower tutorial

New leather flower tutorial is out!

LEATHER GERBERA TUTORIALNew leather flower tutorial is out now

LEATHER GERBERA TUTORIAL IS AVAILABLE FOR DOWNLOAD NOW.

As promised yesterday I am sharing a link to the new leather flower tutorial.
To read more about it, see the materials and tools needed and purchase please go to https://presentperfectcreations.com/product/leather-gerbera-brooch-photo-tutorial-pdf/

This new tutorial is more than any previous ones full packed of pictures showing every step of the process, but should you have any questions or would like me to comment of the flower you have created using this tutorial I am here to help. You can always e-mail me at enquiries@presentperfectcreations.com. I would also like to hear if there are any particular flower tutorials you would be interested in. There are so many beautiful blooms in this world and they are all so different that it is virtually impossible to create all of them. But such all time favourites like roses and poppies are already on my list of tutorials to do.

Ah, and the last thing (but not the least)! To purchase your copy of tutorial with a 30% discount simply use gerbera30 discount code on checkout. But do remember that this is a time sensitive offer and it is valid only until midnight Sunday 14 December 2014 GMT.

I am sure that there is still plenty of time to make a couple of gerberas and present them as original and hand crafted Christmas gifts. Good luck to you! ☺

Here are the tools and materials that are required for this tutorial.


materials


This is a choice of flower iron tips you can use in this tutorial. You will require JUST ONE of these, any that you have in your set. I am using the far left wide foot with 3 grooves.

iron tips

And finally, some pleasant news for you as subscribers of my blog. I am going to offer you a special introductory price on this tutorial till the end of this week (midnight on Sunday) so you will have a chance to make your own leather gerbera and pay 30% less for the tutorial.

Tomorrow I will send you a link for the tutorial at my online shop as well as a discount promo code for it.

I hope that you are as excited as I am waiting for the release. I have a lot of other ideas on tutorials on silk and leather flowers but your comments and preferences will be much appreciated, so if you want to ask or suggest something please do so by leaving a comment for me below.

leather gerbera flower shoe clips