blue velvet butterfly brooch

Flower shaping tools, part 1: Extra narrow flower shaping tools

For 2019 I have planned a series of short videos demonstrating how to works with different types of flower tools. extra narrow flower shaping tools
I believe this will help you understand your tools better and use them to their full potential achieving great shapes and lines on your petals and leaves.
For this week I have prepared the first one of these videos. For the first video I have chosen one of my favourite tools and probably one of the most used ones, the EXTRA NARROW  FLOWER SHAPING TOOLS.

Here are a couple of points I’d like to draw your attention to before you watch the video:

❀ The extra narrow tools are very versatile and can be used on either leaves, petals or other parts of flowers
❀ Using extra narrow tools you can shape most leaves for your unique designs in the fabrics, the colours and sizes you require
❀ These tools have been used in a number of our tutorials, both leather as well as fabric, Leather Butterfly TutorialSilk Orchid TutorialVelvet Lily Tutorial and Silk Iris Tutorial to name a few.
❀ You can use these tools to give your silk butterfly wings a crisp edge (see Silk and Lace Butterfly Tutorial)
❀ When working with these tools use the medium pad and check the temperature often as they get overheated easily due to the small size.
❀ When ordering the extra narrow tools online make sure you have chosen properly made really extra narrow tools that can perform difficult tasks when doing shaping. A lot of tools sold online are of mediocre quality and will not deliver the results I am showing in the video.
❀ Check below the video (on YouTube) for the links to different supplies and tutorials mentioned or shown in the video.
❀ Enjoy using your tools, experiment as much as you can and watch other videos on my channel that demonstrate alternative uses of these and other tools
To watch the video click on the photo below.


Below are the links to the extra narrow tools available from my website (limited quantity in stock).
millinery tools
how to choose a flower iron

How to choose a flower iron?

How to choose a flower iron?

IMPORTANT    –    JANUARY 2023 UPDATE

Dear All,

Weller have discontinued the trusty model of a soldering iron I have been using (and recommending!) for the last decade to my students all over the globe.
I have been in touch with multiple retail tool stores as well as with the manufacturer themselves and this is what they say:
The 40W SP irons are no longer available, but we do have replacements.

The 25W were upgraded to 30W, and the 40W were upgraded to 60W versions, we have also improved the tip choice as well as upgrading the LED lighting on the handpieces.

 It is available in 2 options, basic iron

on UK Amazon 
on Weller website

and mini kit with additional tips.

https://www.weller-tools.com/bigbang/EUR/en/WLIRK6023G

 If you internet search with these part numbers you should be able to find a number of UK distributors supporting the product. (RS/Farnell/Amazon etc)

WLIR6023G   IRON, W/LED RING, 60W/230V, UK

I am yet to try the new model they’ve recommended. There is also a version with a dimmer, but it is more expensive and there is no evidence it will work any better:

We do have a variant, that actually uses the same iron, but is wired into a basic power supply.

It has a rotary dial that allows regulation of power, though the temperature remains fixed.

It’s a little more expensive but does have a built in safety rest.

Link to product.

https://www.weller-tools.com/bigbang/EUR/en/WLSK8023G

So to sum up, I would get a new 60W version that is the correct width for the flower making tools and work with it. You will need to switch it off regularly to let the tools cool slightly so that they do not burn the materials. The previous model was presented in the US as well as EU markets with the corresponding plugs, so I suppose the new 60W should do as well.  Alternatively,try visiting a large hardware store in your area, where you could go in person with the flower tools and ask the stuff there to show you what they’ve got in the right spec.

Which tools to choose?

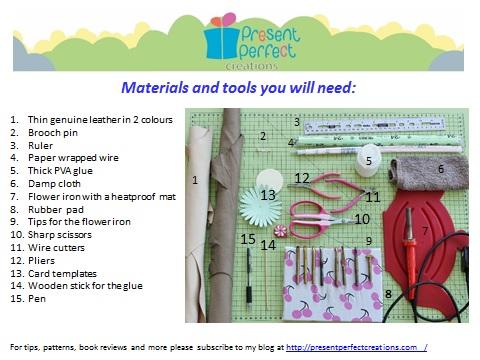
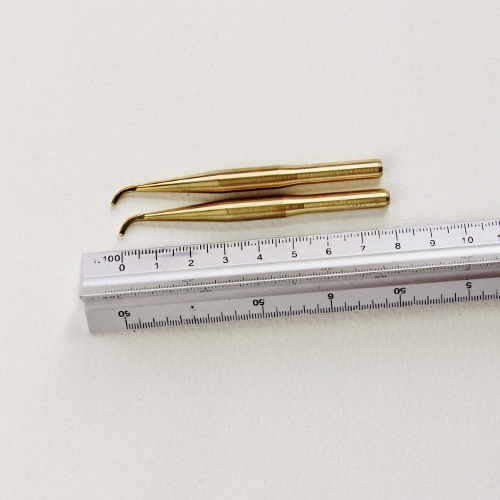
To make the most of the flower making tutorials I and other tutors offer one must have a set of flower shaping tools.
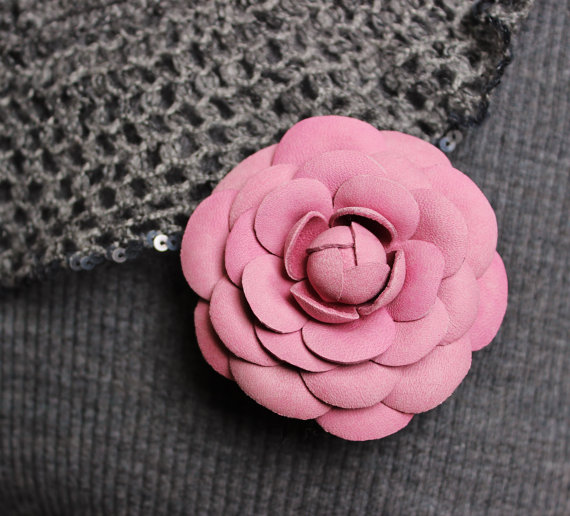
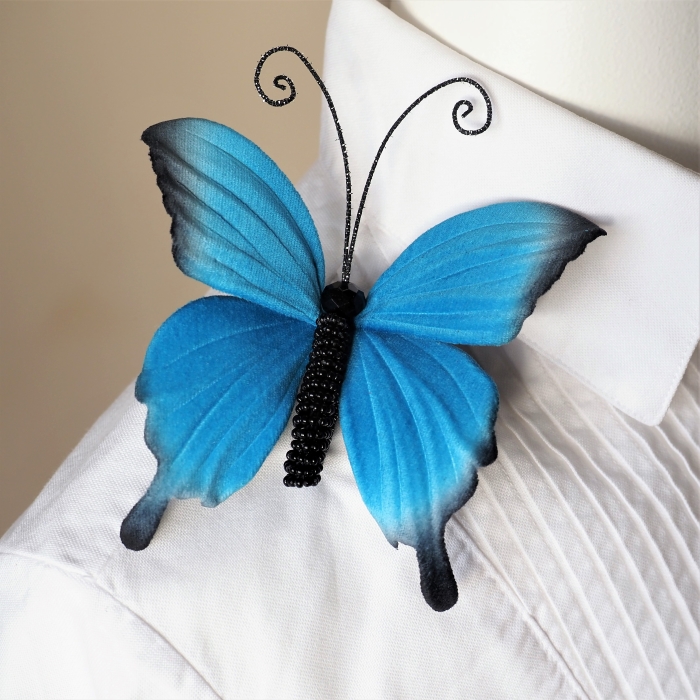
Flower shaping or otherwise known as millinery tools… We use millinery tools to shape fabric or leather in order to create realistic or artistic petals and leaves which we then assemble into

flower pieces. They are essential for the craft (and ART) and yet they cause more questions than any other aspect of flower making. flower shaping millinery tools

Traditionally millinery tools have always been on separate handles and required heating over an open flame or using other sources of heat.  The famous Atelier Legeron which supply Parisian fashion houses with silk flowers still use traditional tools like these.
However there is another option available to us, flower artists, now. I am talking about an electric iron and millinery tools that are inserted inside it to be heated.
To use a traditional set or a more modern electric flower iron may be down to personal preferences. But I do believe that the electric iron set allows to work quicker. It is advisable to have 2 or 3 flower irons so that when shaping a flower you could have 2-3 tools that are required for shaping it, heated and ready to be used at the same time.
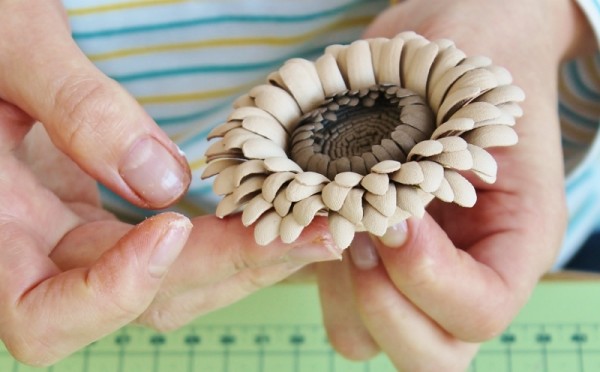
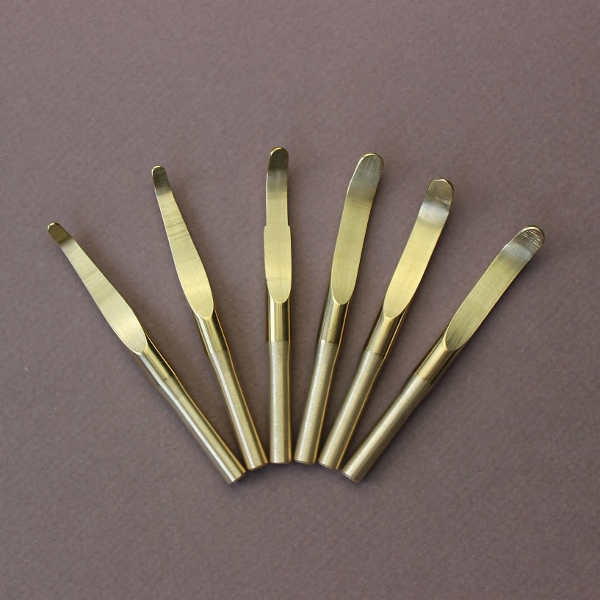
Sets on separate handles come from the times when there was no electricity. So why not use the achievements of the civilization to our advantage? If you have inherited a set of tools on separate handle
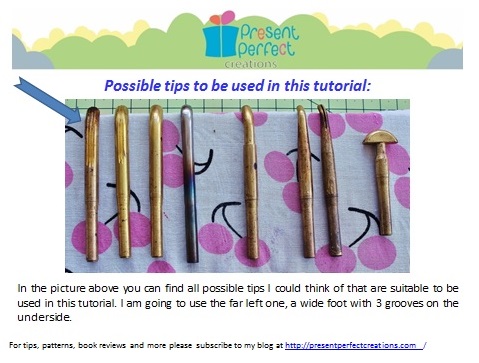
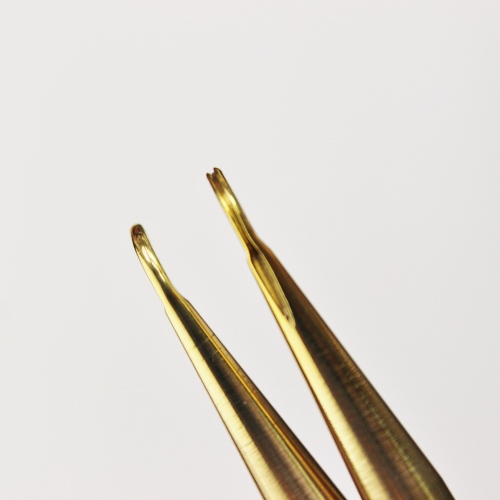
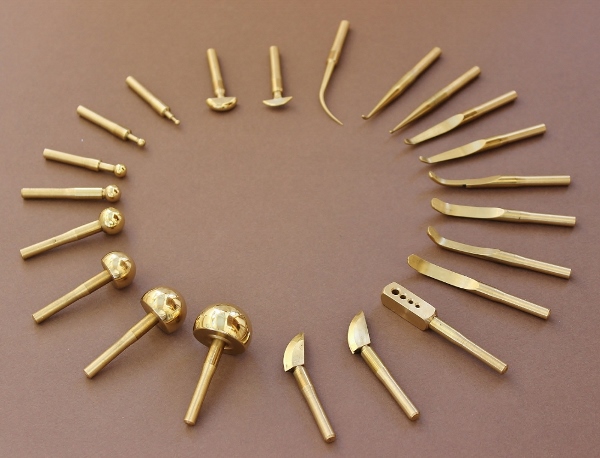
s or you have already got one of those, you can of course continue using it. For those of you who are thinking about purchasing a new set I would recommend to go for an electric flower iron with a set of interchangeable tips (see the photo of the tips above).

Which flower iron to choose?

I am often asked by students about how to choose and flower iron and what iron to use.

Whilst I offer flower tools on my website, I do not sell flower irons. This happens for several reasons. First of all, soldering irons are not a particularly specialist piece of kit and can be easily obtained (although you will need to know which one to buy!).

Another thing how to choose a flower ironis that my students live all over the world, which means your sockets and plugs might be very different from mine.
Luckily I can recommend the flower iron I have been using myself for 5+ years. It  seems to be a popular global model and sells in different countries with the right socket that suits each country.
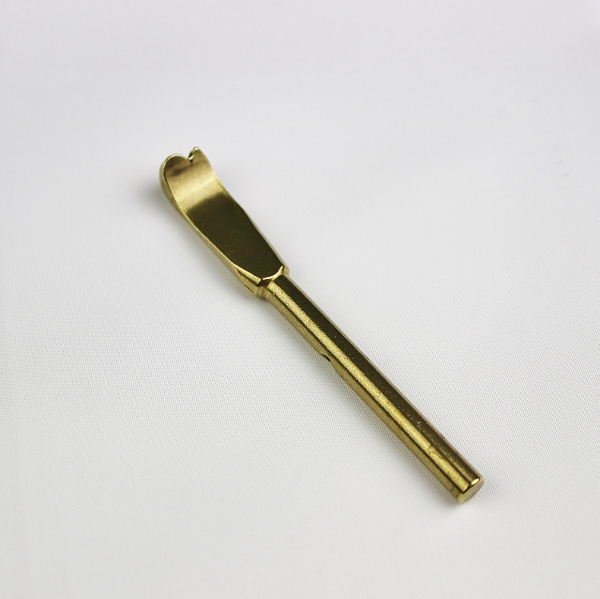
This flower iron is compatible with different tools I have seen, used and owned myself. However, in case if your tools are wider than 6 mm at the part which is inserted into an iron, this model is not for you.
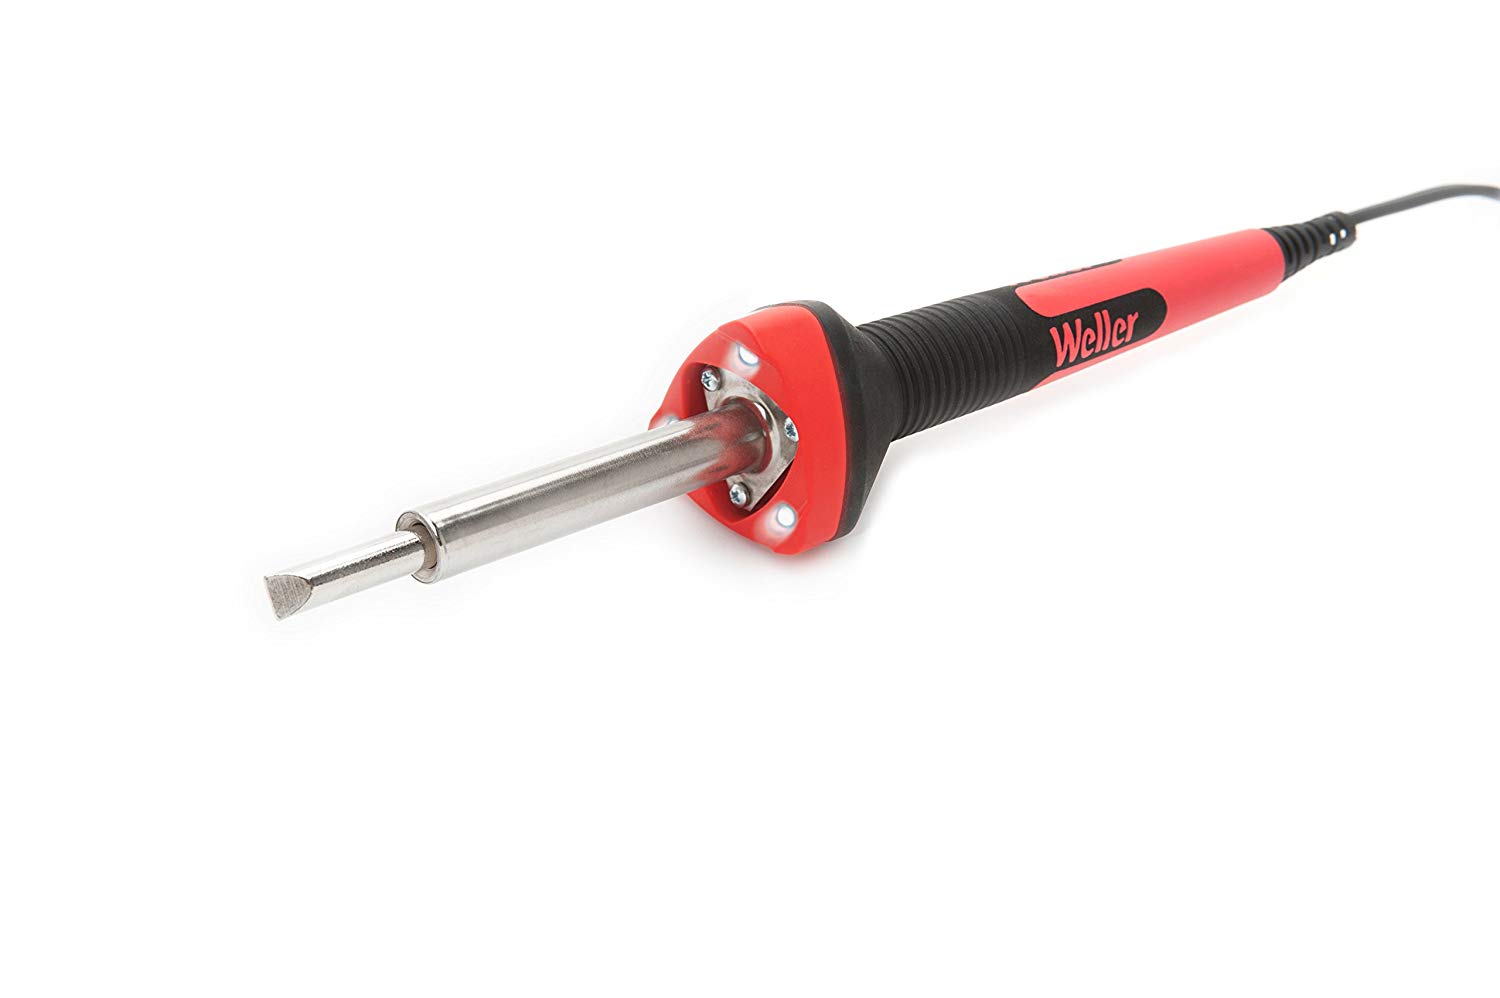
You can easily pick up the right soldering iron on Amazon in your country. You need this Weller SP40N 40 Watt High Performance Soldering Iron (see the photo on the right).
For France and other European counties please use this link to find out more about the iron.
For the US and Canada please use this link to find out more about the iron.

japanese style flower shaping tools

flower making tools full setflower making tools

combination flower shaping tool

tools and supplies for making flowers

To economise or not on tools and supplies for making flowers? Part I

flower shaping millinery toolsWhether you are relatively new to flower making or you have been creating blooms for a while you know that tools and supplies for making flowers can get rather pricey. In case if you ever wondered whether there is something you could spend less on without compromising the quality of a finished item, this article would be of interest to you.

Let’s talk about bare necessities for a flower making artist and find out where it makes sense to save some money, and where it is advisable to invest in the best possible tools or supplies for making flowers.

There are certain things that you should not economise on. The first one is a set of millinery or flower shaping tools. Make sure you invest in a good quality basic set of tools, that you can expand later on as you develop your skills in flower making. A basic one must include a range of balls from tiny 2 mm to 30 mm or so, knives for scoring veins (with or without groves), tools for scoring softer lines, a hook and possibly some other tools depending on the manufacturer.
Pictured is  the extended set of tools I use for making my flowers and flower pieces..Rubber pads for millinery tools
Tools can be made of brass or other metals, this is not that important.
To heat up the tools you will require a soldering iron. I would not try and cut costs here. I tried working with a number of cheap soldering irons before and I all I can say that not only do they burn out really quickly, but they might be very dangerous for you, too. To be on the safe side get yourself one of the tried and tested ones from  Amazon or your local hardware shop. I am very pleased withthis Weller one available of Amazon.


To shape petals and leaves you’ll need some rubber and foam pads. Here you can get creative. As long as your pads deliver the right results you can use rubber or foam you have sourced yourself. I do offer professional flower shaping pads on my websiteif you do not have time to source your own. Should you want to make your own flower shaping pads, remember that the medium one is about 15 to 20 mm thick and is rather resistant. You can make one yourself out of old style mouse pads by cutting one in half, stacking 2 halves one on top of the other and covering them with a piece of plain thin cotton fabric. The soft one, however, is a much softer foam type pad about 30 mm thick and can be substituted by a suitable foam from a supermarket or a hardware shop. Do not forget to cover it with a piece of plain thin cotton fabric as well.

taster fabric packThen naturally you will need fabric (or leather) to make petals and leaves out of. This is a vast subject. But what ever you choose, be it natural silks that you stiffen yourself, some vintage re-purposed fabrics or professional factory made flower making materials go for the best quality you can.

There is nothing wrong in stiffening your own fabrics. Quite frankly sometimes it is the only choice, when for example you are asked to incorporate a customers fabric into their flower piece. Just make sure you use the best stiffener for the fabric in question, stiffen it flat to ensure no creases spoil the look of your petals and go for it.
However, if you wish to try something different or if you do not have time to stiffen your own fabrics, factory stiffened fabrics can be a great solution for you. Some professional flower making fabrics only exist in this prestiffened ready to use form and you won’t be able to find them anywhere at an ordinary haberdashery department. Some of these wonderful fabrics are currently for sale in my online shop. I am in love with the cotton velvet with its short pile and and the sparkly lame fabrics that are great for festive and fantasy designs.
Fabrics are offered by fat quarter but larger quantities (from 1m) can be available by request at a reduced price.
There’s more to the art of flower making that meets the eye. There are a lot of other tools and supplies for making flowers that are involved in the process of turning a flat white piece of material into a stunning colourful flower piece. To achieve a realistic or fantasy look for your flowers you will need to paint the fabric of your choice with some fabric dyes. Which ones? To stay tuned subscribe to our newsletter HERE
To read To economise or not on tools and supplies for making flowers? Part II click here
Christmas gift guide for flower maker artist crafter

Flower Artists’ Gift Guide for Christmas 2017

Our Flower Artist’s Gift Guide for Christmas 2017 has landed!

Feast your eyes on PresentPerfect Creations Studio gift selection for flower artists.  Treat yourself to a new tool, tutorial or supply and create something amazing today. Because you deserve a gift, too.

FREE DELIVERY coupon code inside. Hurry, the offer is time sensitive and valid only until 24 December 2017.

Happy gift hunting! ☺

To turn the pages of the gift guide, click on the arrow found next to the pages of the guide.

lace orchid circlet

How to stiffen lace and velvet for the new tutorial

lace orchid headband 2At the moment I am working on a new video tutorial on Silk and Lace Orchid flowers where I will show you and explain how to make an open hair circlet with lace and silk orchids decorated with freshwater pearls.

All the fabrics that are used for making flowers using a flower iron have to be stiffened and lace is no exception here. Please read through a mini-tutorial below to learn how you can prepare your velvet and lace for making flowers.

I often use lace and velvet fabrics for making leaves to enhance my fantasy flowers.

Whilst it is possible to obtain industrially treated delicate fabrics tutorial 1
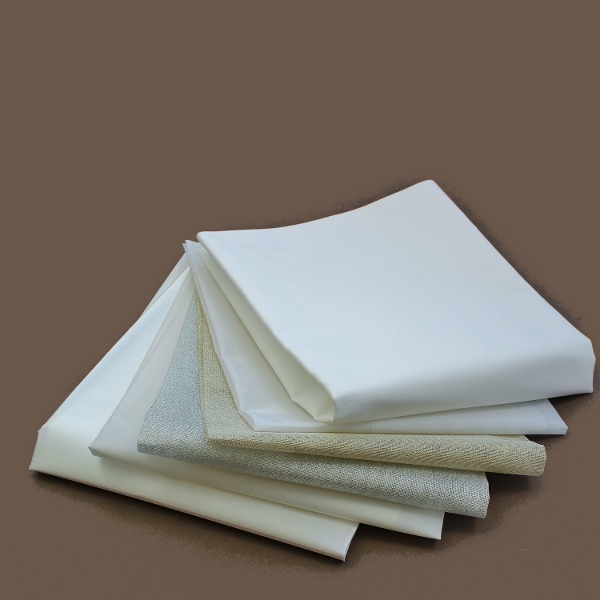
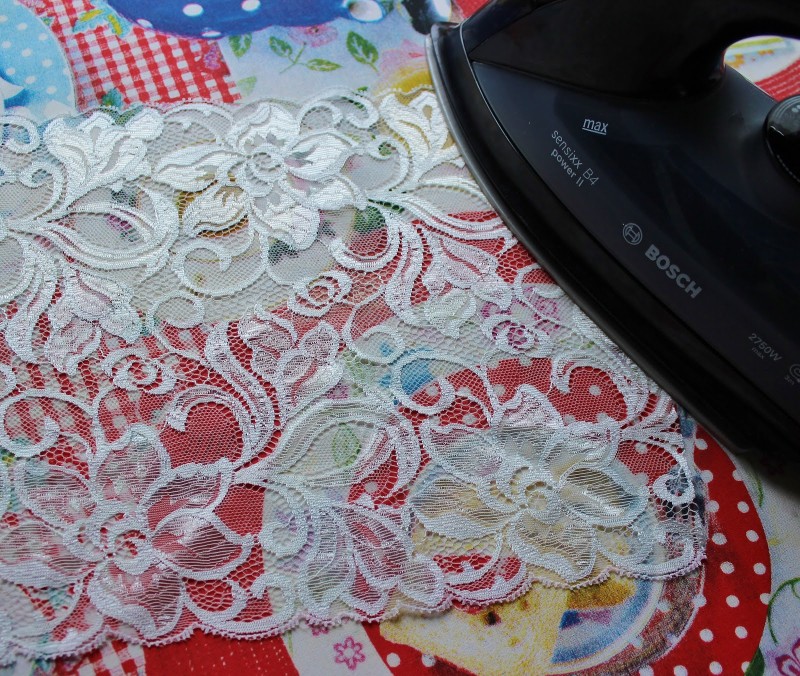
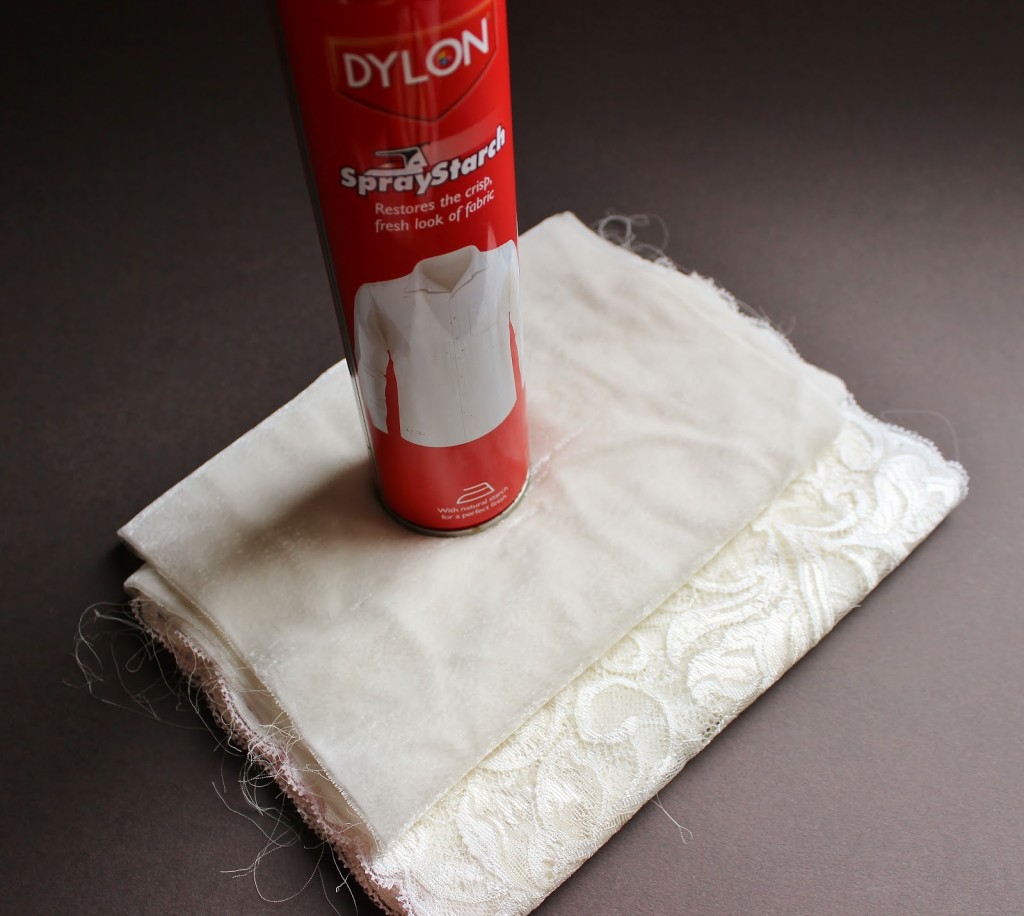
velvet ready for making flowers, I have never seen any ready to use lace fabric. So what to do if you have that nice piece of vintage lace or gorgeously coloured square of velvet you would like to incorporate into your design? Use gelatine? I can tell you from my experience these attempts have not been very successful as the gelatine tends to form a film on the structure of the lace and makes the velvet pile all stuck together. So how to prepare these delicate fabrics for using in flower making?

1. What I discovered is that I can use the starch spray for this job. Not only does it give a better result but it is also easier and quicker to use.

I use the spray starch which is normally used for shirts.
delicate fabrics tutorial 2
2. For the lace just follow the instructions on the can, that is spray the piece of lace with the spray starch and iron it. In minutes your lace is stiffened and ready to use.
delicate fabrics tutorial 3
3. As for the velvet I pin it to some vertical surface (an ironing board in my case), and spray the wrong side of the velvet fabric with the starch spray. After that I leave it to dry naturally. You can try and iron it but I have noticed that it makes it too stiff and affects the pile, especially of silk and viscose velvets. After the velvet has dried it is ready to use.The spray starch might give less body to the fabrics than the gelatine that is why it is strongly recommended to back both lace and velvet with another layer of fabric. You can use decorative metallic thread fabrics like this specialist Lame Backing Fabric here, or thin natural silk or rayon pongee fabric.
For more information on how to back petals and leaves check out our other tutorials
I hope you found this information useful and will now be using some beautiful fabrics with more confidence in your designs.
Stiffened lace or velvet as the case may be are ideal for creating delicate butterfly wings. To learn how please check out this .pdf tutorial on a lace butterfly headband
lace butterfly tutorial
 You might also like these articles

3 ways to dye silk petals to achieve the intensity of colour

Colouring stamens for flowers

Choosing the right glue for making flowers

leather flower tutorial

New leather flower tutorial is out!

LEATHER GERBERA TUTORIALNew leather flower tutorial is out now

LEATHER GERBERA TUTORIAL IS AVAILABLE FOR DOWNLOAD NOW.

As promised yesterday I am sharing a link to the new leather flower tutorial.
To read more about it, see the materials and tools needed and purchase please go to https://presentperfectcreations.com/product/leather-gerbera-brooch-photo-tutorial-pdf/

This new tutorial is more than any previous ones full packed of pictures showing every step of the process, but should you have any questions or would like me to comment of the flower you have created using this tutorial I am here to help. You can always e-mail me at enquiries@presentperfectcreations.com. I would also like to hear if there are any particular flower tutorials you would be interested in. There are so many beautiful blooms in this world and they are all so different that it is virtually impossible to create all of them. But such all time favourites like roses and poppies are already on my list of tutorials to do.

Ah, and the last thing (but not the least)! To purchase your copy of tutorial with a 30% discount simply use gerbera30 discount code on checkout. But do remember that this is a time sensitive offer and it is valid only until midnight Sunday 14 December 2014 GMT.

I am sure that there is still plenty of time to make a couple of gerberas and present them as original and hand crafted Christmas gifts. Good luck to you! ☺

Here are the tools and materials that are required for this tutorial.


materials


This is a choice of flower iron tips you can use in this tutorial. You will require JUST ONE of these, any that you have in your set. I am using the far left wide foot with 3 grooves.

iron tips

And finally, some pleasant news for you as subscribers of my blog. I am going to offer you a special introductory price on this tutorial till the end of this week (midnight on Sunday) so you will have a chance to make your own leather gerbera and pay 30% less for the tutorial.

Tomorrow I will send you a link for the tutorial at my online shop as well as a discount promo code for it.

I hope that you are as excited as I am waiting for the release. I have a lot of other ideas on tutorials on silk and leather flowers but your comments and preferences will be much appreciated, so if you want to ask or suggest something please do so by leaving a comment for me below.

leather gerbera flower shoe clips

Stiffening leather and getting ready!

beige gerbera knit

Hours are left before the release of the tutorial and I can not keep it a secret any longer! Yes, the tutorial is on creating a leather gerbera flower just like one in the picture to the left. It is easy enough even for a beginner to try and at the same time those of you who can not wait to use their flower irons can have a go at them when making this flower. Although the tutorial shows how to finish the gerbera with a brooch pin, it can be turned into a range of other accessories just like any other flower. In fact, I take pride in my ability to come up with quite unusual and quirky floral accessories. To share one idea with you I can say that a pair of leather  gerberas can make stunning shoe clips which you can jazz up your favourite pair of shoes with. It goes without saying that leather gerbera brooch makes an original and much appreciated gift for those who understand about hand crafted accessories. Provided you have got some suitable leather and a bit of time you can still make one or two flowers before Christmas!
To use time efficiently you can stiffen you leather in advance. I am explaining how to do in in my blog post here.  It is better to use 2 contrasting colours, say, a darker leather for the centre and some pale (or rich!) coloured leather or suede for the petals.

Here is the list of materials and tools you will need for the tutorial. If you have any questions regarding this list please feel free to leave a comment below.

materials


This is a choice of flower iron tips you can use in this tutorial. You will require JUST ONE of these, any that you have in your set. I am using the far left wide foot with 3 grooves.

iron tips

And finally, some pleasant news for you as subscribers of my blog. I am going to offer you a special introductory price on this tutorial till the end of this week (midnight on Sunday) so instead of full price  you will have a chance to make your own leather gerbera with a 30% discount.

Tomorrow I will send you a link for the tutorial at my online shop as well as a discount promo code for it.

I hope that you are as excited as I am waiting for the release. I have a lot of other ideas on tutorials on silk and leather flowers but your comments and preferences will be much appreciated, so if you want to ask or suggest something please do so by leaving a comment for me below.

flower making tools

My flower making tools

millinery tools
SET OF 2 EXTRA NARROW MILLINERY TOOLS

IMPORTANT ANNOUNCEMENT!

LIMITED OFFER ON SETS OF EXTRA NARROW FLOWER SHAPING TOOLS
If you are interested please click here to find out more  >>>>>>>>>>>>>>>

Those of you who admire handmade silk flowers might have thought about making them yourselves and wondered what magical equipment is required to do the job. So today I would like to give you an insight into the tools I am using for making my flowers.
My set consists of flower making tools which belong to both the European and the Japanese flower making schools. They have been acquired over a couple of years through different makers. The best flower making tools are thought to be made of brass as it holds the heat better than stainless steel that is why my tools look yellowish brown in the picture.
Here is my set:

A soldering iron is needed to work with these brass heads. There are a number of round heads of different diameter, several knives, a rat-tail tool, a tool for making hollow tubes and another one for making lily-of-the-valley tiny flowers, as well as a number of curved both smooth and grooved Japanese tools.

All of them are used to achieve a certain effect on different sized petals and leaves and the choice usually depends on the particular job to be done. For a more impressive result the flower making tools are used on rubber pads which vary in thickness and density.

Here is my collection of pads:

Not only do they allow to achieve different effects when used with tool heads but they also protect the work surface and are a must to have.
The tool set might seem to be an expensive investment but without them it is impossible to create any pure silk flowers from a humble daisy to the most sophisticated rose. Some free tips and how-tos on the subject can be found here on my blog.

Video tutorials on flowers from £39


I now offer range of flower making tutorials in video and photo format for your millinery and accessory projects. For more information on the tutorials please go to my Tutition section 
For the fresh news from the exciting world of handmade fabric flowers, new releases and discounts on tutorials please subscribe to our newsletter if you haven’t done this just yet. Should you wish to learn how to make silk flowers I am happy to share my know-how, knowledge and skills through individual Skype classes. Please contact me via this site or e-mail me at enquiries@presentperfectcreations.com to discuss the details
.

[grwebform url=”http://app.getresponse.com/view_webform.js?wid=10058202&u=3lMQ” css=”on” center=”off” center_margin=”200″/]


`[tiny_coffee]`