glue for making flowers

Choosing the right glue for making flowers

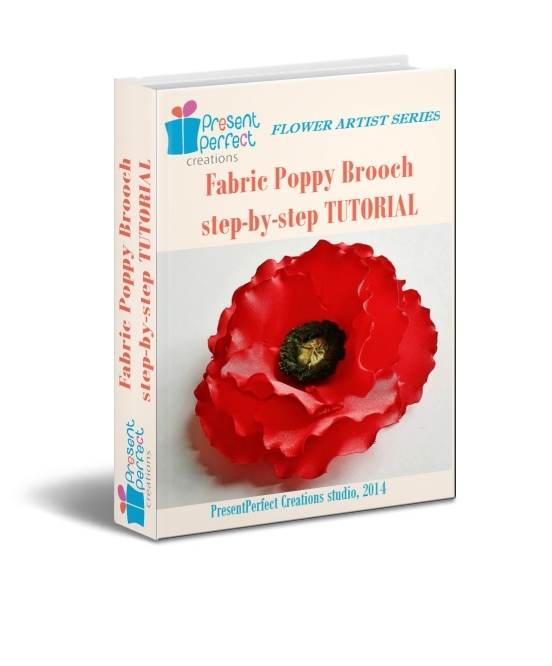
To glue or not to glue? Let’s talk about choosing the right glue for making flowers

glue for making flowers


You can now buy the glue that has been specifically developed for making flowers. To find out more about this glue click here 


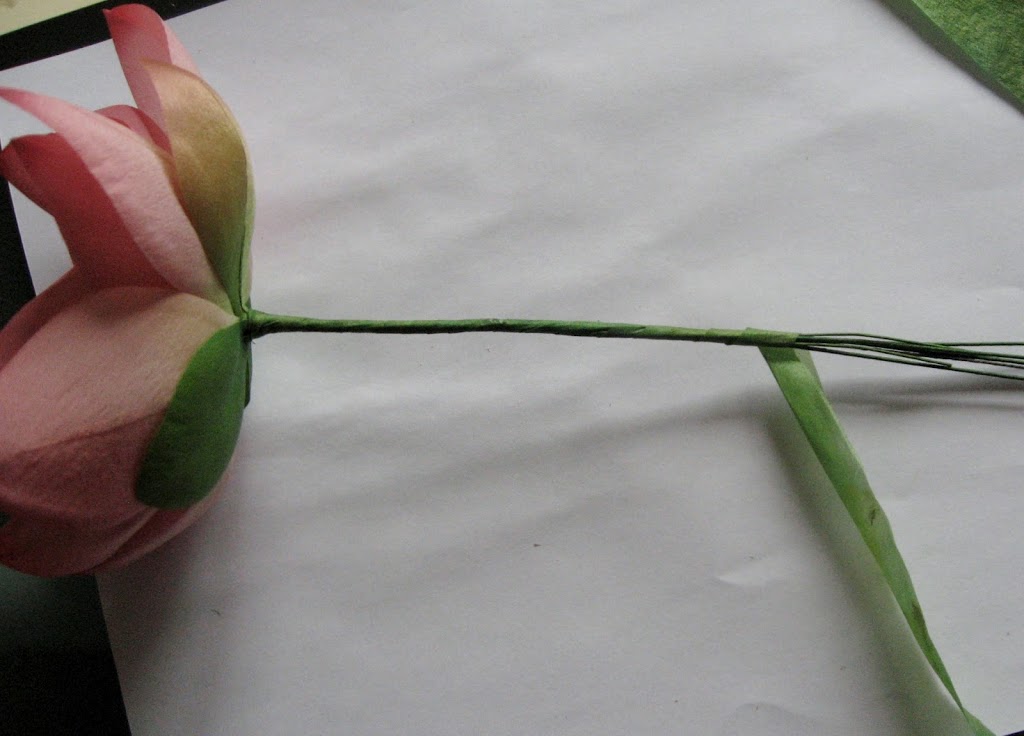
I receive a lot of emails with questions on different aspects of flower making. One of such burning questions is about choosing the right glue for making flowers with either fabric or leather.
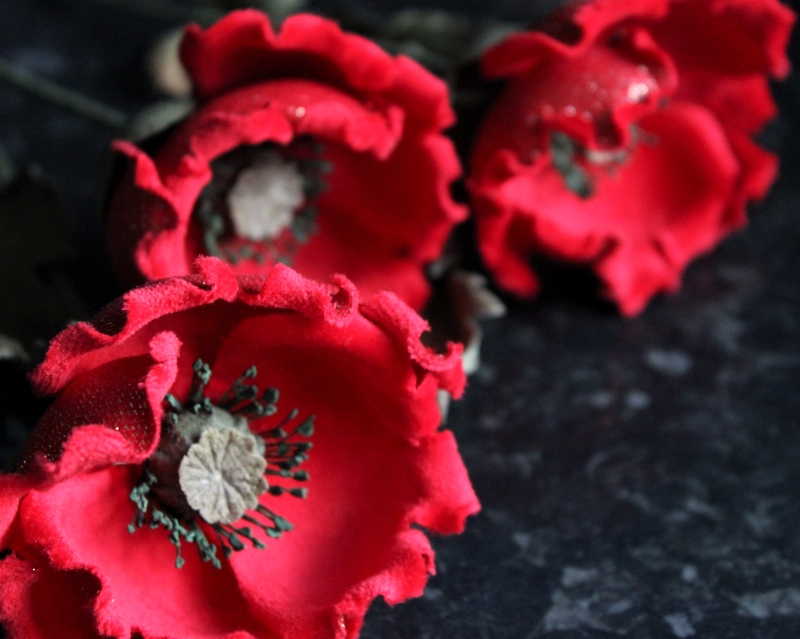
I am not sure if I have mentioned this, but Japan is the country where the craft of making artificial flowers has truly blossomed into a real art. Therefore, there are all sorts of supplies available to those who decide to take it up ranging from various industrially prestiffened fabrics to special dyes and brushes, wires, stamens etc. etc. not to mention the oh-so-important glue.

choosing the right glue for making flowers Whilst it is easy and enjoyable to work with authentic materials, it is not always achievable. None of us live in Japan so we must find a replacement that we could purchase in our own country if we want to make good quality fabric flowers.
I live and work in Britain but I will try to offer alternatives that are going to be widely available (hopefully) as well as explain to you what you should look for.
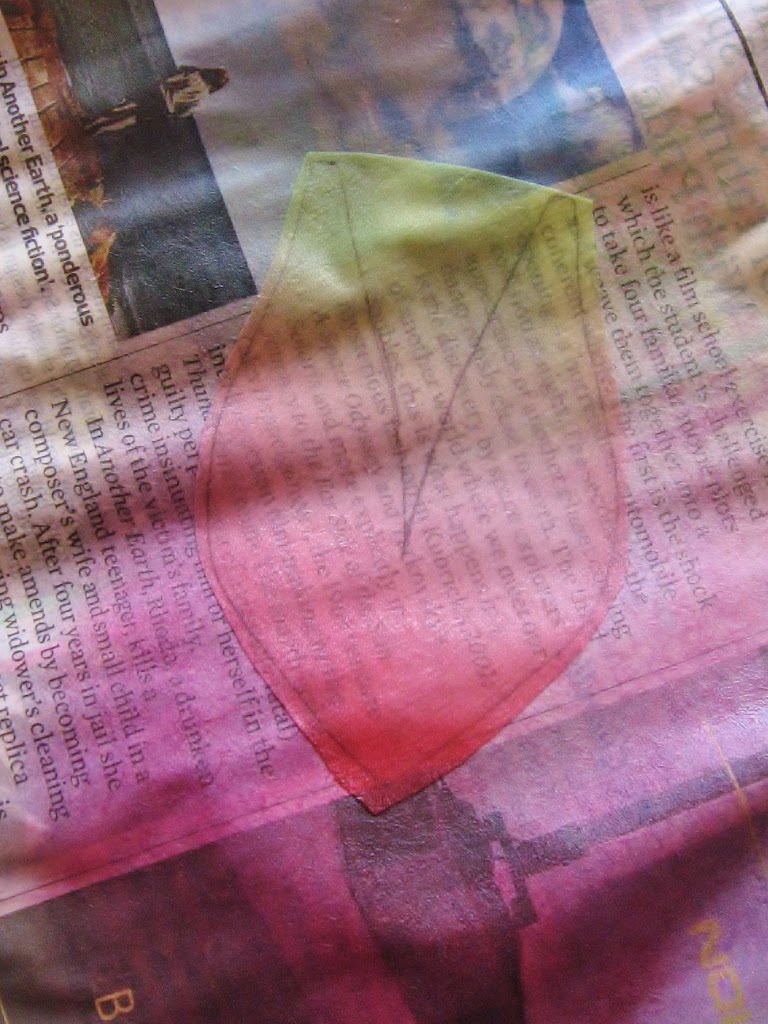
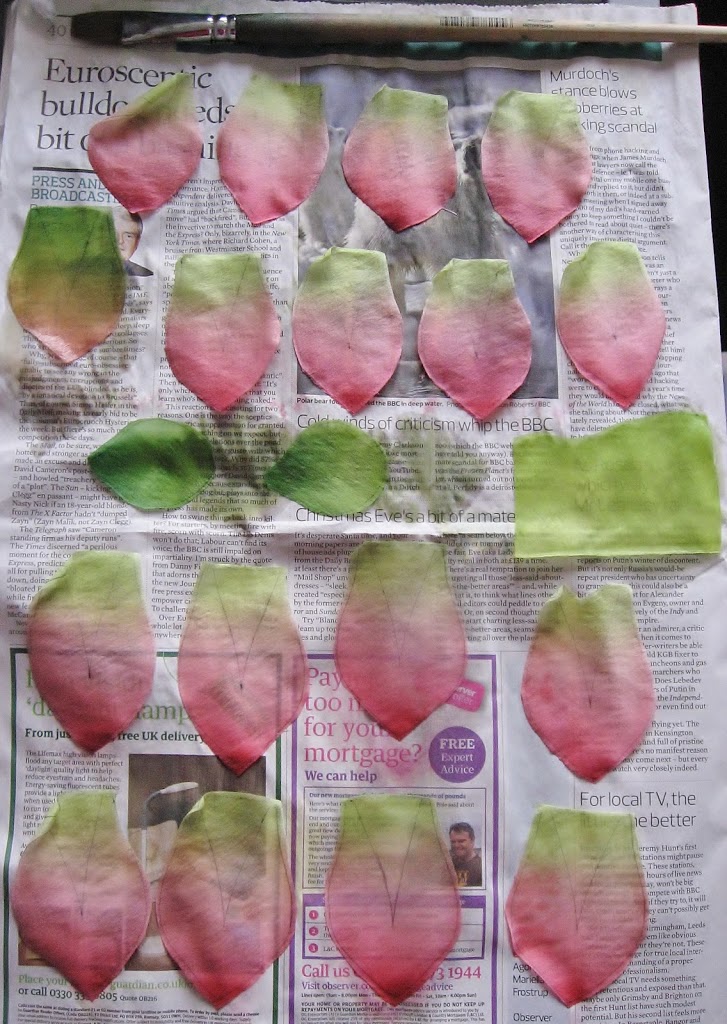
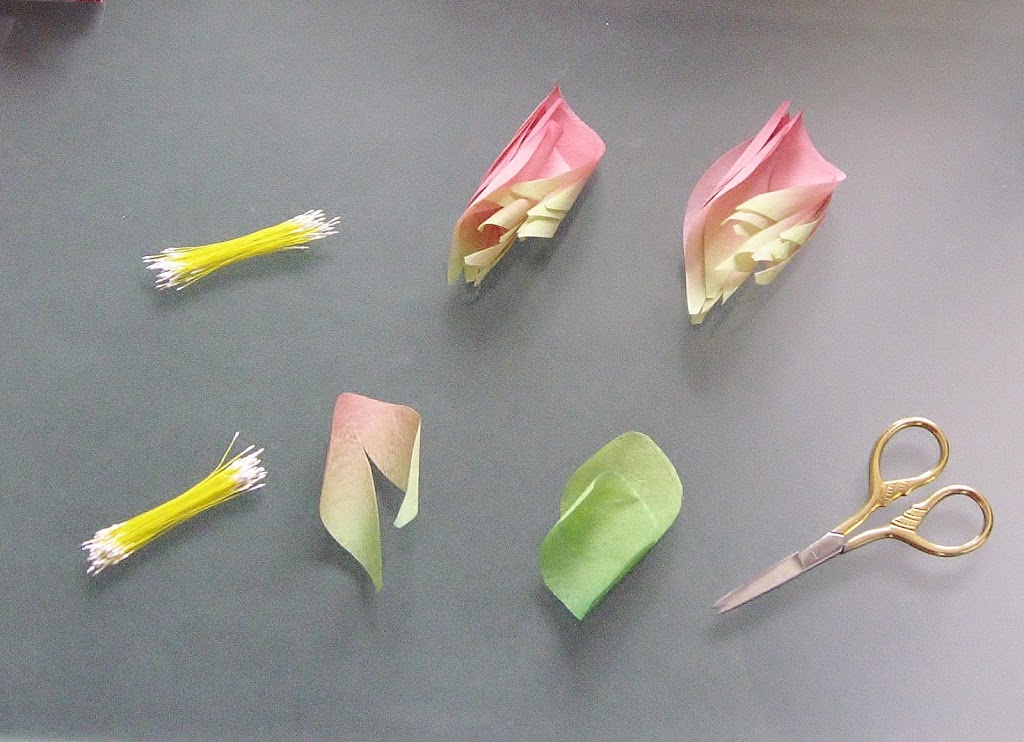
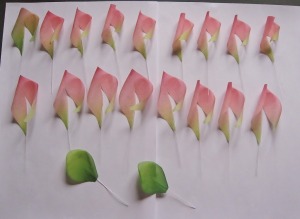
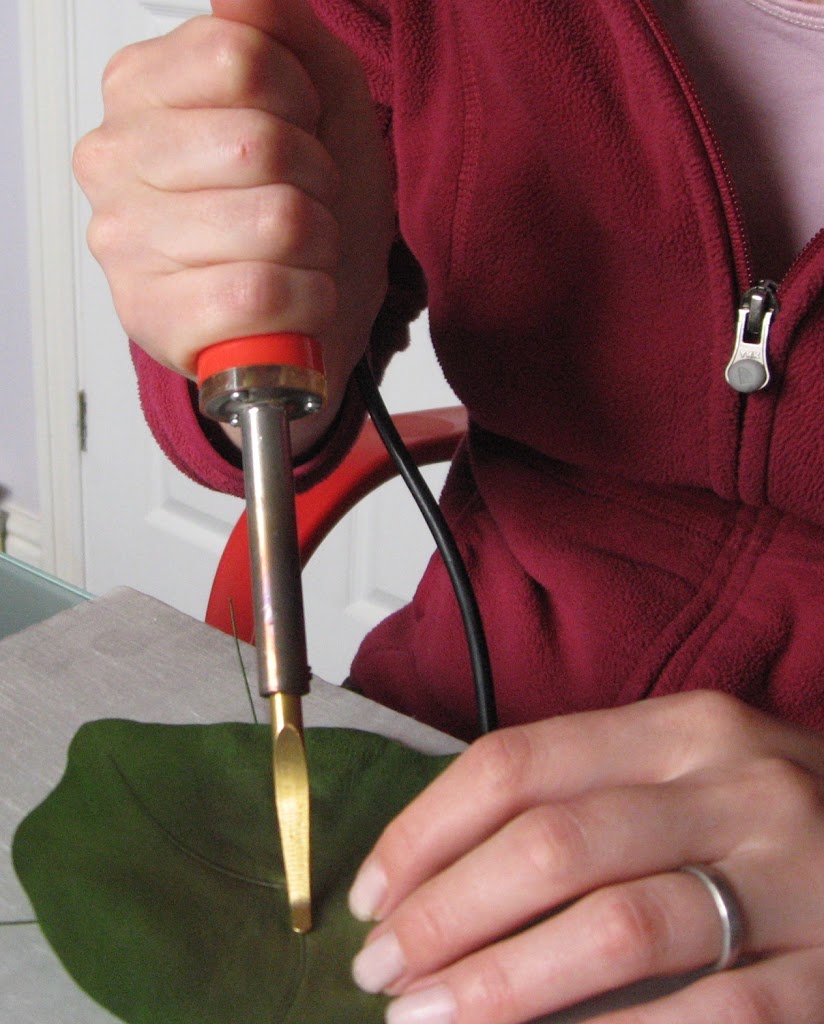
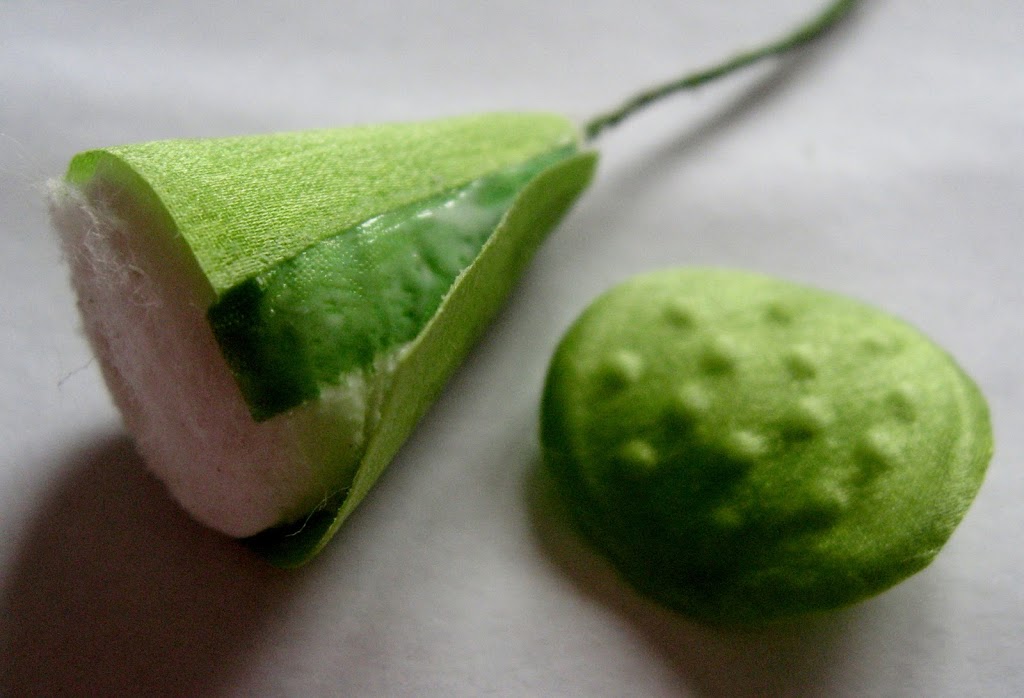
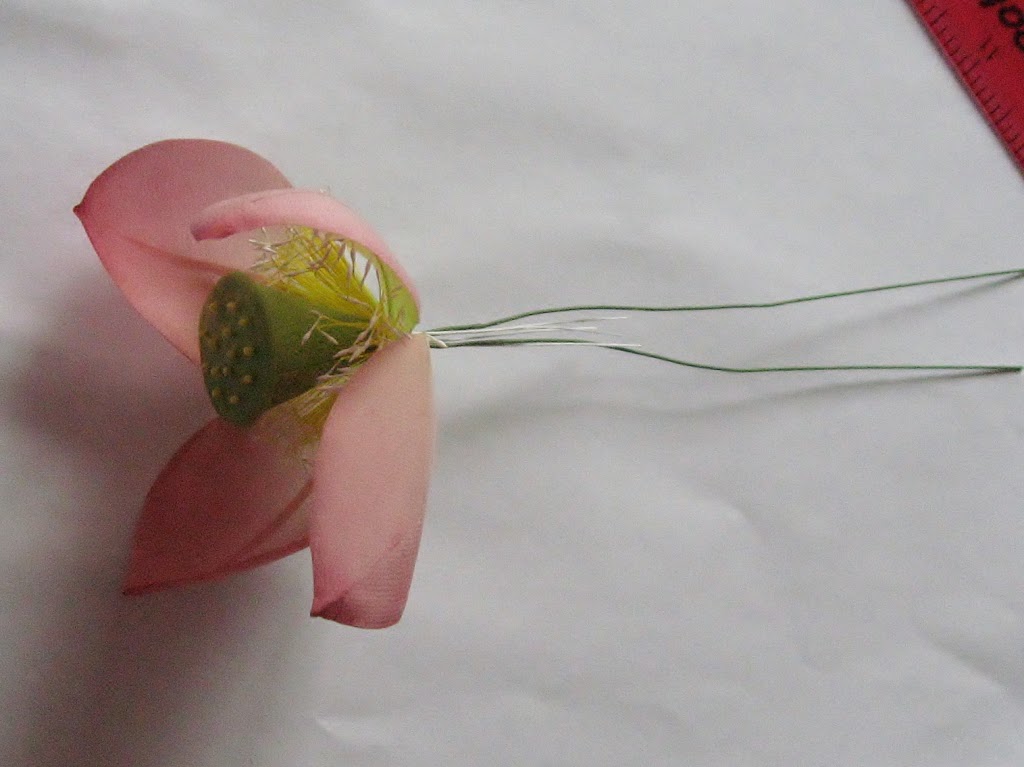
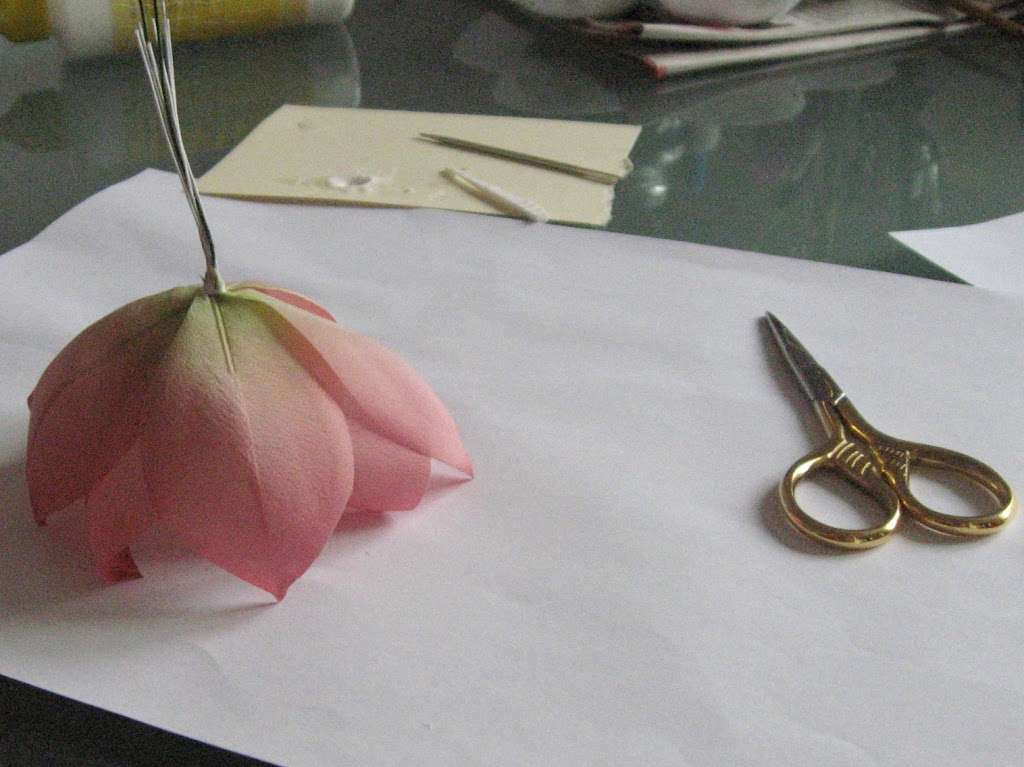
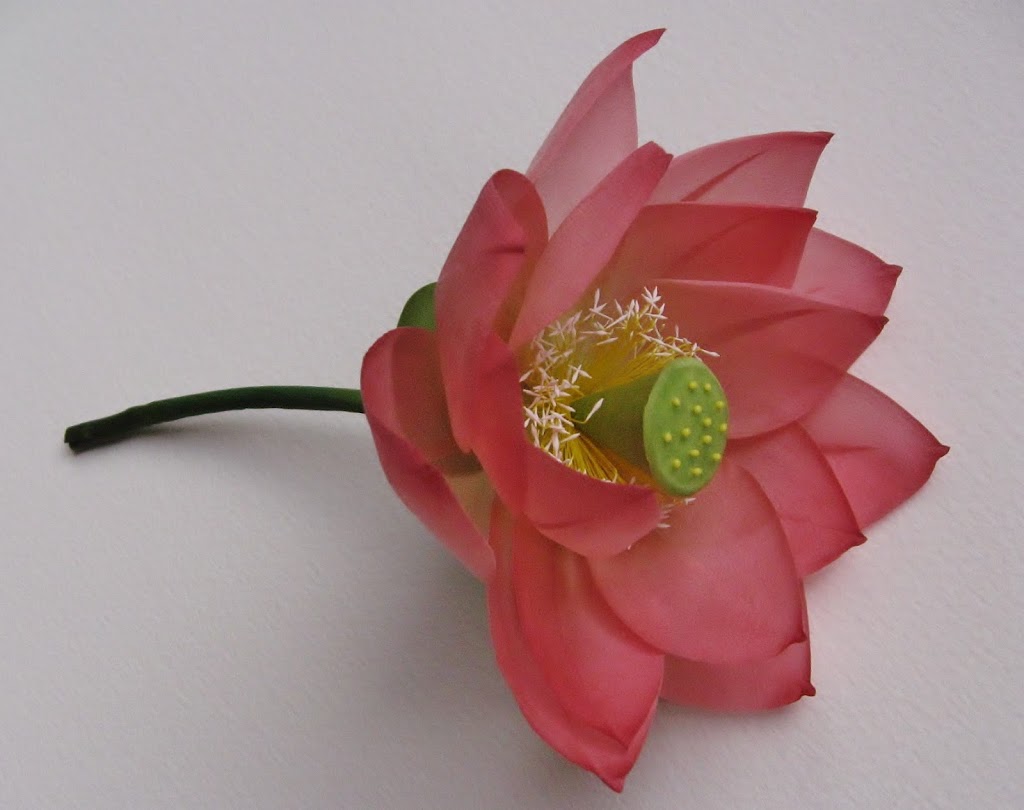
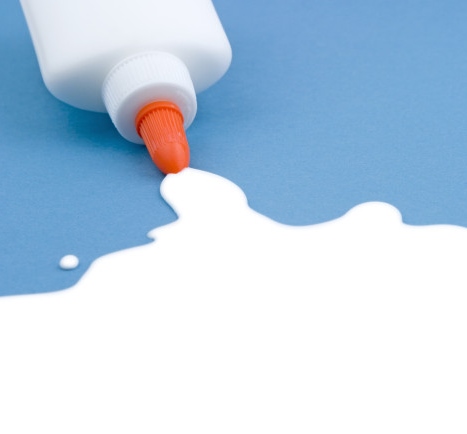
In case if you were wondering I only work with PVA white glue. I never use any superglue or a hot glue gun in my works, although I know that other artists do use them. For the flowers made using the principles of the Japanese school 2 types of PVA glue are recommended. They are called soft and hard.
Soft glue is slightly less thick and takes longer to dry. It is used for gluing parts onto the backing allowing us enough tine to do that.
Hard glue is used for assembling jobs. You will particularly appreciate it when assembling large multipetal roses. Although very tacky and quick drying it still gives us time to reposition petals if we are not entirely satisfied with the way they have been assembled.

choosing the right glue for making flowers


Otherwise, you can get this best replacement for the Japanese hard glue that I have found, SOBO glue available on Amazon.
It is really thick and can is ideal for assembling flowers. It dries quickly and becomes clear once dry.


choosing the right glue for making flowers

As for the soft PVA glue there are several options available. For those of you who are in the UK, I would recommend to check out the tacky PVA glue from Hobbycraft (click here to go to their website)
Another option is PVA based fabric or wood glues which can also be used in flower making.
Also, have a look at this trial pack of tacky fabric glues by Aleene’s which look very promising.

By all means remember that both soft and hard glues are very thick and steer clear from stationary PVA glue that is meant to glue paper and card. Those are usually too runny for the job we do and can be very messy to work with.
I hope you have found this article useful and it will help you choose the right glue to work with.

Should you wish to receive answers to your questions, more in-depth information on how to make flowers out of fabric and leather as well as get discounts on our pdf and video tutorials please feel free to sign up for our updates here

how to make a fabric poppy

New tutorial out! Ever so popular fabric poppy – let’s get creative this autumn

Would like to learn how to make a fabric poppy? Read on 🙂

I have been meaning to do that for quite some time and finally today I am happy to share with you my latest tutorial!

With Remembrance Day just round the corner the timing seems just right. But red poppy flower is not only for Poppy day. This stylish accessory is ideal for complementing an outfit or making a unique gift for your loved ones.

Honestly I do not know anybody who would not like poppies. But the real flower seems to be so short-lived that there is no other option left really

fabric poppy corsage kit pattern but to capture its beauty and preserve it in fabric. And this is when my tutorial comes in handy. It is suitable for beginners as well as more advanced artists.

Although more complex designs requires special millinery tools, the design I have for you today requires no special tools or expensive fabrics but still allows you to create a fantastic handmade accessory.

With more than 60 pictures explaining in detail the whole process of creating your own designer accessory, this 49 page .pdf ebook (no hard copy is available) will teach you how to create a bright fabric poppy to be used in accessories, as wedding decorations, in millinery and much more. I have included the pattern too.

To find out what tools and materials are needed the tutorial please head to my Tutorials e-store

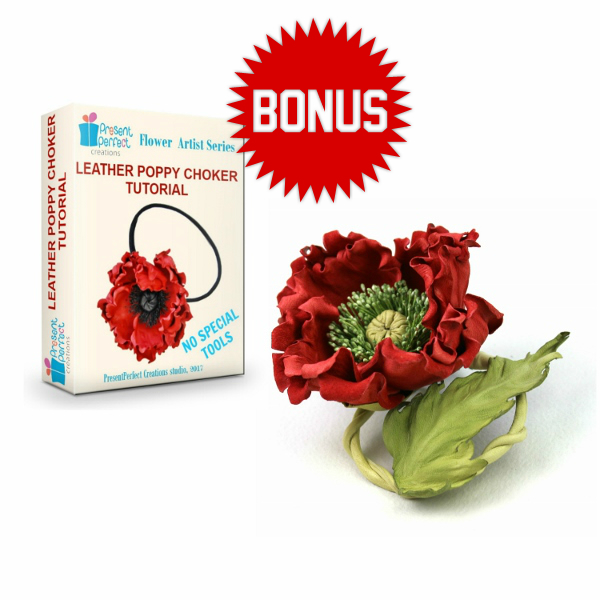
In case if you have got millinery tools and would like to try a more advanced version of this popular flower, check out this recording of the live online video demonstration on WILD VELVET POPPIES. A combination of soft velvet and luxurious golden metallic backing fabric create a beautifully sculptured velvet poppy flower perfect for a special occasion as well as for everyday wear.

To learn more about this poppy and how to make it visit the live online video demonstration on WILD VELVET POPPIES.

How to make a fabric poppy? Now you know too 🙂


If you’d like me to comment on your creations and give advice what needs improvement, please share your poppies in the comments to this post and I’ll be more than happy to give you my feedback free of charge.leather poppy flower tutorial

You might be also interested in LEATHER POPPY TUTORIAL
flower making tools

My flower making tools

millinery tools
SET OF 2 EXTRA NARROW MILLINERY TOOLS

IMPORTANT ANNOUNCEMENT!

LIMITED OFFER ON SETS OF EXTRA NARROW FLOWER SHAPING TOOLS
If you are interested please click here to find out more  >>>>>>>>>>>>>>>

Those of you who admire handmade silk flowers might have thought about making them yourselves and wondered what magical equipment is required to do the job. So today I would like to give you an insight into the tools I am using for making my flowers.
My set consists of flower making tools which belong to both the European and the Japanese flower making schools. They have been acquired over a couple of years through different makers. The best flower making tools are thought to be made of brass as it holds the heat better than stainless steel that is why my tools look yellowish brown in the picture.
Here is my set:

A soldering iron is needed to work with these brass heads. There are a number of round heads of different diameter, several knives, a rat-tail tool, a tool for making hollow tubes and another one for making lily-of-the-valley tiny flowers, as well as a number of curved both smooth and grooved Japanese tools.

All of them are used to achieve a certain effect on different sized petals and leaves and the choice usually depends on the particular job to be done. For a more impressive result the flower making tools are used on rubber pads which vary in thickness and density.

Here is my collection of pads:

Not only do they allow to achieve different effects when used with tool heads but they also protect the work surface and are a must to have.
The tool set might seem to be an expensive investment but without them it is impossible to create any pure silk flowers from a humble daisy to the most sophisticated rose. Some free tips and how-tos on the subject can be found here on my blog.

Video tutorials on flowers from £39


I now offer range of flower making tutorials in video and photo format for your millinery and accessory projects. For more information on the tutorials please go to my Tutition section 
For the fresh news from the exciting world of handmade fabric flowers, new releases and discounts on tutorials please subscribe to our newsletter if you haven’t done this just yet. Should you wish to learn how to make silk flowers I am happy to share my know-how, knowledge and skills through individual Skype classes. Please contact me via this site or e-mail me at enquiries@presentperfectcreations.com to discuss the details
.

[grwebform url=”http://app.getresponse.com/view_webform.js?wid=10058202&u=3lMQ” css=”on” center=”off” center_margin=”200″/]


`[tiny_coffee]`

Silk magic

I thought that some of you would be interested in taking a peek at how silk flowers are created. That is why I tried to take pictures at all major steps of the process. It so happened that lotus flower became the guinea pig for the shooting. Lotus flower is quite a rare flower especially in Western culture but it is a sacred flower in India, respected in Japan and China. And it is not an easy flower to make from silk!  Well, you can see for yourselves:
1. We outline all the details (petals, leaves, calyx lobes etc) on a piece of stiffened silk fabric (in this case I am using satin). It is very important to place all the elements at 45′ angle.


2. We colour the petals (as in hte picture) and leaves using silk colours and ordinary paper.

3. Once all the elements are coloured we leave them to dry on a dry sheet of  paper. After they have dried they might need some ironing to make them flat and straight as elements cut out of satin especially tend to roll as they are drying. Just remember to switch off the steam on your iron as it will ruin the stiffeness of the fabric and you will have to start again.

4. Here are all our petals and calyx lobes nicely cut out + 132 handmade pairs of little stamens all ready for the next stage.

5. We glue pieces of thin wire wrapped in crepe paper to each petal and to the calyx lobes

6. Then we glue the petals along the cut in the middle so they have a boat-like shape (in the picture they are desperately trying to roll though)

7. We apply a thin layer of PVA glue onto our leaf to then glue it to a piece of hand painted pongee (a very fine type of silk fabric)

8. Here is all our green elements doubled with pongee

9. And now the greenery has been dried, cut out and waiting to be shaped

10. But firstly we shape all our petals using 3 different tips

11. In this picture I am using a big boule

12. Then we move on to the leaf and shape the central veins

13. After that we draw smaller veins that will make the leaf look a bit more like a real one

14. Now this is a difficult step when we need to make a cone out of cotton wool and then cover it with our silk elements. This will form our seed box

15. Here is our flower with 4 petals attached to the seed box and stamens

16. That’s how the flower looks with 12 petals on

17. The flower has all the 16 petals and calyx lobes attached

18. After that we need to cover our stalk with pongee

19. Then we wrap the stalk in a piece of hand painted satin silk

20. Et voila! Our flower

… and the leaf are ready! ☺