Stiffening leather and getting ready!

beige gerbera knit

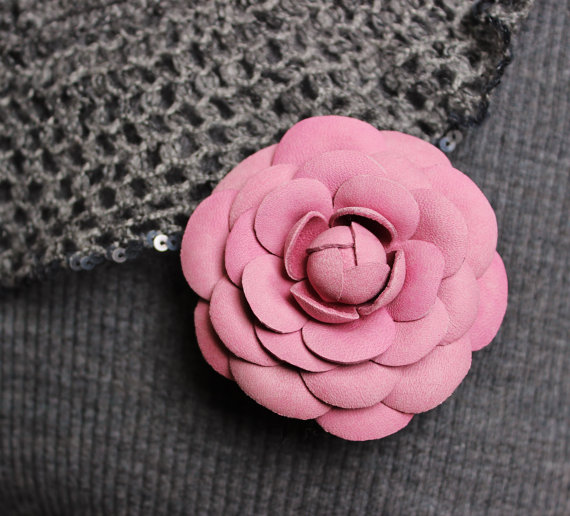
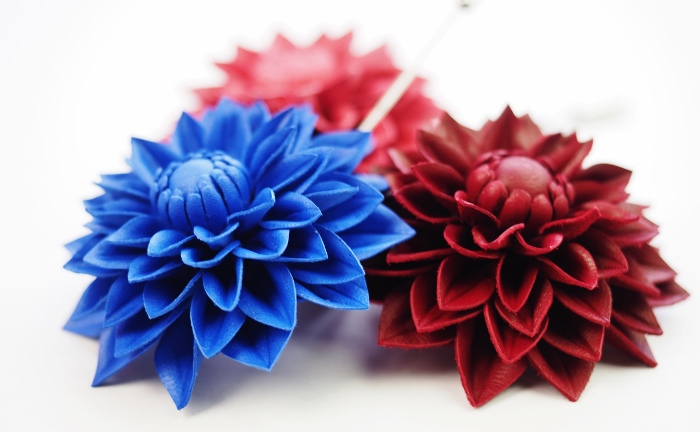
Hours are left before the release of the tutorial and I can not keep it a secret any longer! Yes, the tutorial is on creating a leather gerbera flower just like one in the picture to the left. It is easy enough even for a beginner to try and at the same time those of you who can not wait to use their flower irons can have a go at them when making this flower. Although the tutorial shows how to finish the gerbera with a brooch pin, it can be turned into a range of other accessories just like any other flower. In fact, I take pride in my ability to come up with quite unusual and quirky floral accessories. To share one idea with you I can say that a pair of leather  gerberas can make stunning shoe clips which you can jazz up your favourite pair of shoes with. It goes without saying that leather gerbera brooch makes an original and much appreciated gift for those who understand about hand crafted accessories. Provided you have got some suitable leather and a bit of time you can still make one or two flowers before Christmas!
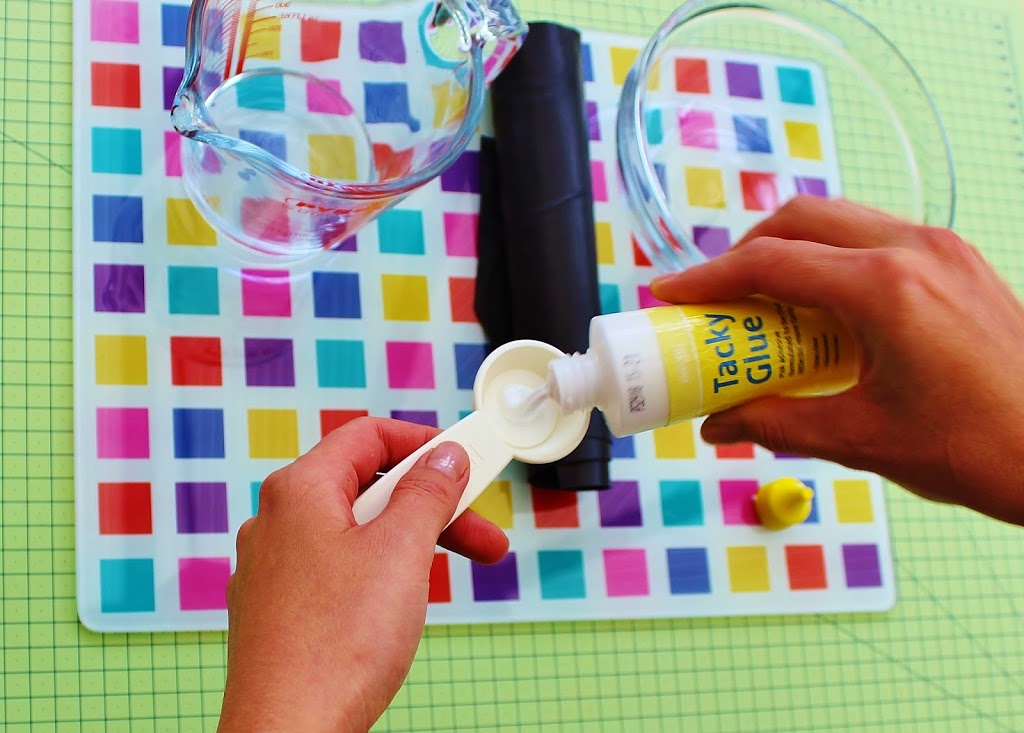
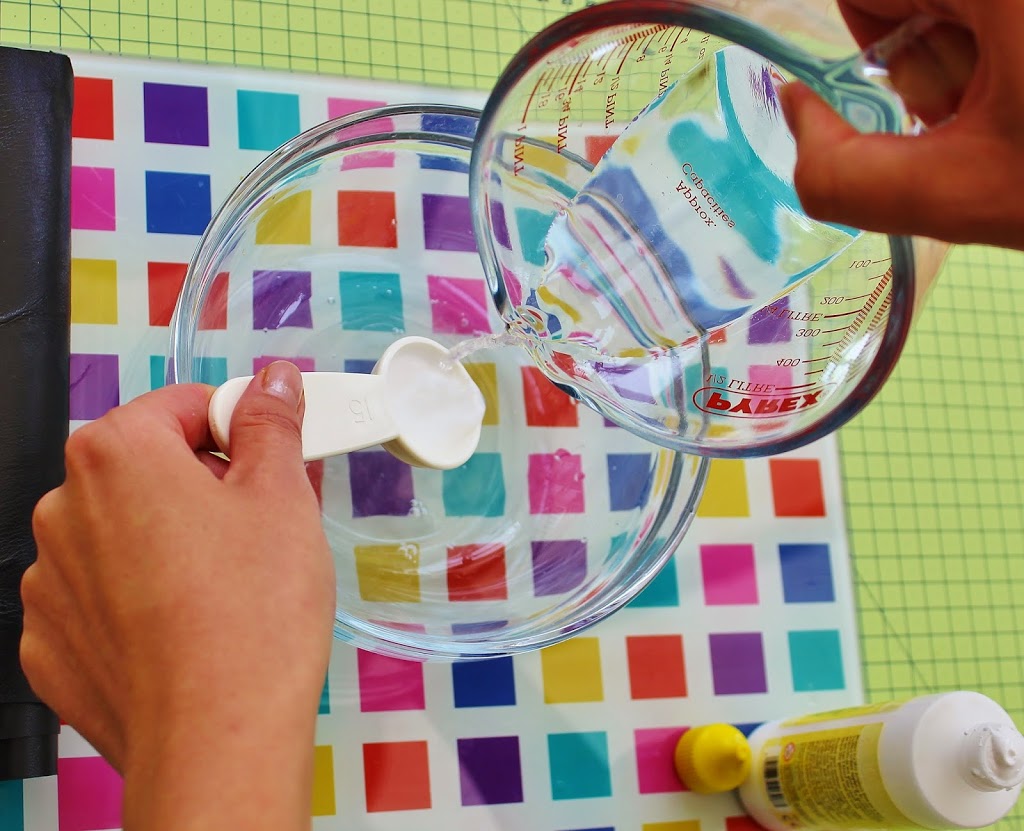
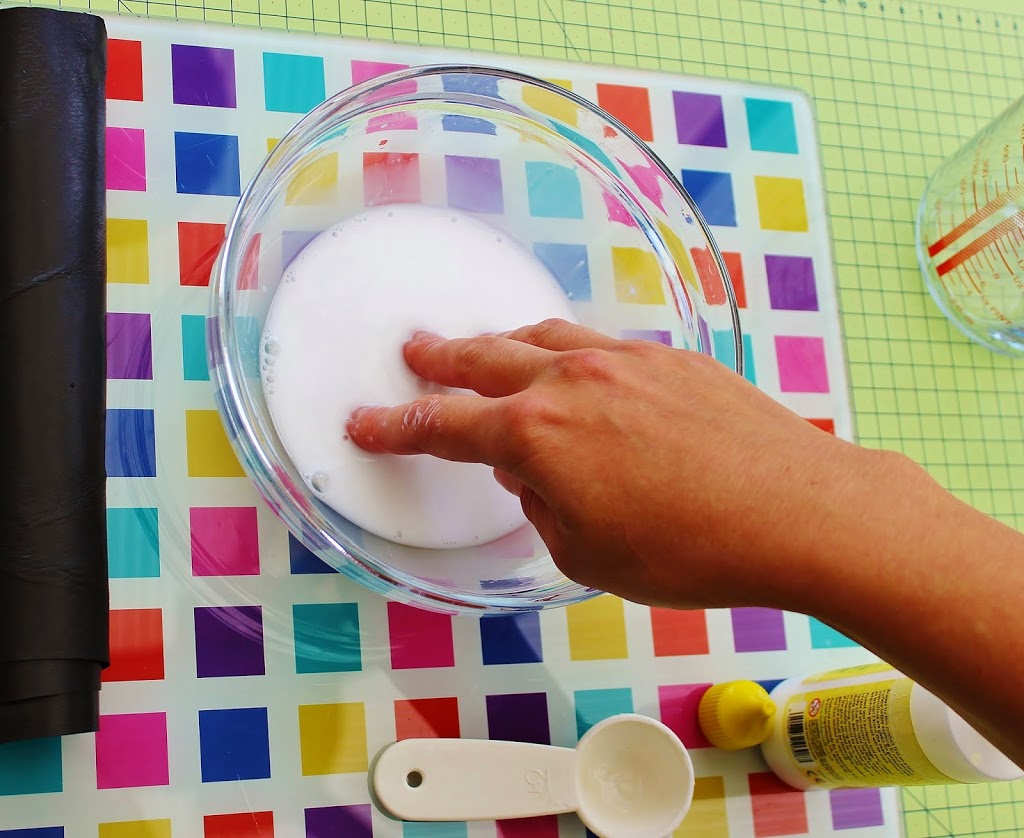
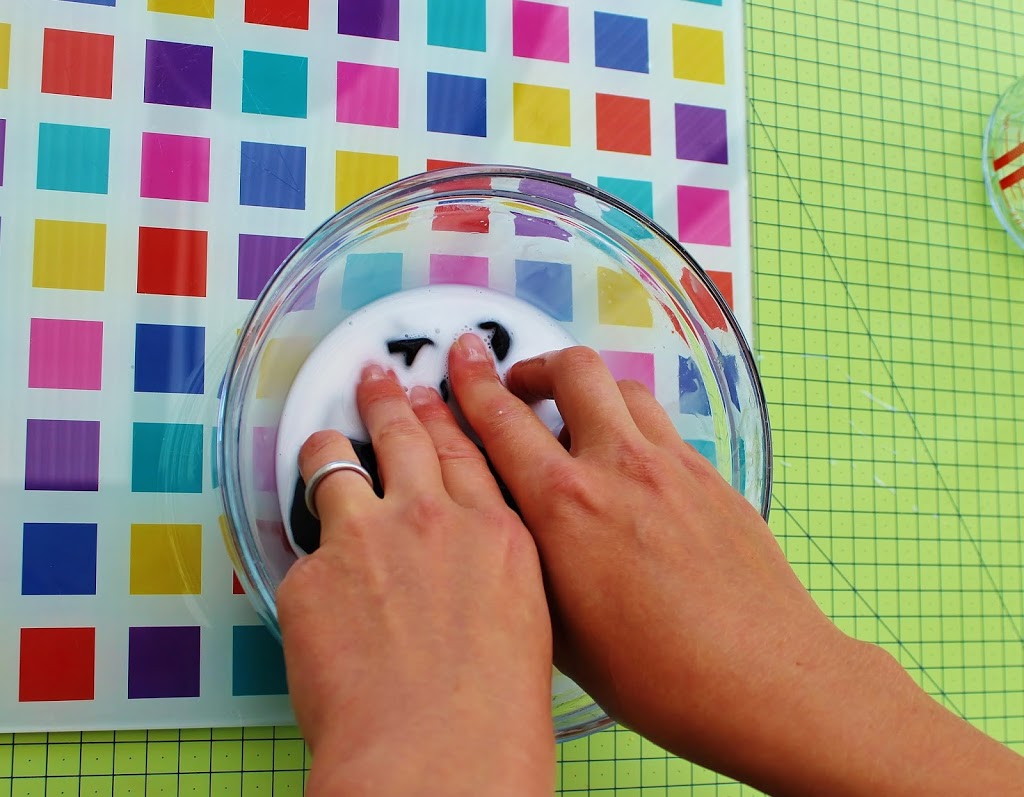
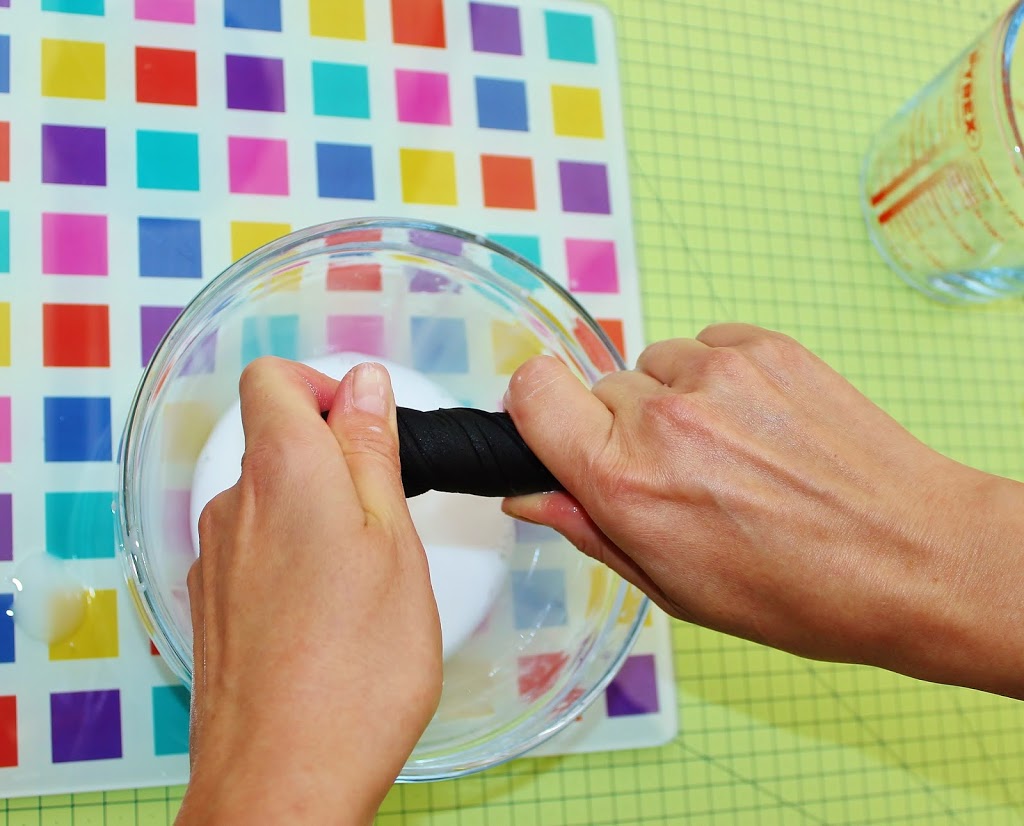
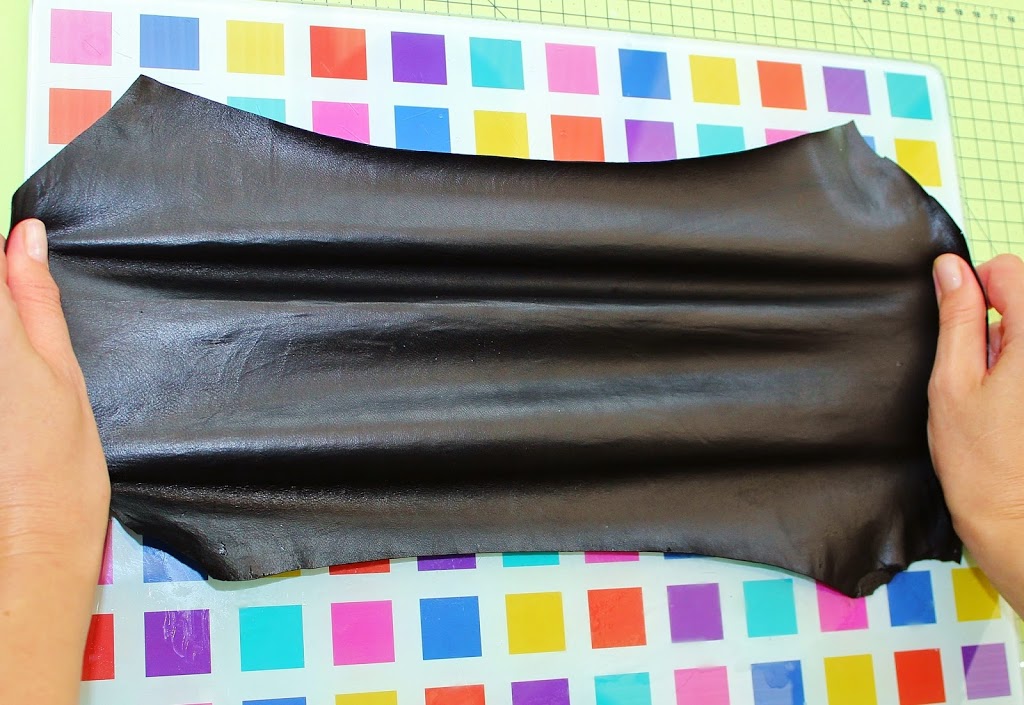
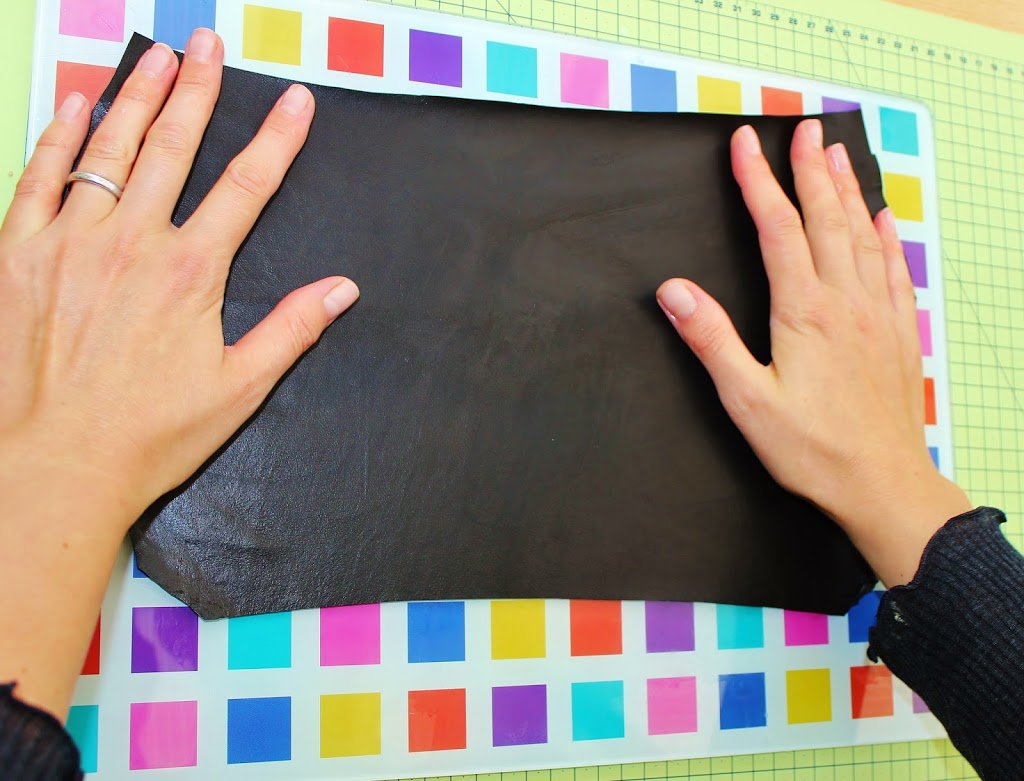
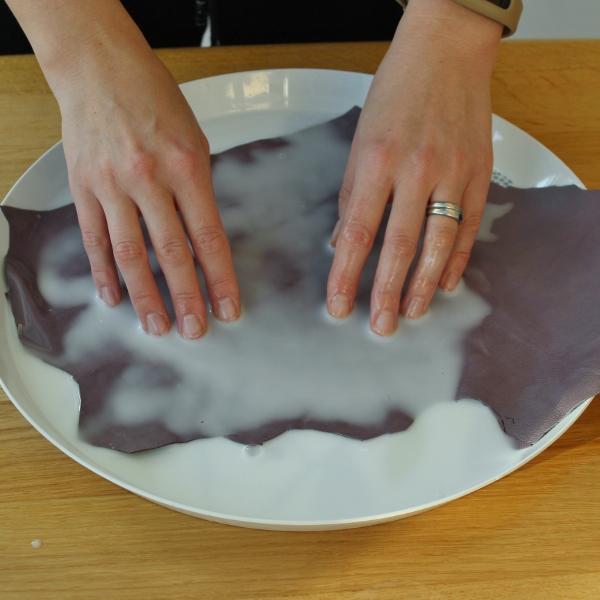
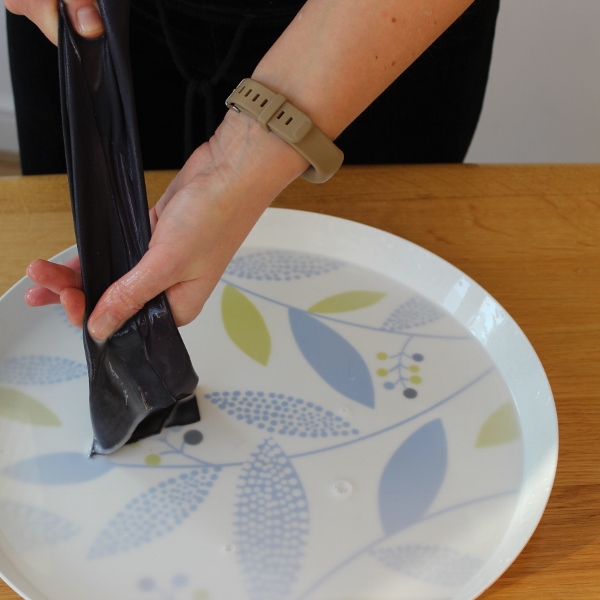
To use time efficiently you can stiffen you leather in advance. I am explaining how to do in in my blog post here.  It is better to use 2 contrasting colours, say, a darker leather for the centre and some pale (or rich!) coloured leather or suede for the petals.

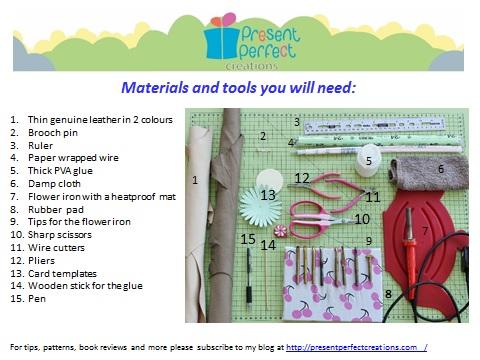
Here is the list of materials and tools you will need for the tutorial. If you have any questions regarding this list please feel free to leave a comment below.

materials


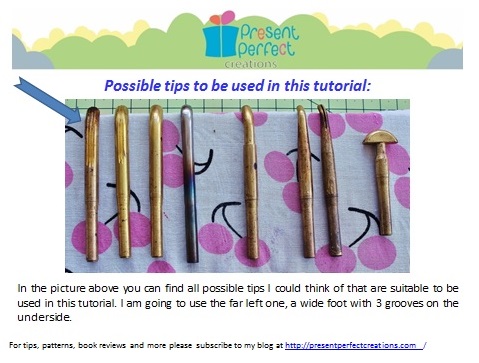
This is a choice of flower iron tips you can use in this tutorial. You will require JUST ONE of these, any that you have in your set. I am using the far left wide foot with 3 grooves.

iron tips

And finally, some pleasant news for you as subscribers of my blog. I am going to offer you a special introductory price on this tutorial till the end of this week (midnight on Sunday) so instead of full price  you will have a chance to make your own leather gerbera with a 30% discount.

Tomorrow I will send you a link for the tutorial at my online shop as well as a discount promo code for it.

I hope that you are as excited as I am waiting for the release. I have a lot of other ideas on tutorials on silk and leather flowers but your comments and preferences will be much appreciated, so if you want to ask or suggest something please do so by leaving a comment for me below.

stiffening leather tutorial

How I tame leather. Mini-tutorial on stiffening leather skins

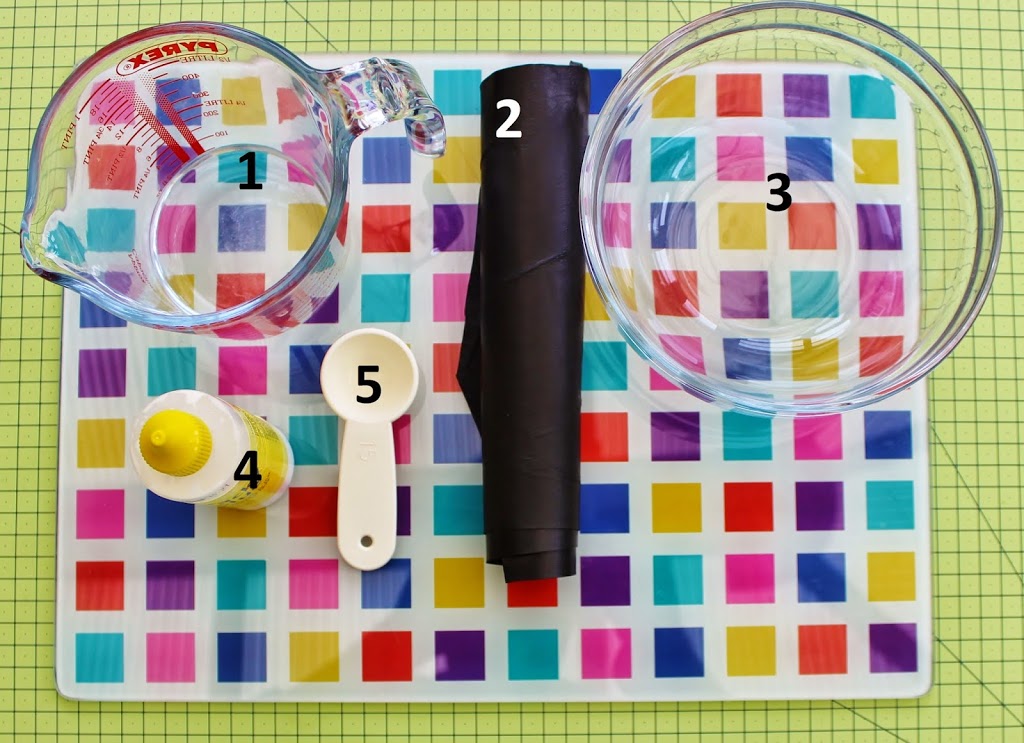
Stiffening leather tutorial

Those of you who have tried working with genuine leather know how temperamental it can be. Leather is a natural product and as a result may have imperfections such as holes or scars, the thickness and stretch can vary too. And it is completely unpredictable when it comes to shaping it with hot flower iron.
For my floral pieces I stiffen leather is several ways. Today I am going to share one of this ways with you. The result is a flat stiff piece of leather that can be shaped with a flower iron. I use flat stiff leather to make a range of flowers including my camellias, gerberas etc.So here is how I do it. But first of all the kit:

1. Measuring jug
2. A piece of genuine leather for stiffening
3. Bowl
4. White (PVA) glue
5. Measuring spoon
and a piece of plastic or a glass board as seen in the picture.
I use a rather thiсk PVA glue intended for craft purposes. The ratio of glue to water can be 1 part of glue  to 5 -10 parts of water depending on how thick your leather is or how tacky your glue is and how stiff you want the leather to be. You might need to experiment with the quantities, but the general guidelines are: the thicker the leather the weaker the solution (less glue). The ready to use solution should look like milk.

I use a measuring spoon to measure the amount of glue.

In the picture 10 ml of glue are being mixed with 100 ml of water.

Dissolve the glue in water to get a solution resembling milk. If you have sensitive skin consider wearing gloves.

Immerse the piece of leather (about A4 size or so) into the solution and make sure it is well soaked in it.

When the whole piece has been soaked, twist it to get rid of extra solution. The leather should be almost dry.

Then stretch it to make it even and thin it a bit more. I tend to use leathers with a thickness of 0.6-0.8 mm or so the sellers say but it is still rather thick for the flower making. Stretching the wet piece of leather in some cases makes it thinner but it all depends on the properties of the particular leather you are using.

I stretch in all directions: horizontally, vertically and diagonally.

With your both hands flatten the stretch piece of leather on the smooth flat surface (like this glass board).

Leave the flattened and smoothed piece of leather to dry completely before cutting and tooling it. It might take up to 24 hours.


stiffening leather


Coloured leather skins are rather delicate and may require more gentle handling than the black leather shown in the photos  above.

Consider using a large kitchen tray where you can place your leather in one layer. Place the piece of leather into the tray (either side up) and pour the warm stiffening solution over it. Let it soak for several minutes. Most probably you will need to help the leather get well saturated by gently rubbing the solution into the leather with your fingertips. Try to do it carefully to avoid making any marks or damage the surface of the leather.

stiffening leather


Once the leather has gone evenly darker all over its surface, lift it and gently squeeze any extra solution out of it by running it between your fingers. Then you can spread it onto a work surface or a glass table evenly as shown above and leave to dry completely.


leather dahlia brooch tutorial

I hope find this stiffening leather tutorial useful.

For more detailed instructions on how to stiffen coloured (especially pale) leather skins refer to our detailed LEATHER DAHLIA TUTORIAL.


Good luck with your stiffening!


You are welcome to follow me on Instagram here 

or become my patron on Patreon here