flower shaping millinery tools

More on flower shaping millinery tools

Flower shaping or otherwise known as millinery tools… We use millinery tools to shape fabric in order to create realistic or artistic petals and leaves which we then assemble into flower pieces. They are essential for the craft (and ART) and yet they cause more questions than any other aspect of flower making.

In our previous articles we have discussed how one could shape petals and leaves without the use of tools ( Shaping fabric flower petals without the use of tools ). Yes it is possible, but really rather limiting. Owning a set of tools gives you many more possibilities when it comes to flower making, in particular if you are interested in our yearly SUBSCRIPTION programme (learn more and register your interest for 2018 here). To make the most of the tutorial Subscription one must have a set of flower shaping tools.
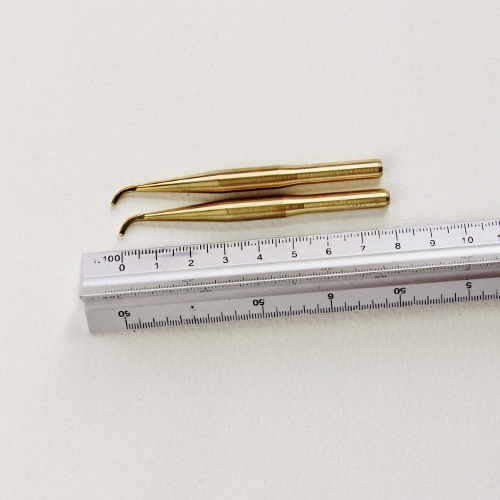
Today I will try and answer 5 hottest questions about flower shaping tools that I hear most often.
❀ 1 ❀ Which is a better set: the one on separate handles or the one that comes with an electric iron?
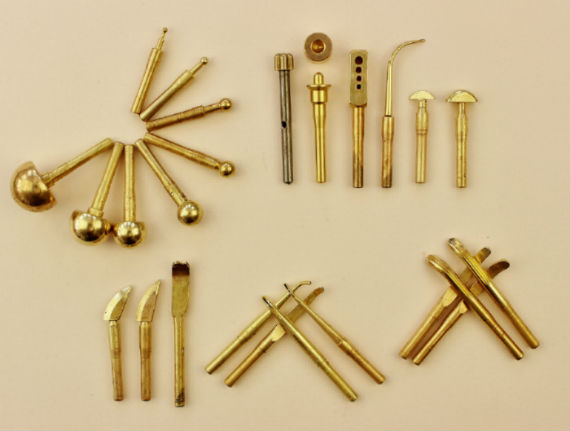
This could possibly be down to personal preferences but I believe that the electric iron set allows to work quicker. It is advisable to have 2 or 3 flower irons so that when shaping a flower you could have 2-3 tools, that are required for shaping it, heated at the same time. Sets on separate handles come from the times when there was no electricity, why not use the achievements of the civilization to our advantage? If you have inherited a set of tools on separate handles or you have already got one of those, you can of course continue using it. For those of you who are thinking about purchasing a new set I would recommend to go for an electric flower iron with a set of interchangeable tips (see the photo of the tips above).
❀ 2 ❀ Do I have to have a whole set? How many tools will I really need?

millinery tools

There are a lot of different flower shaping tools. Some are used very often and are a part of any basic set, others are more rare and specialist. So how many of them will
one flower maker need?
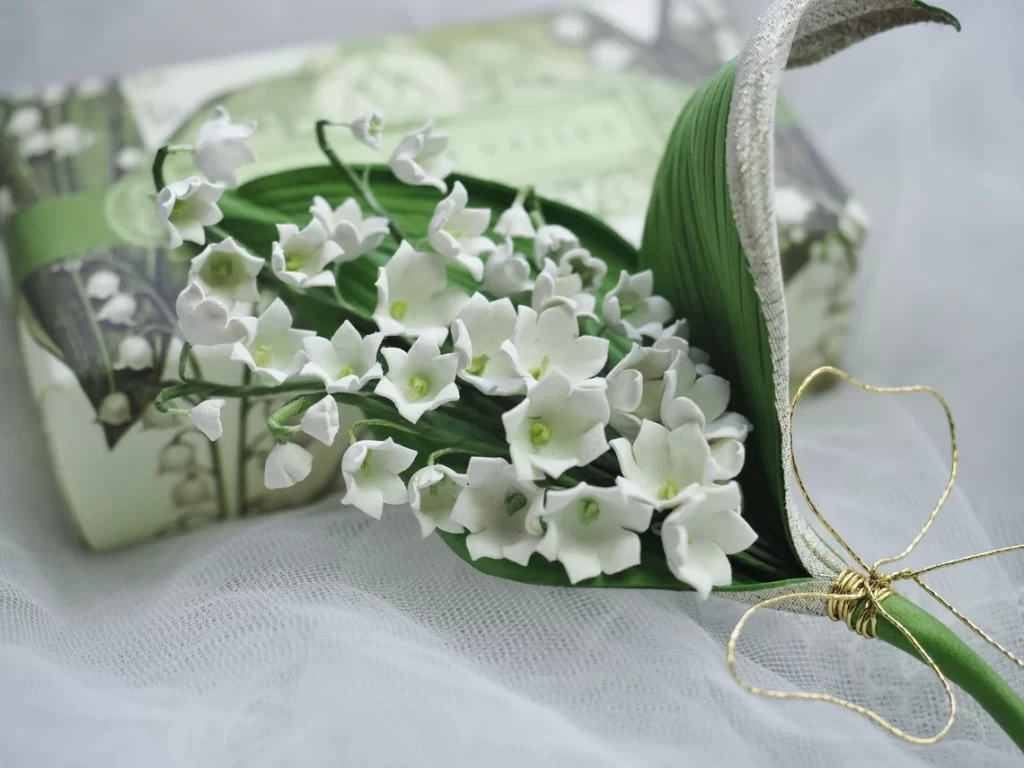
Each tool has been designed for a particular purpose whether it scoring a line, creating a concave or curling up fabric. Some tools are interchangeable and differ only by the design, but are really meant to do the same job. I would say if you are thinking about making flowers seriously, it is good to have a starter or basic set which consists of a number of round tips of different diameters from about 3 mm to 30 mm, two knives to score lines, two chrysanthemum tools to create softer lines, a tube making attachment and a hook. Later you can add  such tools as lily-of-the-valley attachment or forget-me-not tool, or 35mm and 40mm round tools as optional extras.
The main thing to understand is that the more tools you have the more options there are at your disposal to shape fabric. Start with a basic one and build up your set by adding other invaluable tips to it ad you go along. In love with flower making? Then do not hesitate, get the whole lot straightaway and start creating.
If you own a set of tools but you believe you could do with some additional tools, consider our special offer on 2 extra narrow millinery tools which are indispensable for shaping leaves as well as petals. They are used in most of our tutorials.
❀ 3 ❀ What metal should the tools be made of?
Some tools are made of brass, hence the yellow-golden colour. This metal heats up well and does not rust which makes it a good choice for flower shaping tips. On the other hand, steel tools are available for sale as well.  Steel takes a bit longer to heat up but otherwise is an excellent choice too. Some Japanese tools are made of brass, mainly round tips (because it heats quicker), and others are made of steel (knives, chrysanthemum tools etc), there are some that are even made of a combination of both (a forget-me-not tip).In any case let not the metal stop you when choosing millinery tools, you should be alright using a set made of either brass or steel.
❀ 4 ❀ Where to buy a good set of flower shaping millinery tools?
Suppose you have not got any, where do you go to get one?
Flower shaping tool set is a highly specialised item that can not be picked up at your local craft shop and only sold by very few. The easiest way is of course to buy online and have the set shipped to where you live. Places to check out is ebay and Etsy. You can also pick up some antique flower making tools at your local antiques shop or again online. Another option is to buy a set of tools of your flower teacher.At the moment you can place an order for a flower shaping tool sets here. These are the exact same sets I have used myself for the last 6 years for making flowers, teaching and filming my tutorials.
❀ 5 ❀ Why are millinery tools so expensive? Can I find them anywhere cheap?
Are the millinery tools expensive? I guess they are. And they are not. No more than hat blocks or other tools that we use for creating our handmade masterpieces. Regard the purchase of a set of flower shaping tools as an investment in yourself and in your ability to create countless gorgeous flowers with their help. I would steer clear of very cheap sets as the quality might not be there and you will end up throwing money to the wind. Better start with a smaller good quality reliable set and then just add more tools to it as you go along.
flower making tools full set

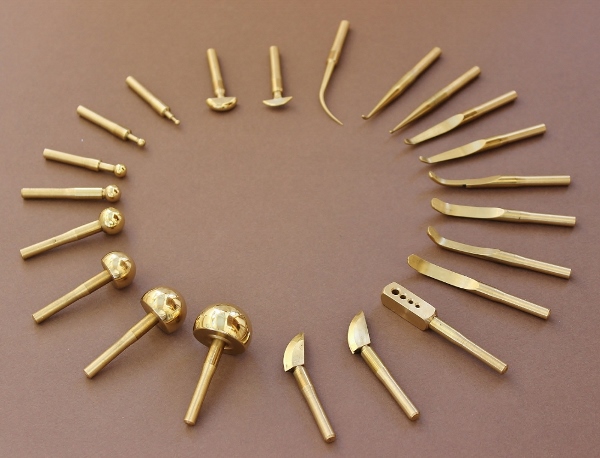
I am pleased to offer  the exact same full 22 piece set of flower shaping tools that I use for making all of my designs, film my tutorials and teach,

These sets of flower shaping millinery tools can be ordered HERE.
So if you are considering subscribing to our monthly flower making tutorials in 2018 make sure you have all the necessary tools to work with during the learning process.
stiffening leather tutorial

How I tame leather. Mini-tutorial on stiffening leather skins

Stiffening leather tutorial
Those of you who have tried working with genuine leather know how temperamental it can be. Leather is a natural product and as a result may have imperfections such as holes or scars, the thickness and stretch can vary too. And it is completely unpredictable when it comes to shaping it with hot flower iron.
For my floral pieces I stiffen leather is several ways. Today I am going to share one of this ways with you. The result is a flat stiff piece of leather that can be shaped with a flower iron. I use flat stiff leather to make a range of flowers including my camellias, gerberas etc.So here is how I do it. But first of all the kit:

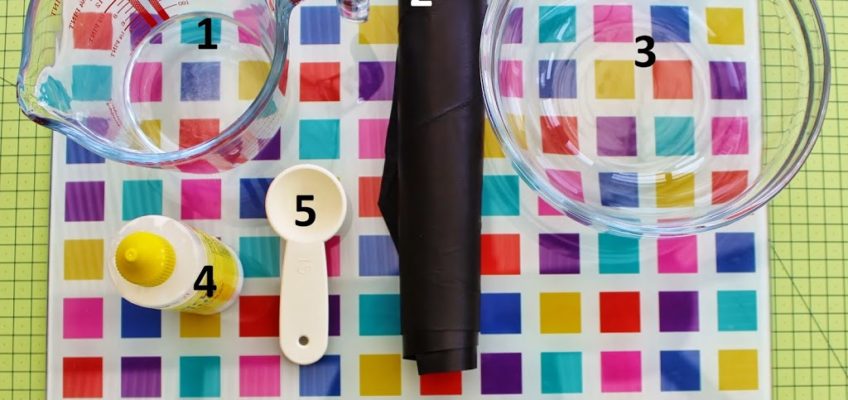
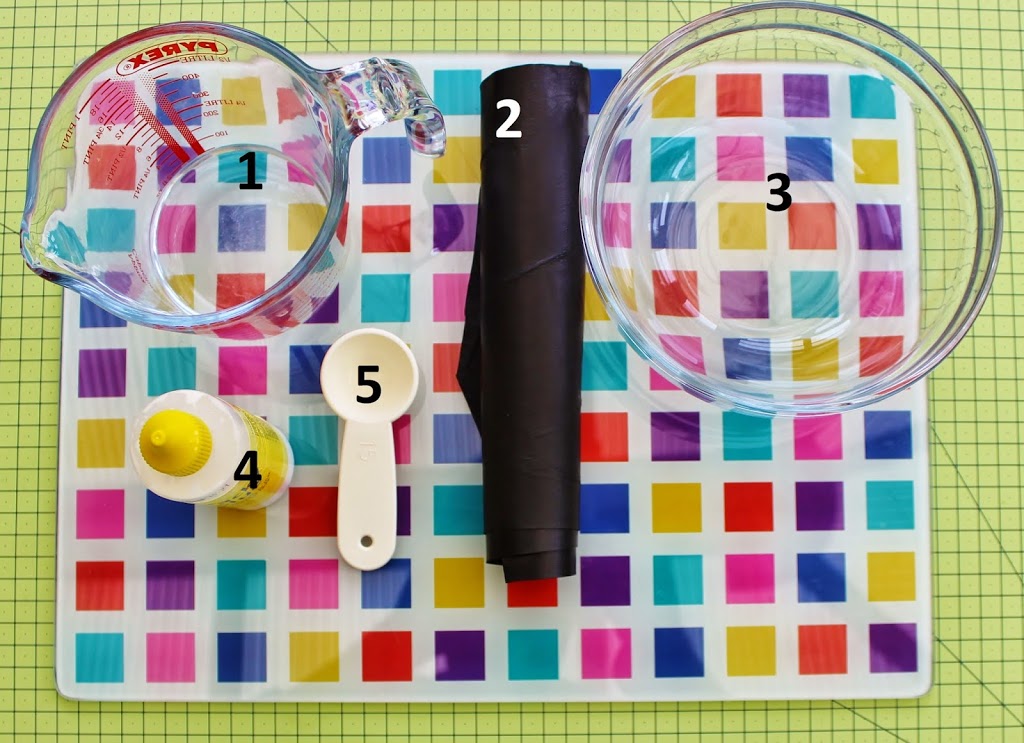
1. Measuring jug
2. A piece of genuine leather for stiffening
3. Bowl
4. White (PVA) glue
5. Measuring spoon
and a piece of plastic or a glass board as seen in the picture.
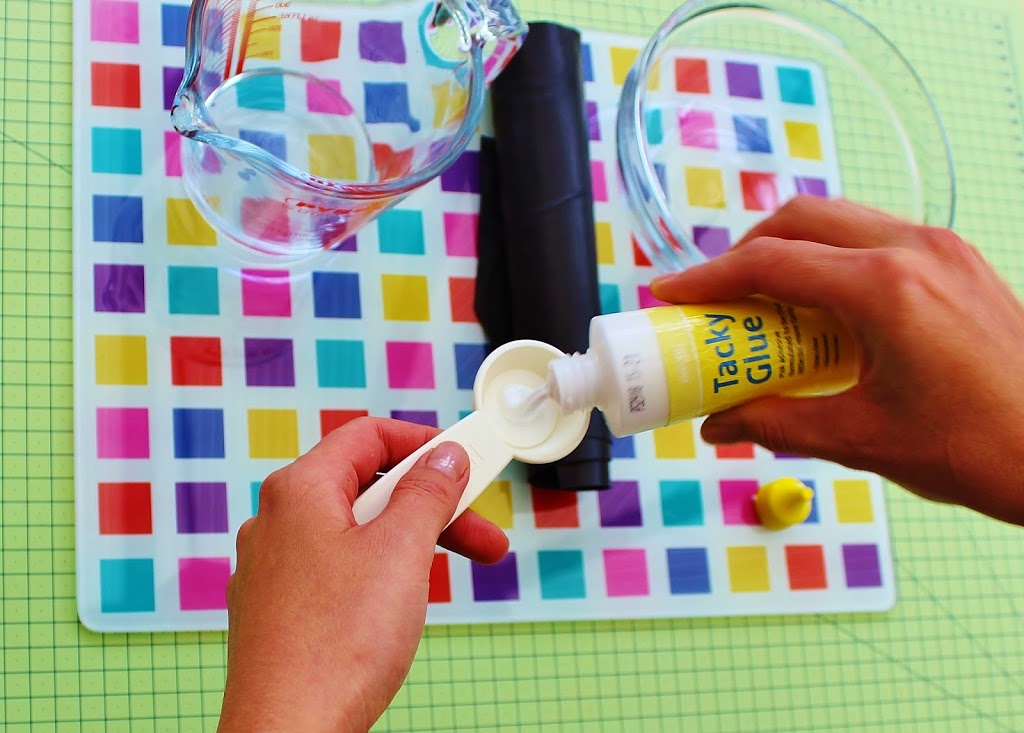
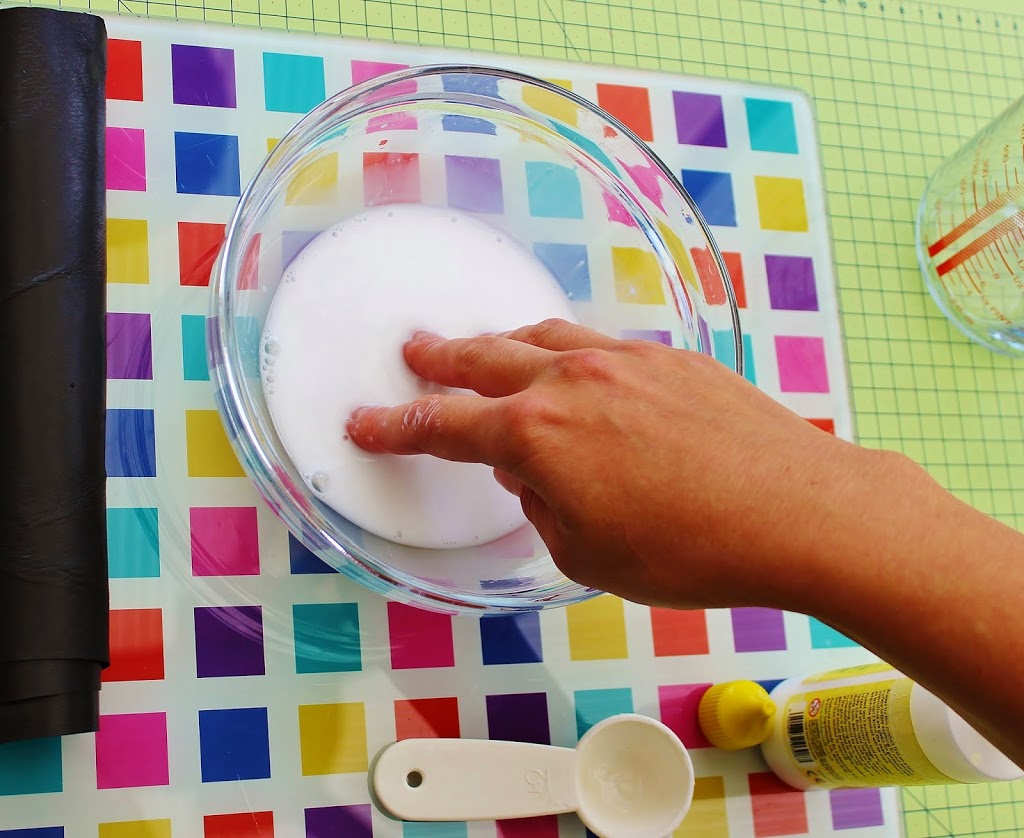
I use a rather thiсk PVA glue intended for craft purposes. The ratio of glue to water can be 1 part of glue  to 5 -10 parts of water depending on how thick your leather is or how tacky your glue is and how stiff you want the leather to be. You might need to experiment with the quantities, but the general guidelines are: the thicker the leather the weaker the solution (less glue). The ready to use solution should look like milk.

I use a measuring spoon to measure the amount of glue.

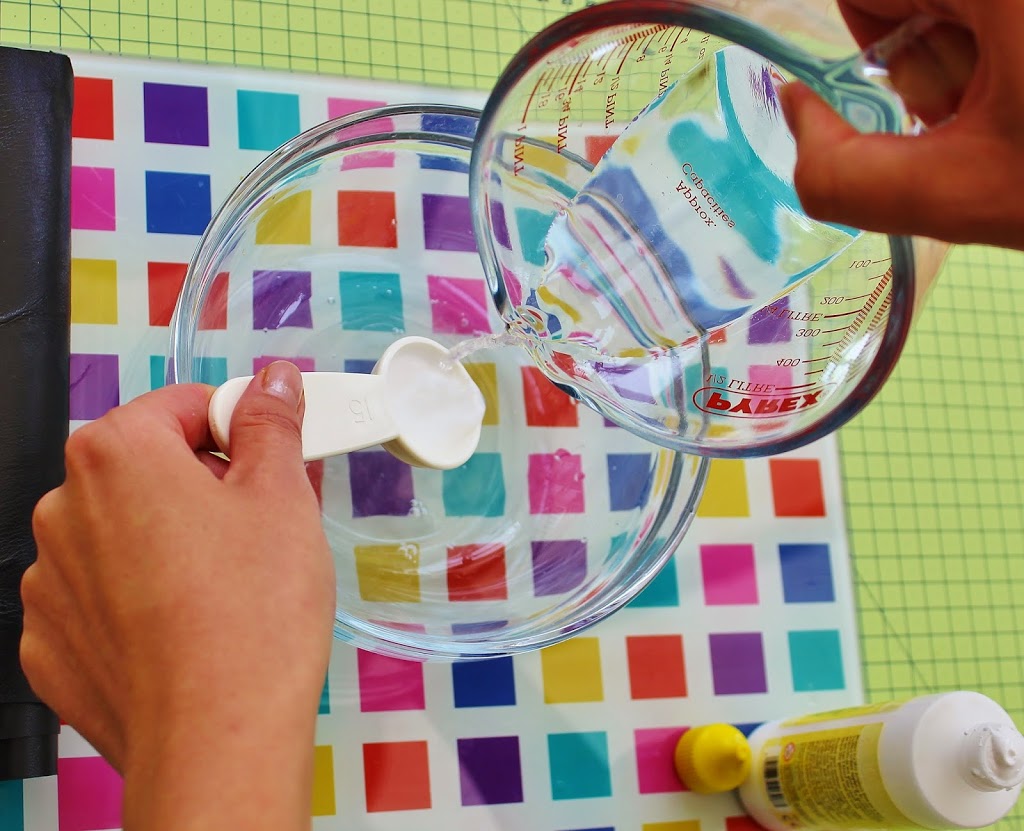
In the picture 10 ml of glue are being mixed with 100 ml of water.

Dissolve the glue in water to get a solution resembling milk. If you have sensitive skin consider wearing gloves.

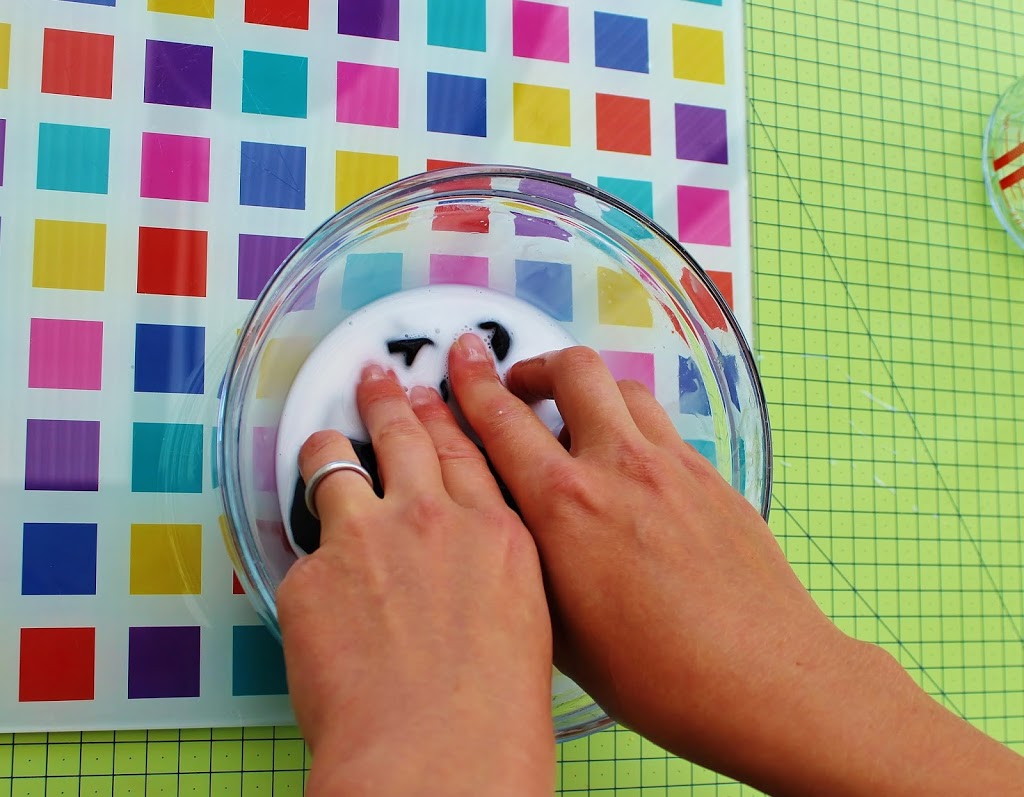
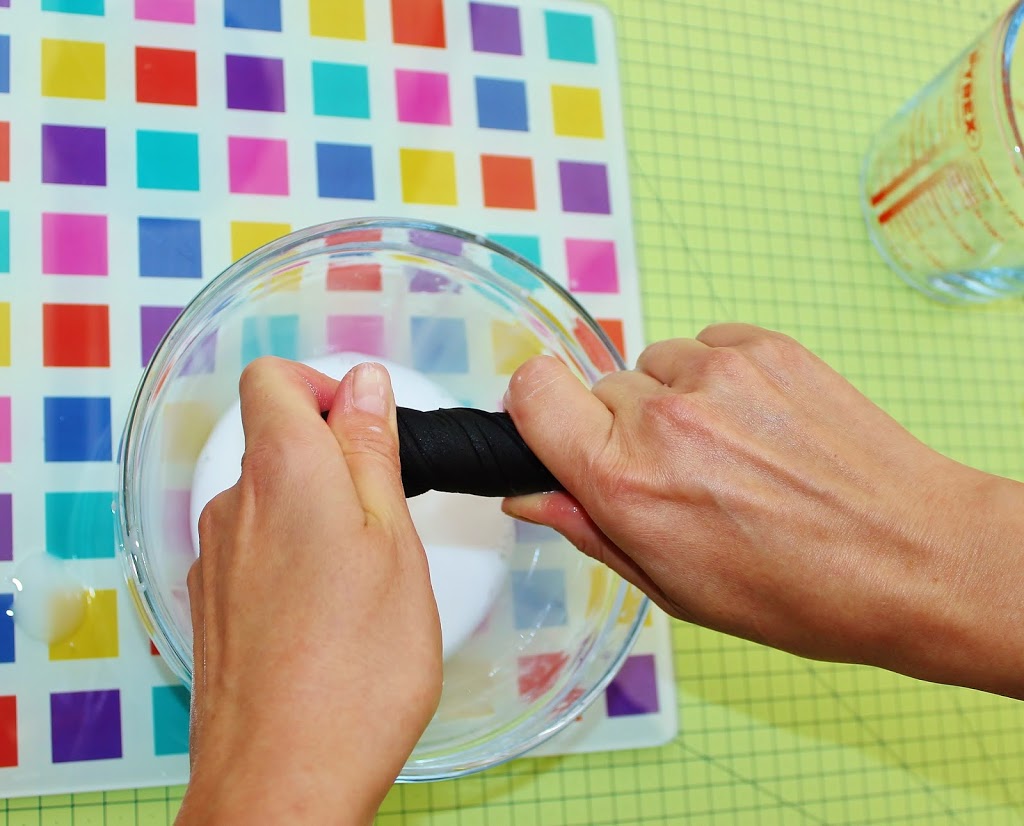
Immerse the piece of leather (about A4 size or so) into the solution and make sure it is well soaked in it.

When the whole piece has been soaked, twist it to get rid of extra solution. The leather should be almost dry.

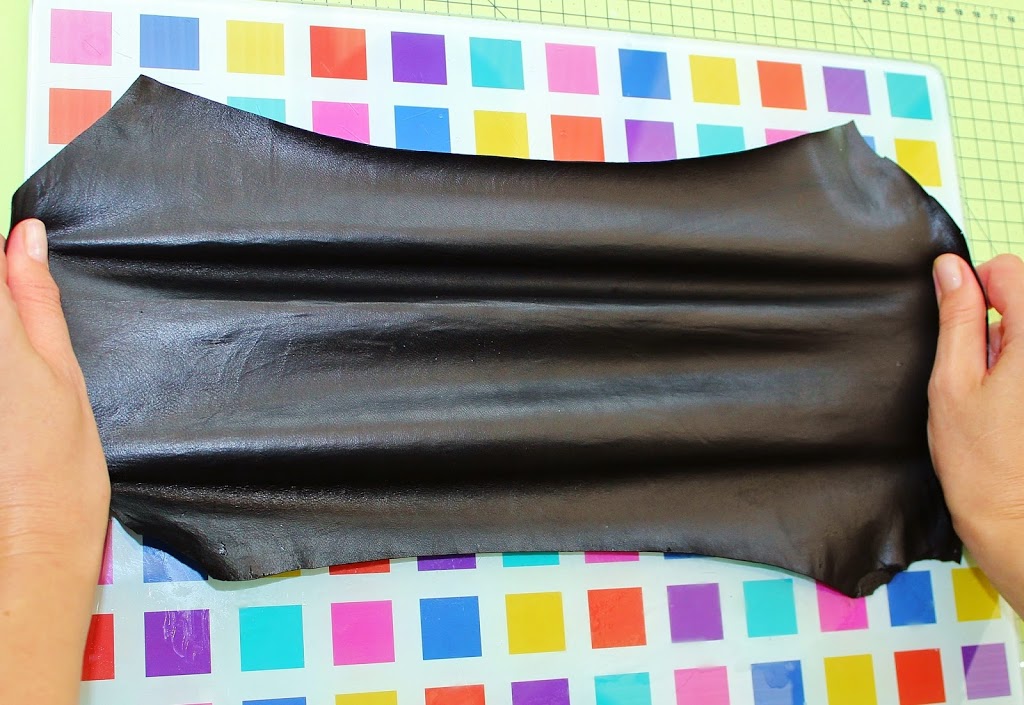
Then stretch it to make it even and thin it a bit more. I tend to use leathers with a thickness of 0.6-0.8 mm or so the sellers say but it is still rather thick for the flower making. Stretching the wet piece of leather in some cases makes it thinner but it all depends on the properties of the particular leather you are using.

I stretch in all directions: horizontally, vertically and diagonally.

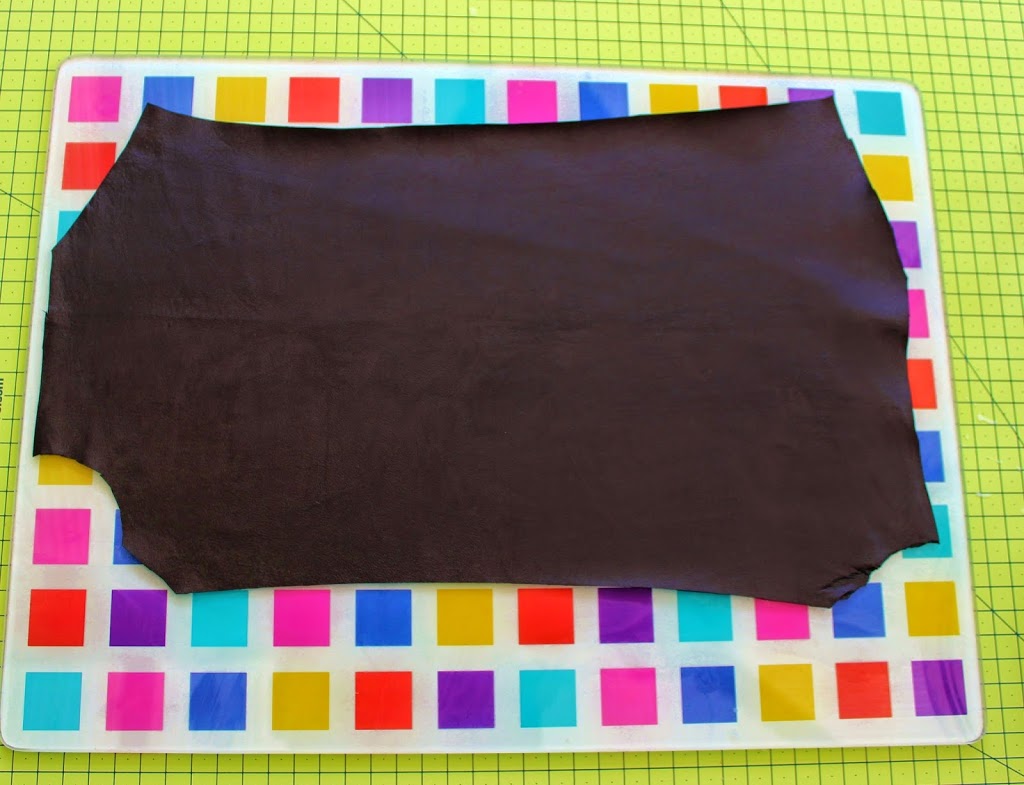
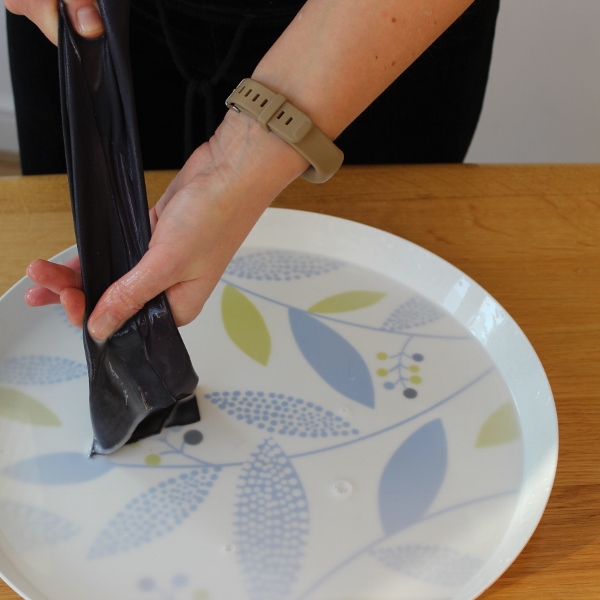
With your both hands flatten the stretch piece of leather on the smooth flat surface (like this glass board).

Leave the flattened and smoothed piece of leather to dry completely before cutting and tooling it. It might take up to 24 hours.


stiffening leather


Coloured leather skins are rather delicate and may require more gentle handling than the black leather shown in the photos  above.

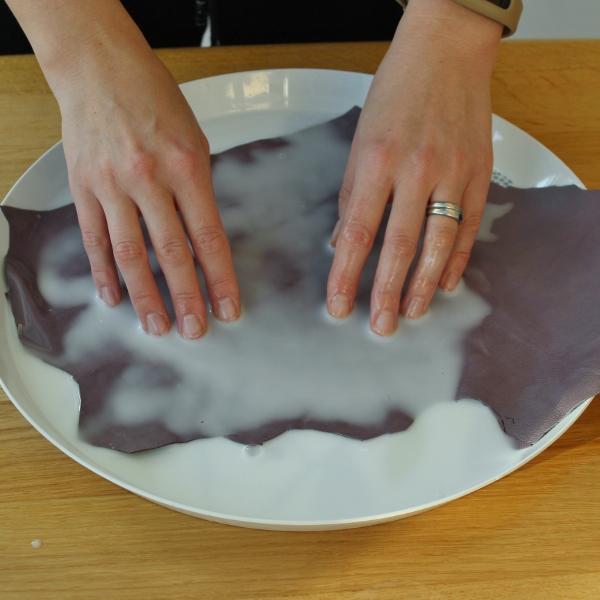
Consider using a large kitchen tray where you can place your leather in one layer. Place the piece of leather into the tray (either side up) and pour the warm stiffening solution over it. Let it soak for several minutes. Most probably you will need to help the leather get well saturated by gently rubbing the solution into the leather with your fingertips. Try to do it carefully to avoid making any marks or damage the surface of the leather.

stiffening leather


Once the leather has gone evenly darker all over its surface, lift it and gently squeeze any extra solution out of it by running it between your fingers. Then you can spread it onto a work surface or a glass table evenly as shown above and leave to dry completely.


leather dahlia brooch tutorial

I hope find this stiffening leather tutorial useful.
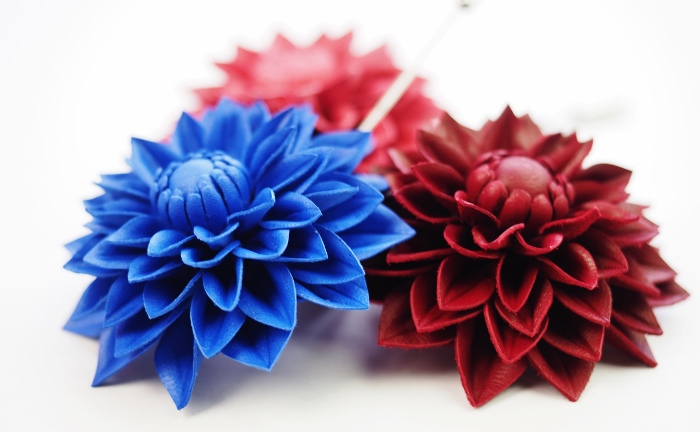
For more detailed instructions on how to stiffen coloured (especially pale) leather skins refer to our detailed LEATHER DAHLIA TUTORIAL.


Good luck with your stiffening!


You are welcome to follow me on Instagram here 

or become my patron on Patreon here 

Summer: sun, fun and flowers

What do you associate summer with?

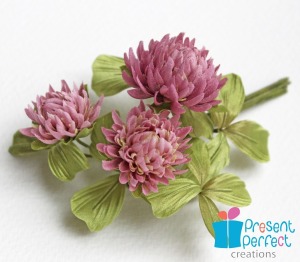
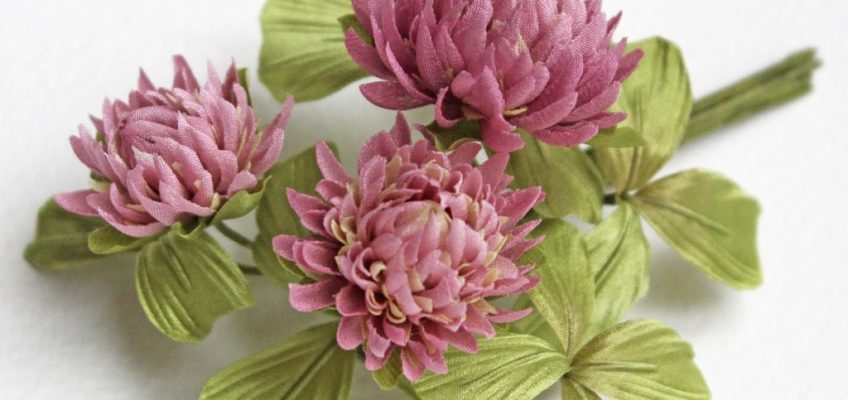
 Warm weather, bright sun, blue-blue sky. Summer storms. Walks in the woods. Or, perhaps, in the meadows where amongst the sea of bright flowers you definitely spot a clover. Usually it comes in purple pink colour

Pink clover brooch

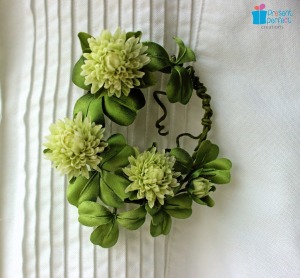
but sometimes you come across a white, slightly lime green variety. This summer flower, so tiny and humble, is one of the symbols of summer to me.

White clover oval brooch

 Designer white clover brooch is an intricate accessory for those who appreciate unusual understated one of a kind hand made pieces. It will look equally good pinned to a white office shirt (as in the picture) or to a summer linen jacket, light cotton dress or, perhaps, a hat.

The piece is created entirely by hand from scratch  using different types of pure silk fabrics (hand cut, hand painted, hand shaped and assembled). And I have not forgotten to include a lucky four leaf ☺

The brooch is finished with a brooch base.

Has this brooch made you think better of a simple clover flower? 🙂

lace butterfly headband

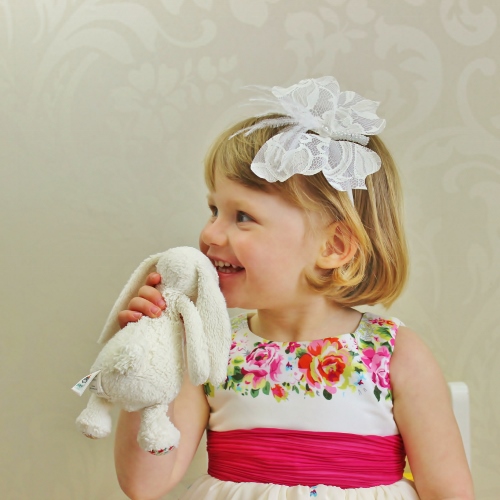
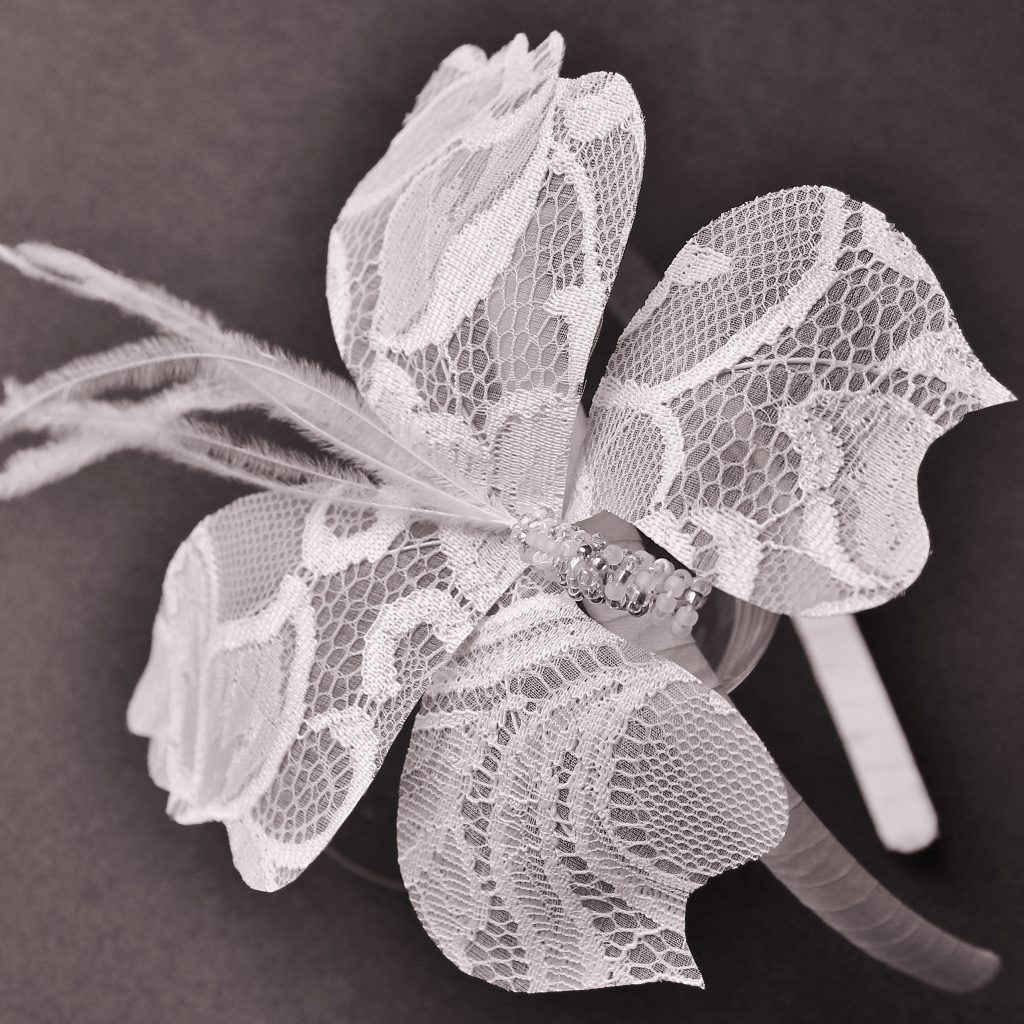
New tutorial out! Lace butterfly: a stunning accessory you can make yourself without special tools.

I think I have not met anyone who did not like butterflies. They are fascinating and delicate creatures full of beauty. No wonder we want to capture it and embody in our designs to enjoy their perfection and elegance as and when we want it.
I love creating butterflies made of delicate lace and pure silk. Such designs look appropriate in wedding themes, they are perfect for special occasions, as little girls’ hair accessories, etc. They make a nice gift too.
I have developed this tutorial in a way that you can make your own stunning lace butterfly accessory without having to use any specialised tools.
By varying the size of the butterfly and uBysing coloured laces you can create an accessory to match any outfit. This lace butterfly can be attached to a headband, a hair clip, a brooch base or just sewn onto a garment, such as a wedding dress.  It can be used in millinery too to decorate hats and fasciantors. The applications are endless. Once you have mastered the art of making lace butterflies you can easily create different accessories in sizes and colours that are required.
You will learn how to
  • make beautifully light feather antennae
  • create a stunning body of seed beads
  • wire the wings so they hold their shape
  • attach the butterfly to a headband / hair clip
butterfly 49 new

WAIT! THAT’S NOT ALL


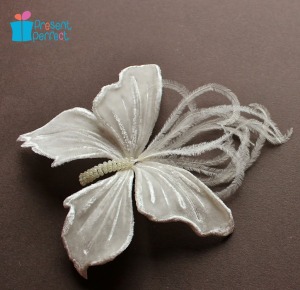
For those of you who have a set of millinery tools I have prepared a FREE bonus tutorial. The free tutorial explains how to shape the velvet butterfly wings using a set of millinery tools for silk flower making as shown in the picture below. For this butterfly I have used a different template which I have included as well! 
To be able to receive the bonus tutorial you will need to subscribe to my mailing list using the link in the Lace Butterfly Tutorial. 
At the moment the lace butterfly tutorial is available for instant download now from my tutorial shop here.
lace butterfly tutorial
Should you have any questions regarding materials or tools prior to purchasing the tutorial please feel free to contact me either via this blog (comments) or at enquiries@presentperfectcreations.com