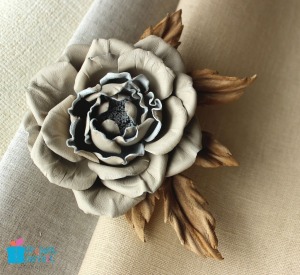
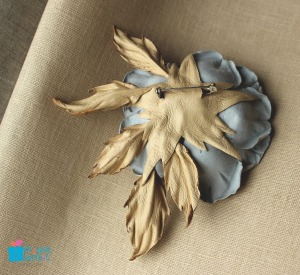
icelandic poppy centres

Exclusive tutorials on Patreon

As part of FLORA FAN creative club membership on PATREON each month I prepare and share a mini video tutorial with my clubbers. Please note that this is just one of the benefits of being a member of the Club. For the full list visit my Patreon page.
Below you will find an overview of these mini tutorials, so you know what you are getting when you are joining my Patreon Creative Club. These exclusive video tutorials are available immediately upon joining and get added to monthly. These exclusive tutorials are not available anywhere else at the moment, only on Patreon.

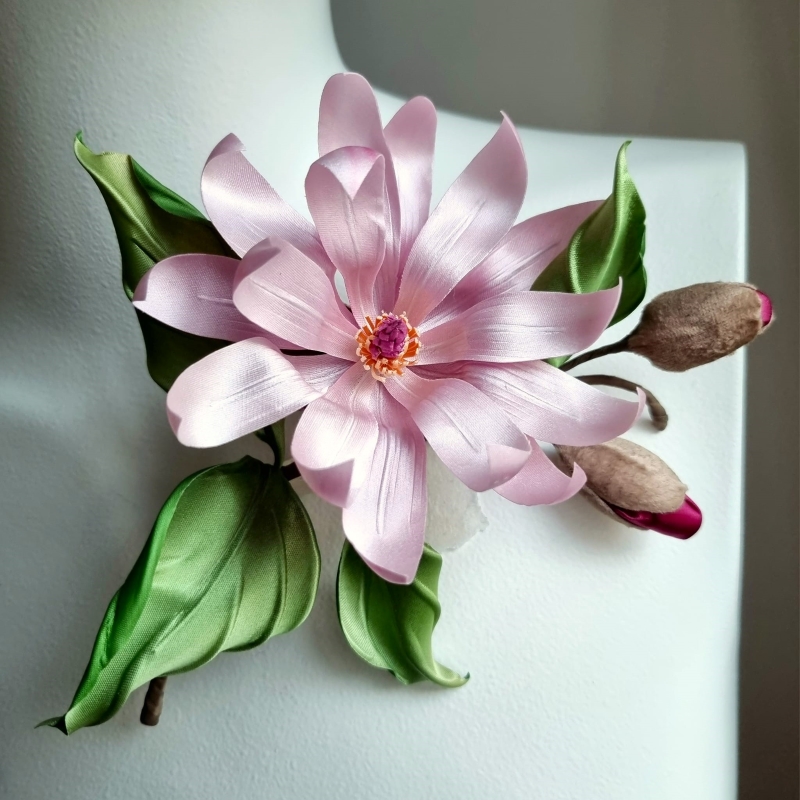
magnolia stellata


March 2024

Silk Magnolia Stellata

This is a 75+ minute video tutorial for intermediate and advanced students with a set of flower shaping tools.
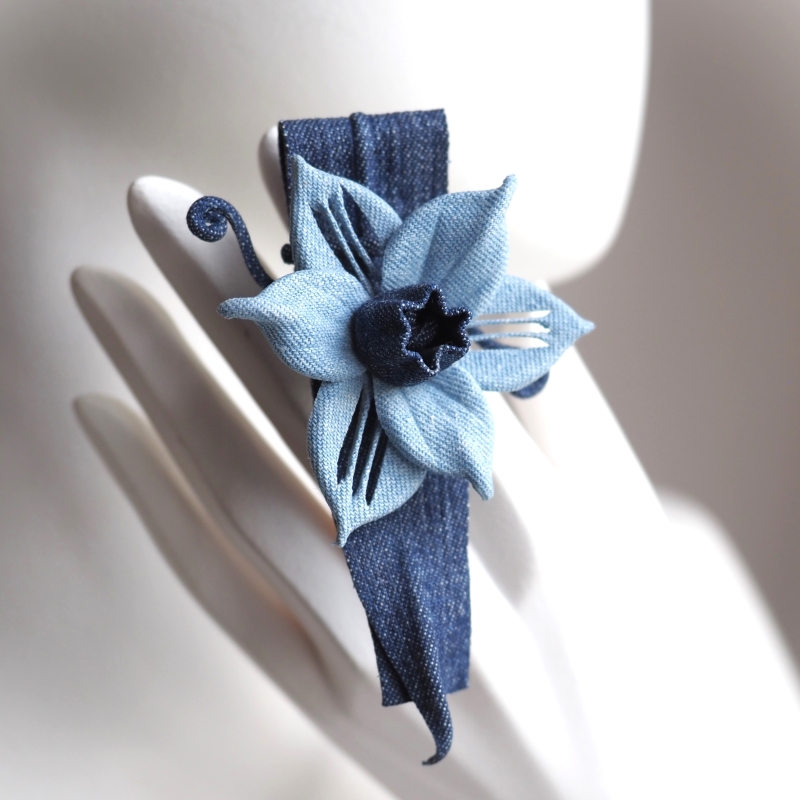


denim daffodil brooch

February 2024

Denim / Fabric Daffodil Brooch Tutorial 

This beginner friendly no tool tutorial will help you create a sleek brooch with a seasonal daffodil in denim or other fabrics.

The video turorial can also be purchased separately here.


January 2024

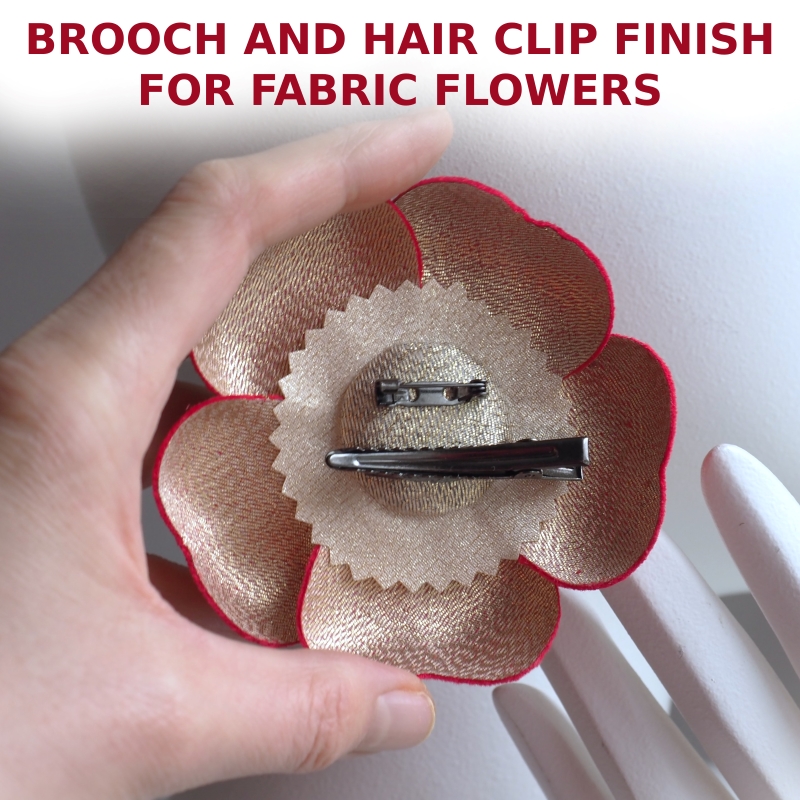
Brooch and Hair Clip Finish, the couture way. 

Learn to finish your flowers neatly with a brooch pin and a hair clip at the same time.
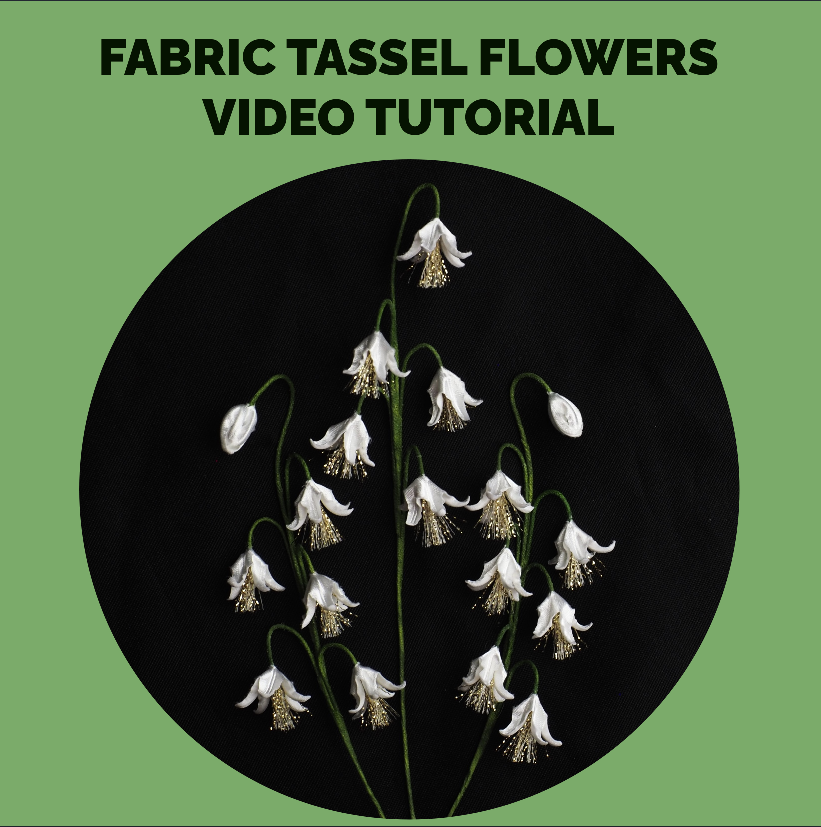


December 2023

Fabric Tassel Flowers

miniature tassel flowers. Abstract enough, these little flowers can be stylised in many ways. Turn them into mini bluebells, lily of the valley or other type of flower by choosing different materials, colourways and types of arrangement.

NEW this video tutorial can be purchased separately from my Patreon shop here
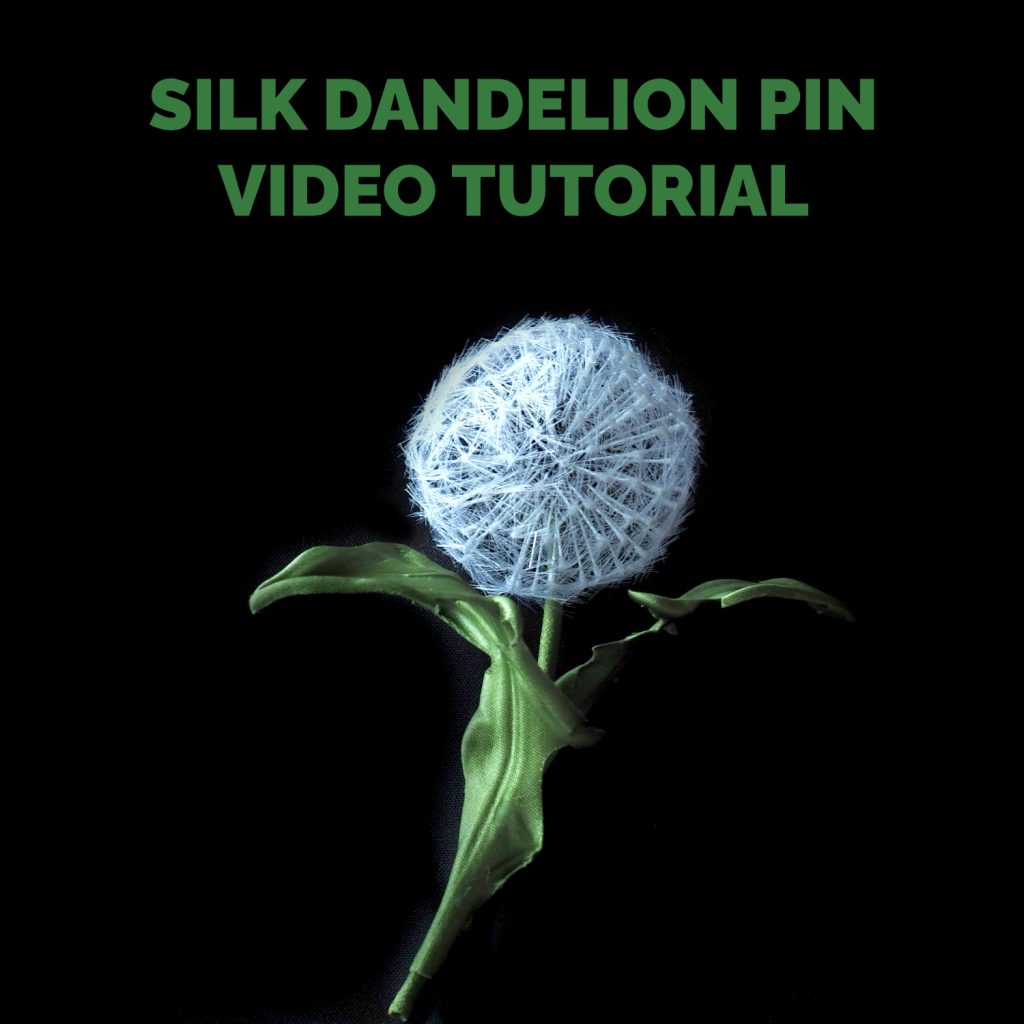


September 2023

Silk Dandelion Clock Pin

With the help of this video tutorial you will be able to create a VERY REALISTIC LOOKING silk dandelion clock with leaves and turn it into a compact wearable piece of textile jewellery as well as infinite number of other original pieces with this whimsical botanical.

NEW this video tutorial can be purchased separately from my Patreon shop here


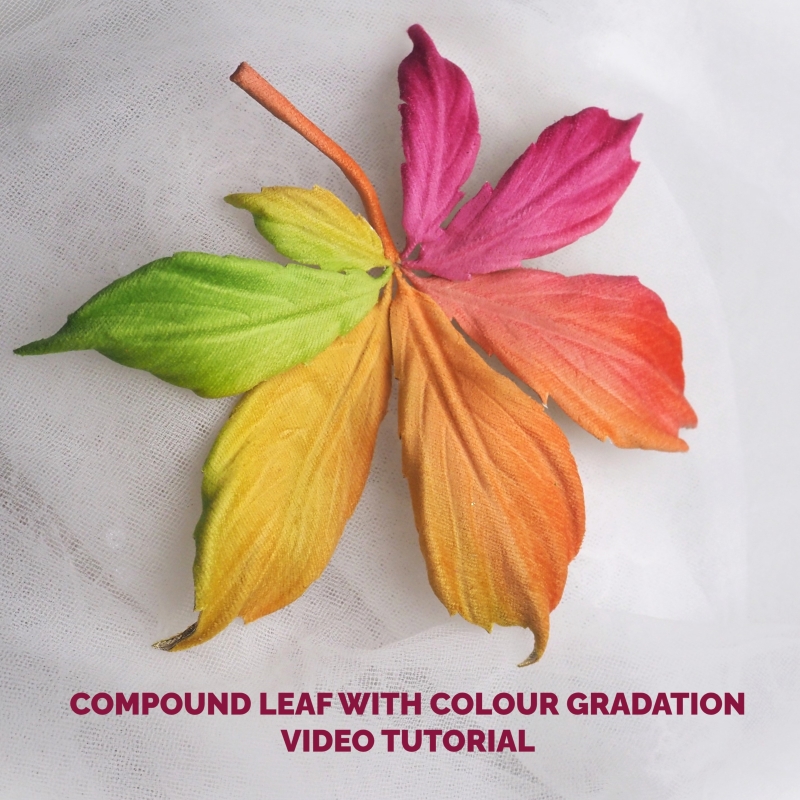
COMPOUND LEAF WITH COLOUR GRADATION tutorial


August 2023

Compound Leaf with Colour Gradation

With the help of this video tutorial you will master realistic looking horse chestnut leaf (and similar) in beautiful autumnal colours. This method works great on such palmate leaves as horse chestnut, virginia creeper, buckeye and even little clover.

NEW this video tutorial can be purchased separately from my Patreon shop here
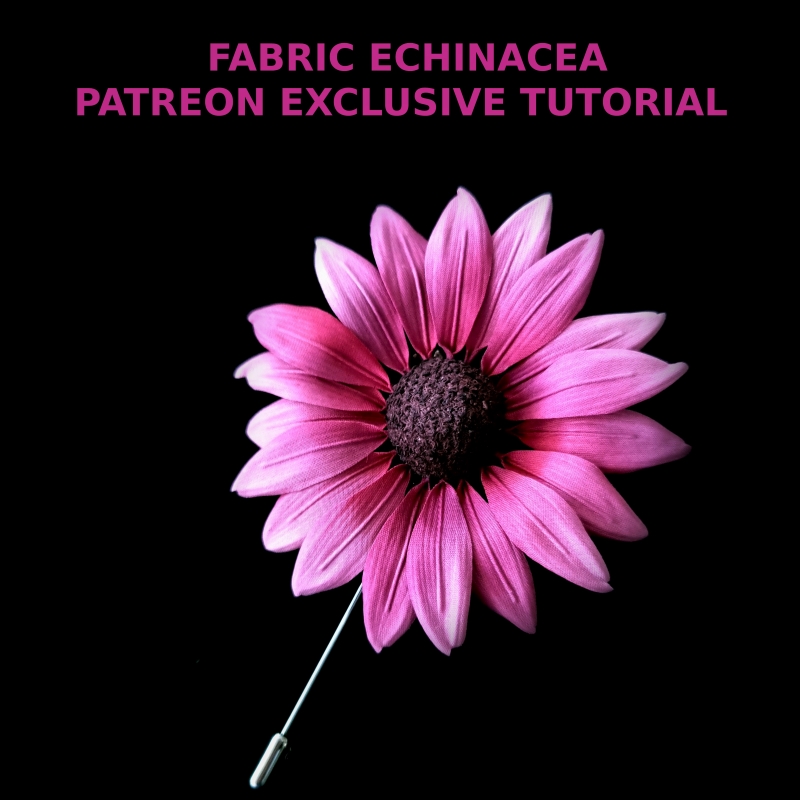


fabric echinacea tutorial cover


July 2023

Fabric Echinacea Purpurea

A member of the large Daisy  family, Echinacea purpurea flowers are instantly recognisable. In this video tutorial I am sharing a new technique of making a 3D centre for this and other similar flowers as well as a realistic way of attaching the petals.

NEW this video tutorial can be purchased separately from my Patreon shop here
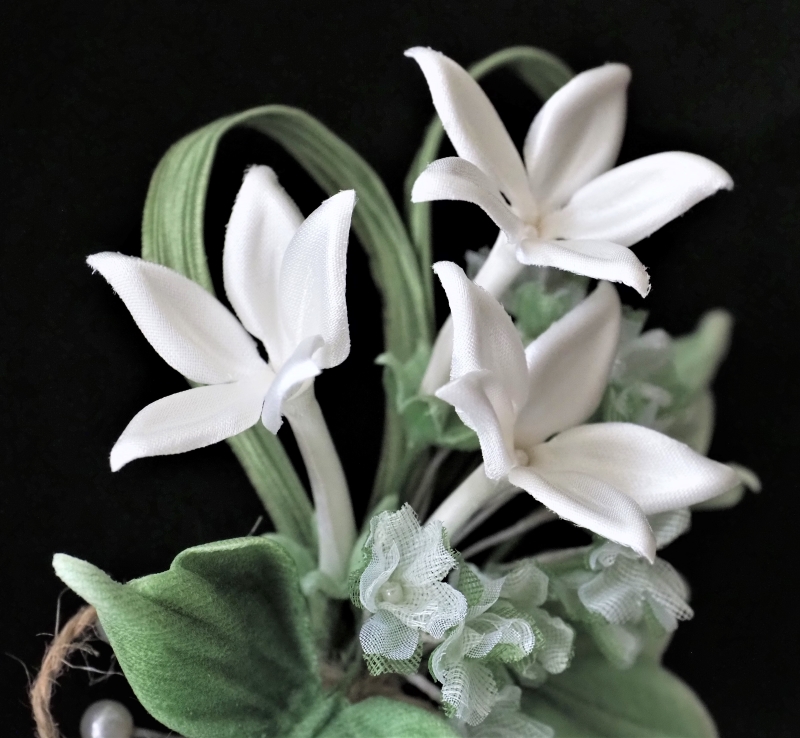


silk stephanotis closeup


June 2023

Stephanotis aka Madagascar Jasmine

Summer is not only about races and garden parties. It is also a popular wedding season. Learn to make fabric stephanotis, an iconic wedding flower that can be used in boutonneres, wrist corsages etc. in this 30+ minute video tutorial.

NEW this video tutorial can be purchased separately from my Patreon shop here
 

silk peony bud video tutorial


May 2023

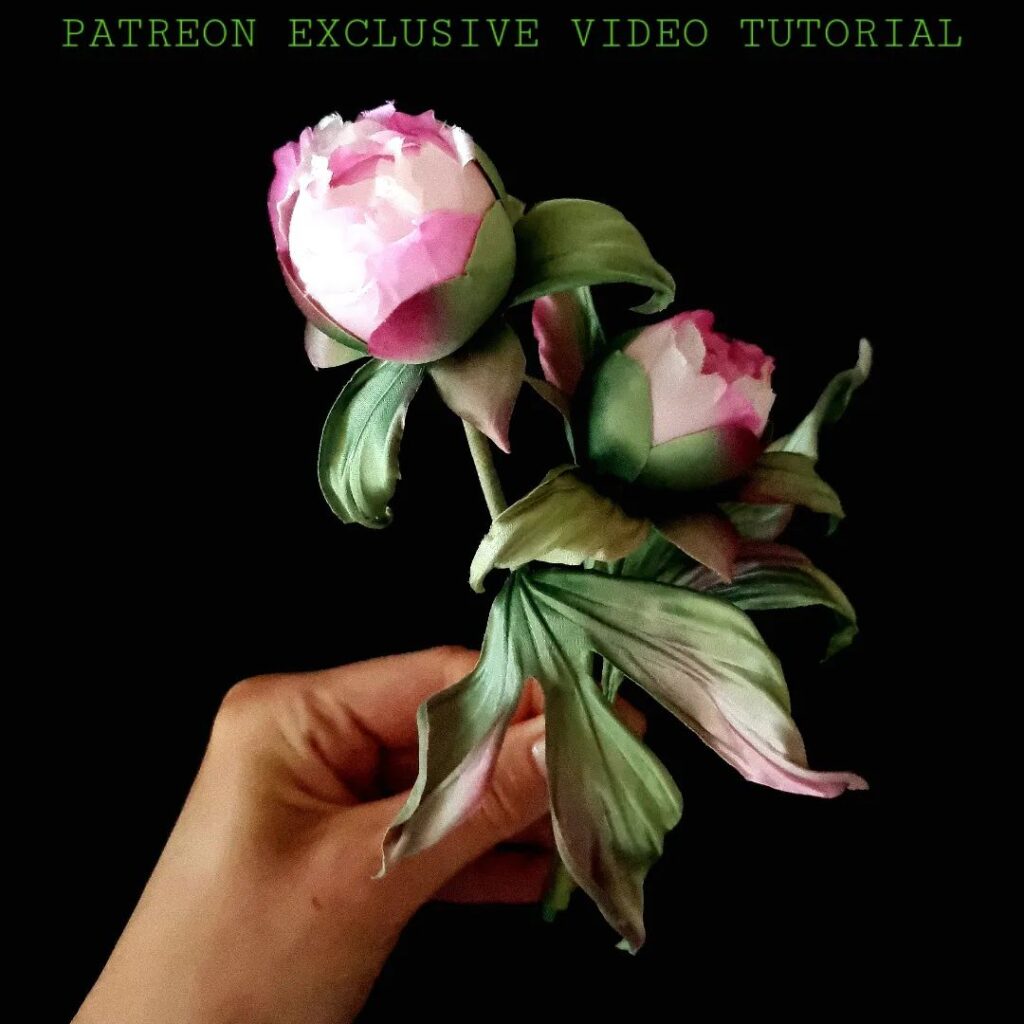
Silk Peony Buds

This month is dedicated to one of the flowers in season, or rather its buds. Meet realistic silk peony buds complete with complex calyxes and leaves, all explained and demonstrated in not-so-mini mini video tutorial of 60 minutes.

NEW this video tutorial can be purchased separately from my Patreon shop here


silk petunia


April 2023

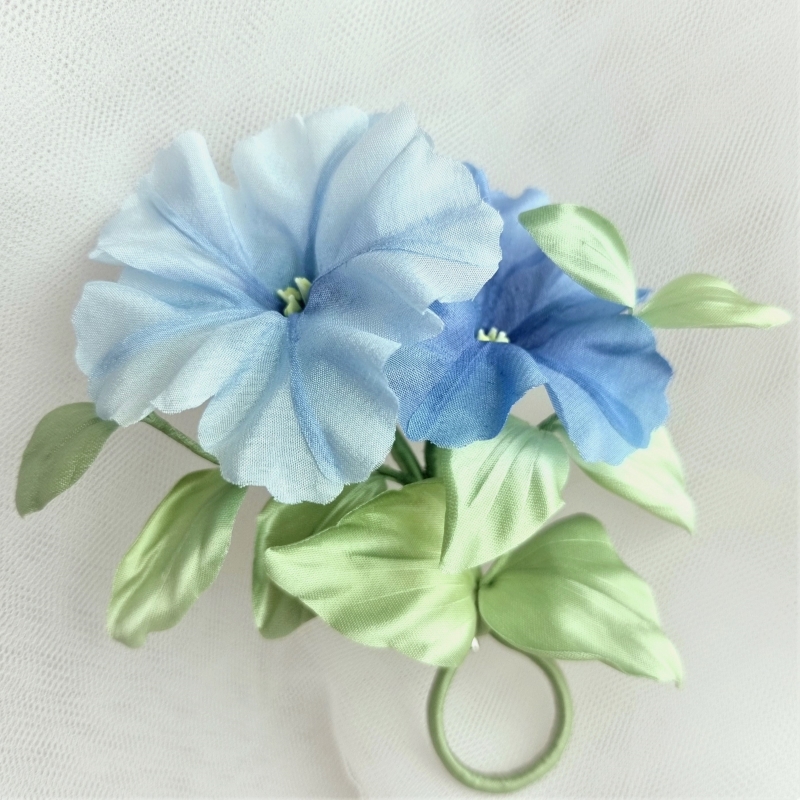
Silk Petunia Foliage


Following a live demo on Silk Petunia Flower Earrings this month the exclusive mini video tutorial focuses on the petunia foliage. Use it to make petunia corsages, brooches and other pieces wih this popular and recognisable flower.


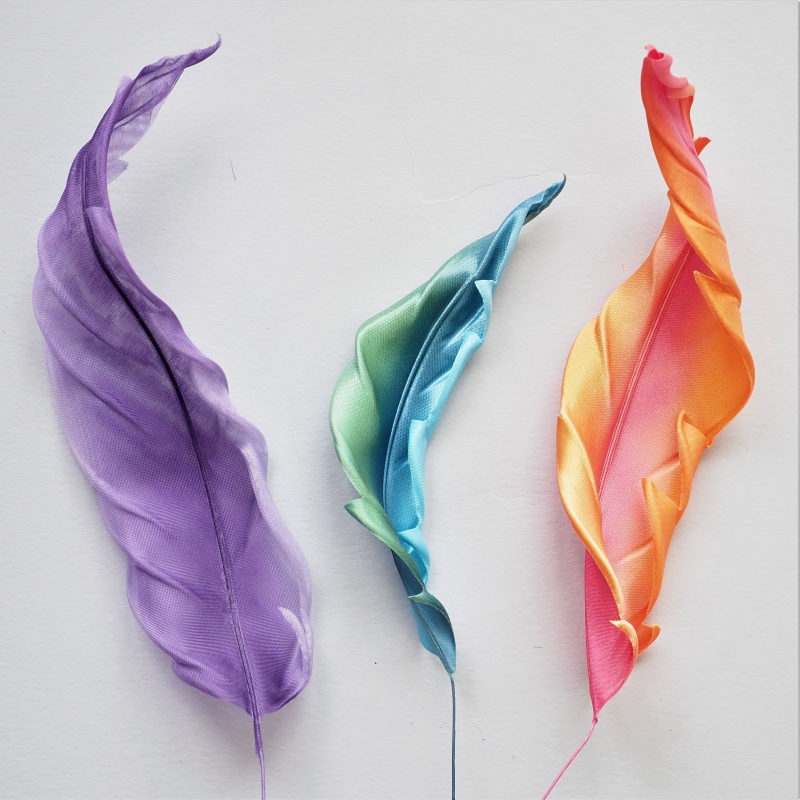
stylised fabric feathers


March 2023

Stylised Fabric Feathers

This month enjoy an exclusive video tutorial + template on large stylised fabric feathers, which can be used for trimming hats and headpieces.


NEW this video tutorial can be purchased separately from my Patreon shop here


icelandic poppy centres


February 2023
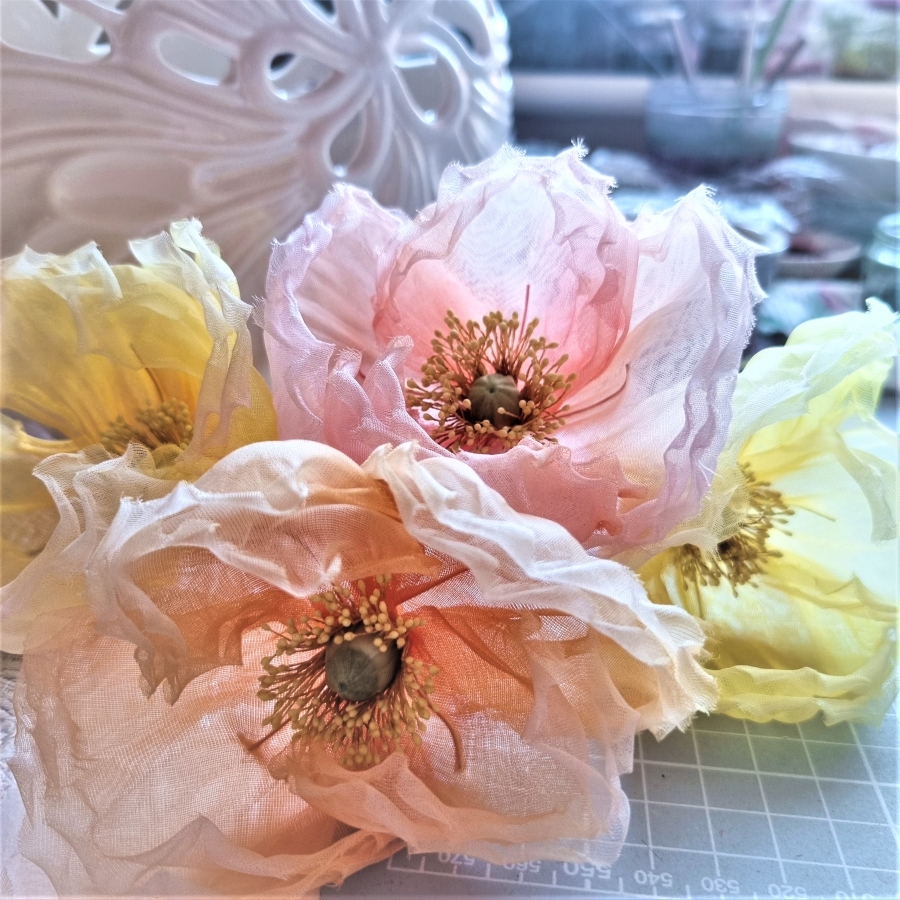
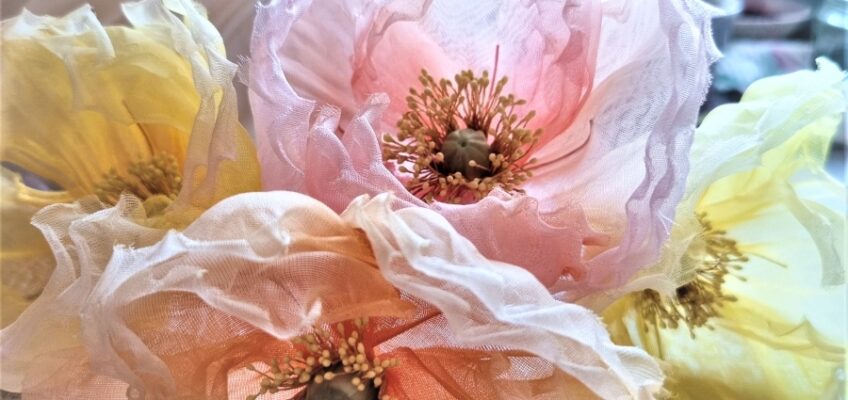
Icelandic Poppy Centres


This month enjoy a new mini video tutorial on how to create delicate centres suitable for Icelandic (and other) poppies.

Do you use any of these fabric stiffeners?

Choosing and using fabric stiffeners

Introduction to fabric flower making ebook

Some of you know that I have recently worked on an e-book about fabric flowers and what one should know before they start making their own fabric flowers. The book has been released very is available for purchase here. You will find a lot of useful information re making fabric flowers that you did not know before.

Meanwhile I would like to share a chapter from the book with you today. This chapter talks about different ways of stiffening fabric before cutting out parts of flowers from it. I have included a number of recipes to try and test.
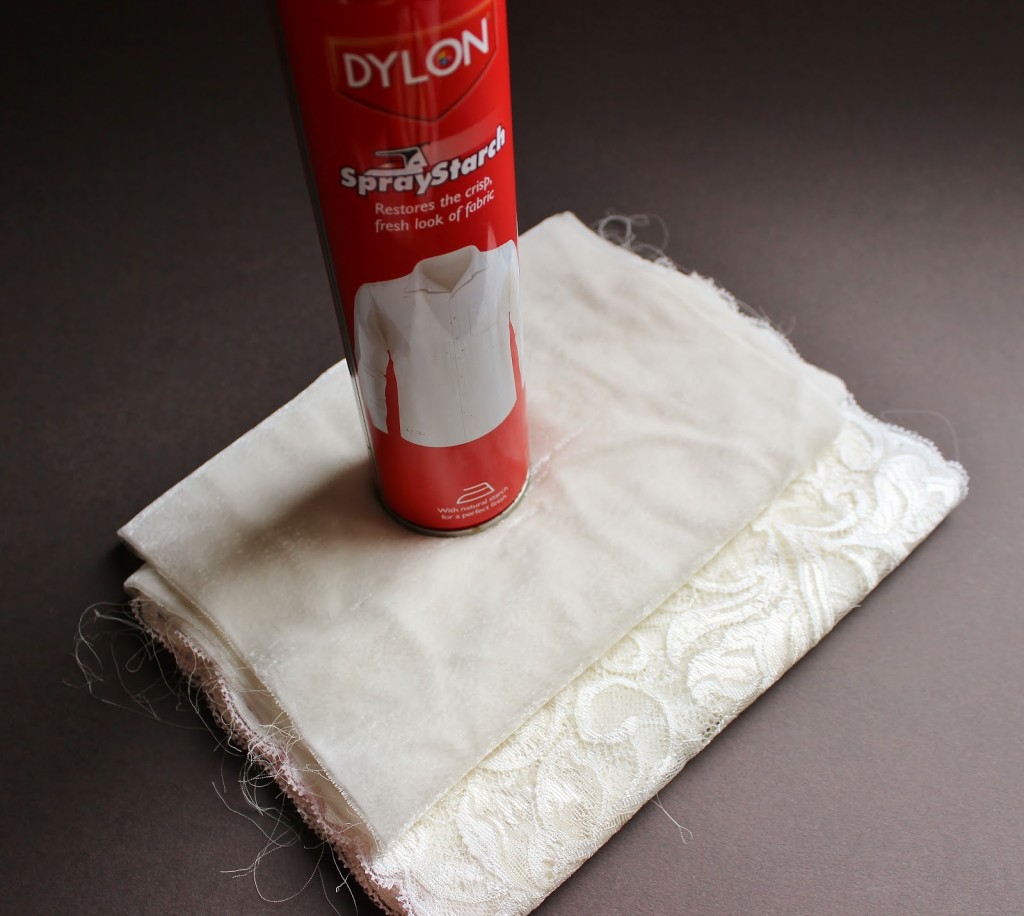
It might so happen that for different types of fabric you would have to use different stiffeners as they are made from different ingredients and thus work better or worse depending on a chosen fabric. For example, gelatine is not a good choice for lace as it covers the delicate fabric with a film filling all the little holes and gaps between the threads. I would recommend to try a spray starch for lace fabrics. Anyway, finding the best possible stiffener takes time and experimentation, so I wish you lots of patience and fun!
Here is the extract from my e-book. Please feel free to ask your questions in the comments below.

Recipes of stiffening solutions to try

All the fabrics must be stiffened before being cut out. This prevents fraying of the edges and allows you to shape the leaves and petals with the flower iron. It also helps the completed flower keep its shape. There are several different sizing options available. Each of them involves different ingredients giving you a choice of options to try and test.

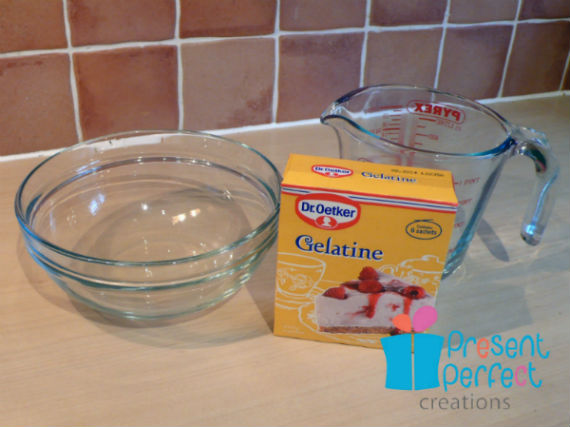
  • One of the most popular options is gelatine sizing. Use powdered gelatine from a reliable manufacturer that you can obtain from your local supermarket. For 200 ml of cold water take 2 level teaspoons of granulated gelatine and place it in a heat resistant glass bowl. Pour the water over it stir and leave to soak for about 1 hour . Generally the concentration depends on the thickness of the fabrics used – the thicker the fabric the less gelatine is needed. This concentration will do for medium-weight fabrics such as satins, crepes, habotai fabrics etc. For organza and chiffon you might want to use a bit more gelatine. Heat the soaked gelatine over a pot of gently boiling water (bain Marie).Constantly stir until all the granules dissolve and take the solution off the heat before it starts boiling. Then dip a piece of fabric into the solution (please be careful and watch your fingers as it will be boiling hot!), take it out and let it drain for a few moments. Then peg in onto a clothes line to dry completely.

1 stiff logo

  • The oldest stiffening solutions used starch, which you can still use today.  Here is a recipe to try. Mix: a tablespoon of cornflour (or cornstarch which is the same) and mix it well with a tablespoon of water. Pour this mixture into 200 ml of boiling water; continue heating and stirring until the mixture has thickened and no lumps appear. Take off the heat and stir in a tablespoon of good quality PVA glue like Sobo. You can apply the stiffening solution by placing a piece of fabric on a flat smooth surface like glass or plastic and using a sponge or a wide flat brush to spread the mixture evenly on the surface of the fabric. If the fabric has a right and a wrong side to it apply the solution onto the wrong side. Then peg in onto a clothes line to dry completely.
  • I successfully use spray starch (the one that is used for starching shirt collars) for stiffening such delicate fabrics like velvet and lace. Just spray the wrong side of your chosen fabric until it is well saturated and let it dry completely on a flat surface before using it.

delicate fabrics tutorial 1

  • Another option is to use wallpaper paste as sizing. Following the manufacturers instructions mix some wallpaper paste with water. Apply to a flat piece of fabric with a brush or a sponge and then hang it up to dry.
  • White PVA glue can also be used for stiffening fabrics. Here is one of the recipes: Mix 200 ml of warm water with 2 tablespoons of good quality thick PVA glue, stir well and then add a tablespoon of vodka or spirit and give a final stir. To stiffen a piece of fabric dip it into the prepared solution, let it drip and then hand up to

stiffy

There are other recipes for stiffening solutions one can prepare. There are also proprietary stiffeners that you can get from craft shops or online.

  • One of them which is readily available and can be bought on Amazon and elsewhere online is Stiffy. It is a water based stiffener which means you can experiment with the strength of the solution. I would recommend to start by mixing 1 part of Stiffy with 5 parts of water. Depending on the thickness of your chosen fabric you can vary the proportions and find the perfect solution which works for you.

To save yourself time and effort you can use industrially stiffened fabrics for making flowers. But even if you do so for most of your designs there will be times when you will need to stiffen unusual fabrics for some of your projects like denim, wild silk, linen etc. This is why I recommend to try a couple of solutions mentioned above and choose one that is easy to use, made of readily available ingredients and has shown  the best results to utilise in future.


Indian Summer has arrived. New line of leather flowers

It is official, autumn is here. And although the days are still rather warm and even sunny the mornings are chilly and filled with dewy cobwebs.
In colder months I find that silks and other delicate fabrics tend to lose their appeal and give way to more seasonally appropriate fellow material, leather. Lately, I have been working on my new line which I dubbed Indian Summer. Those of you who live in the Southern Hemisphere may not have experienced this natural phenomenon. Indian summer is a bit of summer in autumn, a period of lovely warm and dry weather that occurs between late September and mid November in the Northern Hemisphere .
So what I was trying to achieve here is a line of brightly coloured accessories featuring autumnal blooms in rich and seasonal hues.
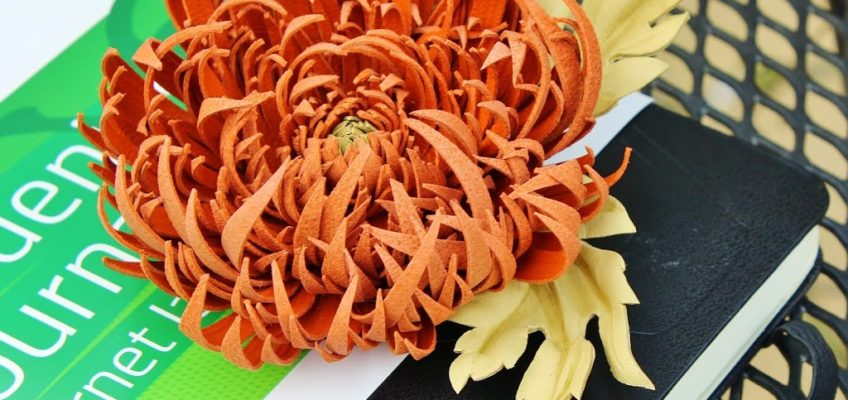
I started with chrysanthemums and have created this rusty orange open chrysanthemum corsage made of thin leather.

Click here for more detail on chrysanthemum corsage

The next piece was a red and brown leather gerbera.

Red leather gerbera brooch

Of course I could not possibly forget about roses, so I created two: an open one made of velvety suede in cerise colour

Cerise suede rose brooch. SOLD OUT

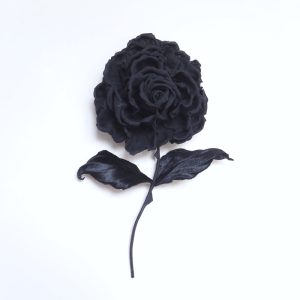
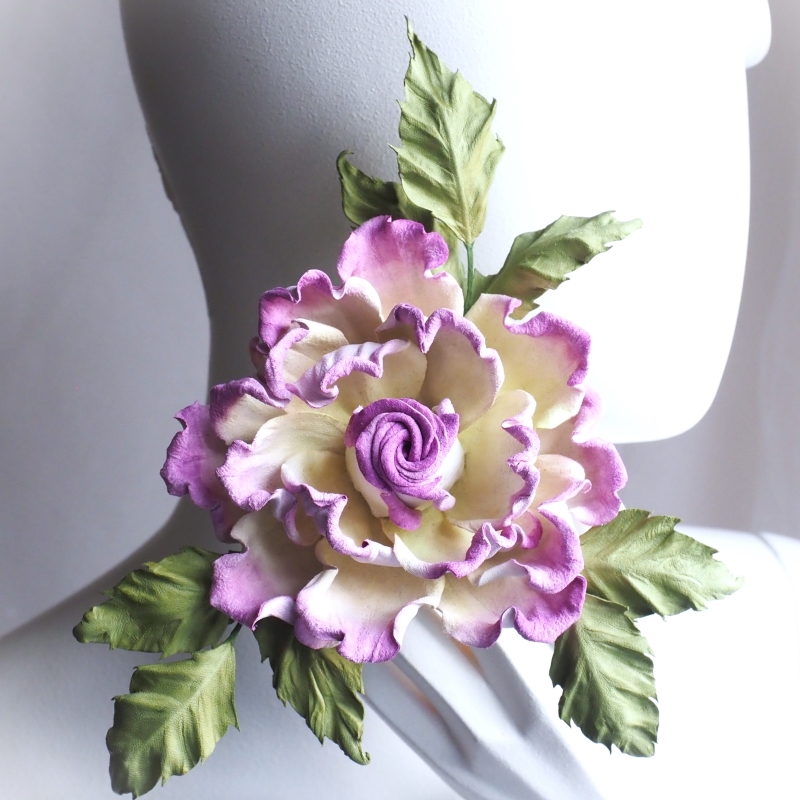
 and an English multipetal rose in deep aubergine hue. The latter one was experimental and I am pleased with the result. When I get hold of more very thin gloving leather I will make more of it in other colours.

Click here to read more about the purple rose brooch

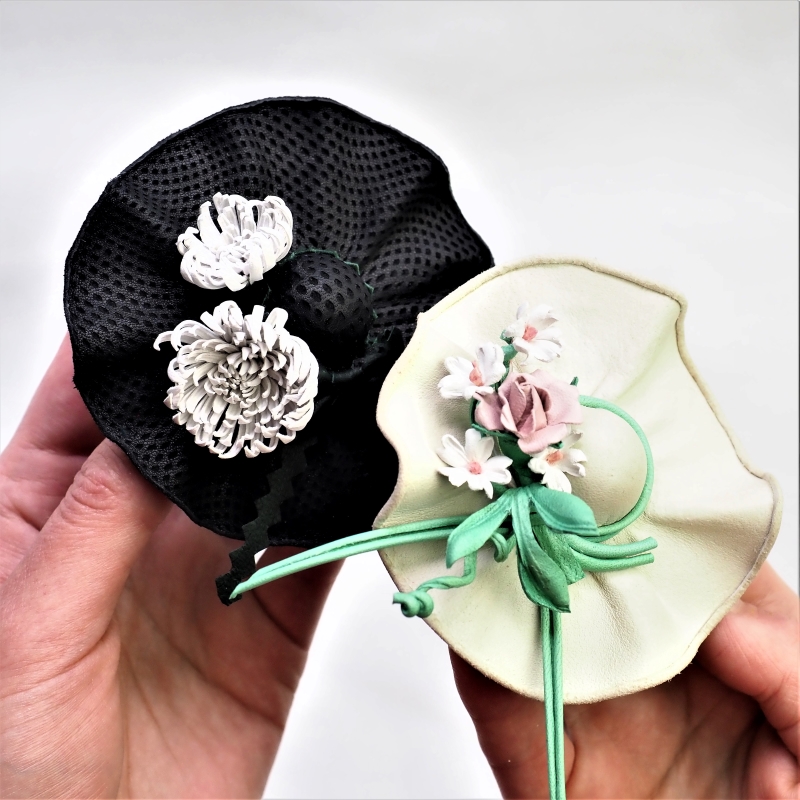
One of the most unusual pieces from my Indian Summer line was this one called Summer Reminiscence. Not exactly a wearable hat, but a leather hat brooch, that’s what it is.
To give you a sense of scale I’ll just mention that the diameter of the pink rose is about 1 cm.
The hat and the trimmings are made using genuine leather and suede.

Leather hat brooch

The autumn has just started and I am planning to add more pieces to this bright line of accessories. I must admit, not all the experiments were equally successful, some like cyclamens and anemones need more work done to them which will keep me entertained during shortening autumnal days.
As always I would love to hear your feedback on my work, do it by either commenting below or e-mailing me at svetlana.faulkner@gmail.com

stiffening leather tutorial

How I tame leather. Mini-tutorial on stiffening leather skins

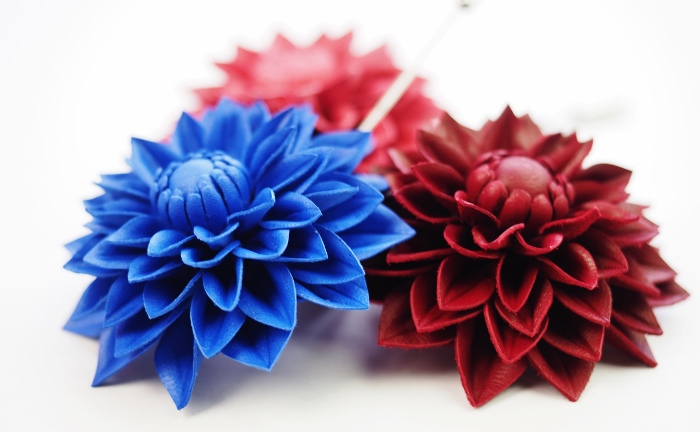
Leather dahlia flower pin Stiffening leather tutorial
Those of you who have tried working with genuine leather know how temperamental it can be. Leather is a natural product and as a result may have imperfections such as holes or scars, the thickness and stretch can vary too. And it is completely unpredictable when it comes to shaping it with hot flower iron.
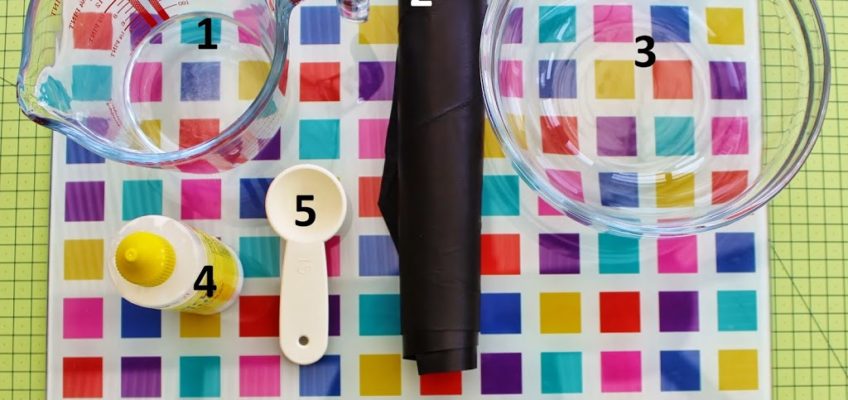
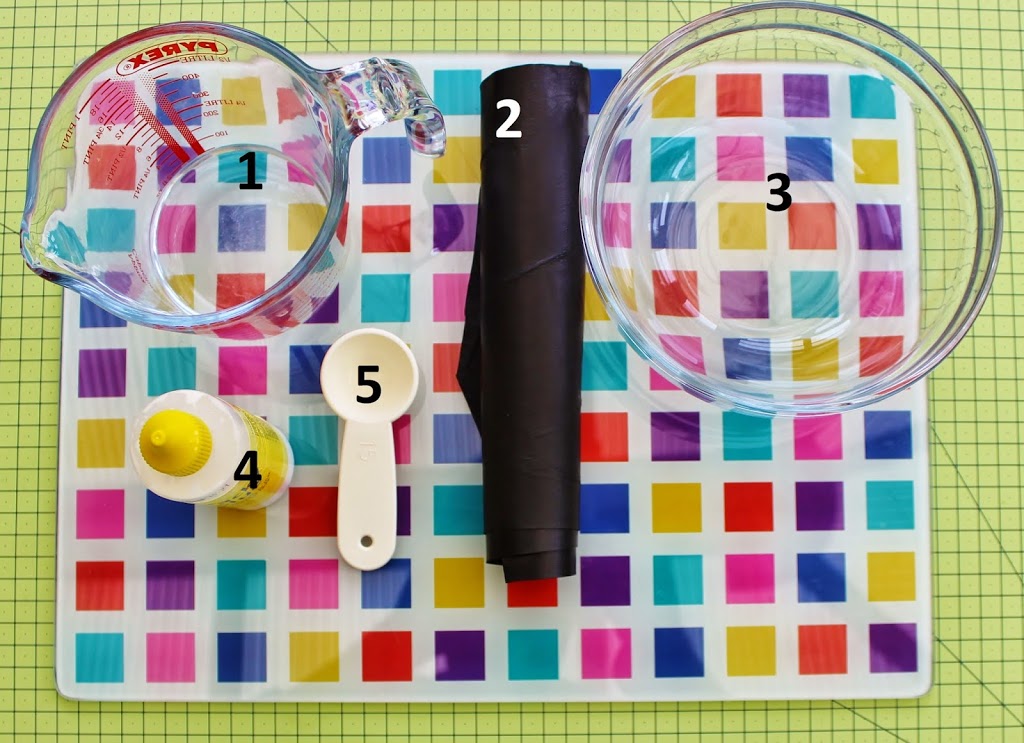
For my floral pieces I stiffen leather is several ways. Today I am going to share one of this ways with you. The result is a flat stiff piece of leather that can be shaped with a flower iron. I use flat stiff leather to make a range of flowers including my camellias, gerberas etc.So here is how I do it. But first of all the kit:

1. Measuring jug
2. A piece of genuine leather for stiffening
3. Bowl
4. White (PVA) glue
5. Measuring spoon
and a piece of plastic or a glass board as seen in the picture.
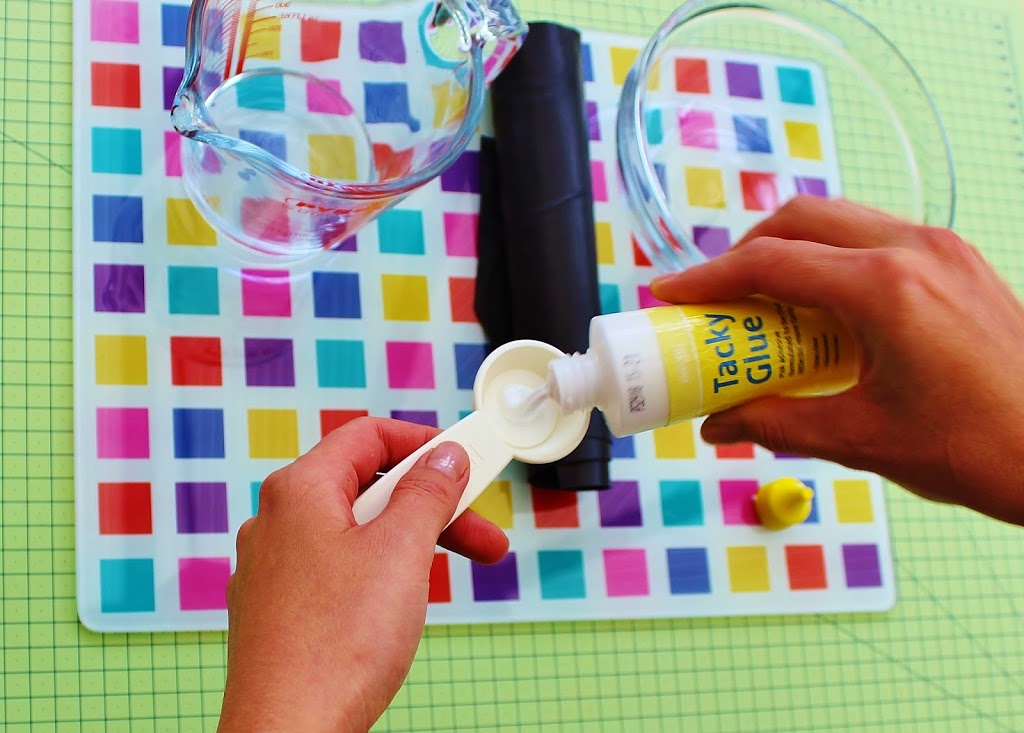
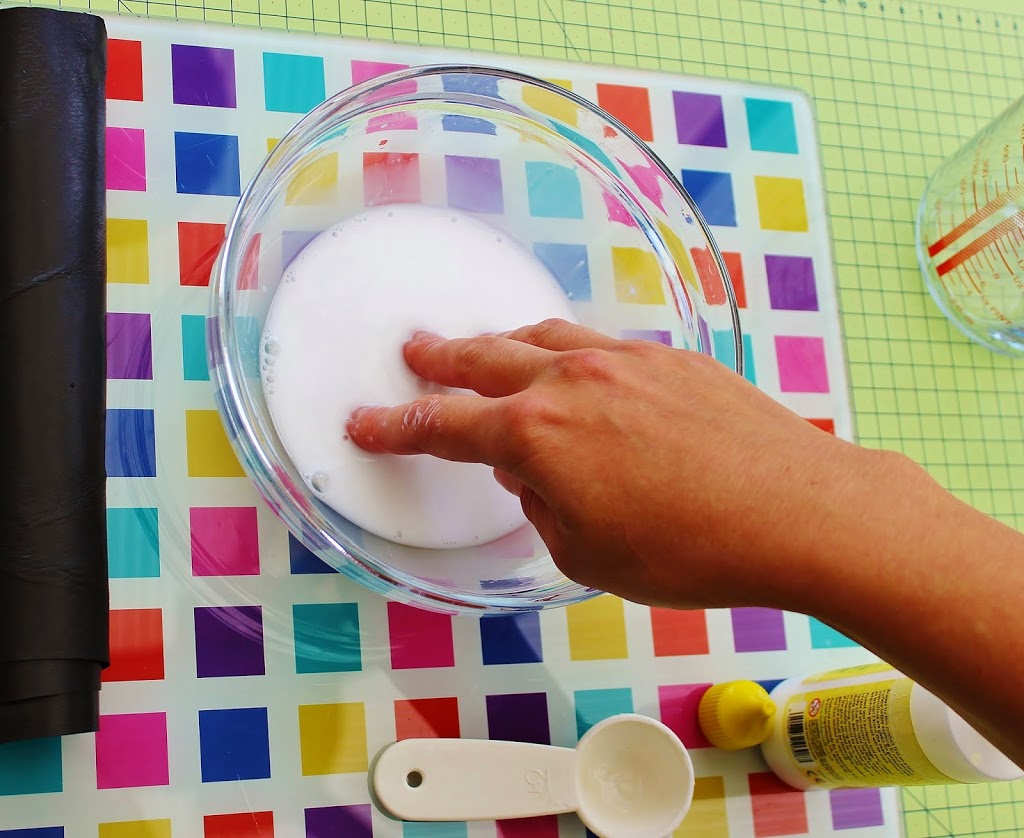
I use a rather thiсk PVA glue intended for craft purposes. The ratio of glue to water can be 1 part of glue  to 5 -10 parts of water depending on how thick your leather is or how tacky your glue is and how stiff you want the leather to be. You might need to experiment with the quantities, but the general guidelines are: the thicker the leather the weaker the solution (less glue). The ready to use solution should look like milk.

I use a measuring spoon to measure the amount of glue.

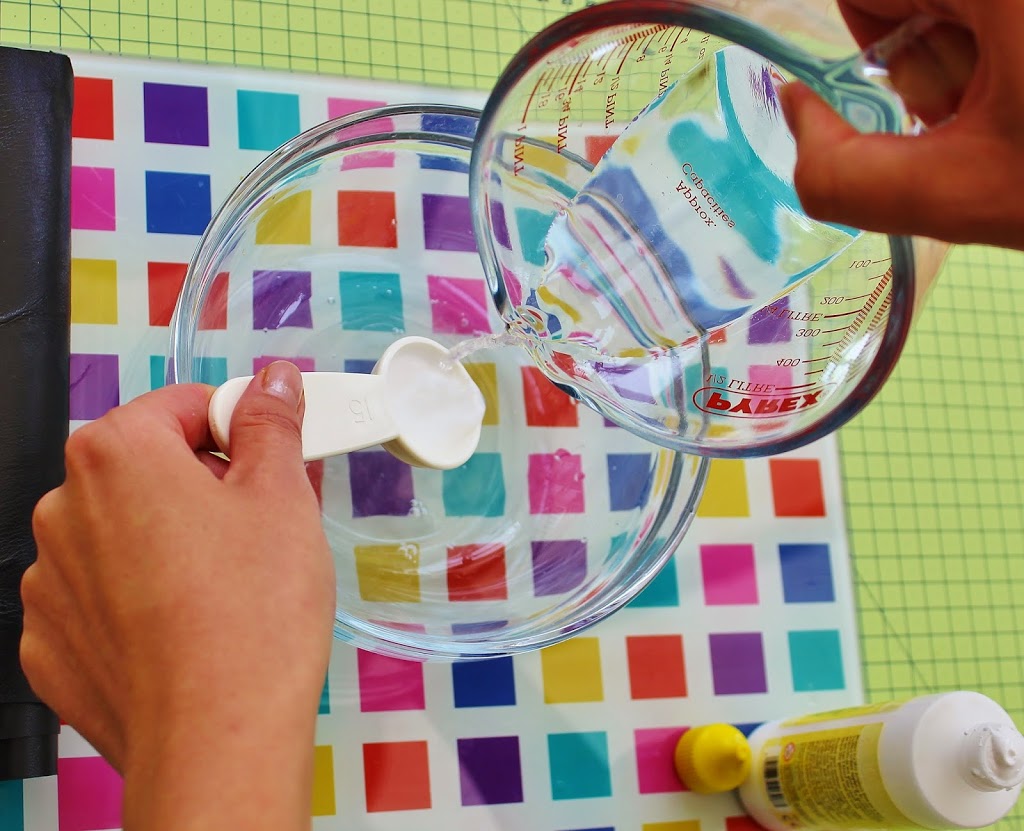
In the picture 10 ml of glue are being mixed with 100 ml of water.

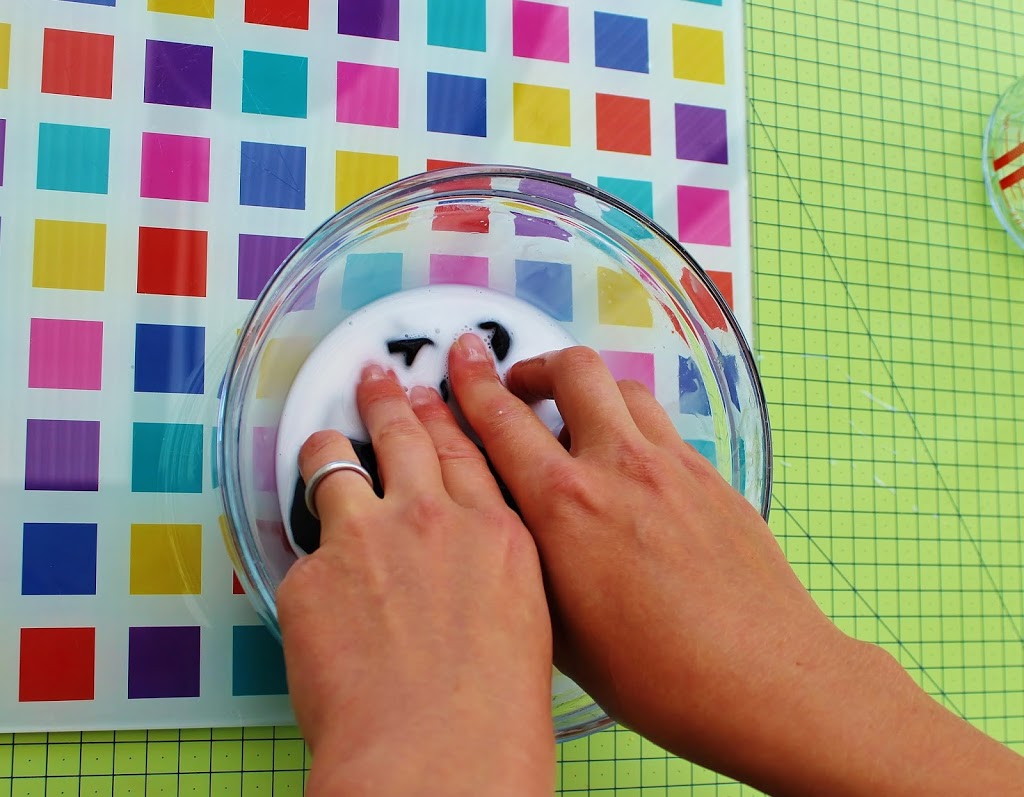
Dissolve the glue in water to get a solution resembling milk. If you have sensitive skin consider wearing gloves.

Immerse the piece of leather (about A4 size or so) into the solution and make sure it is well soaked in it.

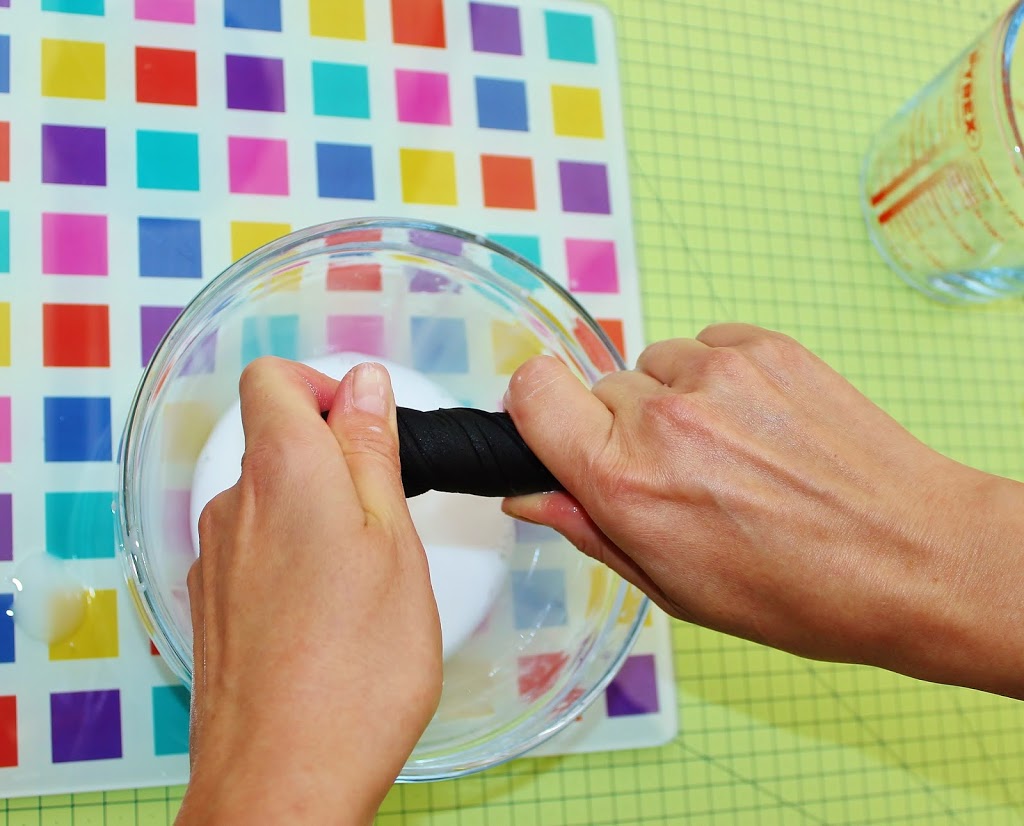
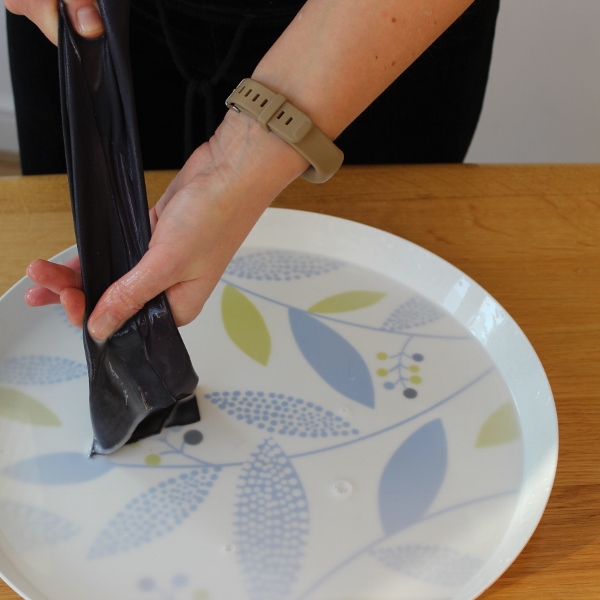
When the whole piece has been soaked, twist it to get rid of extra solution. The leather should be almost dry.

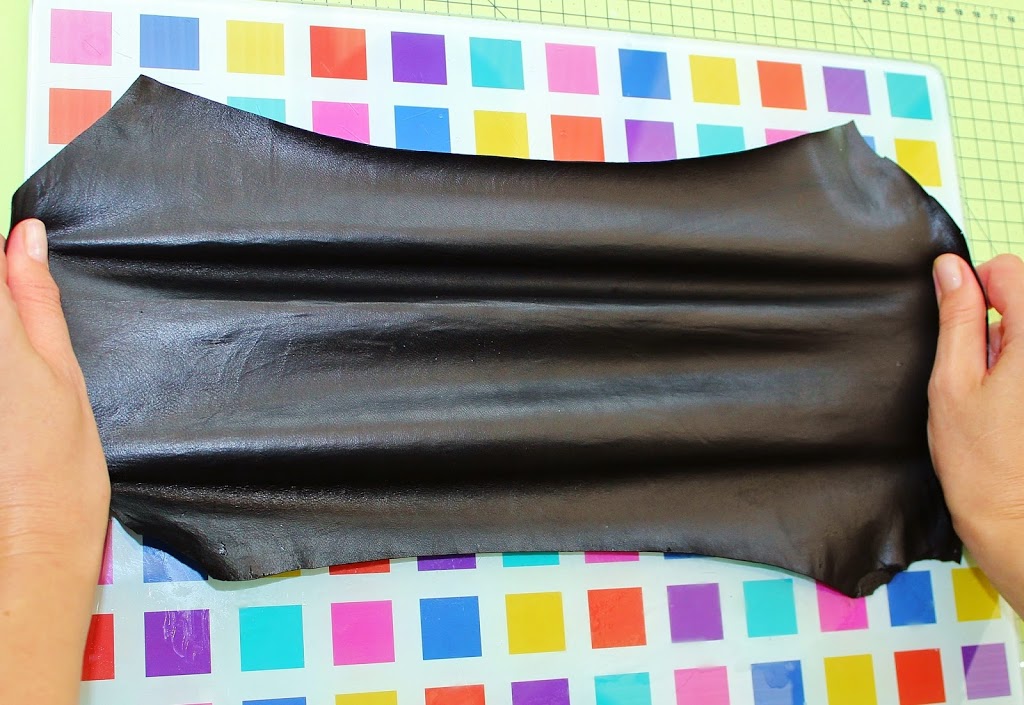
Then stretch it to make it even and thin it a bit more. I tend to use leathers with a thickness of 0.6-0.8 mm or so the sellers say but it is still rather thick for the flower making. Stretching the wet piece of leather in some cases makes it thinner but it all depends on the properties of the particular leather you are using.

I stretch in all directions: horizontally, vertically and diagonally.

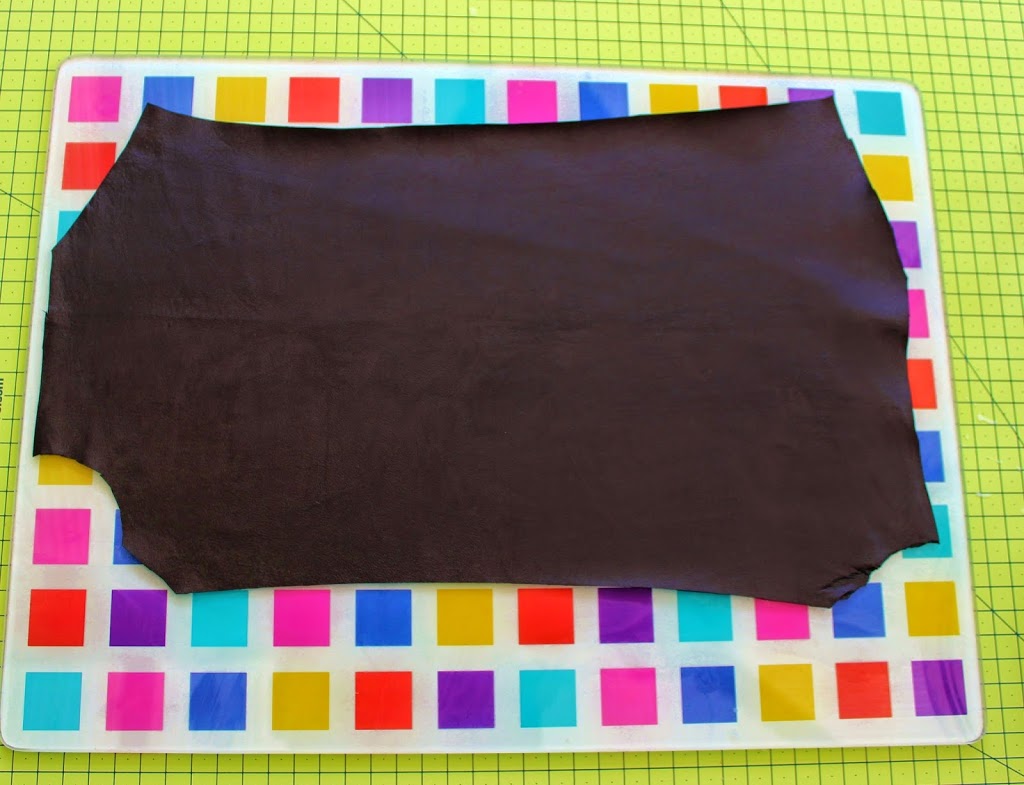
With your both hands flatten the stretch piece of leather on the smooth flat surface (like this glass board).

Leave the flattened and smoothed piece of leather to dry completely before cutting and tooling it. It might take up to 24 hours.


stiffening leather


Coloured leather skins are rather delicate and may require more gentle handling than the black leather shown in the photos  above.

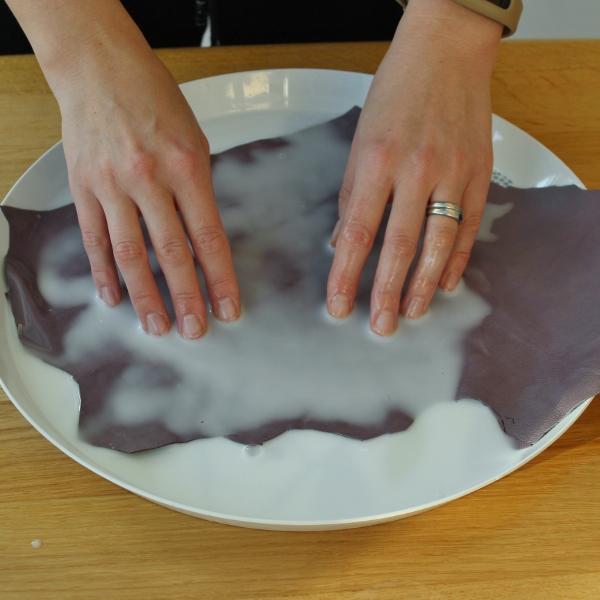
Consider using a large kitchen tray where you can place your leather in one layer. Place the piece of leather into the tray (either side up) and pour the warm stiffening solution over it. Let it soak for several minutes. Most probably you will need to help the leather get well saturated by gently rubbing the solution into the leather with your fingertips. Try to do it carefully to avoid making any marks or damage the surface of the leather.

stiffening leather


Once the leather has gone evenly darker all over its surface, lift it and gently squeeze any extra solution out of it by running it between your fingers. Then you can spread it onto a work surface or a glass table evenly as shown above and leave to dry completely.


leather dahlia brooch tutorial

I hope find this stiffening leather tutorial useful.
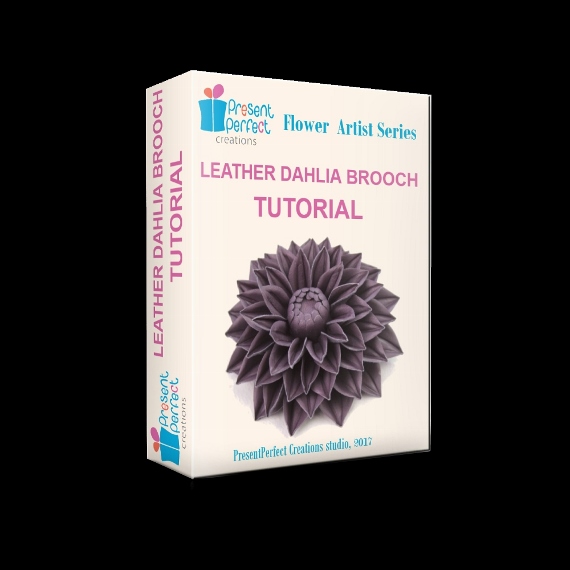
For more detailed instructions on how to stiffen coloured (especially pale) leather skins refer to our detailed LEATHER DAHLIA TUTORIAL.


Good luck with your stiffening!


You are welcome to follow me on Instagram here 

or become my patron on Patreon here 

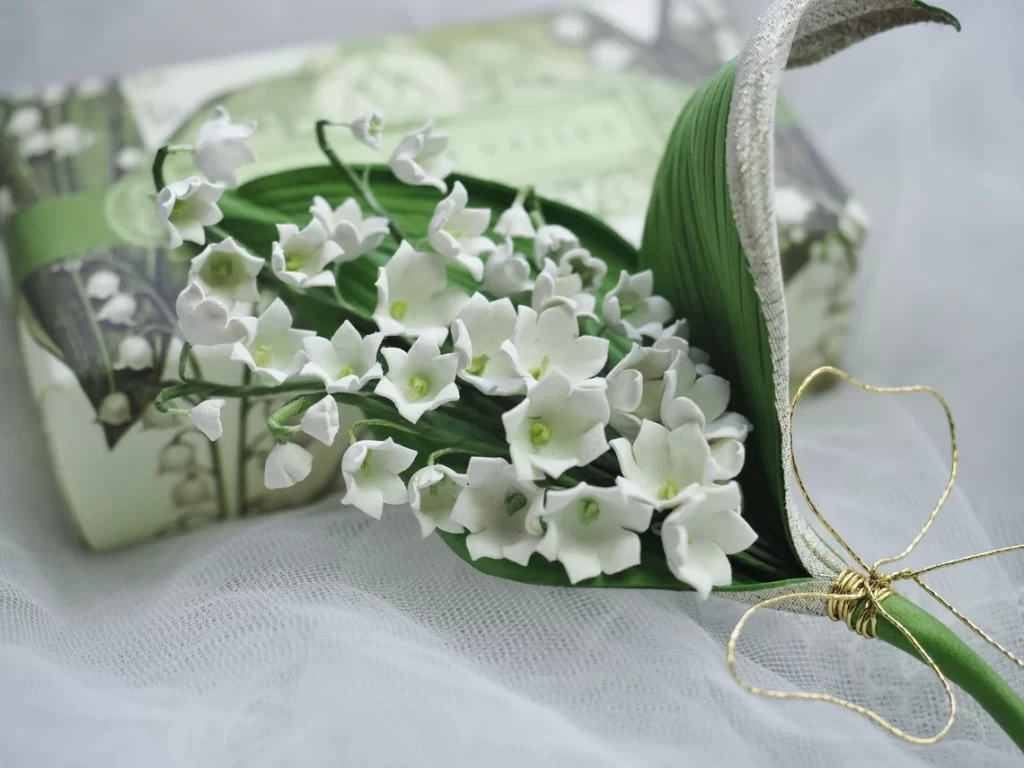
Leather Lily of the Valley Brooch

leather lily of the valley brooch detail

Leather rose

I am continuing my experiments with genuine leather, this rich and pliable material, great for making floral accessories.
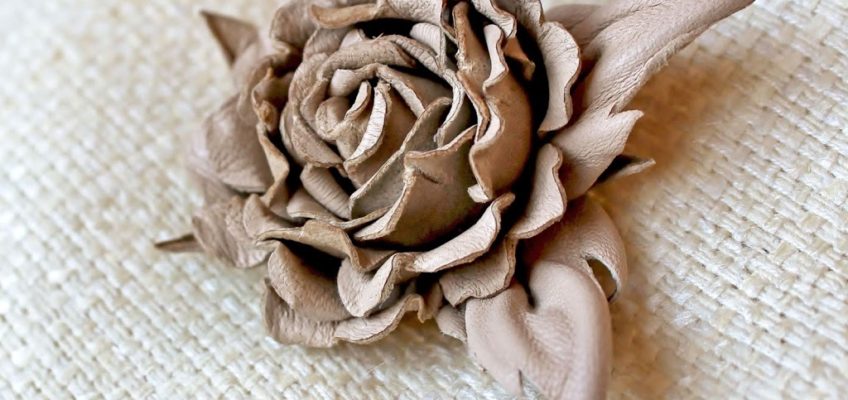
As a part of my new capsule collection I have created 2 leather roses, different in size and shape.
The new collection called NATURALS will comprise of a range of accessories made using natural materials in natural colours and hues.
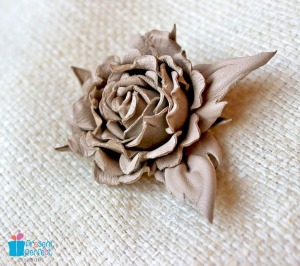
So the new roses (both corsages) are created using beige leather  and tan suede. They make an essential wardrobe addition for any girl who prefers natural fabrics such as linen, cotton, raw silk, as well as straw and genuine leather and suede in light colours.

The small closed rose is about 5 cm in diameter. It is finished with a brooch pin.

Small leather rose

The large open rose is complemented with tan-coloured leaves made of genuine suede.

Open leather rose corsage

It is finished with a brooch pin as well as the small one.

These unique leather corsages will make a lovely gift for your Mum, sister or a girlfriend. They are available from my Etsy shop.

If you are interested in learning how to make leather flowers or in purchasing a .pdf tutorial on leather flowers, please feel free to contact me via this blog, my Etsy store or e-mail me at svetlana.faulkner@gmail.com.