icelandic poppy centres

Exclusive tutorials on Patreon

As part of FLORA FAN creative club membership on PATREON each month I prepare and share a mini video tutorial with my clubbers. Please note that this is just one of the benefits of being a member of the Club. For the full list visit my Patreon page.
Below you will find an overview of these mini tutorials, so you know what you are getting when you are joining my Patreon Creative Club. These exclusive video tutorials are available immediately upon joining and get added to monthly. These exclusive tutorials are not available anywhere else at the moment, only on Patreon.

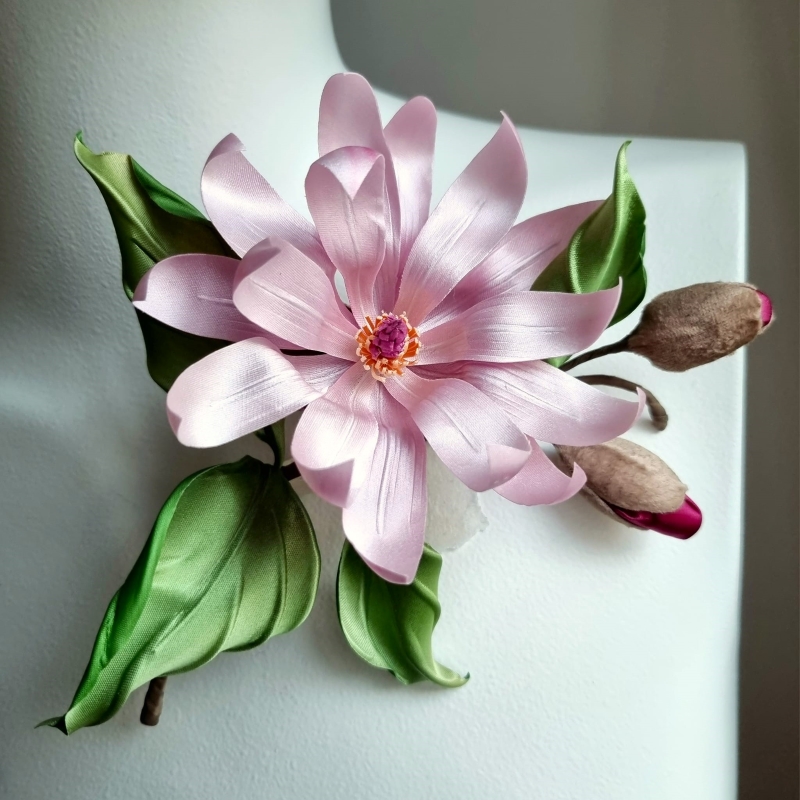
magnolia stellata


March 2024

Silk Magnolia Stellata

This is a 75+ minute video tutorial for intermediate and advanced students with a set of flower shaping tools.
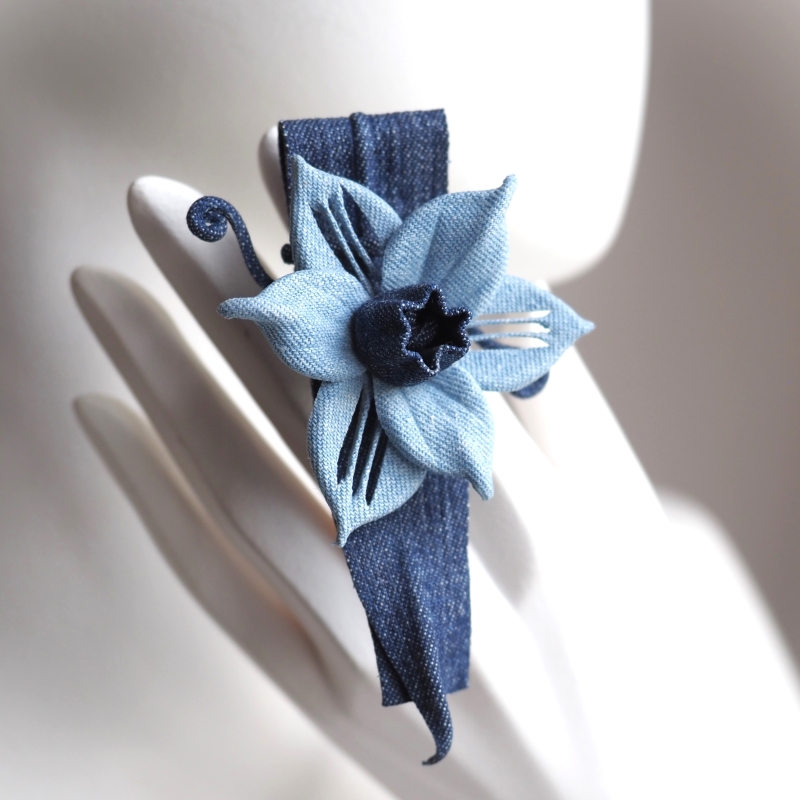


denim daffodil brooch

February 2024

Denim / Fabric Daffodil Brooch Tutorial 

This beginner friendly no tool tutorial will help you create a sleek brooch with a seasonal daffodil in denim or other fabrics.

The video turorial can also be purchased separately here.


January 2024

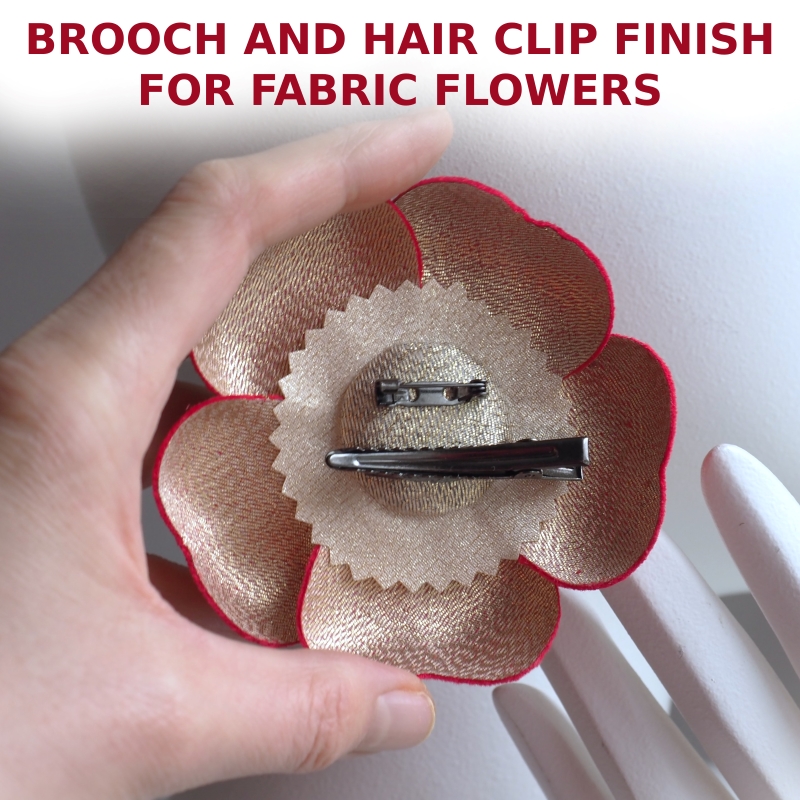
Brooch and Hair Clip Finish, the couture way. 

Learn to finish your flowers neatly with a brooch pin and a hair clip at the same time.


December 2023

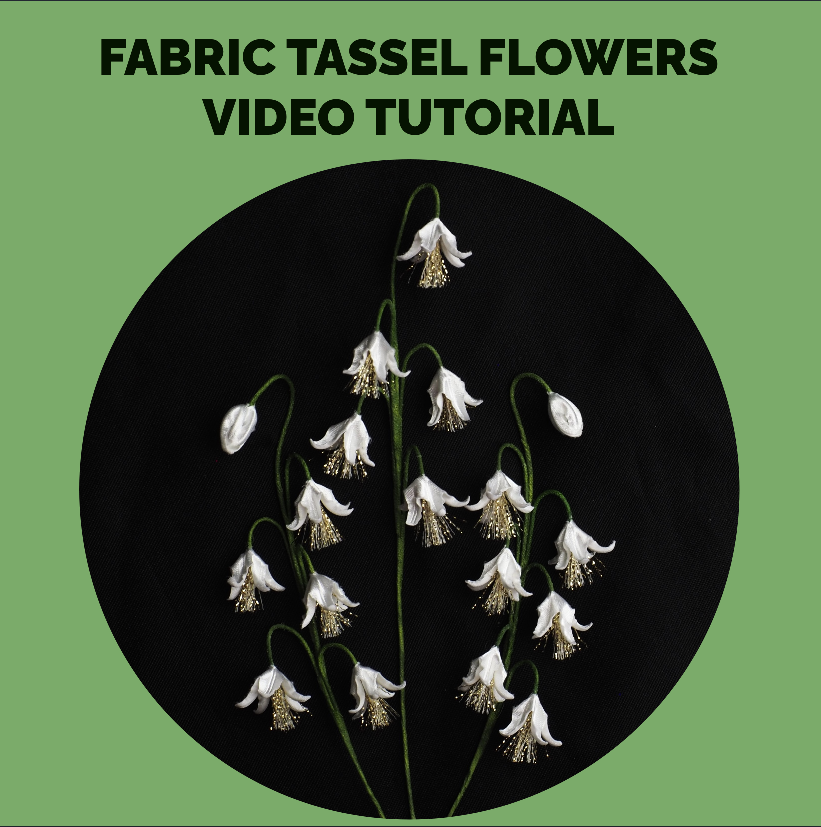
Fabric Tassel Flowers

miniature tassel flowers. Abstract enough, these little flowers can be stylised in many ways. Turn them into mini bluebells, lily of the valley or other type of flower by choosing different materials, colourways and types of arrangement.

NEW this video tutorial can be purchased separately from my Patreon shop here


September 2023

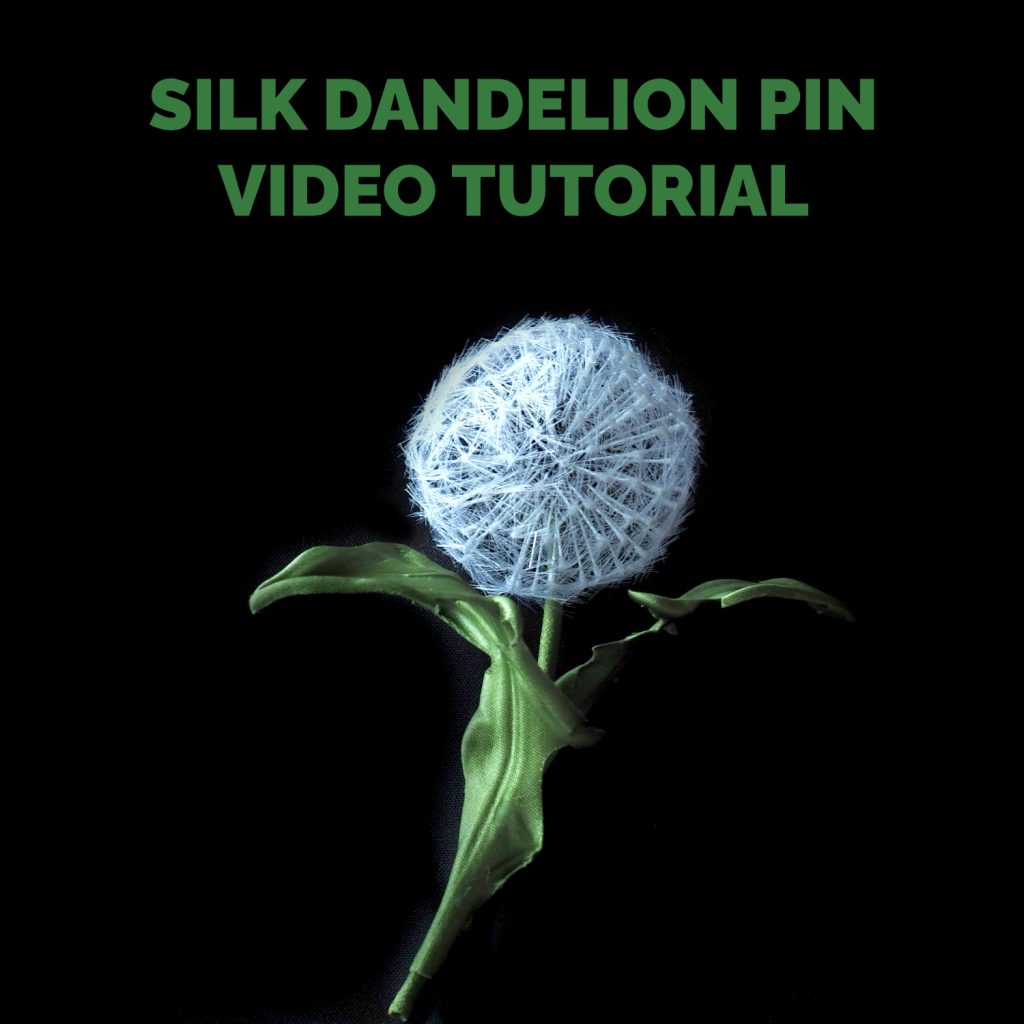
Silk Dandelion Clock Pin

With the help of this video tutorial you will be able to create a VERY REALISTIC LOOKING silk dandelion clock with leaves and turn it into a compact wearable piece of textile jewellery as well as infinite number of other original pieces with this whimsical botanical.

NEW this video tutorial can be purchased separately from my Patreon shop here


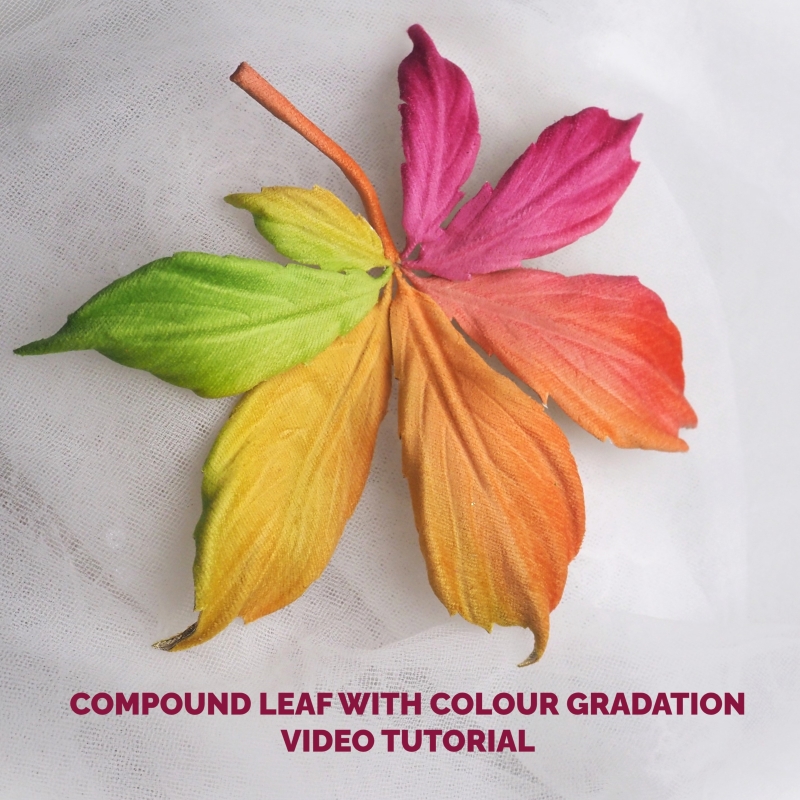
COMPOUND LEAF WITH COLOUR GRADATION tutorial


August 2023

Compound Leaf with Colour Gradation

With the help of this video tutorial you will master realistic looking horse chestnut leaf (and similar) in beautiful autumnal colours. This method works great on such palmate leaves as horse chestnut, virginia creeper, buckeye and even little clover.

NEW this video tutorial can be purchased separately from my Patreon shop here
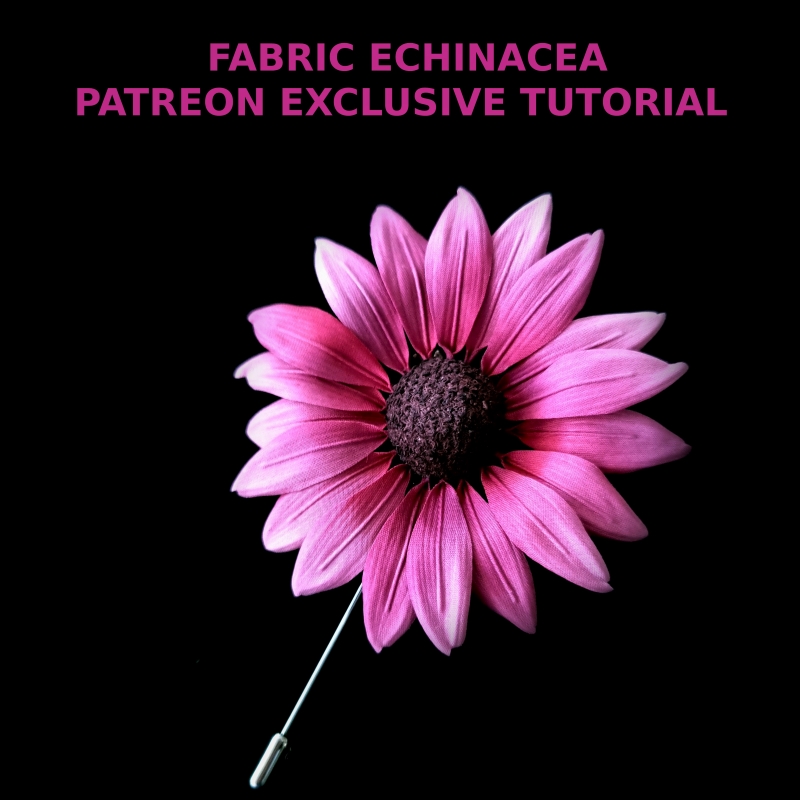


fabric echinacea tutorial cover


July 2023

Fabric Echinacea Purpurea

A member of the large Daisy  family, Echinacea purpurea flowers are instantly recognisable. In this video tutorial I am sharing a new technique of making a 3D centre for this and other similar flowers as well as a realistic way of attaching the petals.

NEW this video tutorial can be purchased separately from my Patreon shop here
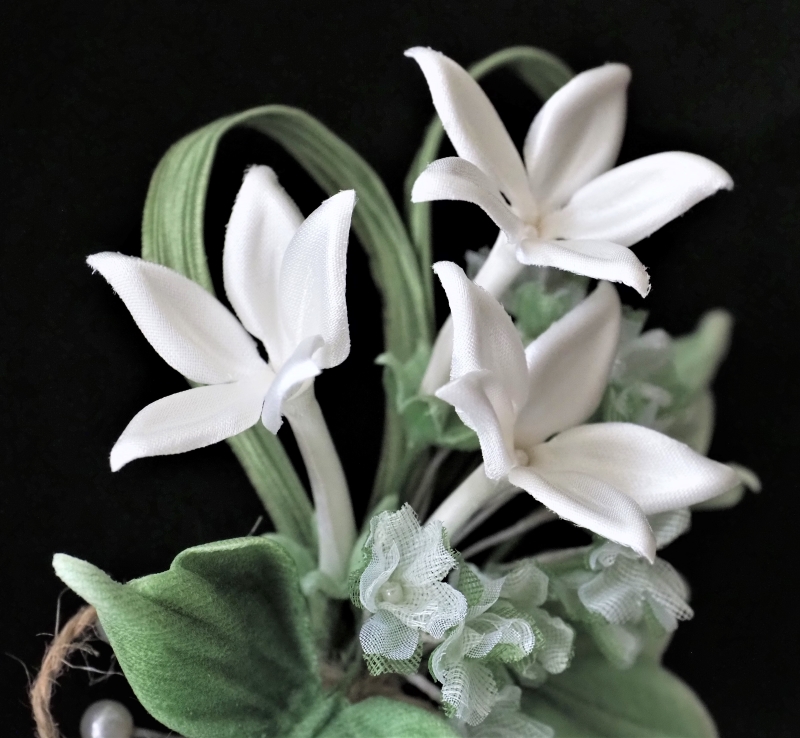


silk stephanotis closeup


June 2023

Stephanotis aka Madagascar Jasmine

Summer is not only about races and garden parties. It is also a popular wedding season. Learn to make fabric stephanotis, an iconic wedding flower that can be used in boutonneres, wrist corsages etc. in this 30+ minute video tutorial.

NEW this video tutorial can be purchased separately from my Patreon shop here
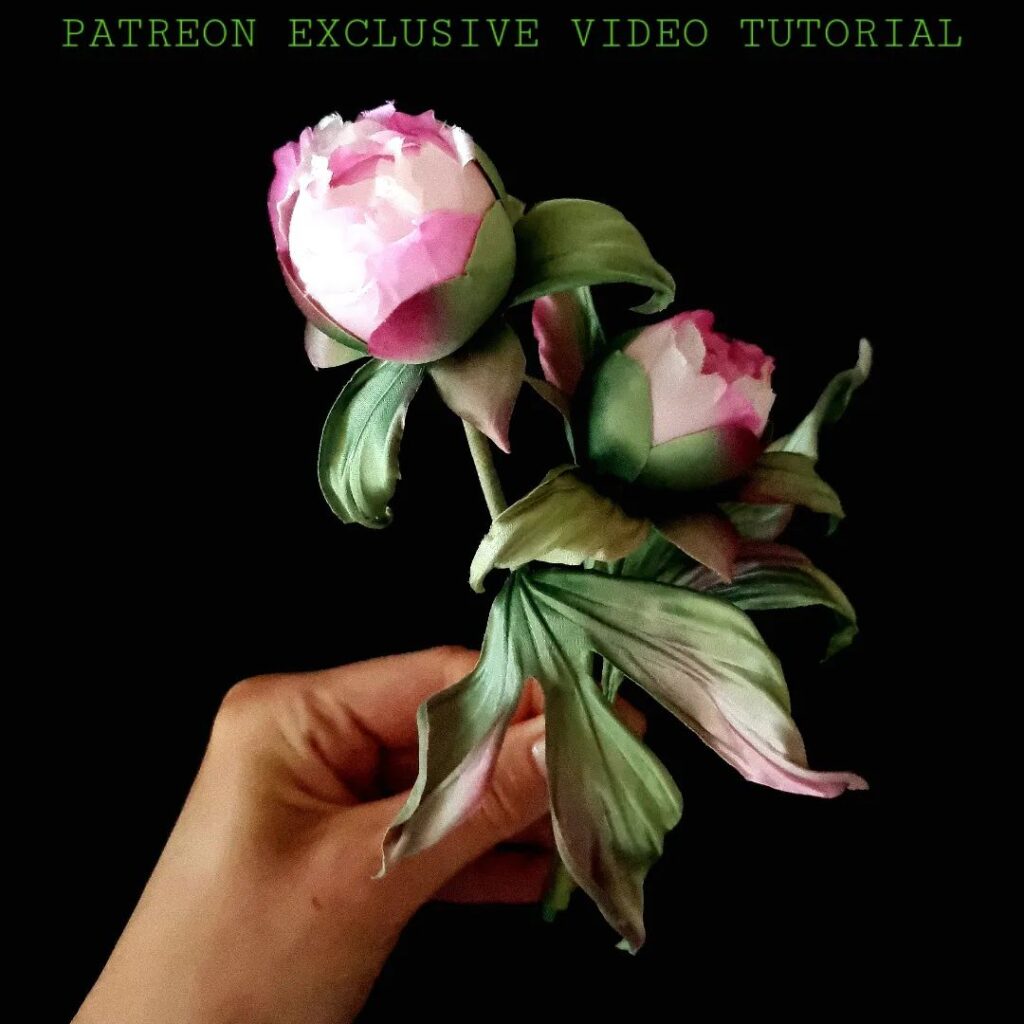
 

silk peony bud video tutorial


May 2023

Silk Peony Buds

This month is dedicated to one of the flowers in season, or rather its buds. Meet realistic silk peony buds complete with complex calyxes and leaves, all explained and demonstrated in not-so-mini mini video tutorial of 60 minutes.

NEW this video tutorial can be purchased separately from my Patreon shop here
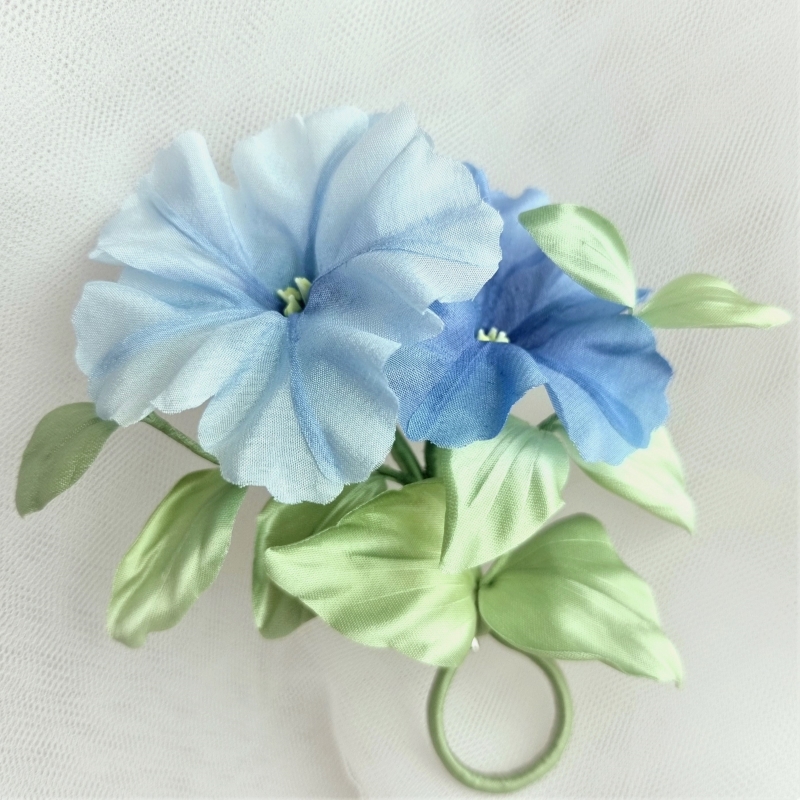


silk petunia


April 2023

Silk Petunia Foliage


Following a live demo on Silk Petunia Flower Earrings this month the exclusive mini video tutorial focuses on the petunia foliage. Use it to make petunia corsages, brooches and other pieces wih this popular and recognisable flower.


stylised fabric feathers


March 2023

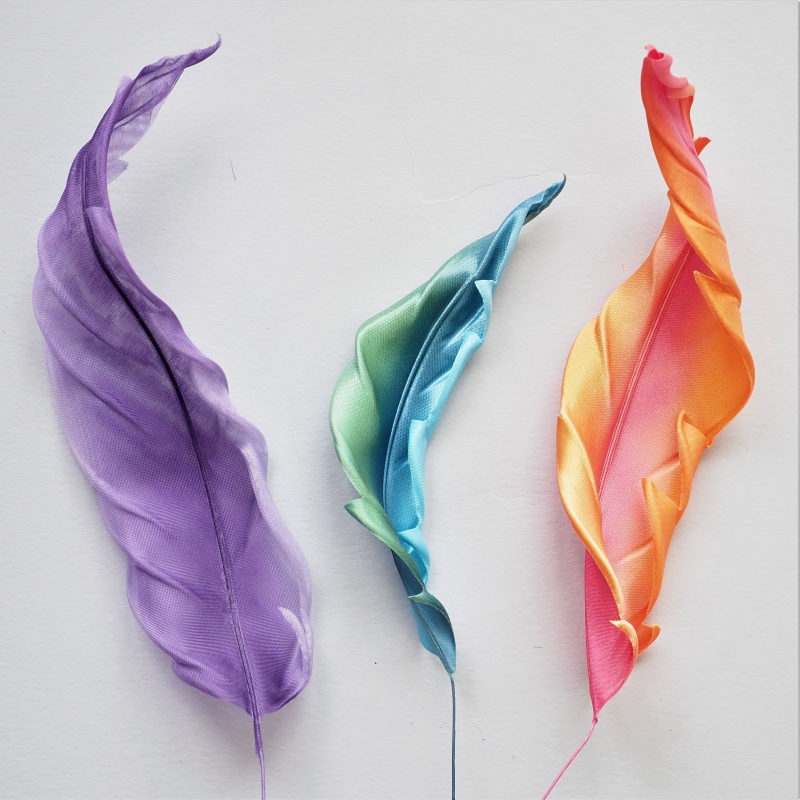
Stylised Fabric Feathers

This month enjoy an exclusive video tutorial + template on large stylised fabric feathers, which can be used for trimming hats and headpieces.


NEW this video tutorial can be purchased separately from my Patreon shop here


icelandic poppy centres


February 2023
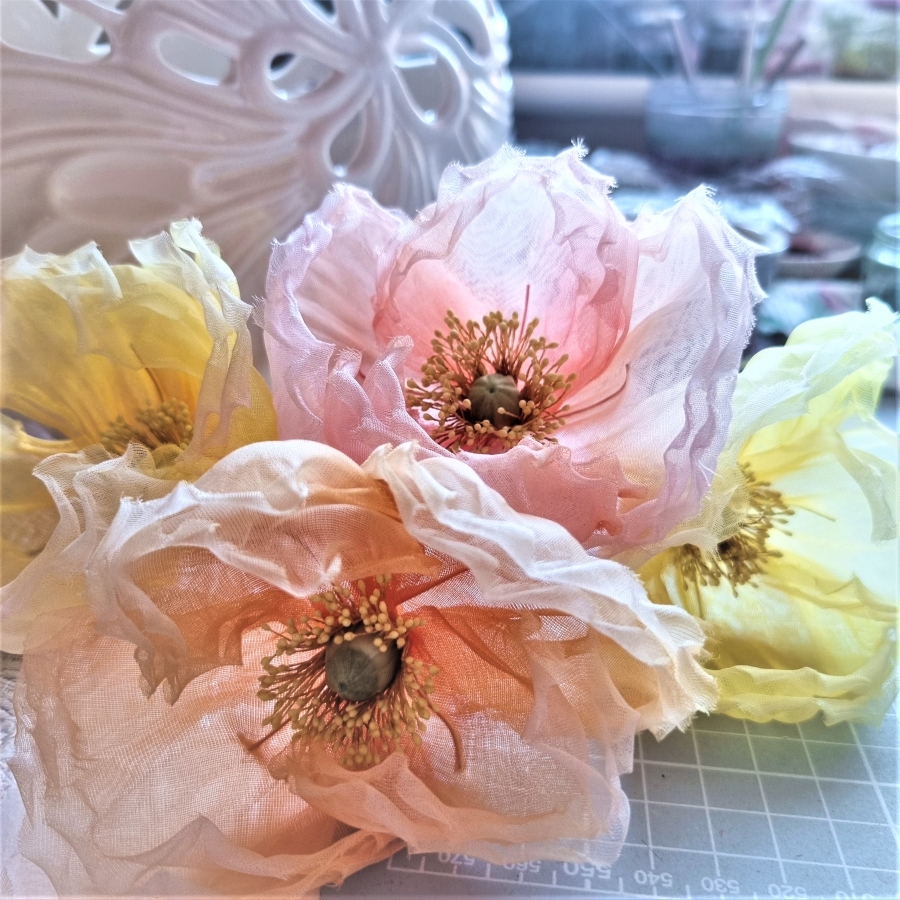
Icelandic Poppy Centres


This month enjoy a new mini video tutorial on how to create delicate centres suitable for Icelandic (and other) poppies.

mix viva magenta colour

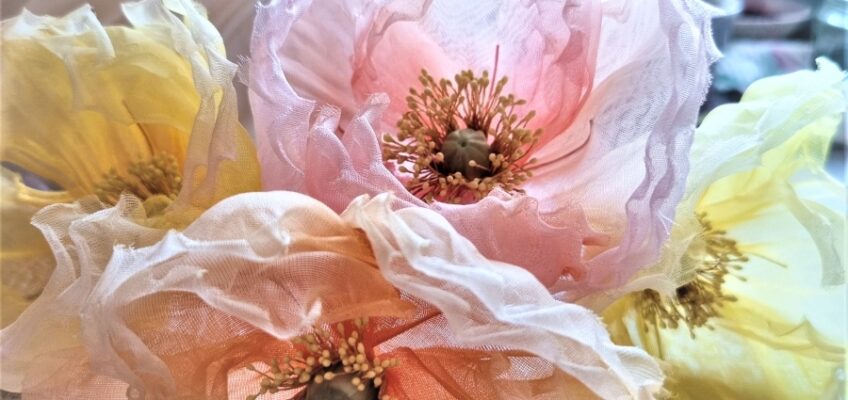
Let’s mix Viva Magenta, Colour of the Year 2023

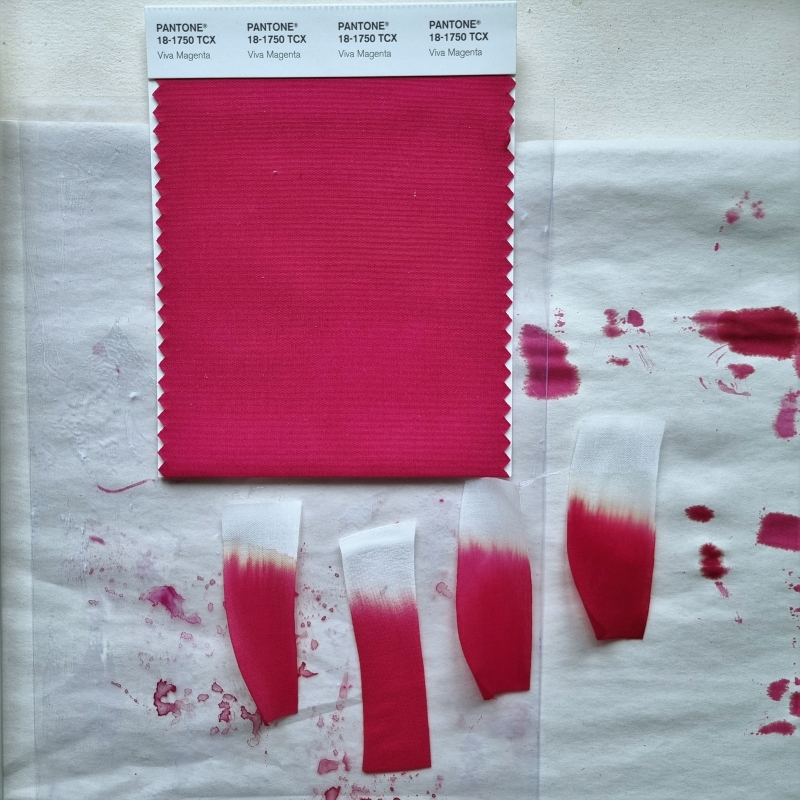
How can we mix Viva Magenta, colour of the year 2023?

viva magenta colour
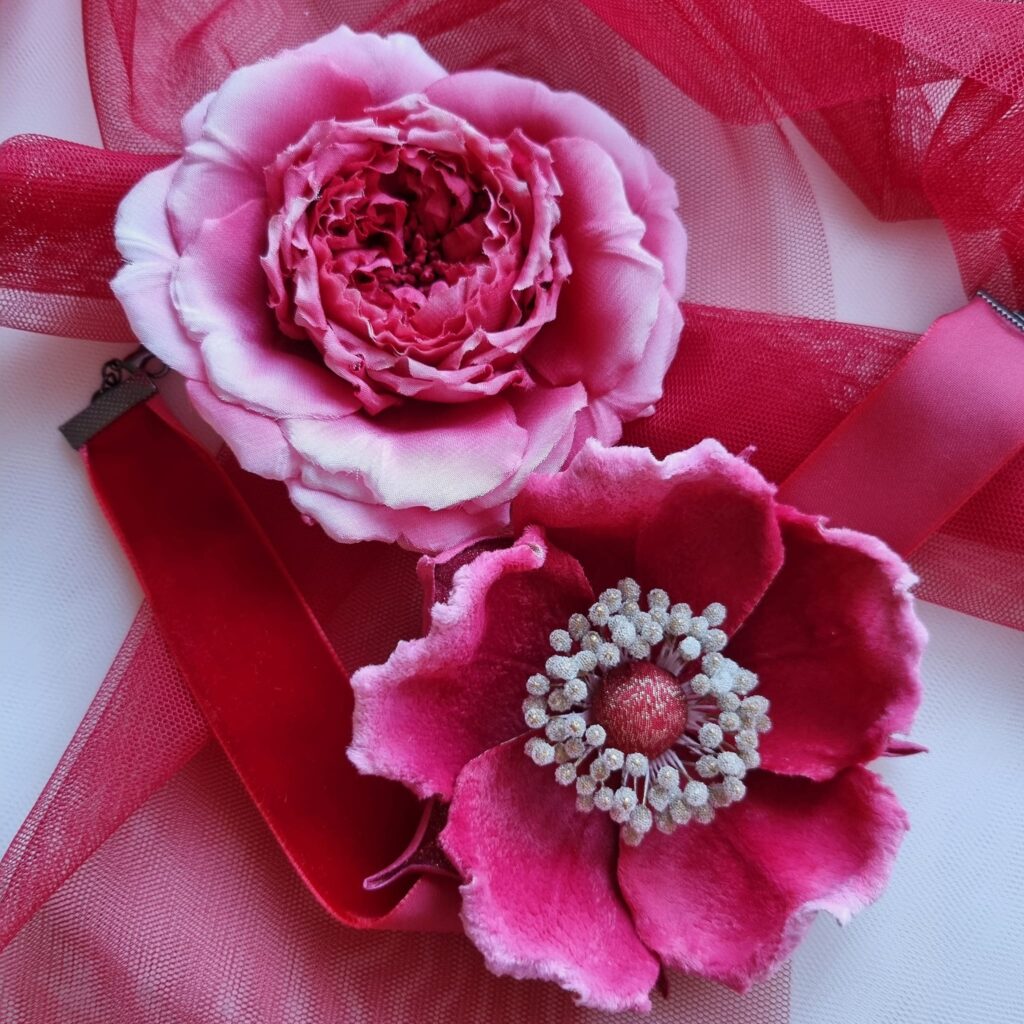
Silk Rose Chokers in Viva Magenta


Pantone’s Colour of the Year has been going for 24 years, influencing products across fashion, home furnishings, and industrial design.
For 2023 Pantone has chosen Viva Magenta, a nuanced crimson red tone that presents a balance between warm and cool.
Viva Magenta is brave and fearless, a pulsating color whose exuberance promotes a joyous and optimistic celebration, it is assertive yet not aggressive.
It is a shade rooted in nature descending from the red family, Viva Magenta is a perfect colour for many flowers and since we are going to live with it for the whole of the year 2023, I thought it would be helpful if I shared my ideas on how to mix Viva Magenta colour using Procion MX dyes for fabrics.


How I have mixed Viva Magenta using Procion MX dyes by Jacquard and Colourcraft


Please feel free to share your questions, ideas and successes in mixing Viva Magenta colour in the comments below this blog post.


Other blog posts on dyeing you might find useful


Colouring stamens for flowers

3 ways to dye silk petals to achieve the intensity of colour


How to dye silk flowers: white flowers

How to dye velvet leaves


You are welcome to follow PresentPerfect Creations on Instagram

velvet for making flowers

Velvet fabrics for making flowers

Velvet fabrics for making flowers

Velvet is a luxurious versatile fabric that is used a lot in flower making. Whether you choose to make certain parts of a flower from it or a whole piece, it is good to know which velvet to choose when and why.

velvet pansy tutorial
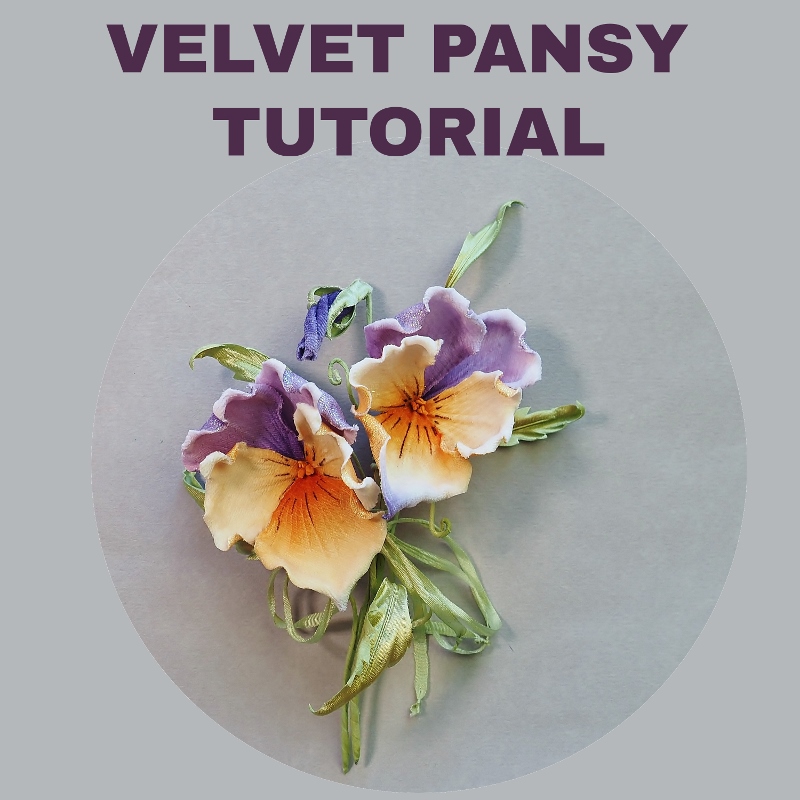
Velvet Pansy Tutorial

As autumn draws nearer I want to talk about velvet for making flowers. Velvet flowers are great for autumn-winter season and make perfect trims for felt hats too.
Since velvet was introduced for the first time in the Middle East back in 9th century it has always been associated with luxury, nobility, royalty. And indeed it was so expensive in the past that only wealthy people could afford it.

So what is velvet?
Velvet is a kind of woven tufted fabric in which the cut threads are distributed in an even manner in a short dense pile thus giving a very soft and smooth feel. Traditionally velvet was made using silk. Nowadays velvet is made from cotton, linen, mohair and wool along with silk. Lately, synthetic velvets too are being produced.

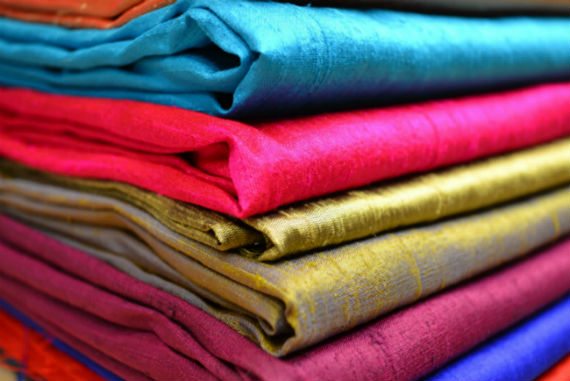
velvet gladiolus flower 2In flower making we are only interested in velvets made using natural fibers like silk, viscose or cotton. These fabrics dye well with Procion and other silk dyes and can be shaped with millinery tools.
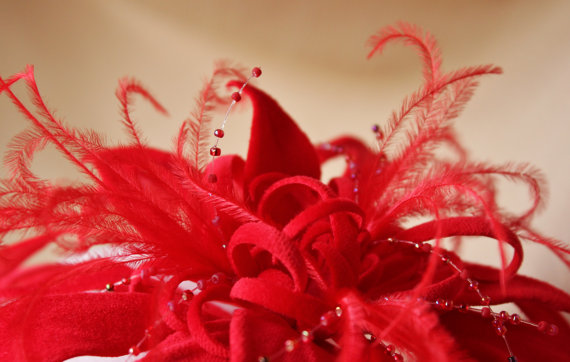
Velvet is perfect for making leaves (with the use of our Realistic Fabric leaves tutorial ), but whole flowers can be created out of it too. Think roses, pansies, gladioli, daffodils, orchids, camellias and many others.
Very often velvet is used for making flower centres or even for wrapping stems (as we did in CAMELLIA JAPONICA video tutorial)
Most of the techniques for working with velvet are very similar to other fabrics but there are some tricks and nuances that make velvet a little bit more delicate to deal with.
First is colouring. Because of its heavy weight, thickness and pile velvet absorbs a lot of water when being dyed. When left to dry on paper it will also lose a lot of water together with the dye. To achieve a brighter colour with velvet I always recommend drying flower parts on non porous surfaces like glass or plastic.
velvet fantasy flower 4Velvet is always dyed from the right side. Try to be gentle with your brush strokes not to mess up the pile too much.
As you can imagine velvet dries quite slowly too, especially on a non porous surface.
Another thing that can be tricky is shaping.
When shaping velvet take your time and do it slowly, letting the hot tool warm the thick fabric through and mould it into shape.
In most cases velvet flower parts are backed with a thin layer of fabric.
Because velvet has such a gorgeous sophisticated finish I like using lame fabrics for backing to add an extra touch.
Velvet can be backed with satin too.
Like all other fabrics velvet needs to be stiffened before it can be used for making flowers. A while ago I have already described one way velvet can be stiffened (please check out this post to find out how).

cotton velvet


The type of velvet I commonly use in my works is made of cotton and has a very short pile.

It dyes well and is easy to work with.
I have a limited quantity of fat quarters of this velvet  as well as different velveteen fabrics currently available in my shop, so if you’d like to try it in your designs, make sure you get one now.
Ah, and the best bit is that this velvet comes prestiffened. It means it is ready to be used either for leaves, petals or a complete flower. To buy a velvet fat quarter please use the button below


 purchase-velvet-button
press here to purchase velvet fabric


Subscribe to our YouTube Channel for more flower making videos.


Do you use any of these fabric stiffeners?

Choosing and using fabric stiffeners

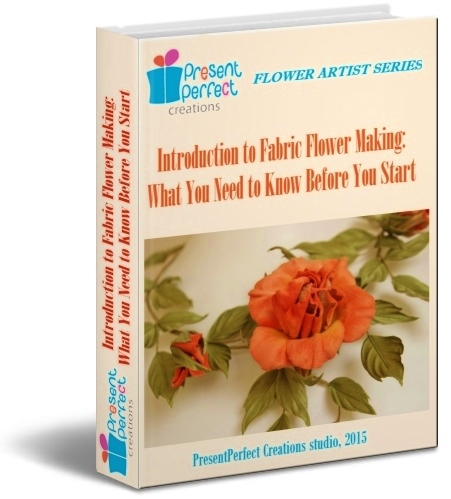
Introduction to fabric flower making ebook

Some of you know that I have recently worked on an e-book about fabric flowers and what one should know before they start making their own fabric flowers. The book has been released very is available for purchase here. You will find a lot of useful information re making fabric flowers that you did not know before.

Meanwhile I would like to share a chapter from the book with you today. This chapter talks about different ways of stiffening fabric before cutting out parts of flowers from it. I have included a number of recipes to try and test.
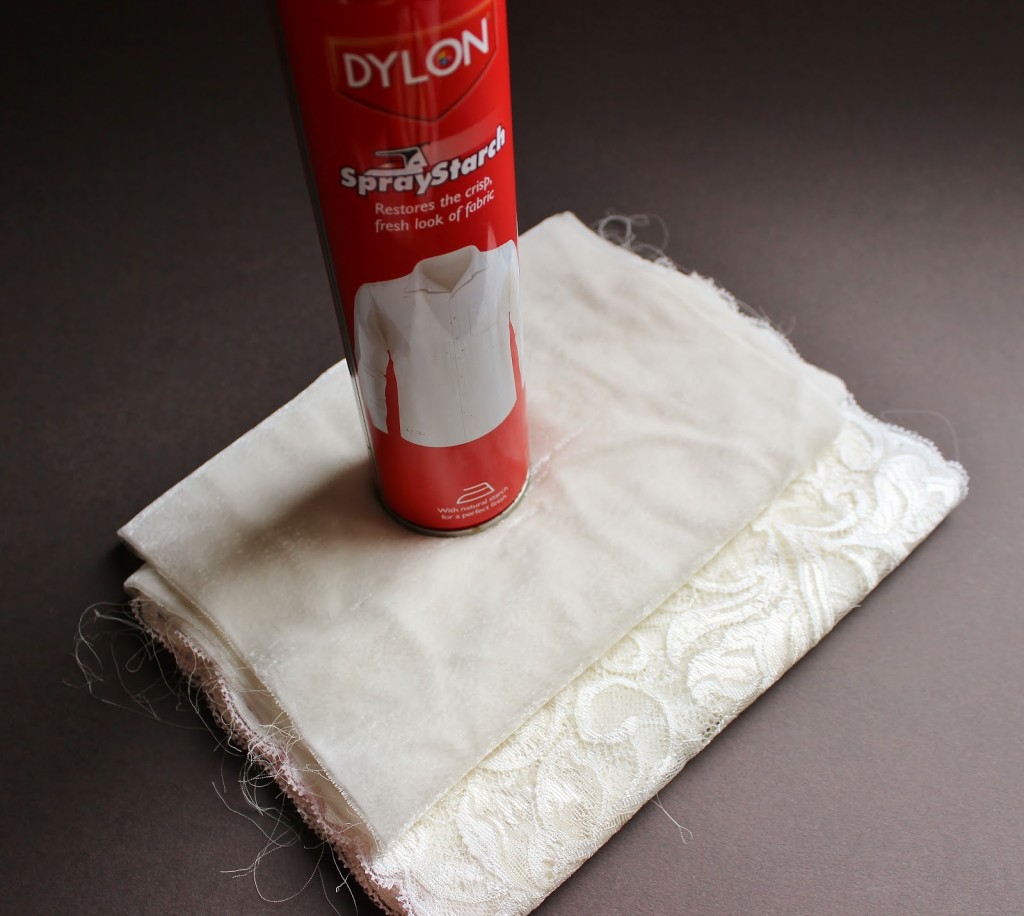
It might so happen that for different types of fabric you would have to use different stiffeners as they are made from different ingredients and thus work better or worse depending on a chosen fabric. For example, gelatine is not a good choice for lace as it covers the delicate fabric with a film filling all the little holes and gaps between the threads. I would recommend to try a spray starch for lace fabrics. Anyway, finding the best possible stiffener takes time and experimentation, so I wish you lots of patience and fun!
Here is the extract from my e-book. Please feel free to ask your questions in the comments below.

Recipes of stiffening solutions to try

All the fabrics must be stiffened before being cut out. This prevents fraying of the edges and allows you to shape the leaves and petals with the flower iron. It also helps the completed flower keep its shape. There are several different sizing options available. Each of them involves different ingredients giving you a choice of options to try and test.

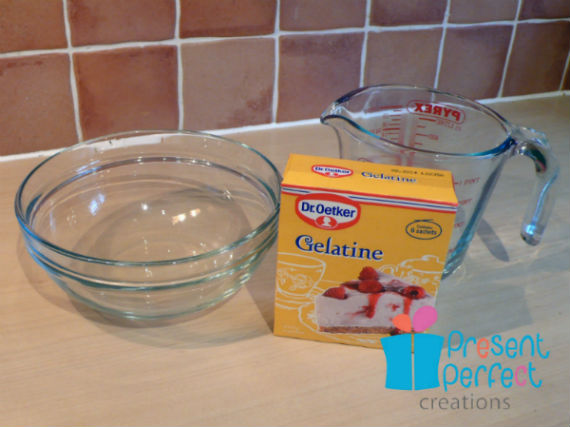
  • One of the most popular options is gelatine sizing. Use powdered gelatine from a reliable manufacturer that you can obtain from your local supermarket. For 200 ml of cold water take 2 level teaspoons of granulated gelatine and place it in a heat resistant glass bowl. Pour the water over it stir and leave to soak for about 1 hour . Generally the concentration depends on the thickness of the fabrics used – the thicker the fabric the less gelatine is needed. This concentration will do for medium-weight fabrics such as satins, crepes, habotai fabrics etc. For organza and chiffon you might want to use a bit more gelatine. Heat the soaked gelatine over a pot of gently boiling water (bain Marie).Constantly stir until all the granules dissolve and take the solution off the heat before it starts boiling. Then dip a piece of fabric into the solution (please be careful and watch your fingers as it will be boiling hot!), take it out and let it drain for a few moments. Then peg in onto a clothes line to dry completely.

1 stiff logo

  • The oldest stiffening solutions used starch, which you can still use today.  Here is a recipe to try. Mix: a tablespoon of cornflour (or cornstarch which is the same) and mix it well with a tablespoon of water. Pour this mixture into 200 ml of boiling water; continue heating and stirring until the mixture has thickened and no lumps appear. Take off the heat and stir in a tablespoon of good quality PVA glue like Sobo. You can apply the stiffening solution by placing a piece of fabric on a flat smooth surface like glass or plastic and using a sponge or a wide flat brush to spread the mixture evenly on the surface of the fabric. If the fabric has a right and a wrong side to it apply the solution onto the wrong side. Then peg in onto a clothes line to dry completely.
  • I successfully use spray starch (the one that is used for starching shirt collars) for stiffening such delicate fabrics like velvet and lace. Just spray the wrong side of your chosen fabric until it is well saturated and let it dry completely on a flat surface before using it.

delicate fabrics tutorial 1

  • Another option is to use wallpaper paste as sizing. Following the manufacturers instructions mix some wallpaper paste with water. Apply to a flat piece of fabric with a brush or a sponge and then hang it up to dry.
  • White PVA glue can also be used for stiffening fabrics. Here is one of the recipes: Mix 200 ml of warm water with 2 tablespoons of good quality thick PVA glue, stir well and then add a tablespoon of vodka or spirit and give a final stir. To stiffen a piece of fabric dip it into the prepared solution, let it drip and then hand up to

stiffy

There are other recipes for stiffening solutions one can prepare. There are also proprietary stiffeners that you can get from craft shops or online.

  • One of them which is readily available and can be bought on Amazon and elsewhere online is Stiffy. It is a water based stiffener which means you can experiment with the strength of the solution. I would recommend to start by mixing 1 part of Stiffy with 5 parts of water. Depending on the thickness of your chosen fabric you can vary the proportions and find the perfect solution which works for you.

To save yourself time and effort you can use industrially stiffened fabrics for making flowers. But even if you do so for most of your designs there will be times when you will need to stiffen unusual fabrics for some of your projects like denim, wild silk, linen etc. This is why I recommend to try a couple of solutions mentioned above and choose one that is easy to use, made of readily available ingredients and has shown  the best results to utilise in future.


Mademoiselle and camellias

fabric camellia tutorial
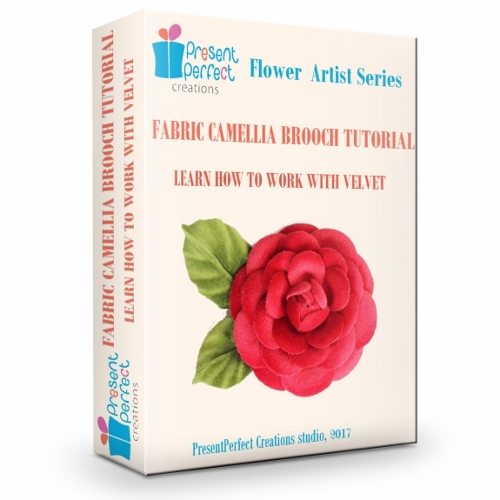
New tutorial on a FABRIC CAMELLIA BROOCH is out now. For more information please visit the tutorial page
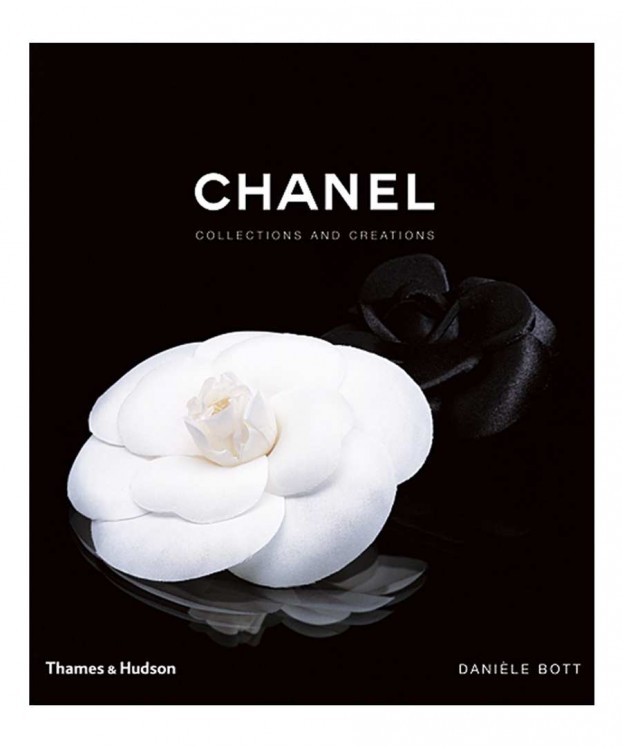
I am currently enjoying reading Chanel,  a book by Danielle Bott devoted to this famous fashion house, its founder, Mademoiselle Chanel and those revolutionary changes she brought into the world of fashion. The book covers five central themes  – the signature suit, the camellia, jewellery, fragrances and make-up.
As you may have guessed I was naturally drawn to the chapter which talks about the camellia, the favourite flower of Coco Chanel. Very much inspired by masculine clothes, she borrowed the flower from a new generation of dandies, who casually pinned a camellia on their jackets. She was enchanted by its perfect, almost geometric roundness. Besides, the camellia possessed the added advantage of not competing with her favourite perfume, as camellias are scentless.
Coco Chanel believed that beauty is nearly always born from radical simplicity. The camellia with its minimalist lines, well-defined curves and almost Art Nouveau  design was destined to appeal to her. The camellia became Coco’s symbol, her icon, one of the recurring elements of her style, using it as an accessory in its natural form as well as interpreting it in unexpected ways in her designs.
An essential element in Mademoiselle’s collections, the camellia is now reworked and reinterpreted by Karl Lagerfeld. The camellia stars in every catwalk show, always present, always surprising. Lagerfeld remodels the camellia in every imaginable way for every season in all sizes and fabrics in every one of his collections. In couture, accessories and fine jewellery, in every material – satin, velvet, leather, canvas, tulle, chiffon and tweed – the camellia is a spirit of fashion. Suffice it to say that every year more than twenty thousand camellias are handcrafted in Lemarie’s flower and feather atellier, one of rue Cambon’s satellite ateliers.
Camellia was one of the first flowers I created in silk. Since then I have experimented with other fabrics  (denim), genuine leather  as well as patterns, sizes, types of accessories and ways of shaping its petals.

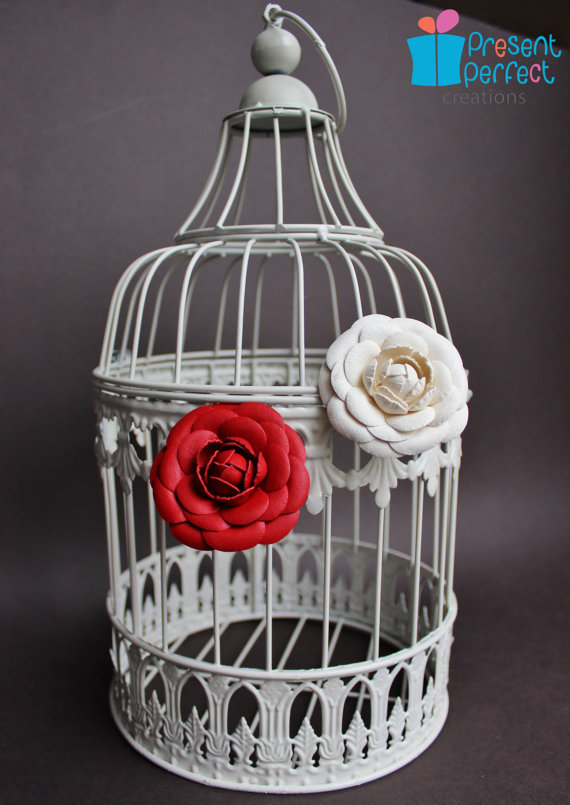
leather camellia brooch
Genuine leather camellias
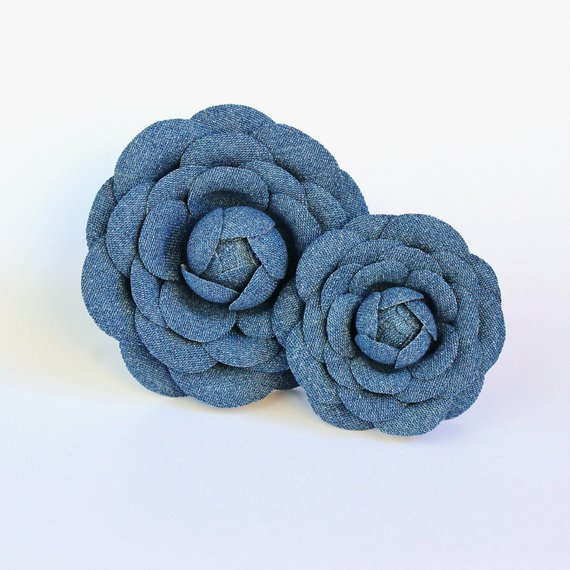
Its almost perfect form is best shown when dense material like genuine leather or denim are used.
denim camellia brooches
Distressed camellia hair clip
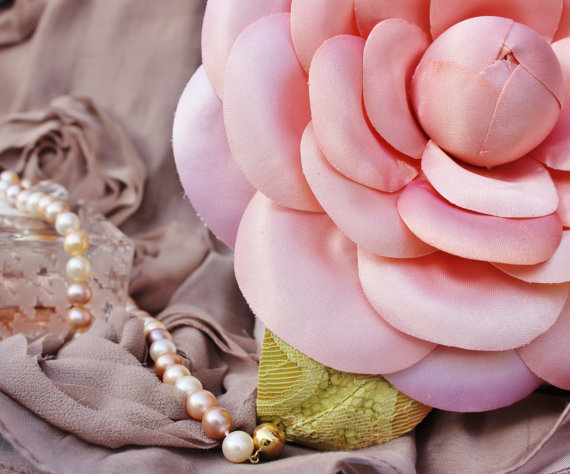
However, silk satin with its noble sheen and smooth surface remains a good choice. How about an oversized camellia made into a bridal fascinator?
silk camellia
Oversized camellia fascinator in powder colour
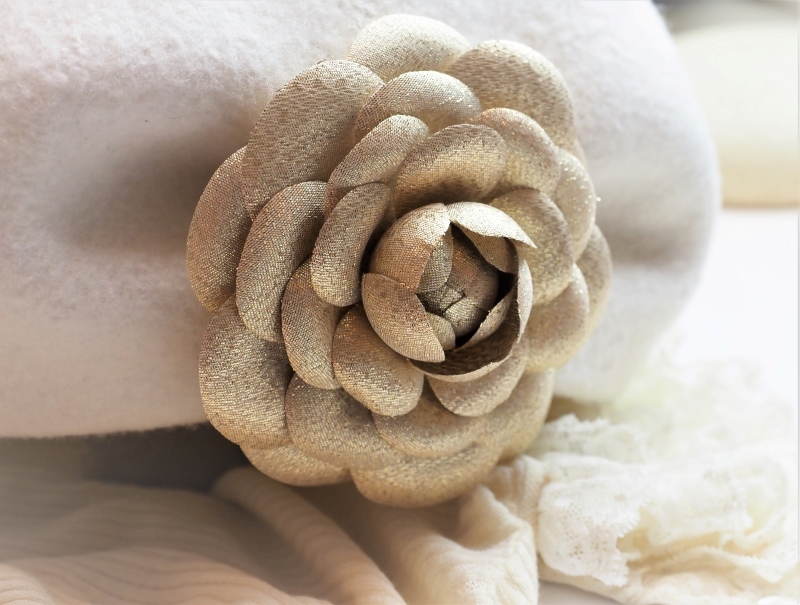
For the above shown camellias I used a pattern which is very similar to the one of Chanel – geometrically round and very regular in shape. The other pattern I use is closer to the camellia flower in its natural form like these bridal camellias:
Golden Metallic camellia

As I am planning my next collection, I have some new fabrics to experiment with, and camellia will be high on my list of flowers to experiment with, as its simple symmetrical from and clean lines appeal to me a lot. Do they to you?

Leather and suede flowers

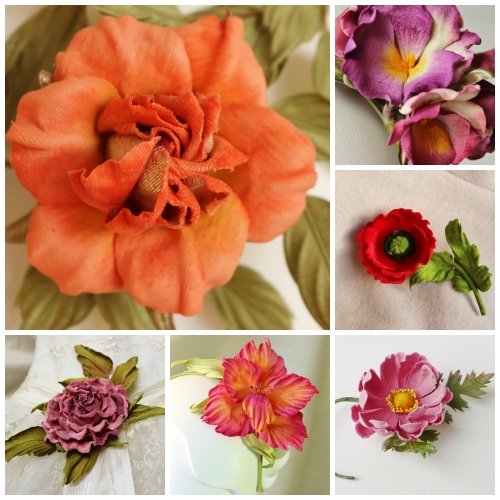
As I have mentioned before the techniques similar to the ones I use for silk flowers can be used for genuine leather and suede in order to make floral accessories. Although there are some specifics when working with leather I use the same set of tools to shape leather petals and leaves. 
I must say that leather being such a rich and luxurious material requires less work done to it to make an accessory when compared to using silk. In my experiments I have tried both leather and suede and as any natural material they proved to be great to work with.
I would like to share several of my latest leather accessories with you.
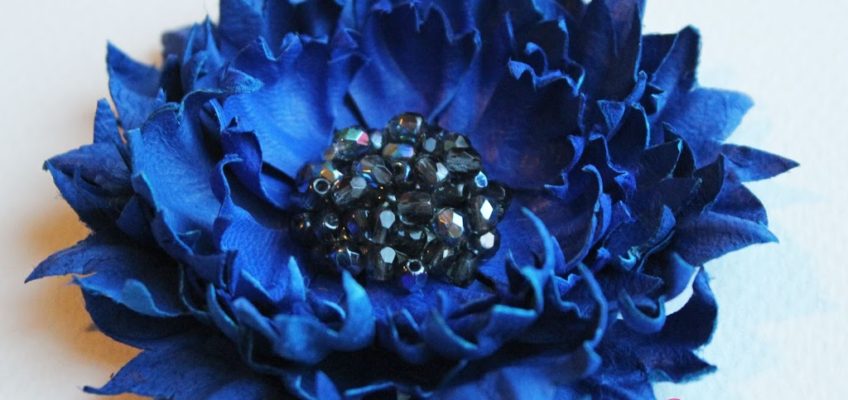
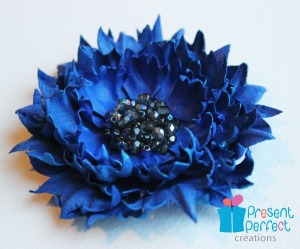
This fantasy cornflower brooch is made of intense blue leather and decorated with faceted glass beads.

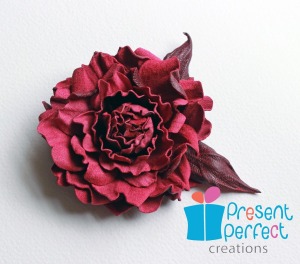
The fantasy camellia in rich berry colour is made of both suede (the petals) and leather (the leaves). It is finished with a brooch base. The corsage is available from my Etsy shop. Not only great for a jacket or coat lapel this handmade fantasy camellia brooch is perfect to decorate your belt, handbag or hat. It makes a great gift too, especially for the forthcoming Mother’s Day.
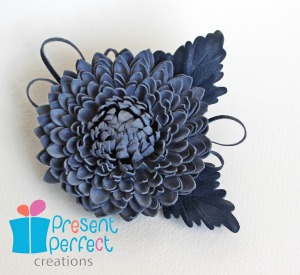
The aster brooch is similarly created with genuine suede for the petals and leather for the leaves. This corsage in grey blue colour with navy blue leather leaves is a perfect accessory to go with denim clothes this coming spring/summer season. I can also see it complementing floaty cotton dresses 😉

Alternatively it can decorate your jacket, belt or a handbag. And again you can consider it a nice gift to your Mum or a friend. This fantasy aster brooch is available here.

I would be pleased to hear your comments on these leather accessories or ideas of how to incorporate them into our outfits this coming season.

Thanks for your time!

P.S. In this post here I am sharing some tips on stiffening leather for making leather flowers. Hopefully you will find it useful