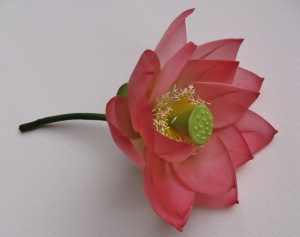
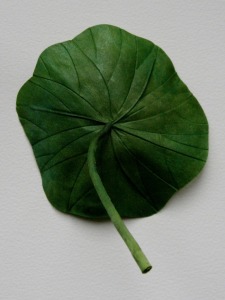
Silk magic
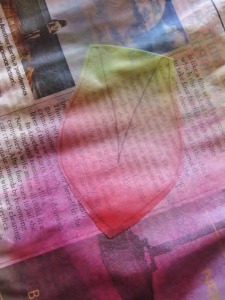
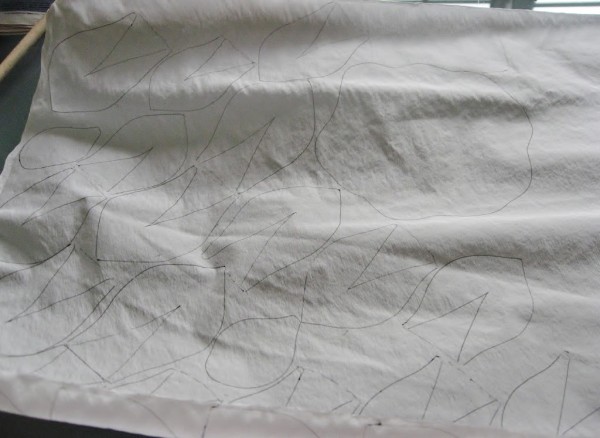
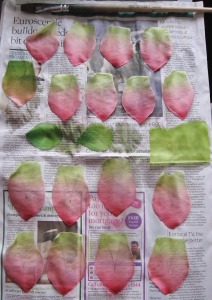
2. We colour the petals (as in hte picture) and leaves using silk colours and ordinary paper.
3. Once all the elements are coloured we leave them to dry on a dry sheet of paper. After they have dried they might need some ironing to make them flat and straight as elements cut out of satin especially tend to roll as they are drying. Just remember to switch off the steam on your iron as it will ruin the stiffeness of the fabric and you will have to start again.
4. Here are all our petals and calyx lobes nicely cut out + 132 handmade pairs of little stamens all ready for the next stage.
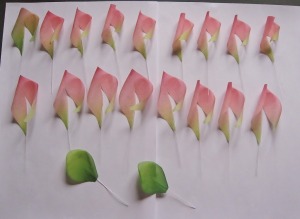
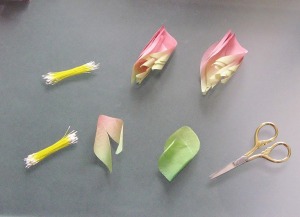
5. We glue pieces of thin wire wrapped in crepe paper to each petal and to the calyx lobes
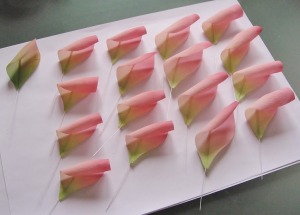 6. Then we glue the petals along the cut in the middle so they have a boat-like shape (in the picture they are desperately trying to roll though)
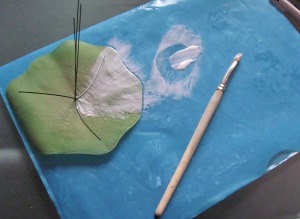
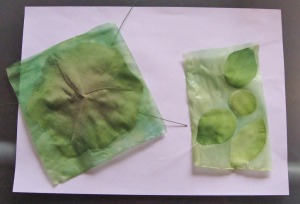
7. We apply a thin layer of PVA glue onto our leaf to then glue it to a piece of hand painted pongee (a very fine type of silk fabric)
8. Here is all our green elements doubled with pongee
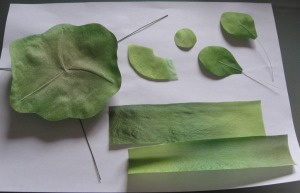
9. And now the greenery has been dried, cut out and waiting to be shaped
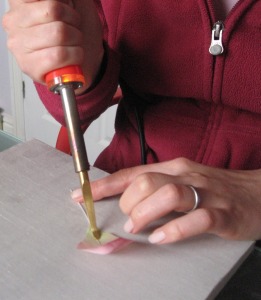
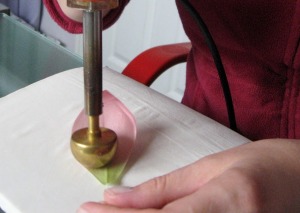
10. But firstly we shape all our petals using 3 different tips
11. In this picture I am using a big boule
12. Then we move on to the leaf and shape the central veins
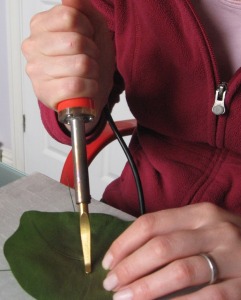
13. After that we draw smaller veins that will make the leaf look a bit more like a real one
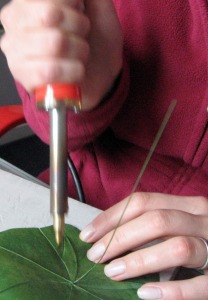
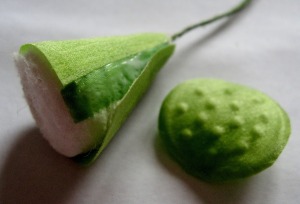
14. Now this is a difficult step when we need to make a cone out of cotton wool and then cover it with our silk elements. This will form our seed box
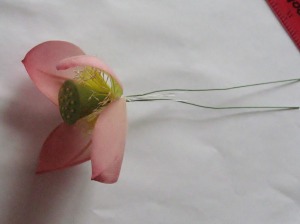
15. Here is our flower with 4 petals attached to the seed box and stamens
16. That’s how the flower looks with 12 petals on
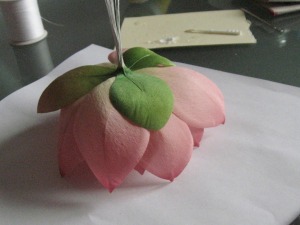
17. The flower has all the 16 petals and calyx lobes attached
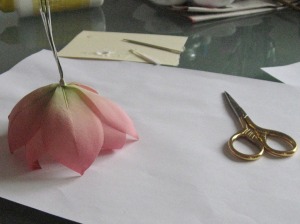
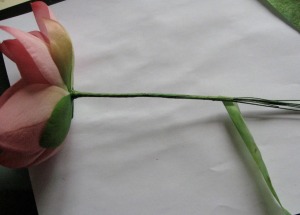
18. After that we need to cover our stalk with pongee
19. Then we wrap the stalk in a piece of hand painted satin silk
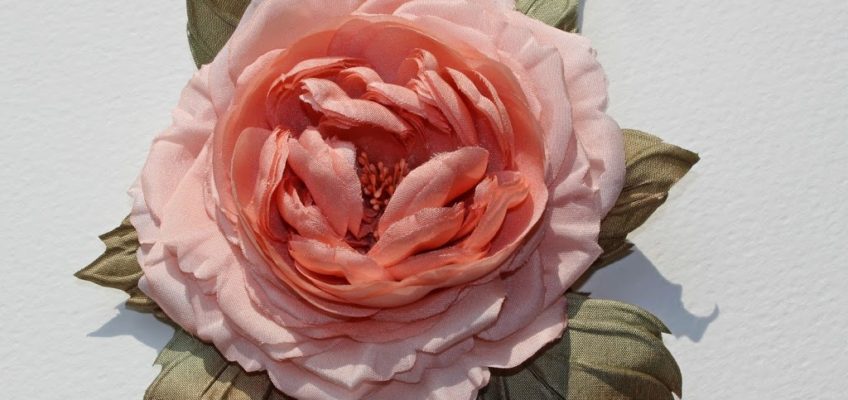
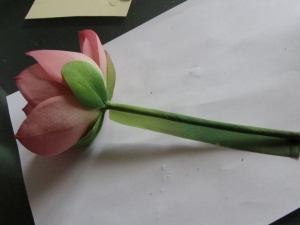
20. Et voila! Our flower
… and the leaf are ready! ☺

