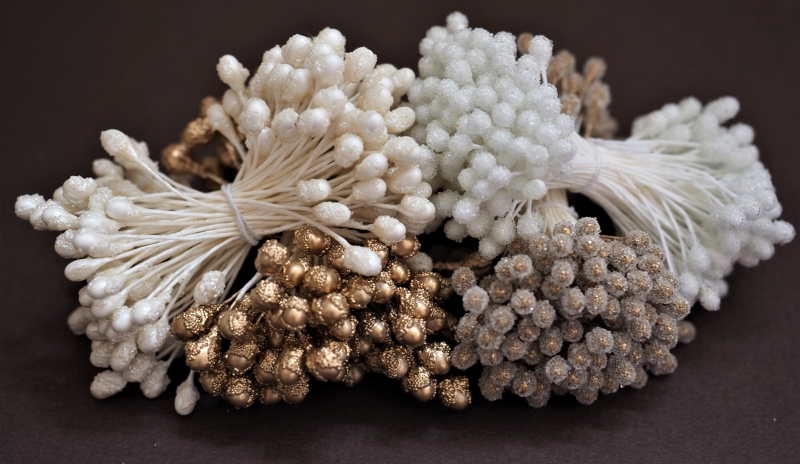
 Stamens make the heart of an art flower. They draw attention to its core. That’s why it is so important to get the size, the colour, the shape and even the quantity of your stamens right when creating your blooms, whether out of fabric or leather.
There are a wide variety of stamens, very realistic as well as stylised ones that are available to purchase. You can check out the current availability in our online shop here. Today, however, we are going to explore another option.
Did you know you could make your own flower stamens to be used in fabric and leather flowers in case you do not have access to factory made or for some reason they are not suitable for your project?
Often tiny stamens for small and blooms can be difficult to obtain. That’s why today I am showing how to make very small stamens similar to those most roses have. You can also use them for cherry blossom, apple blossom and other small flowers.
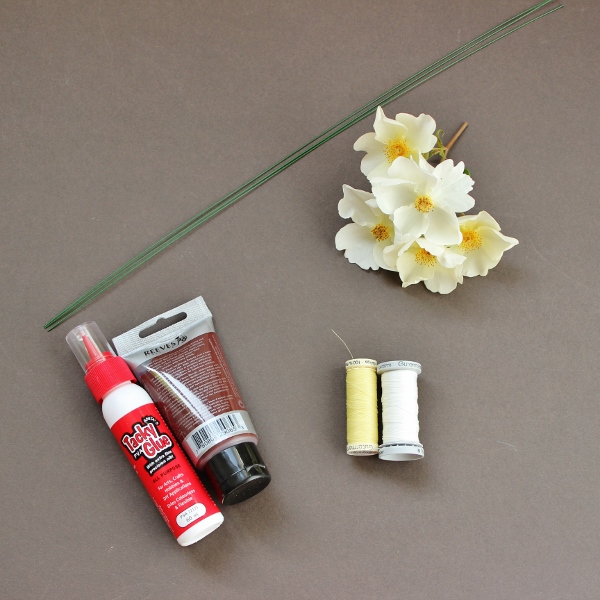
What you’ll require is some PVA glue (or other stiffener), thick cotton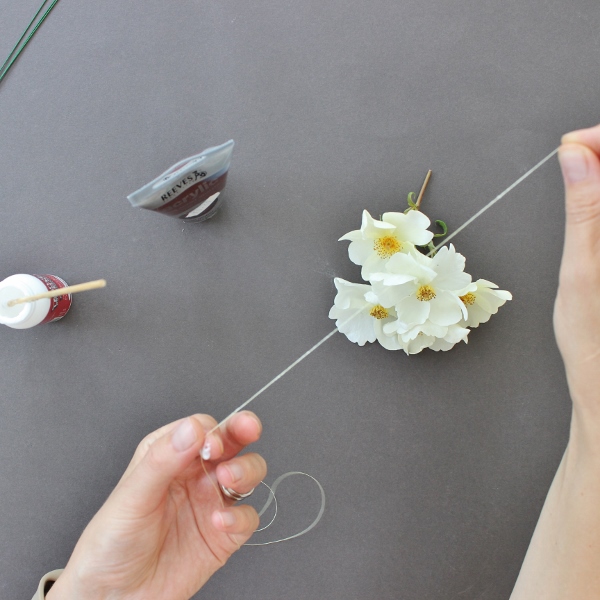
thread and some acrylic paint in brown , yellow or other suitable colour.
First, the thread needs to be stiffened. That will give it some body and let the stamens hold the shape in a flower once assembled. You can starch it or use your preferred stiffener. I simply cover a length of thread with PVA. To do that apply a blob of glue on your index finger and run the thread between the index finger and thumb to coat with glue as shown.
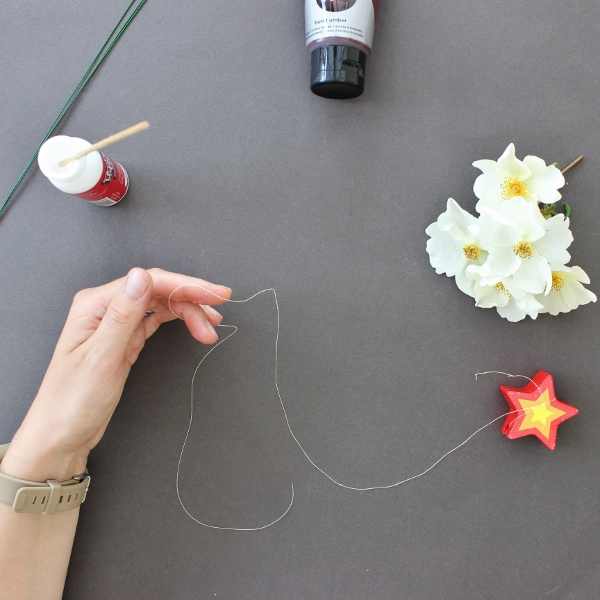
To make sure the stiffened thread dries straight I like using a weight and hang it to dry (I am using a large wooden star as a weight in the photo). Because you will need to make a considerable amount of small stamens for each flower, try hanging several long threads at a time and leave them to dry.
Once the threads are dry and stiff (if you use PVA it dries rather quickly), cut them
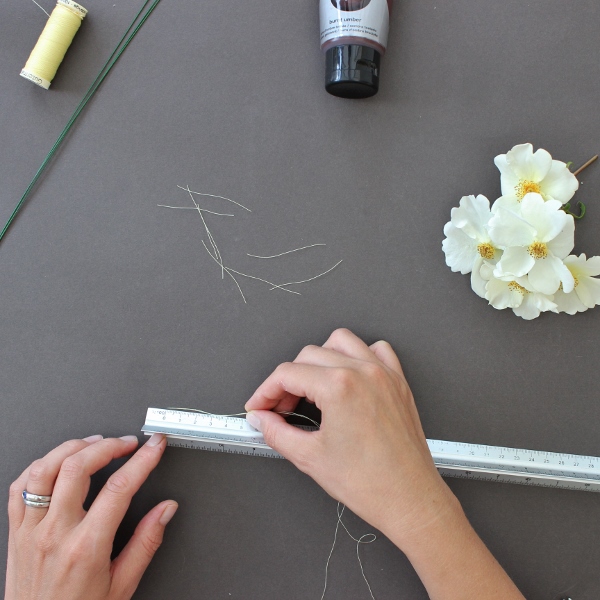
up into individual stamens. The standard length of a double sided stamen strand is around 5 cm, but you can always adjust the length to suit your project and make them either shorter or longer.
Now squeeze out some acrylic paint onto a piece of card, fold a piece of thread in half and dip the tips into the paint. To get enough paint onto the tips try dipping a couple of times. The thicker the thread the more paint will stick to it and stay on the tips.
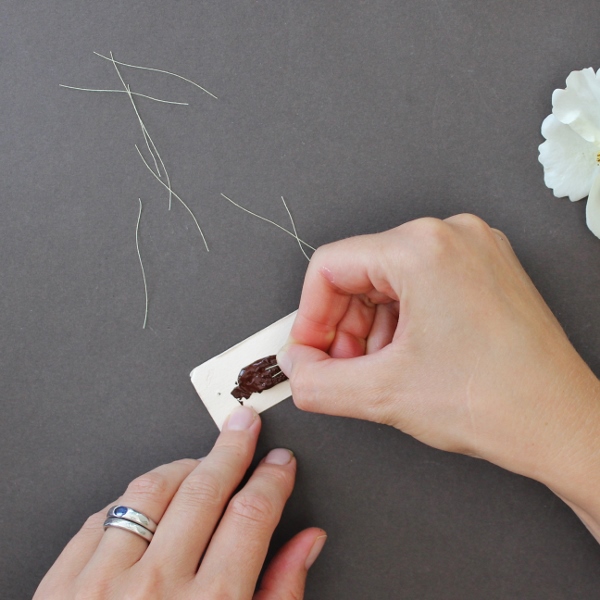
I am using a very thin thread here so the drops of paint on the tips are quite small after one dip. For more impact please use a thicker thread (and / or more paint).
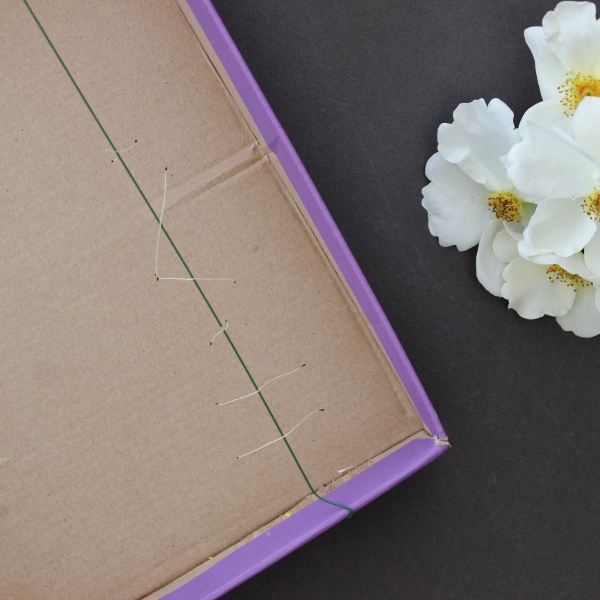
Now the freshly made stamens need to dry. I am using an improvised rack created by placing a couple of thick wires across a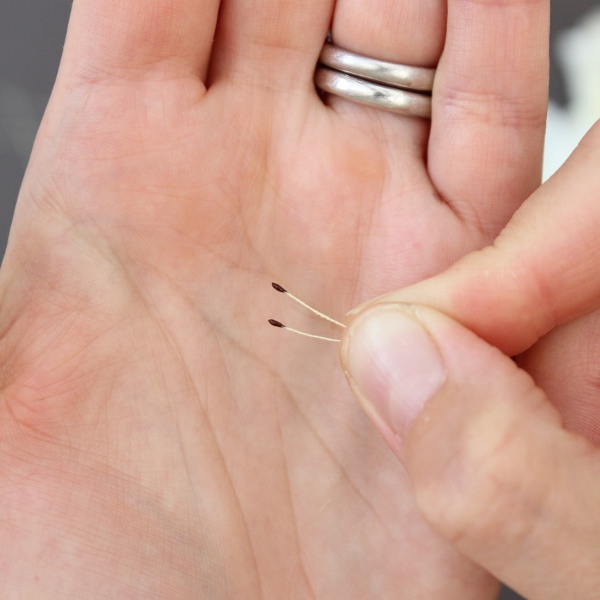 box or a box lid (pictured). Simply hang the stamens in rows over the wires and leave them to dry completely. Make sure to space the stamens well apart to prevent them from sticking to each other when the paint is still wet. In a couple of hours you have got your handmade stamens ready to be used.
Now you know how to make flower stamens. However, this by no means is the only way of making flower stamens. We might be exploring other options in our forthcoming blog posts and tutorials.
Stay tuned!
Below you will find some tutorials that cover the use of different stamens in flower making.



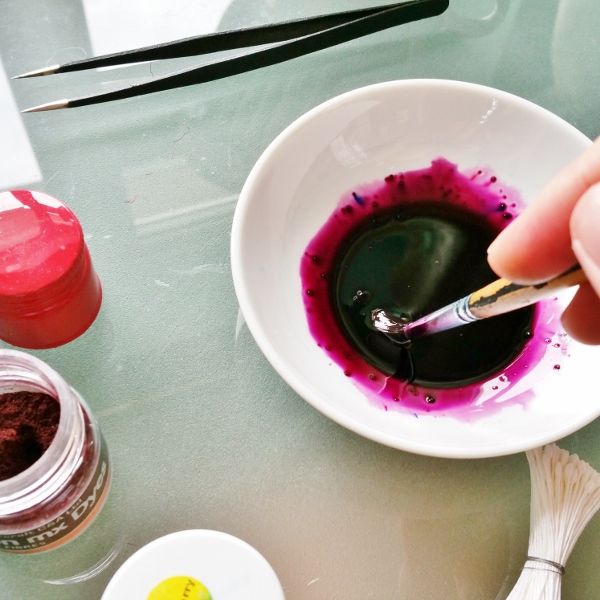
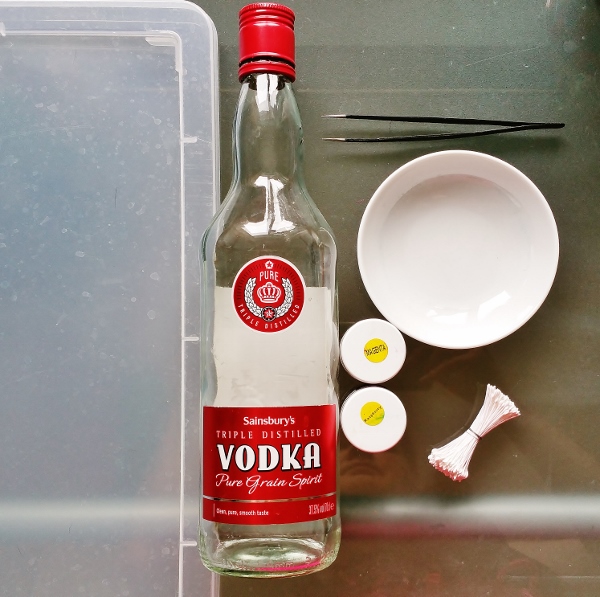 Colouring stamens for flowers made easy!
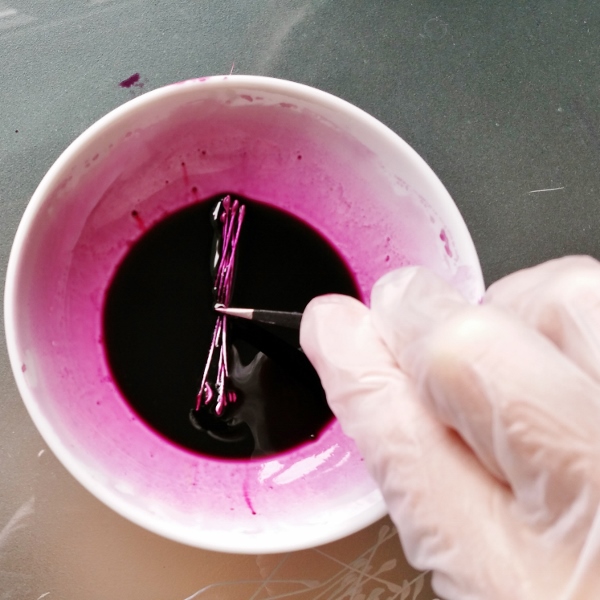
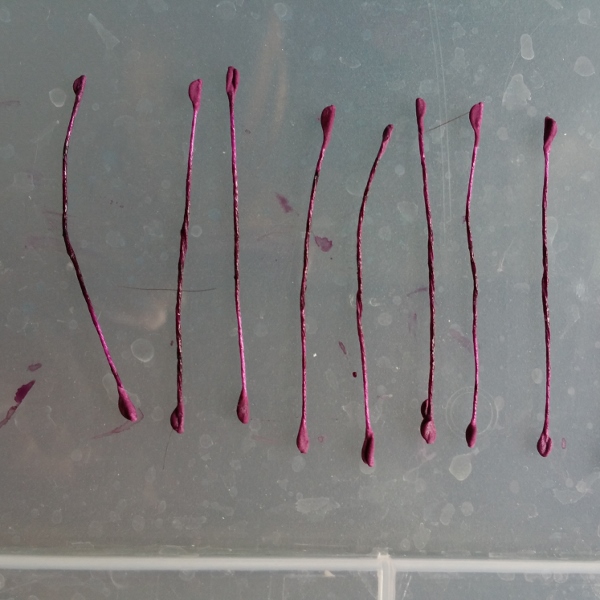 Having dyed a small bunch of stamens put them onto a prepared non porous surface like glass or plastic and leave to dry. It is important that the stamens are separated (see the photo). Otherwise they will stick together as they are drying.
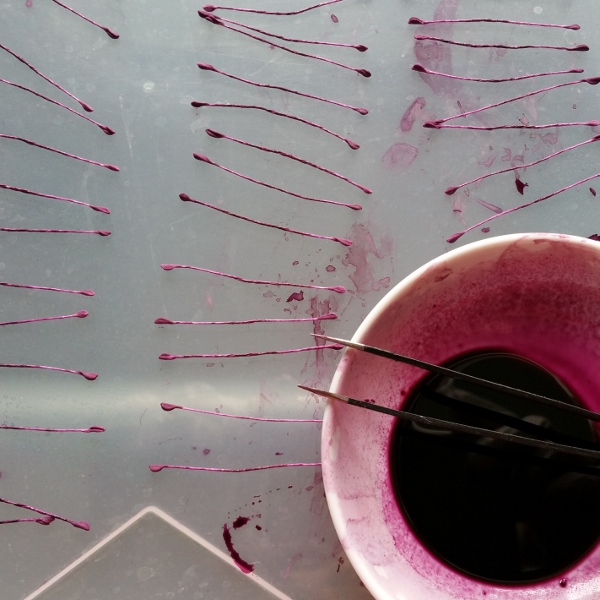 dry on the non porous surface. Please do not use paper as the wet stamens stick to it.
