viva rolled edge rose tutorial

Basic Method of Stiffening Fabrics for Flower Making

This basic method of stiffening fabrics is an easy and affordable method which allows you to prepare your own fabrics for flower making.

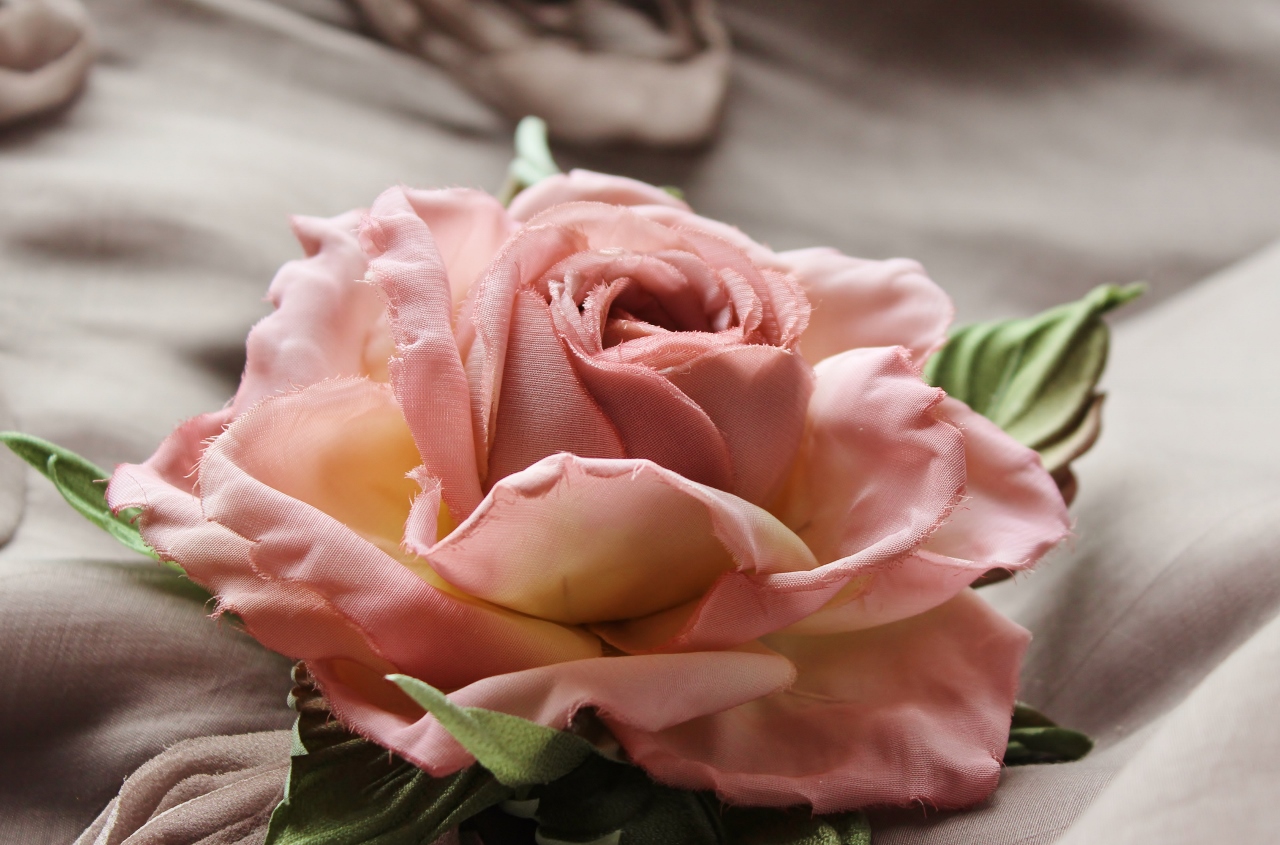
All the fabrics that are used in flower making, need be be stiffened before use. This makes fabrics more stable, gives them body and rose course kits 
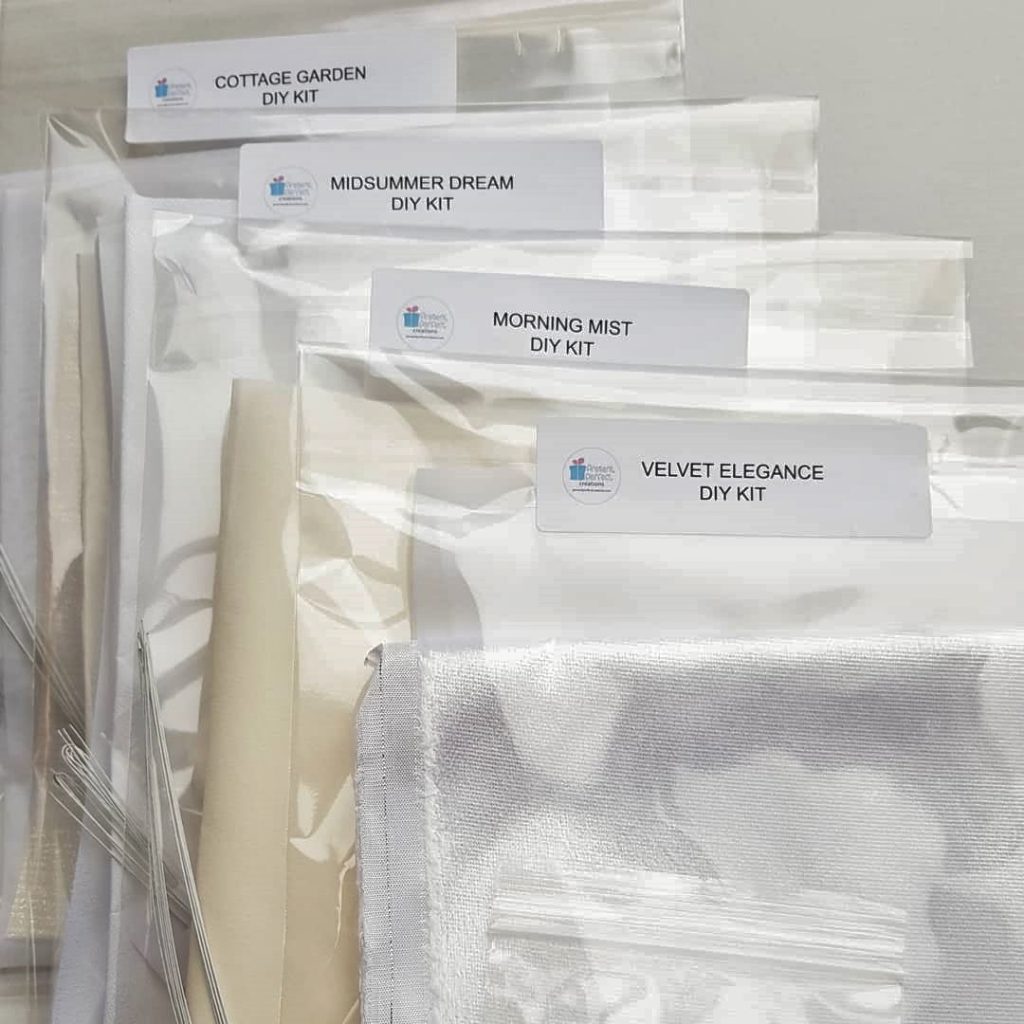
ultimately allows petals and leaves keep their 3D shape.

There are different ways of stiffening fabrics and different stiffeners one can use. Below in a short video I am sharing a basic method of stiffening fabrics for flower making using Stiffy (check it on Amazon), a PVA glue based stiffener. if Stiffy is unavailable where you live, you can create your own stiffening solution by diluting some good quality white fabric PVA glue (check your proportions on a sample first) and use it to stiffen fabrics in the same way.

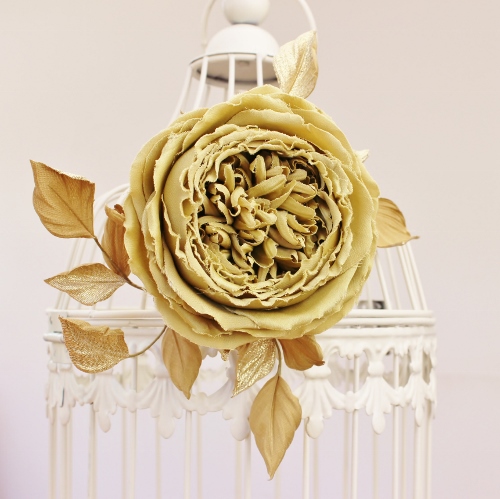
To browse professionally stiffened velvets and metallic fabrics for flower making visit this section. These specialist fabrics can make a great addition to the plain silks and cottons you have stiffened yourself.

📌  If you wish to know how to stiffen velvet and lace read this blog post.


You can subscribe to my Youtube channel here 
or become one of my Patrons on Patreon here

make your flowers quicker

How you can make your flowers quicker

In this fast moving world, time is of the essence. We all want to achieve great results, make more beautiful pieces without wasting much time.silk parrot tulip hat Is that even possible?
The question I get asked time and time again is about the production time of handmade flowers, or how you can make your flowers quicker. If you have ever tried to make a flower from scratch it should come as no surprise just how much time every piece takes to produce.
I am afraid I have not got a magic pill to offer here. However there is a number of best practices and recommendations I would like to offer today that we can (and should!) apply to improve our production times.
Let’s have a look at what they are.
1. Invest in a set of reliable tools and a pair of tweezers if you are serious about making flowers and make them often. They will deliver great results in shorter times and you will enjoy the process as well as the finished piece in a shorter time with a better result, too.
2. Use specially designed brushes to dye fabrics for your flowers. Not only do they work quicker and deliver better results, they are such a pleasure to use, too. You will love dyeing fabrics with these magical brushes☺
3. Get yourself a decent stapler and use it to staple several layers of fabric. This will allow you to cut out petals/ leaves in 2-4 or more layers (wherever possible). I really love mine and highly recommend it (see here).
hand dyed pink leather rose on a stem4. Once you’ve stapled 2-4 layers of fabric go on and dye your petals or leaves in 2-4 layers (wherever possible). Not all fabrics will allow for that. Lightweight to medium weight silks usually dye great in 2 and even 4 layers. Other fabrics should be fine in 2 layers. Test beforehand to find out exactly how your fabrics behave.
5. Whenever the design allows you, shape your petals in 2-4 layers. Petals for most roses can be shaped in the groups of 2 or 4 petals which speeds up the process. I talk about it in the relevant tutorials. Make sure you use the right pad for shaping, soft or medium as they matter too.

6. When possible use already dyed silks (that you stiffen yourself). This can potentially save a lot of your time and can work well for some projects but not for all.

Opt for professionally stiffened fabrics if the design benefits from it.
They might cost a bit more, but your time (and the result!) is more precious. I recommend trying metallic fabrics for festive and wedding designs, as well as Rayon Satin and Cotton Velvet for the foliage.

7. Ribbons, both rayon and fine rice paper are great to use and can save you time when working on certain projects. White rayon ribbon can be dyed to match, whilst green can be easily used as is with smaller and larger flowers to helpdenim butterfly brooch you make your flowers quicker.

8. In flower making every little helps. Make sure your glue is right for the job. Normally 2 types of glue are required in flower making: a very thick PVA glue for putting flowers together and a more liquid PVA glue that  is used for backing leaves and petals. Obtaining some specialist flower glue can make a lot of difference when assembling flowers.

9. I find making 2 or 3 or even more of the same (popular) flower design works out quicker for me. Although I still have to go through all the stages of cutting out, dyeing parts, backing and shaping them, and then assembling into flowers, I’d use less time compared to when I have to make flowers one after another. Keep this in mind.

10. Good news: practice makes perfect. It really does with handmade flowers. So keep up the good work you are doing and enjoy it whilst enlisting all the best tools and other supplies that make your flower making quicker and easier. ♥

Wedding silk flower circlet

Silk Flower Circlets

Silk flower circlets aka flower head wreaths / garlands are yet another way to showcase your handmade silk flower circlets

flowers.

The simplest way to make a circlet / wreath is to create a closed circle using the stems of you handmade flowers (see the photos of the silk daisy circlet and the silk rosebud wreath).

daisy hair garland


For the best fit you need to know the head circumference of the wearer.
These head wreaths can be made very symmetrical or asymmetrical.
You can use small, medium and large flowers (the larger the flowers you are using the fewer you will need), anything from delicate gypsophila  and apple blossom to large roses.
Head wreaths and circlets like these are perfect for weddings (think the bride, bridesmaids as well as little flowergirls) and will become a great keepsake of the big day. My Mum still keeps the daisy circlet from her wedding 41 years on 🙂  silk rose beaded circlet
If you are familiar with beadwork, you will be able to create original flower circlets combining these two techniques: beading and flower making.
Depending on the design this type of circlet can be symmetrical or asymmetrical.
Realistic and stylised flowers both work well in these circlets, including the ones made from metallic fabrics.

Perhaps a more practical option is open circlets.

lace orchid circlet
These circlets can be adjusted on the head using a ribbon at the back as shown in detail in my Lace Orchid Video Course or other methods.
Dyeing silk ribbon in the matching colours of your head circlet will add an extra finishing touch to the piece.
Depending on the style, the occasion and the outfit you can create head wreaths / circlets with more realistic or fantasy colours.
silk iris tutorial cover new lace flower tutorialSilk Apple Blossom Tutorial
flower hair combs

Flower Hair Combs

blue silk hydrangea

Flower hair combs for weddings and beyond.

Mounting handmade flowers onto a hair comb is yet another great way of creating a wearable floral piece and showcasing the flowers you make. Unlike a headband, hair combs are more versatile, as their position in a hairdo can be easily changed depending on a hairstyle or personal preferences of the wearer.
For a hair comb you can choose a selection of small flowers, silk or leather (see the photo with blue hydrangea flower hair comb). Other small flowers may
include gypsophila, daisies, small  orchids, cherry and apple blossoms etc.SILK WILD ROSE tutorial
Instead of a bunch of small flowers you can opt for several medium sized flowers like these delicate silk wild roses.
Usually I attach my flowers by wrapping the wires to a metallic comb with a piece of thin silk. This process is described in detail in my Silk Wild Rose Tutorial.
Hair combs do vary in size. The longer the hair comb the more flowers you can fit onto it.
Silk flower hair combs are popular with brides and last better than fresh flowers during the big day.
flower hair combs
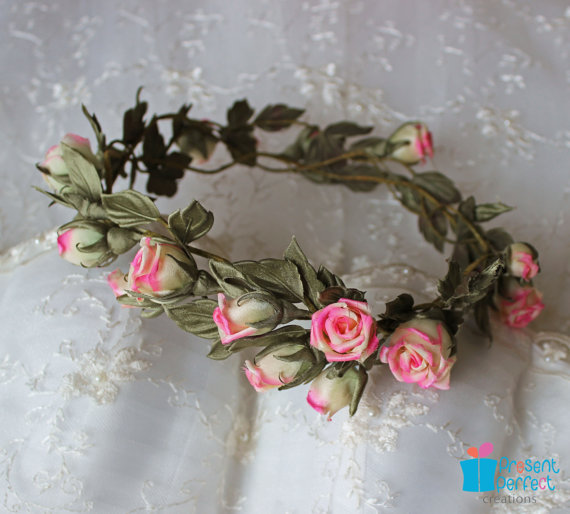
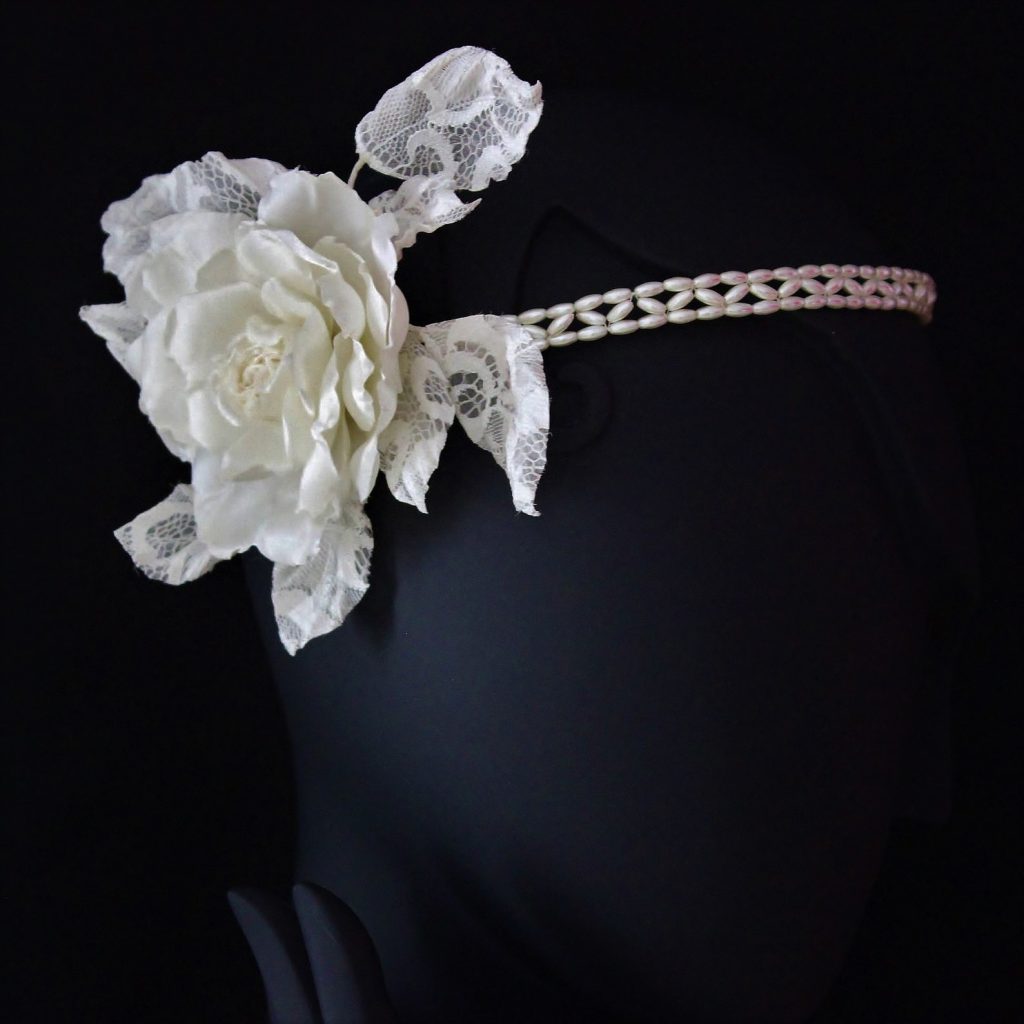
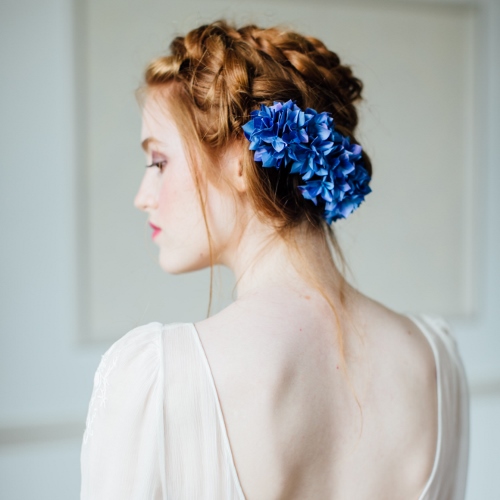
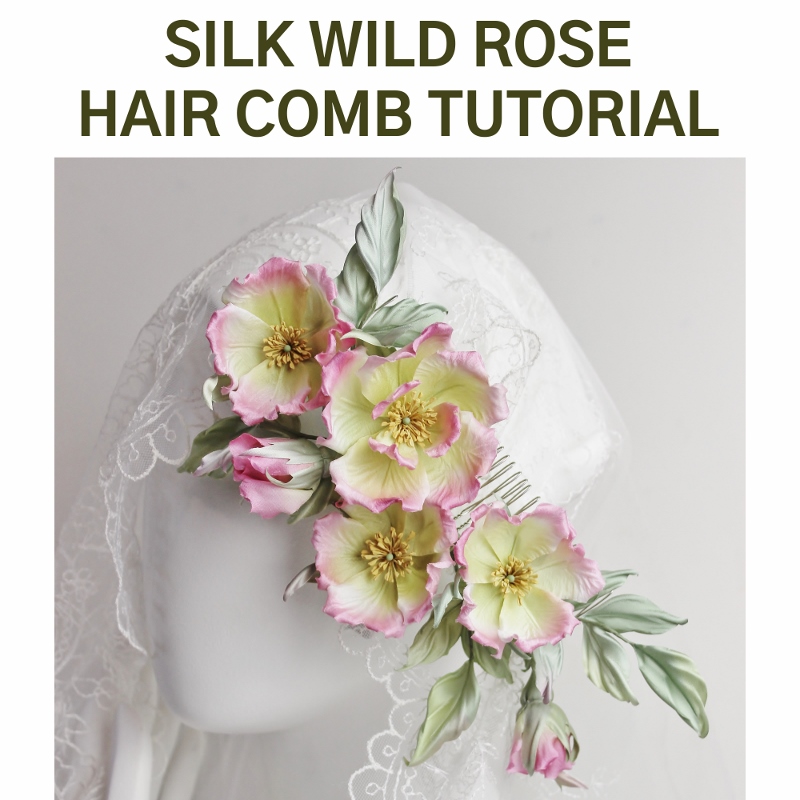
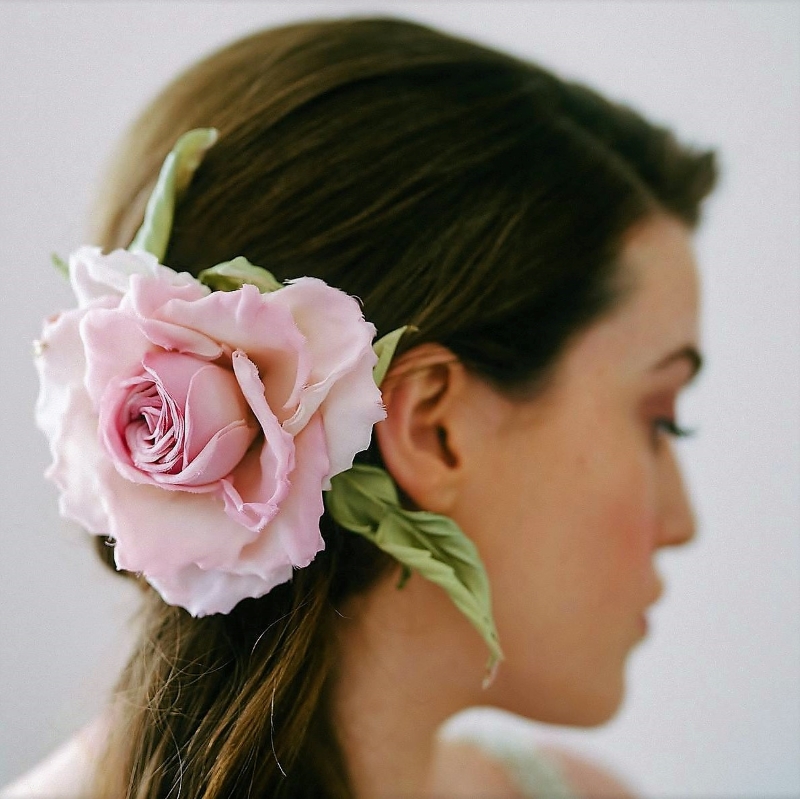
As fabrics are hand dyed you will have no problem offering a silk hair comb in the right colour to match the wedding colour scheme or the bridal outfit.
For a real impact you can step up your game and mount a large flower onto a hair comb as shown in my Silk English Rose Video Course.
In this case choose flowers that are made with lightweight fabrics (silk

flower hair combs

or rayon organza, rayon georgette or light to medium weight silk satin etc) to keep the weight of your flower comb low.
I would recommend opting for a flower with a flat underside too, as it will sit better against the hair.
Depending on the idea you or your customer have in mind, delicate lace and some metallic fabrics can also be incorporated into a flower hair comb design.
The pink rose featured in the hair comb in the photo can be made during one of my online video workshops I am planning to offer in the New Year.

Large roses or other flowers (poppy, dahlia, sunflower etc) can be turned into evening/ special occasion accent pieces if you make them in metallic or fantasy colours (think black or navy etc).

organza roses

Apart from small flowers and large roses you can also use fabric butterflies to decorate hair combs.
More information on how to hand dye and shape delicate organza into a lightweight yet blousy rose hair comb can also be found in my Advanced Silk Rose Video Course.
Depending on the style, occasion and outfit there are different options for possible flower hair combs you can consider. I hope you will add this type of flower finish to your list of ideas for the next season.
silk rose video tutorials

Silk rose buds

At a recent class we created pretty tight rose buds of silk satin. Apparently this bud is the essence of most of rose flowers so in order to practice it a bit more I decided to make another one as a birthday gift for one of my friends. The rose bud is surrounded with leaves and is finished with a brooch base.
I am sure that if I make 15 rose buds and put them in a nice vase they will look so fresh and beautiful. These delicate closed roses are also perfect in bridal accessories.

Here is the corsage I made and a close-up of it