Description
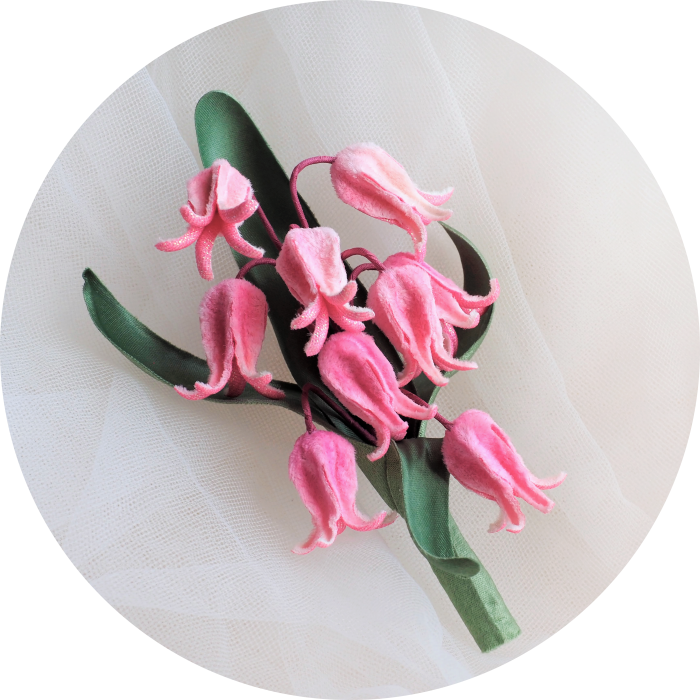
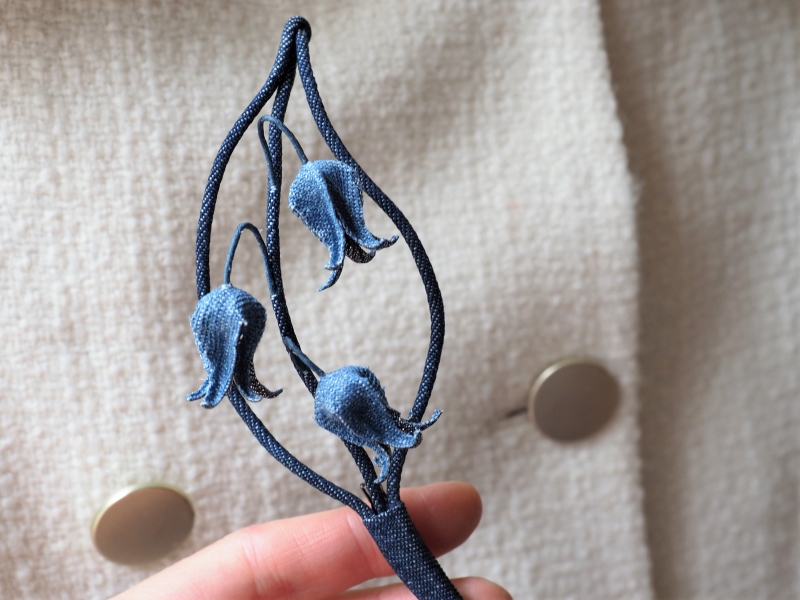
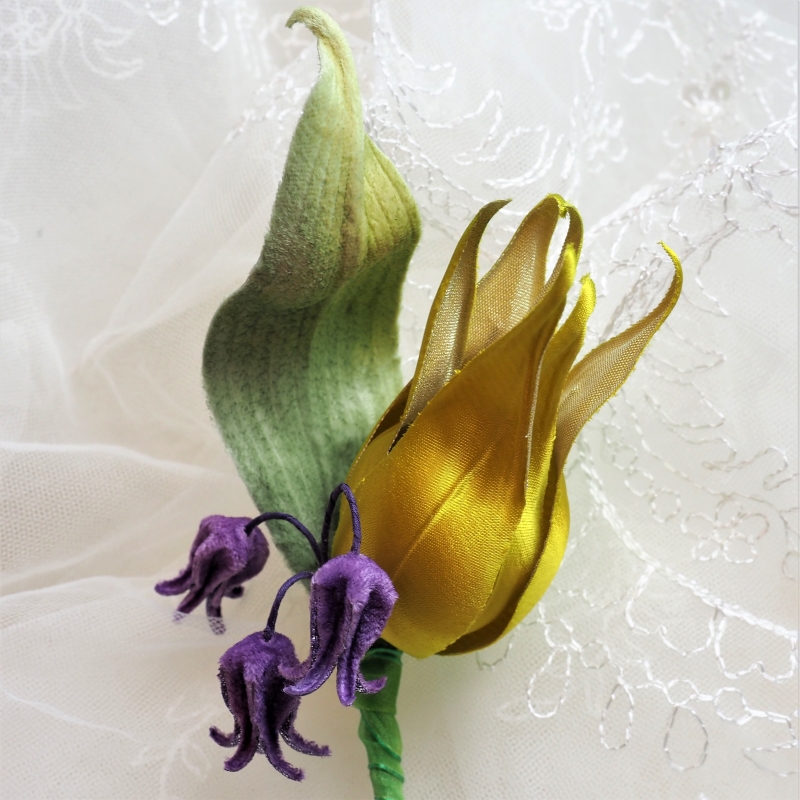
Call them bluebells, hyacinths or simply stylised bells, these cute velvet flowers will not leave you indifferent. Experiment with colour and texture of your fabrics, use them on individual stems or join into larger clusters, combine realistic and stylised leaves, – the sky is the limit with these fantasy bells.
The Video Tutorial demonstrates and explains how to dye, shape and assemble the little bells completely from scratch.
As a fantasy flower these bells do not have any recognisable leaves, however you will receive a separate video on how to make long narrow leaves that are common for most spring bulbs
With this video course you receive access to 60+ minutes of video instructions from the practising flower artist. Watch the video through the artist’s eyes, follow the instructions and create, create, create!
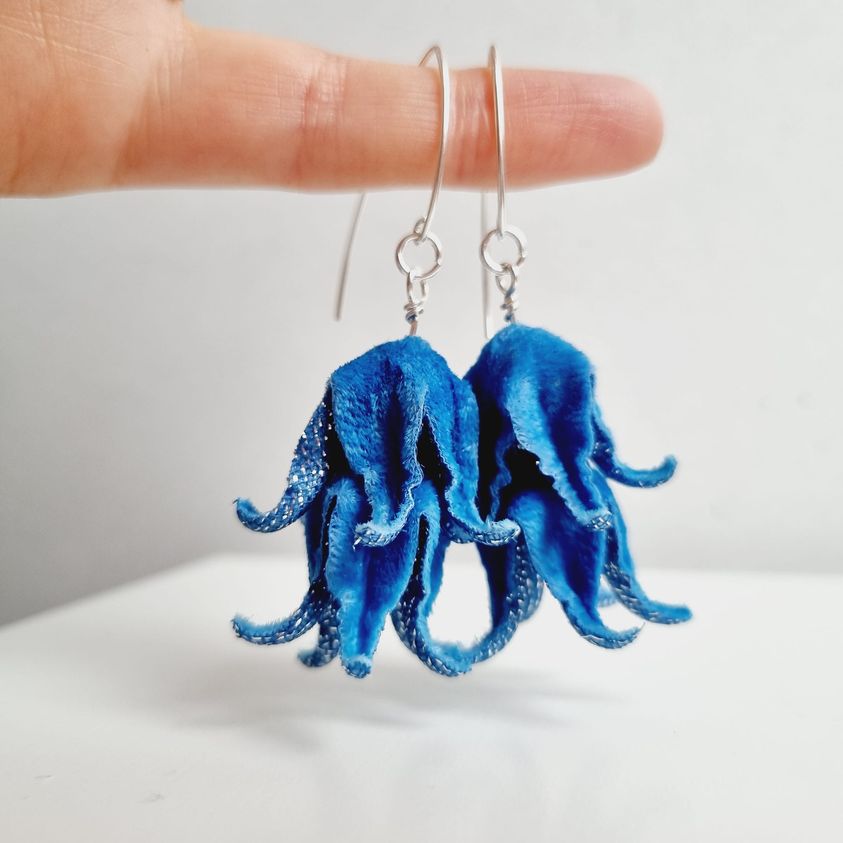
If you wish to learn how to create earrings with your handmade flowers, make sure you watch a recording of this DEMONSTRATION.
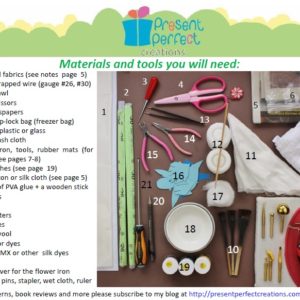
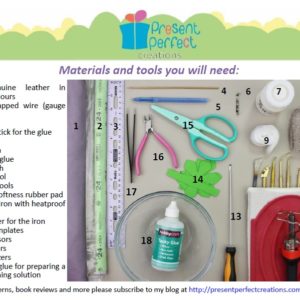
Here’s what you need for creating the velvet bells:
MATERIALS:
❀ plush fabric* for the petals (velvets and velveteens are perfect for this job)
❀ metallic backing fabric* (or plain thin silk*)
❀ Rayon Satin* (or the fabric of your choice) for the leaves if making
❀ thin silk* or thin rayon backing fabric* for assembly/ backing
❀ Cotton Wool
❀ Wires #26, #28
* All the fabrics need to be prestiffened before use
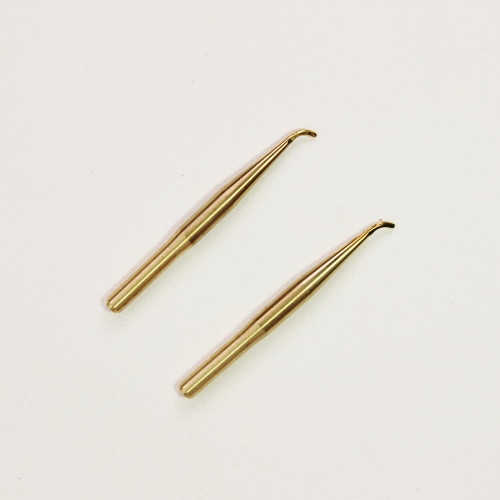
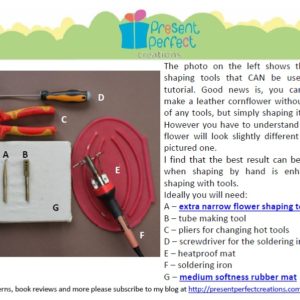
For shaping the bells you will only need one tool, the Extra Narrow Japanese Style Tool (or similar out of your box of tools).
Optionally I am using an 8mm round tool in the video, however you can easily omit it. Also prepare:
❀ Soldering iron
❀ Medium flower shaping pad
❀ Pen
❀ Hard and Soft Glue
❀ Silk dyes and brushes
If you prefer to work with specially designed DIY kits, you can get in touch with us regarding one at enquiries@presentperfectcreations.com
Level: begineer with tools – intermediate (requires a flower iron with a set of tools, previous experience in fabric flower making is helpful but not necessary)
ALL FABRICS THAT ARE USED FOR MAKING FLOWERS HAVE TO BE STIFFENED BEFOREHAND using your favourite method.
Time: about 3 hours on average (not including the drying time)
Who this tutorial is for:
❀ milliners
❀ accessory designers
❀ bridal designers
❀ wedding decorators
❀ those, who love to create their own accessories as a hobby
© You are welcome to use the patterns, techniques and ideas you learn during the course in your private life or professional career. However distribution and / or resale of any part of the video or published materials is not allowed under any circumstances and it is considered illegal and a copyright infringement.
Should you have any questions, please do not hesitate to get in touch with us at enquiries@presentperfectcreations.com
PLEASE NOTE: NO MATERIALS are included in the price. The price you pay is for a video tutorial. There is no charge for postage.
ATTENTION OUR EU CUSTOMERS: Since January 1st 2015, all digital goods (including electronic, telecommunications, software, ebook and broadcast services) sold across EU borders have been liable under EU law to EU VAT charged in the country of purchase, at the VAT rate in that country. The price for this product is displayed exclusive of VAT. The final price including VAT of your country will be recalculated accordingly and shown on checkout.

 video
video 
Reviews
There are no reviews yet.