Fabric strawberries

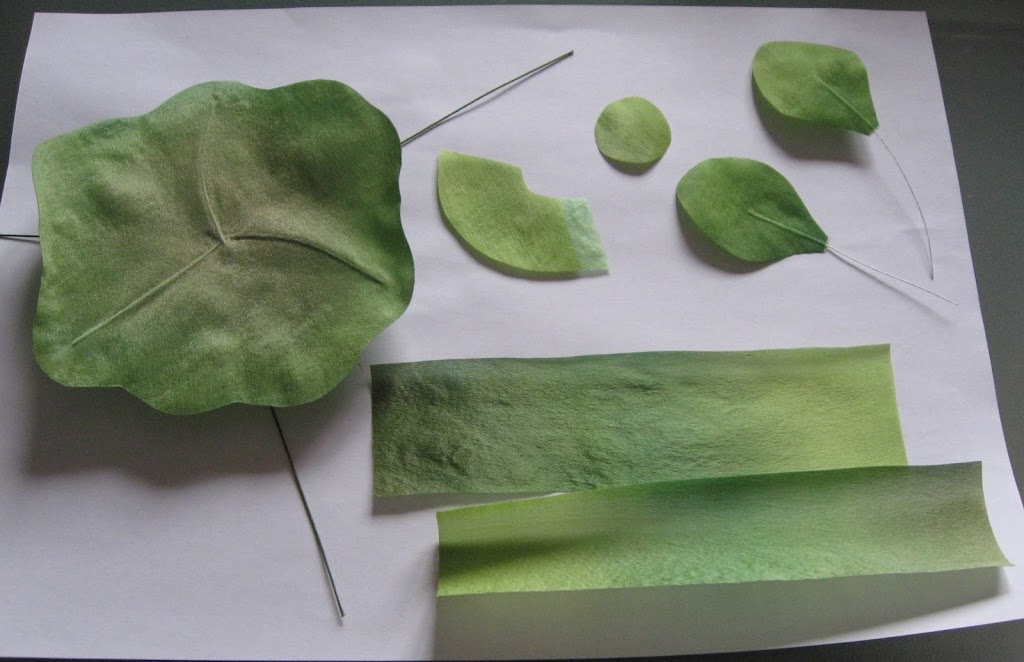
Textile is a very versatile and pliable material and since there so many different varieties of textile one can say that there’s got to be a fabric for any job imaginable. When we make flowers we choose nice lightweight and medium silk fabrics, shiny or matt, sometimes almost transparent depending on the flower we are creating.
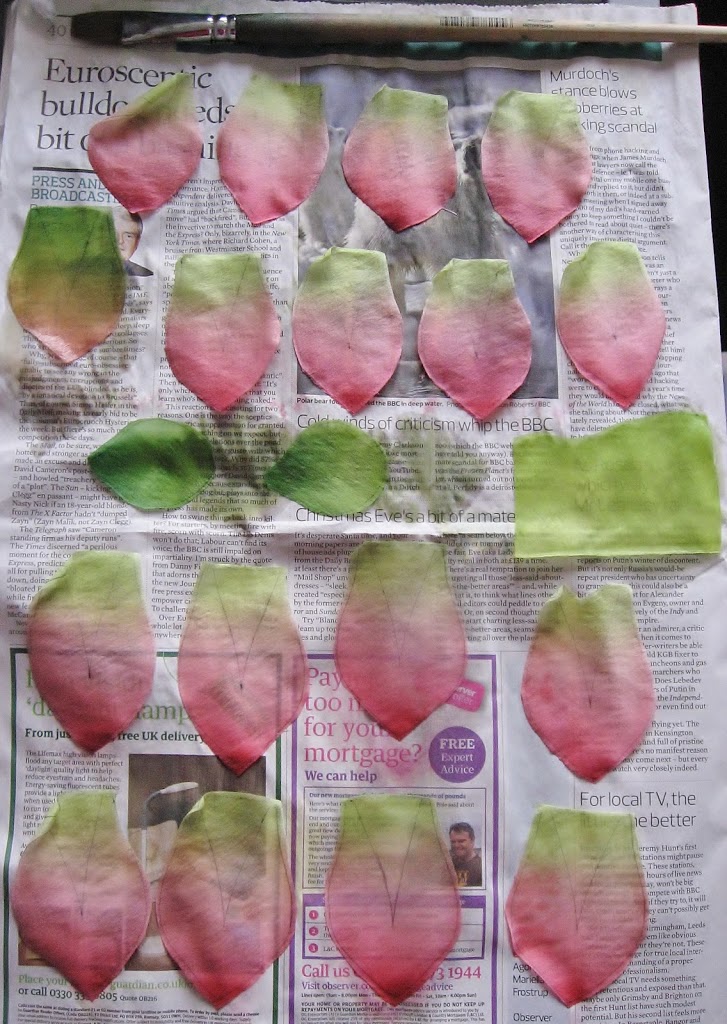
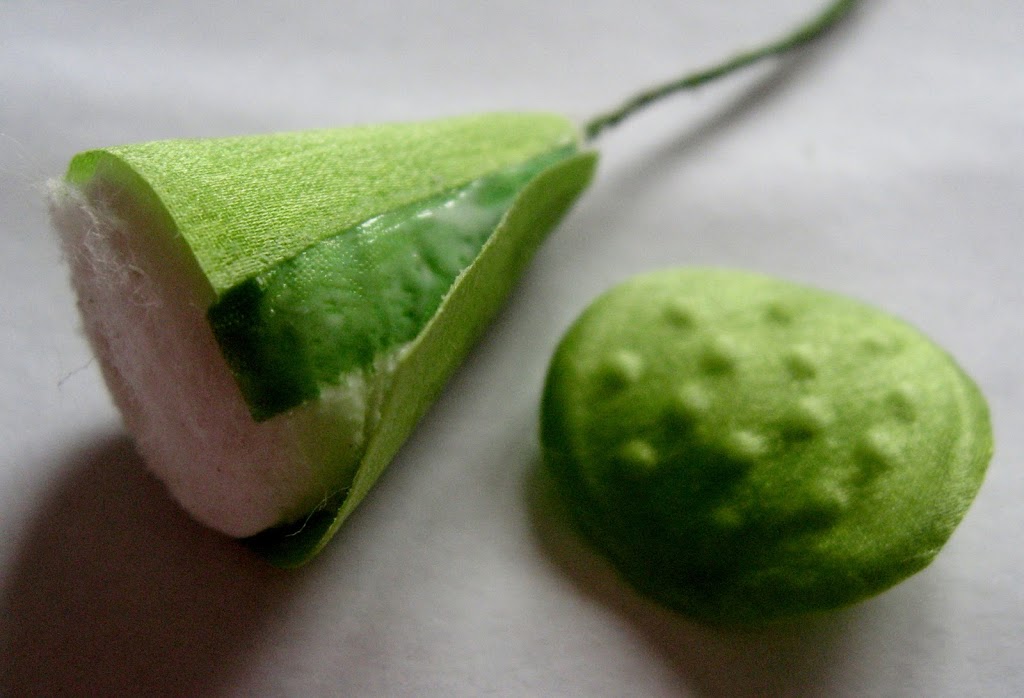
But what if we want to make a … strawberry? What fabric to use to make the work look nice and the process easy and smooth? Probably something relatively thick? Like velvet?
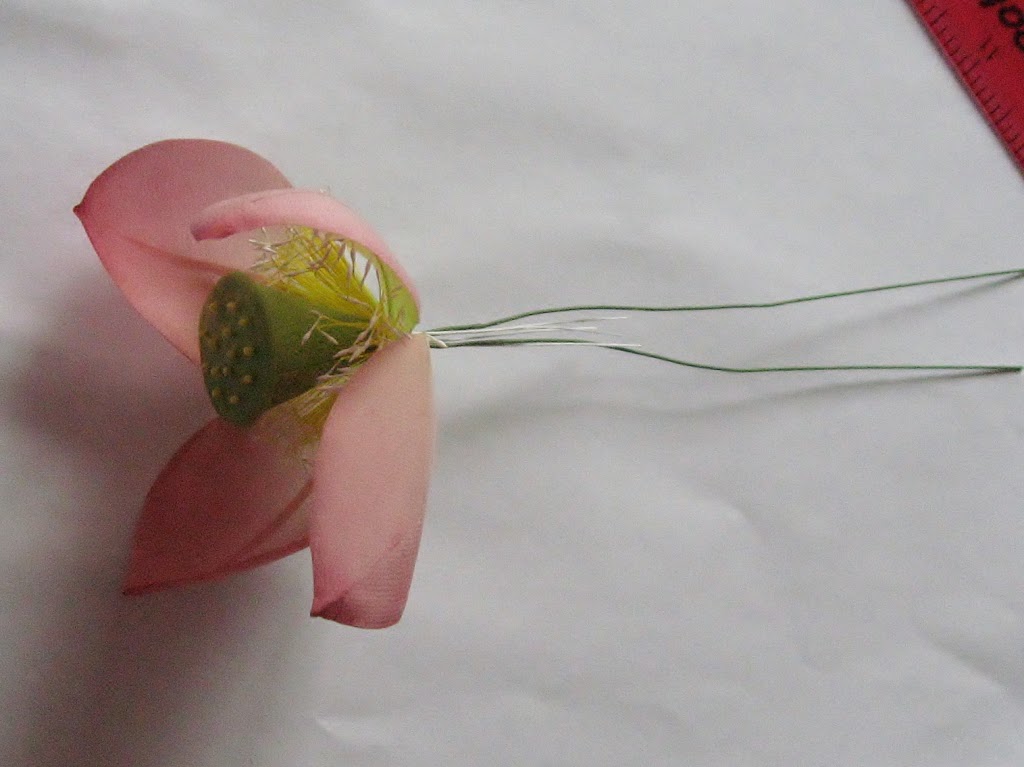
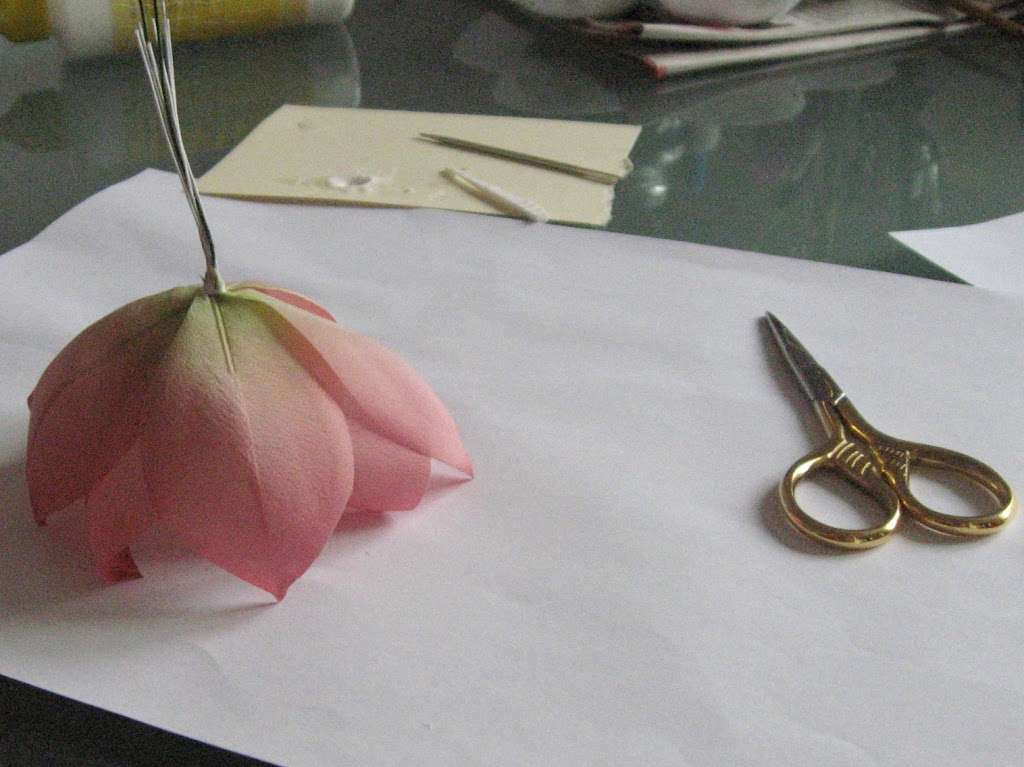
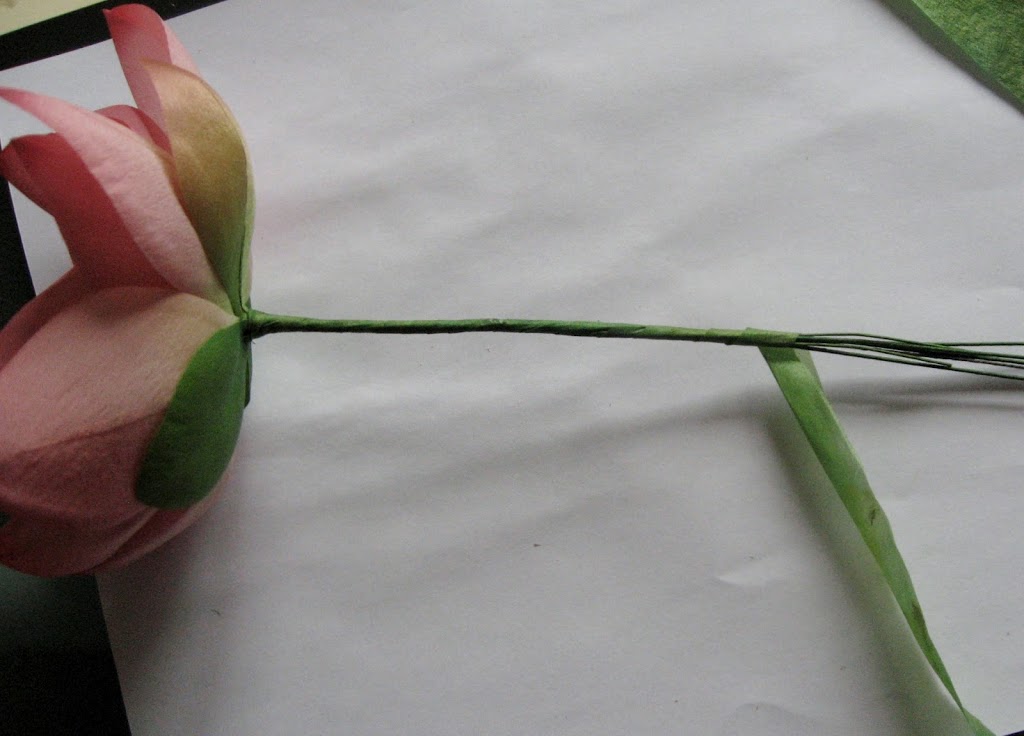
This is what came out of my fabric berry experimenting:
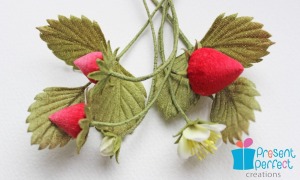
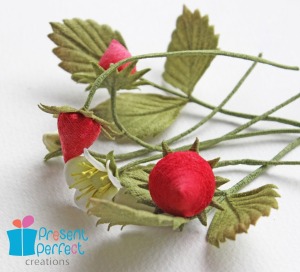
Materials: Japanese velvet, Japanese melton, satin, Japanese lining silk.
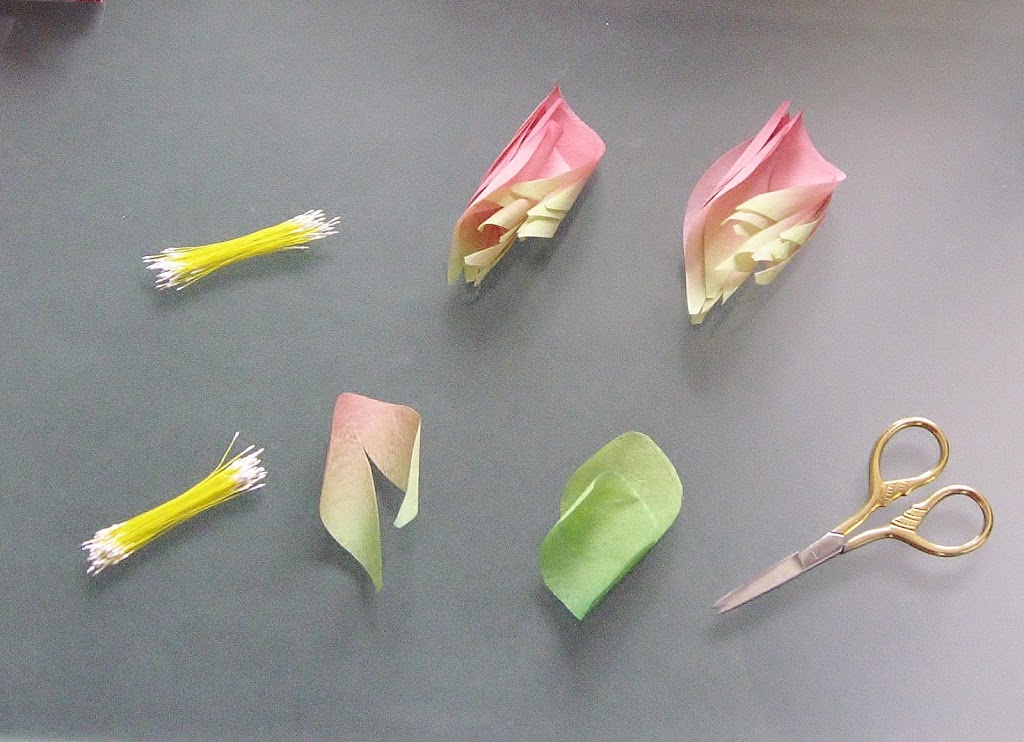
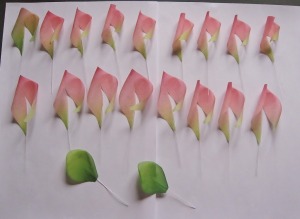
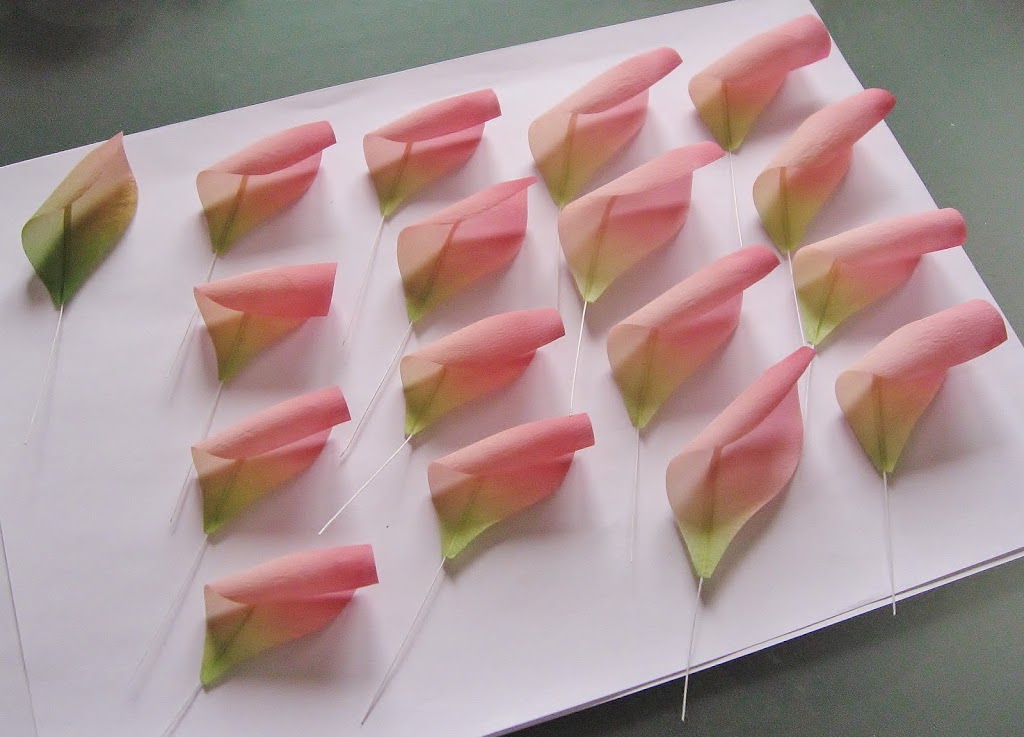
P.S. Whatever you see in the picture is a small unfinished interior arrangement. But I think that a little brooch with strawberries would look really cute!
How would you make use of these juicy berries?

What about a leather flower?

I purchased some differently coloured leather pieces back in November and could not find time to turn them into flowers. Finally time has been chosen and last week I tried my luck in creating my first real leather flower. It is a cross breed between a rose and a camellia. Well I think it is a rose but my husband said it looked more like a camellia. It is made of greyish beige genuine leather including a pair of leaves. For the leaves to stand out and not to blend with the petals I tinted them lightly with a golden spray. The leather camellia is finished with a brooch pin (see pictures). I must say it is a perfect accessory for the winter period when silk flowers are somewhat fragile and light. The leather corsage would look good not only decorating an outfit, but a belt or a handbag too.
Here are some pictures of the leather camellia flower brooch

You can always order a custom flower from my Etsy shop.
Please stay updated with my latest news through my Facebook page
And a Happy New Year to you! 🙂

What’s new?

After having received 3 books on silk flower making by world famous Japanese masters in the post I was thinking with what to start. Well, I must admit, the lack of Japanese does not help when I try to understand sophisticated instructions having just a couple of photos at my disposal. So I decided to start from a stem of tiny little roses or even rosebuds. They seem to be OK to make, and besides i have been approached before by my friends who were interested in very small roses.
So far the petals are ready and they are tiny! Here is a photo of a pile of silk petals featuring Fimbriata our new garden rose as well ☺

handmade petals, silk rose petals, hand painted silk rose petals, handmade flowers, silk flowers

Silk magic

I thought that some of you would be interested in taking a peek at how silk flowers are created. That is why I tried to take pictures at all major steps of the process. It so happened that lotus flower became the guinea pig for the shooting. Lotus flower is quite a rare flower especially in Western culture but it is a sacred flower in India, respected in Japan and China. And it is not an easy flower to make from silk!  Well, you can see for yourselves:
1. We outline all the details (petals, leaves, calyx lobes etc) on a piece of stiffened silk fabric (in this case I am using satin). It is very important to place all the elements at 45′ angle.


2. We colour the petals (as in hte picture) and leaves using silk colours and ordinary paper.

3. Once all the elements are coloured we leave them to dry on a dry sheet of  paper. After they have dried they might need some ironing to make them flat and straight as elements cut out of satin especially tend to roll as they are drying. Just remember to switch off the steam on your iron as it will ruin the stiffeness of the fabric and you will have to start again.

4. Here are all our petals and calyx lobes nicely cut out + 132 handmade pairs of little stamens all ready for the next stage.

5. We glue pieces of thin wire wrapped in crepe paper to each petal and to the calyx lobes

6. Then we glue the petals along the cut in the middle so they have a boat-like shape (in the picture they are desperately trying to roll though)

7. We apply a thin layer of PVA glue onto our leaf to then glue it to a piece of hand painted pongee (a very fine type of silk fabric)

8. Here is all our green elements doubled with pongee

9. And now the greenery has been dried, cut out and waiting to be shaped

10. But firstly we shape all our petals using 3 different tips

11. In this picture I am using a big boule

12. Then we move on to the leaf and shape the central veins

13. After that we draw smaller veins that will make the leaf look a bit more like a real one

14. Now this is a difficult step when we need to make a cone out of cotton wool and then cover it with our silk elements. This will form our seed box

15. Here is our flower with 4 petals attached to the seed box and stamens

16. That’s how the flower looks with 12 petals on

17. The flower has all the 16 petals and calyx lobes attached

18. After that we need to cover our stalk with pongee

19. Then we wrap the stalk in a piece of hand painted satin silk

20. Et voila! Our flower

… and the leaf are ready! ☺