As part of FLORA FAN creative club membership on PATREON regularly I prepare and share a mini video tutorial with my clubbers. Please note that this is just one of the benefits of being a member of the Club. For the full list visit my Patreon page.
Below you will find an overview of these mini tutorials, so you know what you are getting when you are joining my Patreon Creative Club. These exclusive video tutorials are available immediately upon joining and get added to monthly. These exclusive tutorials are not available anywhere else at the moment, only on Patreon.
January 2025
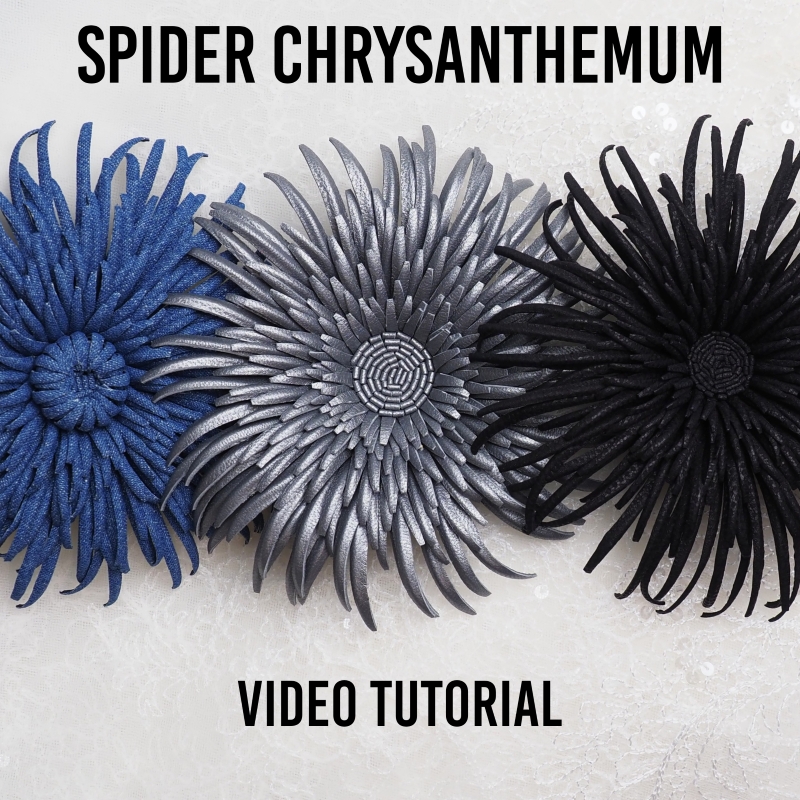
Spider Chrysanthemum Video Tutorial
A new take on multifaceted Chrysanthemum flower. Use your favourite material like leather, denim or other dense fabrics.
This video can be purchased separately here.
November 2024
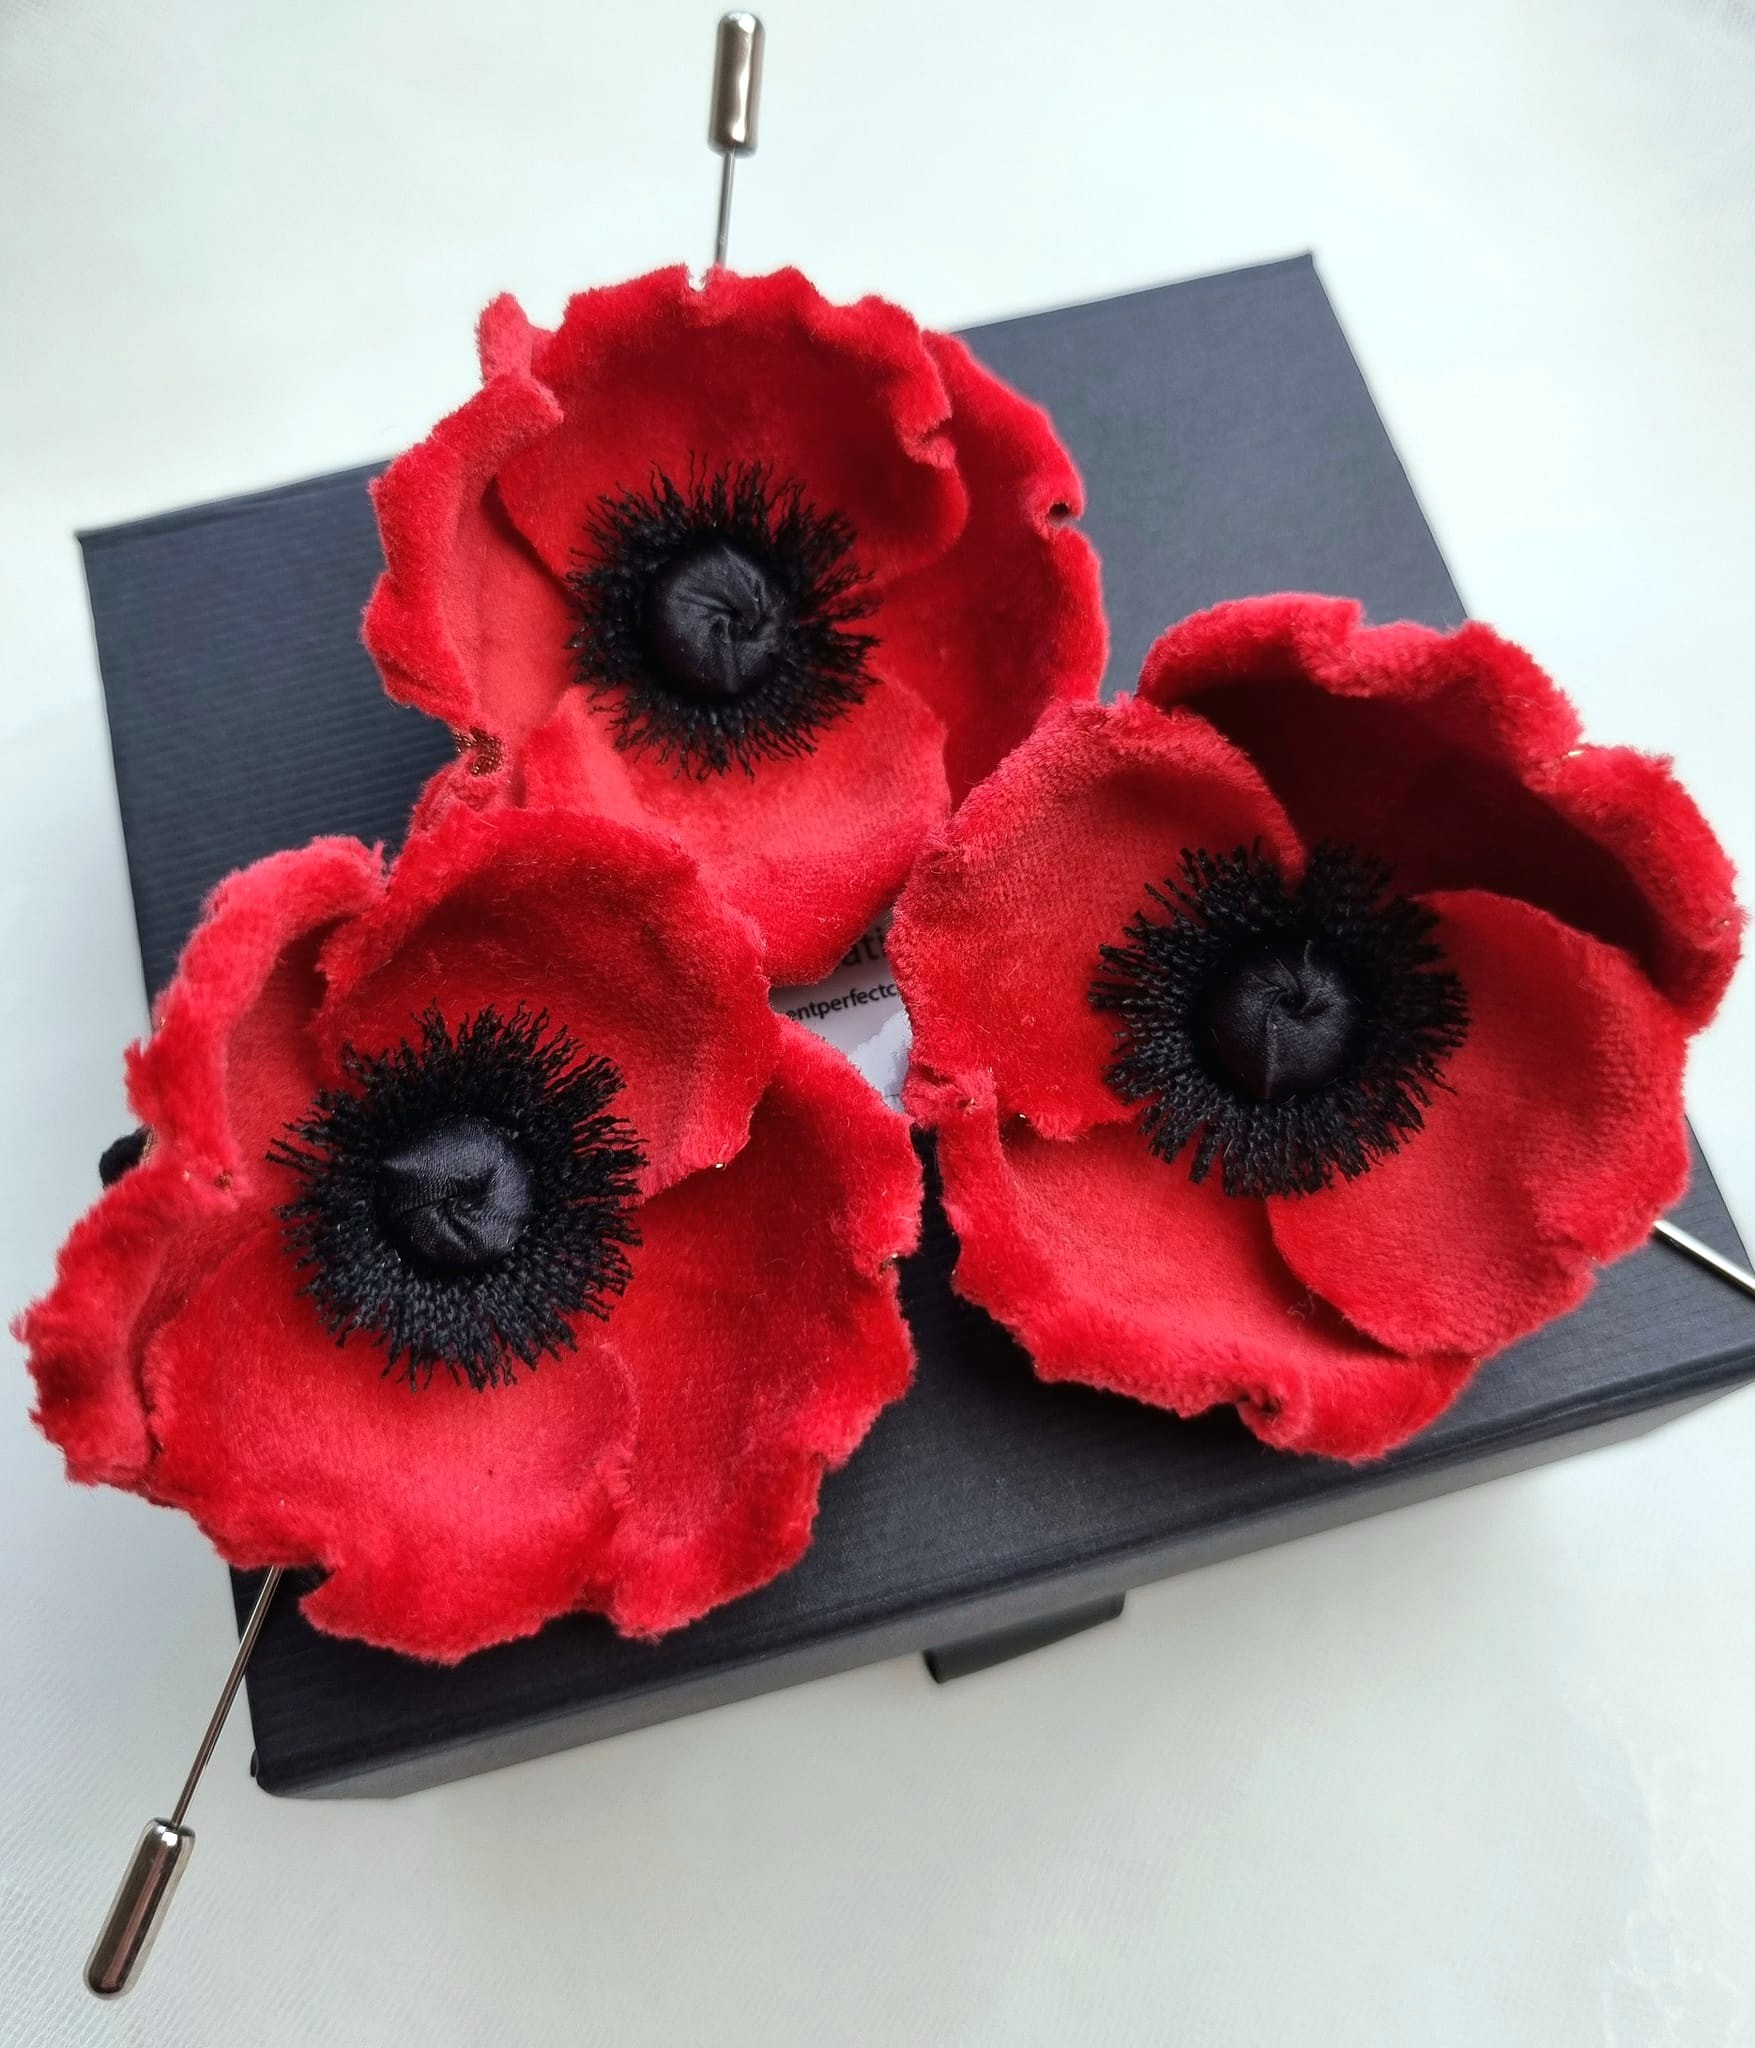
Mini Poppy mini tutorial
A cute little velvet poppy that you can make in a matter of an hour (provided the materials are all there) and turn into a pin or a flower medal (mu favourite!). Patreon exclusive.

October 2024
If you ever wondered how to make thorns for your fabric roses, this short video will uncover the secret for you. No specialist tools needed.
This video can be purchased separately here.
March 2024
This is a 75+ minute video tutorial for intermediate and advanced students with a set of flower shaping tools.
February 2024
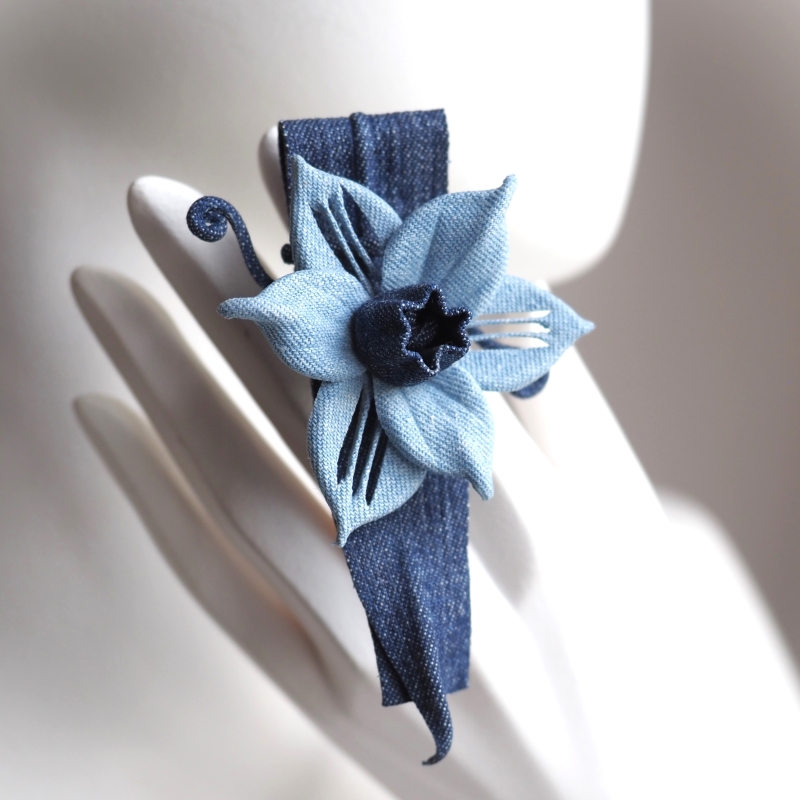
Denim / Fabric Daffodil Brooch Tutorial
This beginner friendly no tool tutorial will help you create a sleek brooch with a seasonal daffodil in denim or other fabrics.
The video turorial can also be purchased separately here.
January 2024
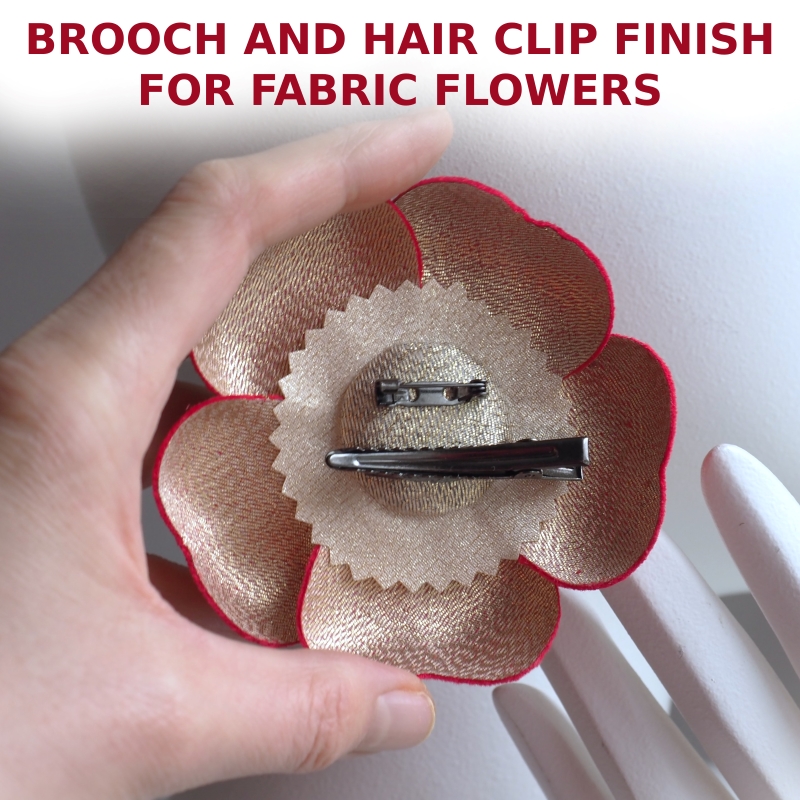
Brooch and Hair Clip Finish, the couture way.
Learn to finish your flowers neatly with a brooch pin and a hair clip at the same time.
December 2023
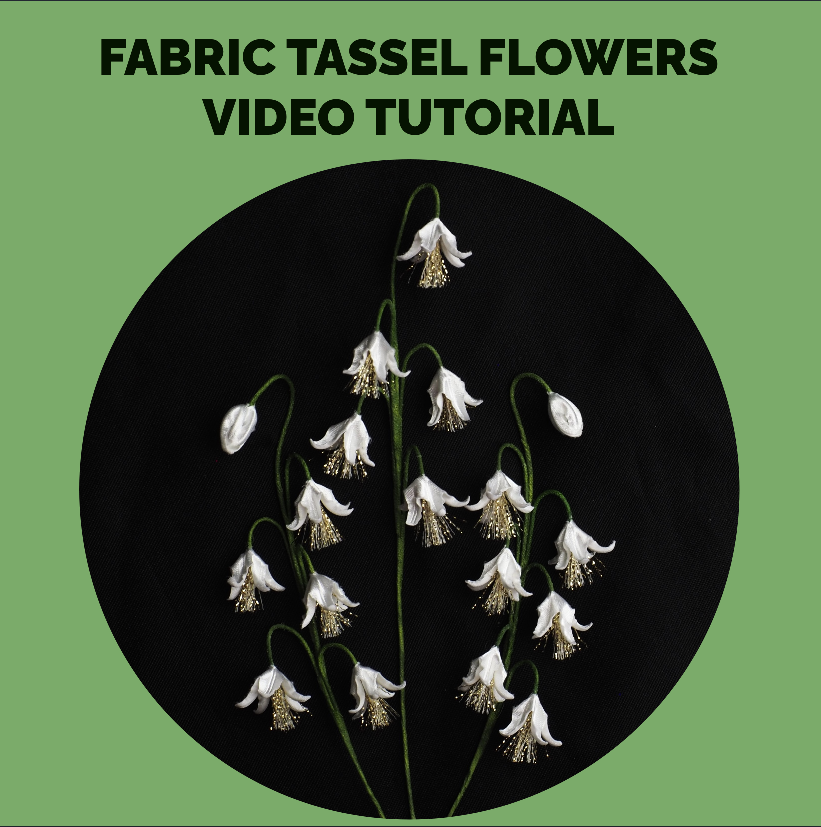
miniature tassel flowers. Abstract enough, these little flowers can be stylised in many ways. Turn them into mini bluebells, lily of the valley or other type of flower by choosing different materials, colourways and types of arrangement.
NEW this video tutorial can be purchased separately from my Patreon shop here
September 2023
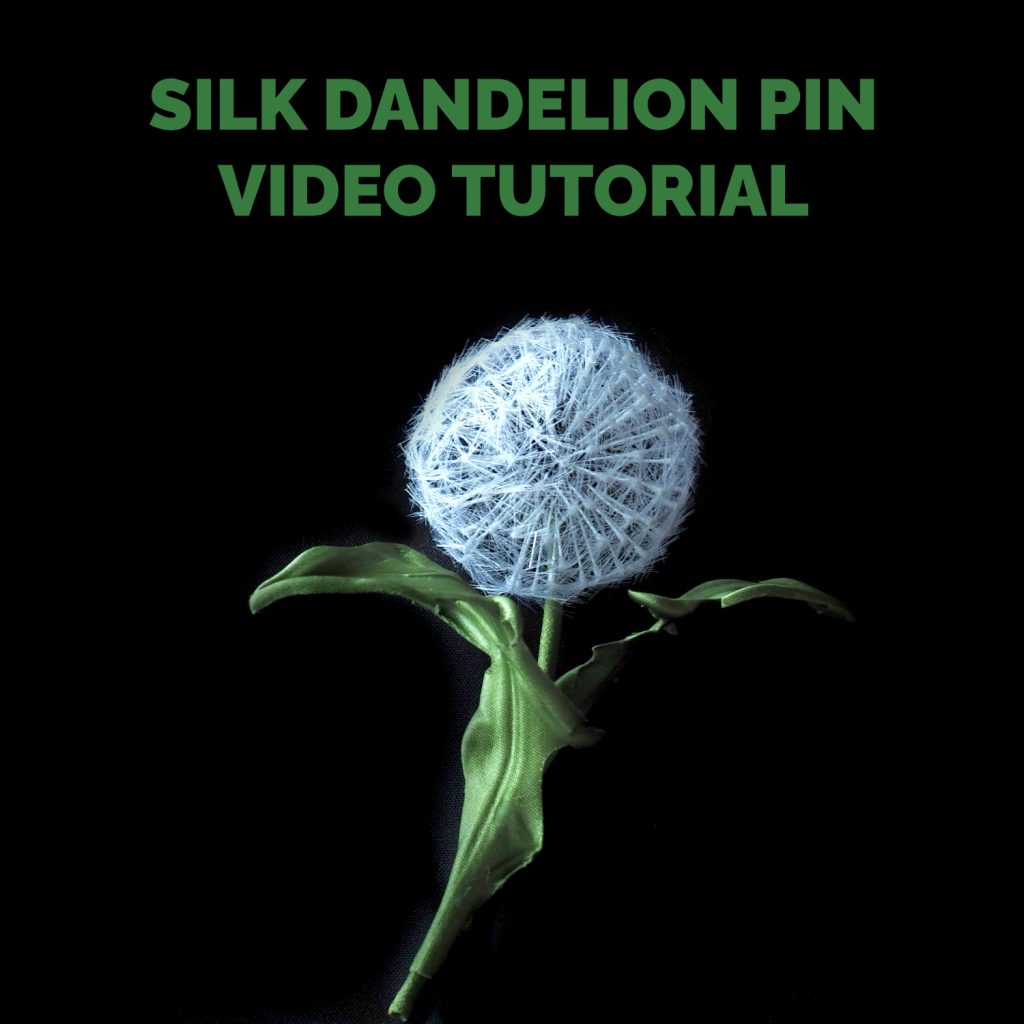
With the help of this video tutorial you will be able to create a VERY REALISTIC LOOKING silk dandelion clock with leaves and turn it into a compact wearable piece of textile jewellery as well as infinite number of other original pieces with this whimsical botanical.
NEW this video tutorial can be purchased separately from my Patreon shop here
August 2023
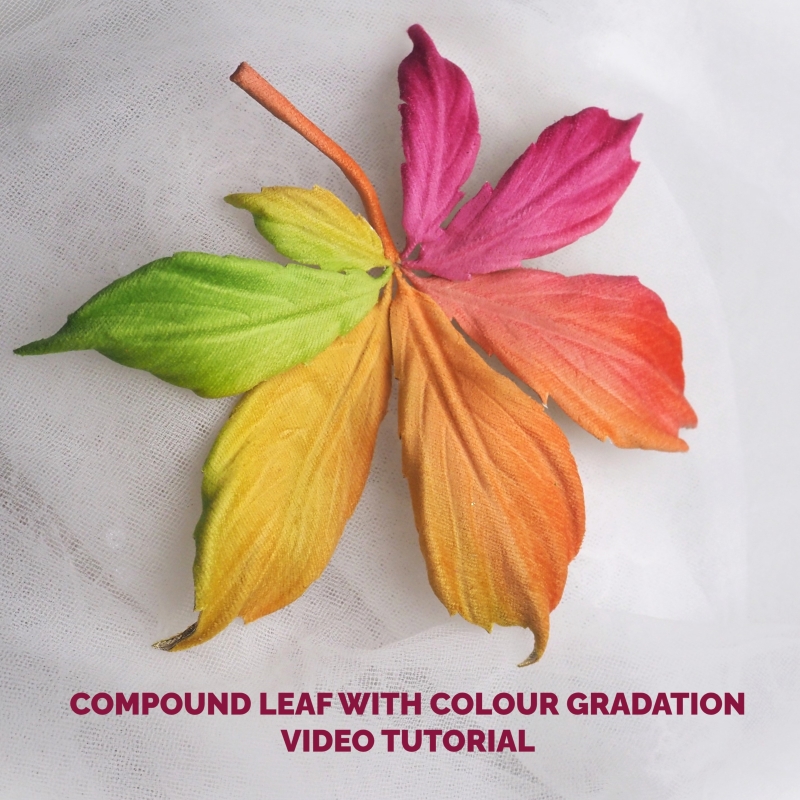
Compound Leaf with Colour Gradation
With the help of this video tutorial you will master realistic looking horse chestnut leaf (and similar) in beautiful autumnal colours. This method works great on such palmate leaves as horse chestnut, virginia creeper, buckeye and even little clover.
NEW this video tutorial can be purchased separately from my Patreon shop here
July 2023
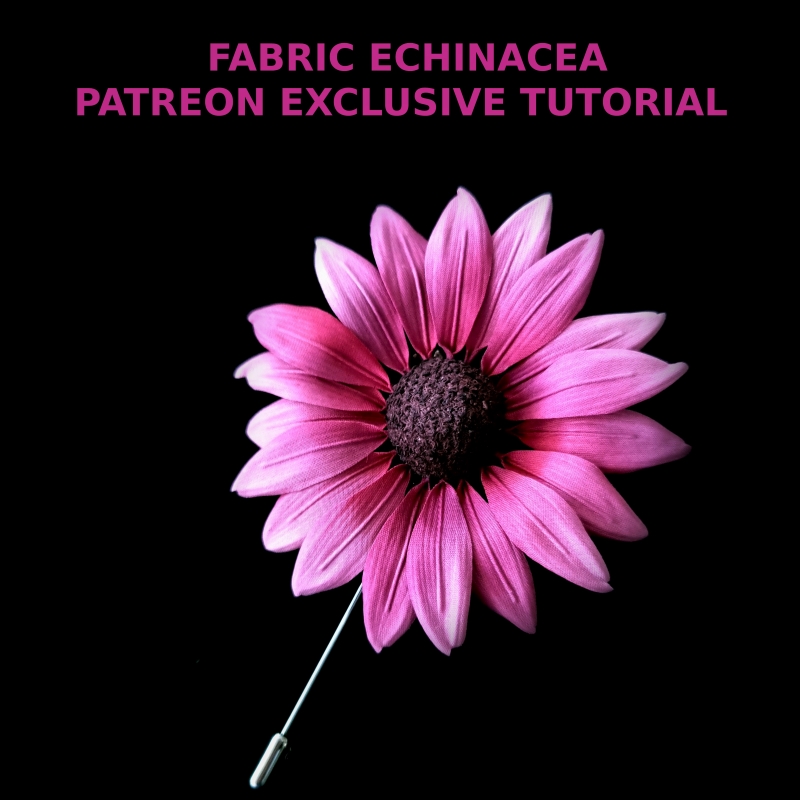
A member of the large Daisy family, Echinacea purpurea flowers are instantly recognisable. In this video tutorial I am sharing a new technique of making a 3D centre for this and other similar flowers as well as a realistic way of attaching the petals.
NEW this video tutorial can be purchased separately from my Patreon shop here

June 2023
Stephanotis aka Madagascar Jasmine
Summer is not only about races and garden parties. It is also a popular wedding season. Learn to make fabric stephanotis, an iconic wedding flower that can be used in boutonneres, wrist corsages etc. in this 30+ minute video tutorial.
NEW this video tutorial can be purchased separately from my Patreon shop here
May 2023
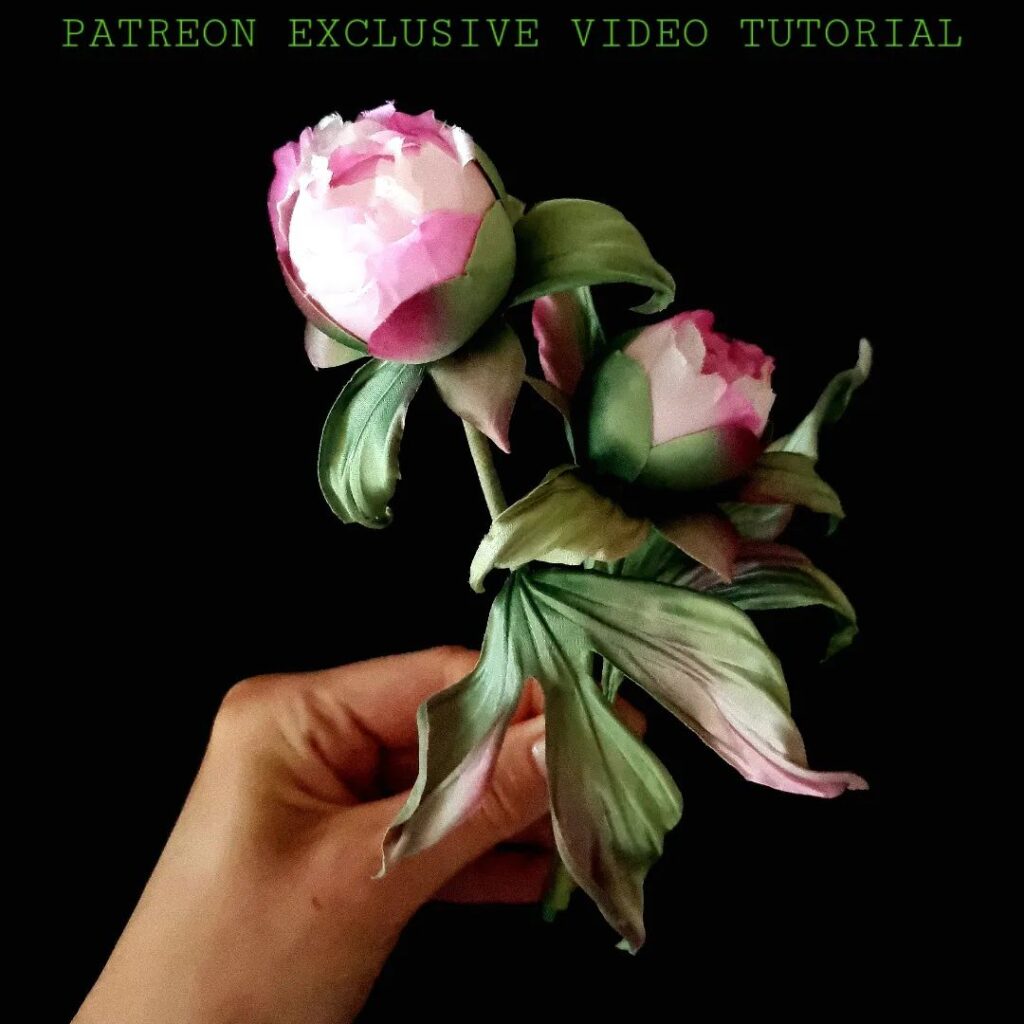
This month is dedicated to one of the flowers in season, or rather its buds. Meet realistic silk peony buds complete with complex calyxes and leaves, all explained and demonstrated in not-so-mini mini video tutorial of 60 minutes.
NEW this video tutorial can be purchased separately from my Patreon shop here
April 2023
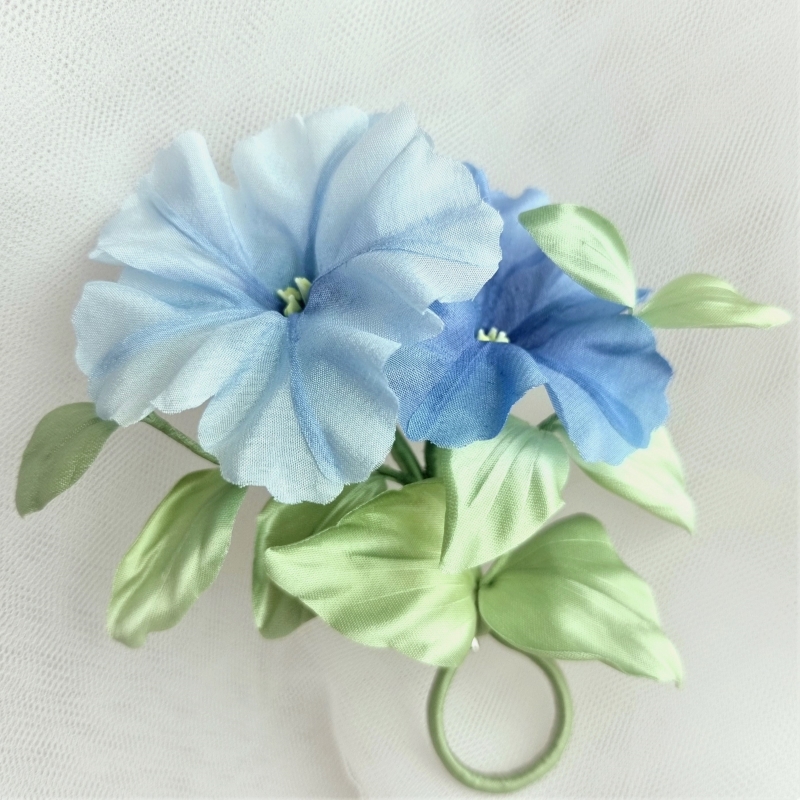
Following a live demo on Silk Petunia Flower Earrings this month the exclusive mini video tutorial focuses on the petunia foliage. Use it to make petunia corsages, brooches and other pieces wih this popular and recognisable flower.
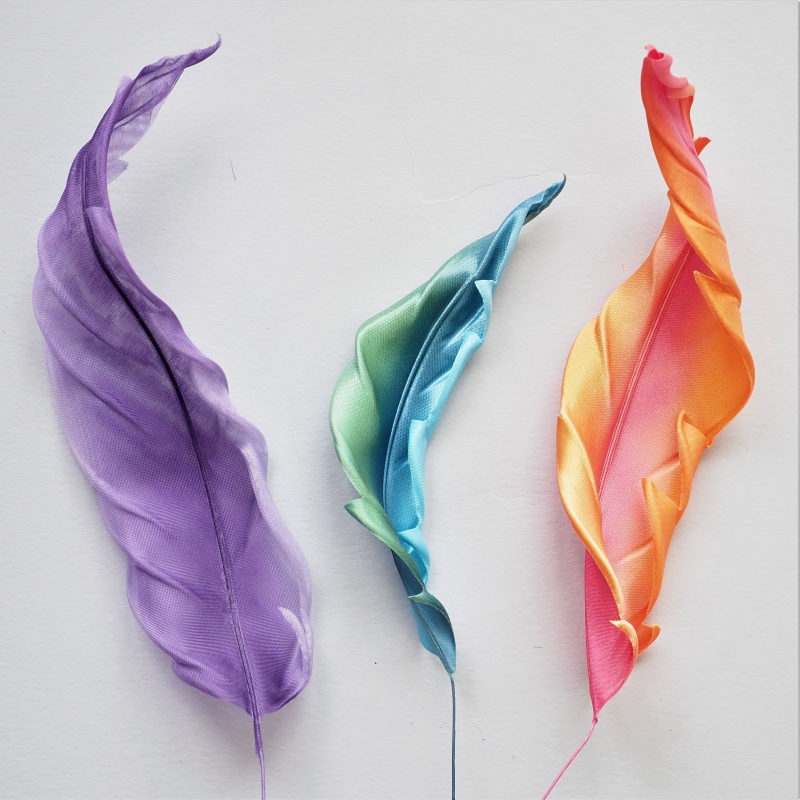
March 2023
This month enjoy an exclusive video tutorial + template on large stylised fabric feathers, which can be used for trimming hats and headpieces.
NEW this video tutorial can be purchased separately from my Patreon shop here
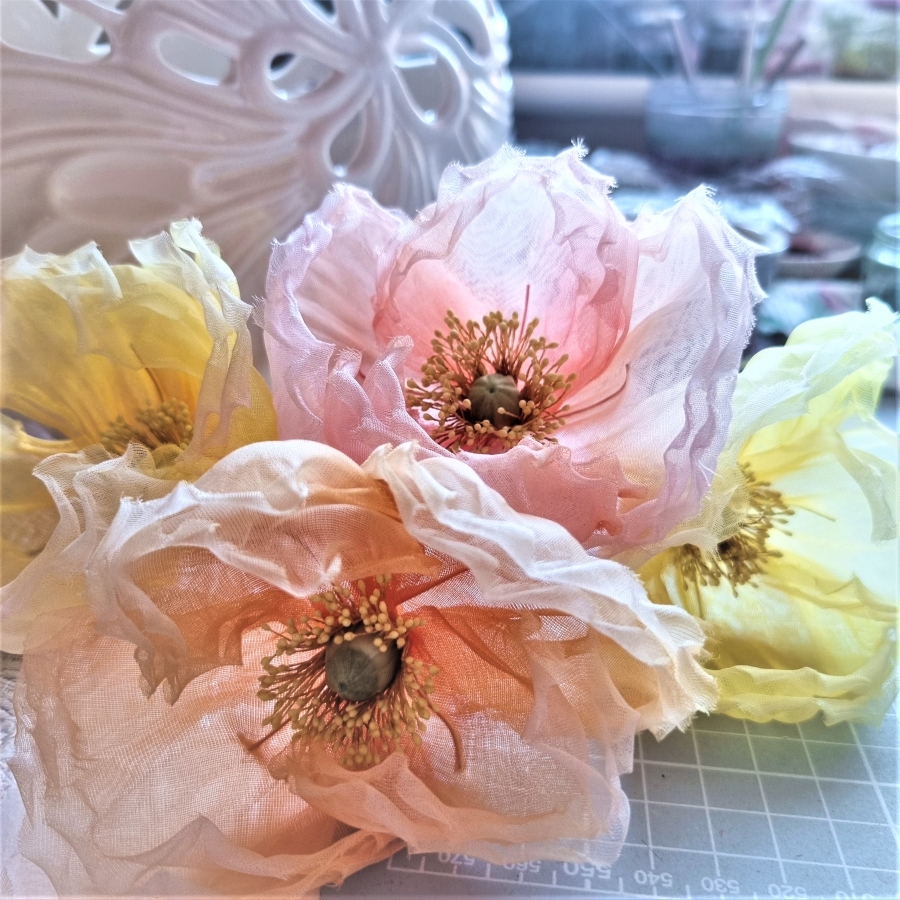
February 2023
Icelandic Poppy Centres
This month enjoy a new mini video tutorial on how to create delicate centres suitable for Icelandic (and other) poppies.