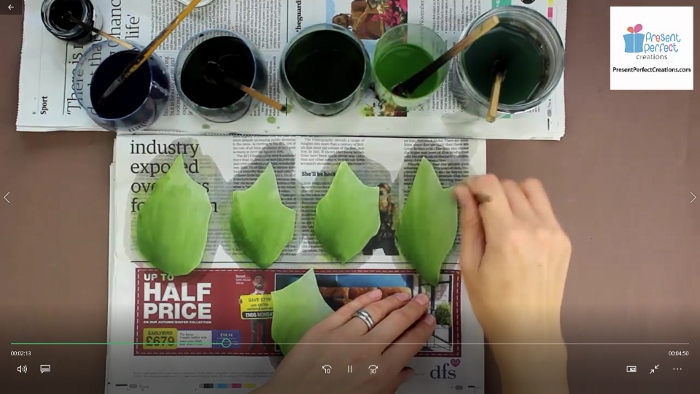
 In fabric flower making we tend to dye fabrics by hand. This technique helps us achieve a more realistic or more unique look, match the colour of the flower to that one of the outfit, do the gradation etc etc…
However there is a number of colours that are tricky to dye and you are better off purchasing fabrics in those colours to work with.
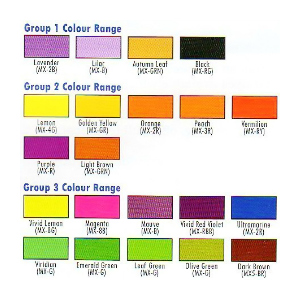
One of such colours is BLACK.
Black dye can range from black-green-grey to black-blue-purple and it is difficult to achieve the true soot black colour when dyeing by hand.
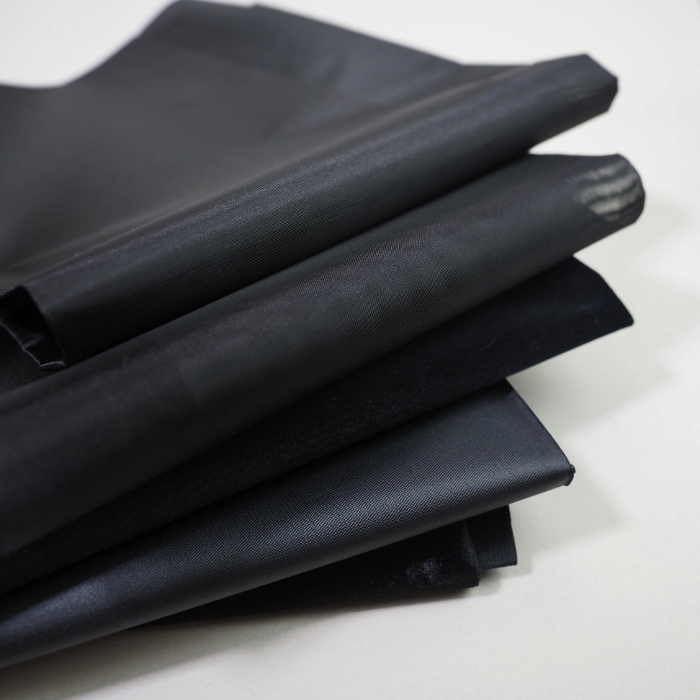
Luckily for us some key professionally stiffened fabrics come in …black and can be used straightaway in your favourite designs and for custom orders.
|
They include such staples as smooth rayon satin, thin rayon backing fabric as well as luxurious cotton velvet and rayon velveteen. Another great fabric is rayon organza in black.
|
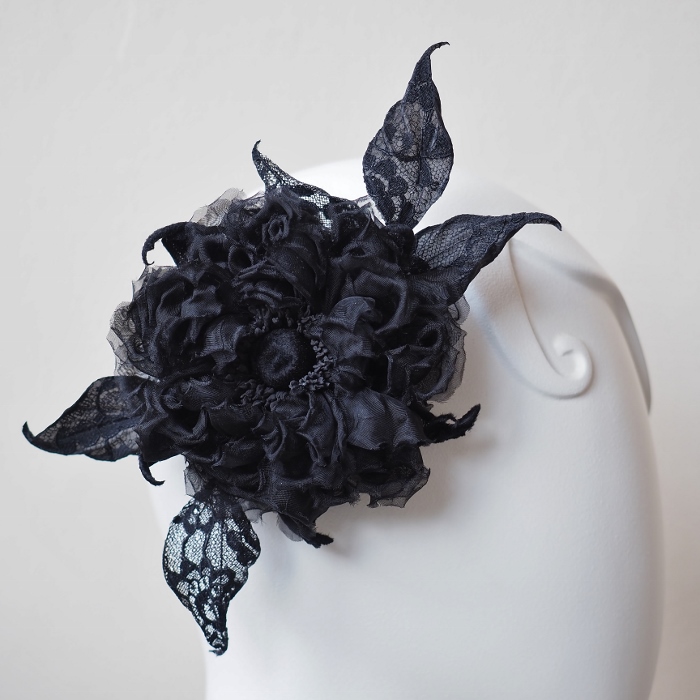
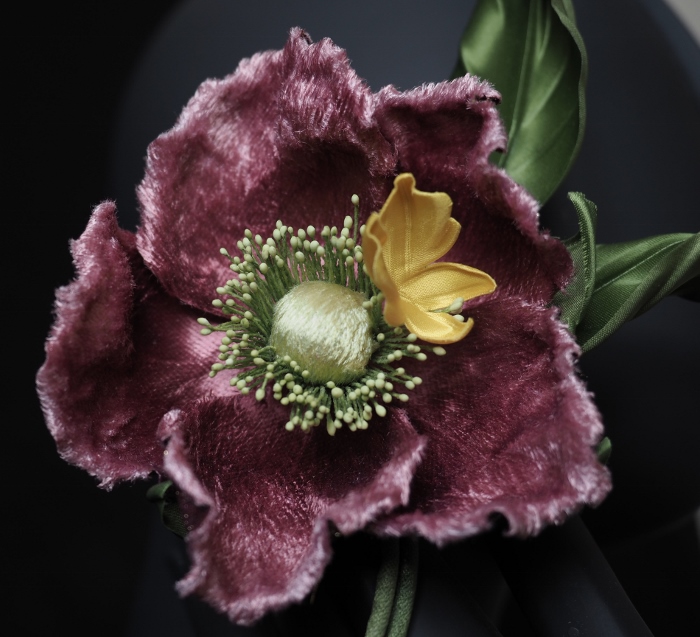
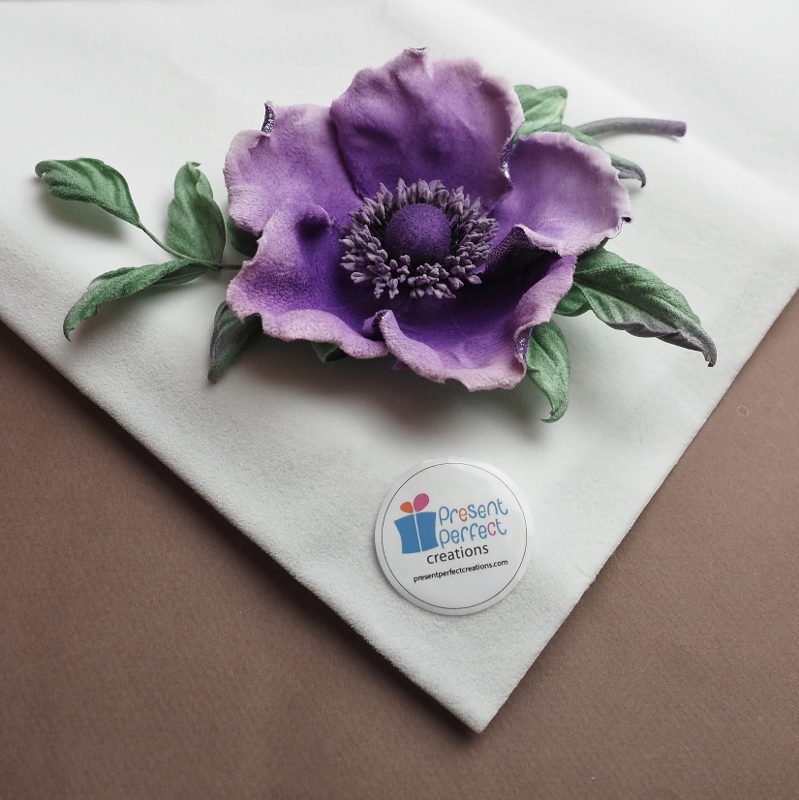
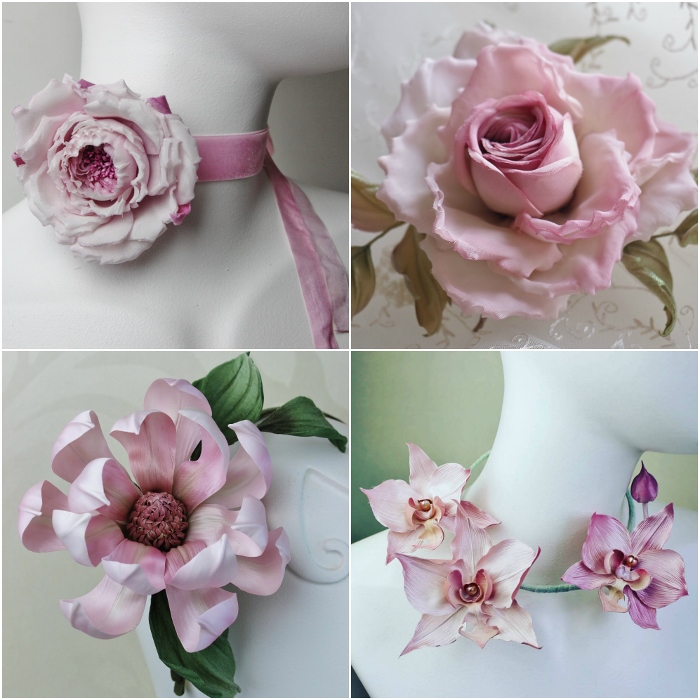
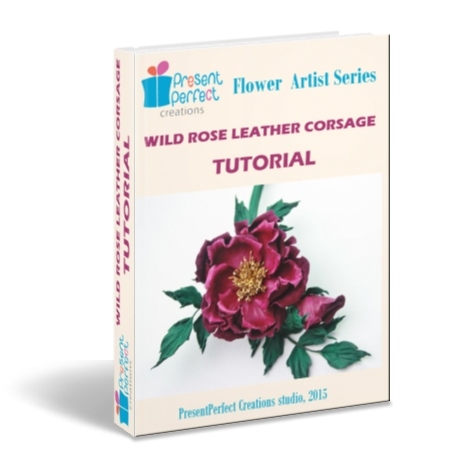
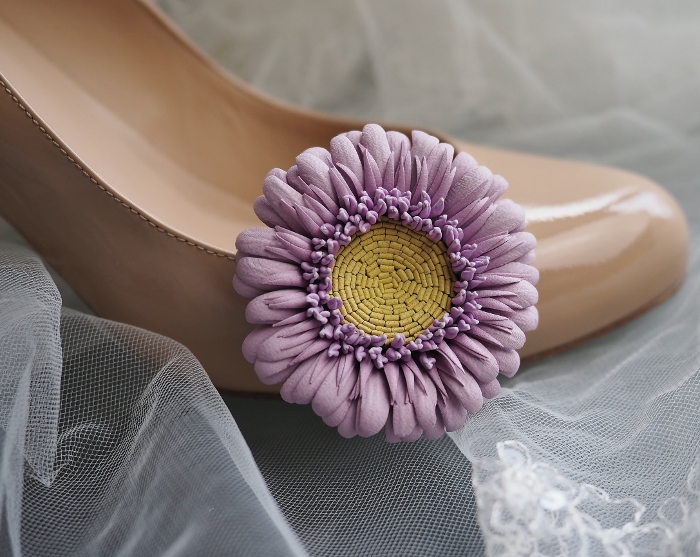
For the rose in the photo above I have used rayon organza, thin rayon fabric and rayon velveteen. Another great addition can be black lace.
Plus these black fabrics make a perfect combination with silver and golden metallics (another firm favourite of mine!). Use them for evening and special occasion flowers and trims.
Over the years the above mentioned fabrics have appeared in a great number of tutorials: Silk Peony Buttonhole Tutorial, Miniature Velvet Roses Tutorial, Silk Calla Lily Tutorial, Silk Orchid Necklace Tutorial , Advanced Silk Rose Video Course, Velvet Sweet Briar Rose Tutorial to name a few.
In case if you wish to try these wonderful fabrics in your work, I have a number of packs on offer at the moment. 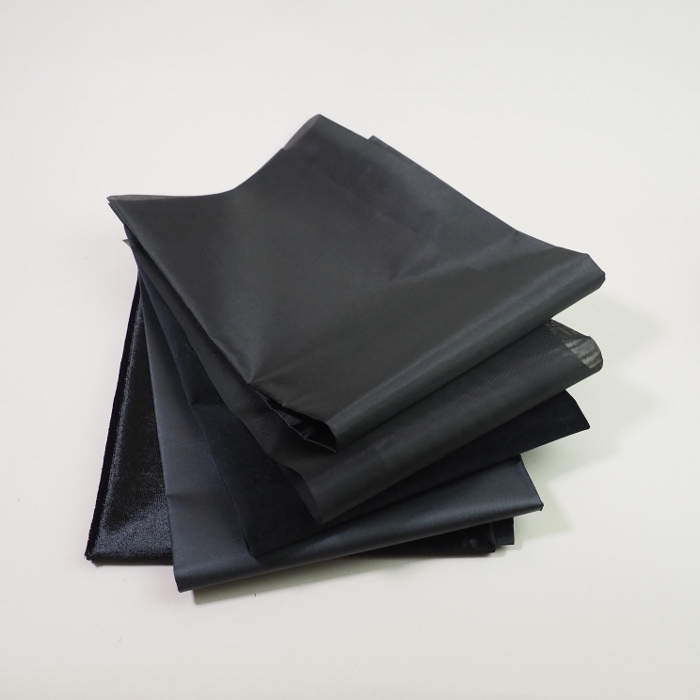
Each pack includes a fat quarters of each of the following fabrics:
❀ smooth rayon satin (black)
❀ cotton velvet with short pile (black)
❀ rayon velveteen (black)
❀ rayon organza (black)
❀ thin rayon backing fabric (black)
❀ cotton velvet with short pile (black)
❀ rayon velveteen (black)
❀ rayon organza (black)
❀ thin rayon backing fabric (black)
These fabrics can also be purchased individually (not as a pack), please see the links below.
Use the for either leaves or flower petals, butterflies and berries, anything you would make from hand dyed or white fabrics.
I hope you will find these black gems useful in your work and can’t wait to see your noir masterpieces!


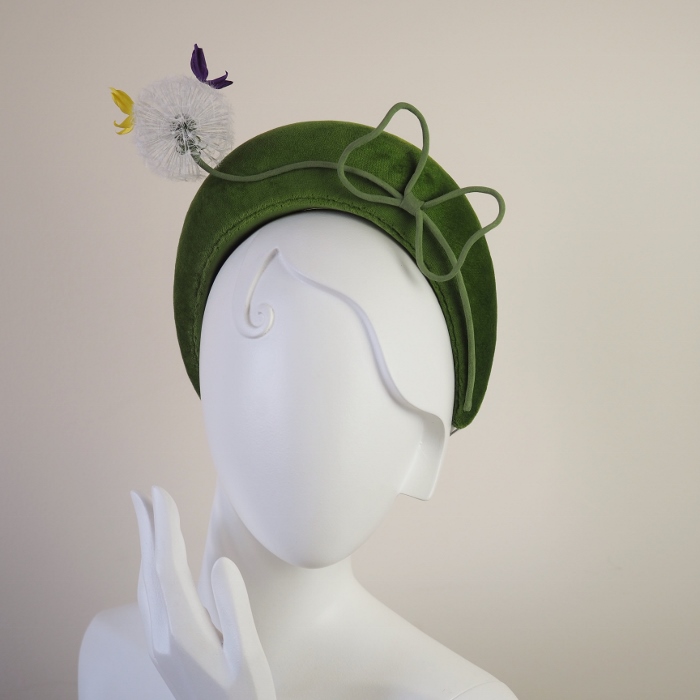
 My Tethered Butterfly Crown for a millinery competition: the how