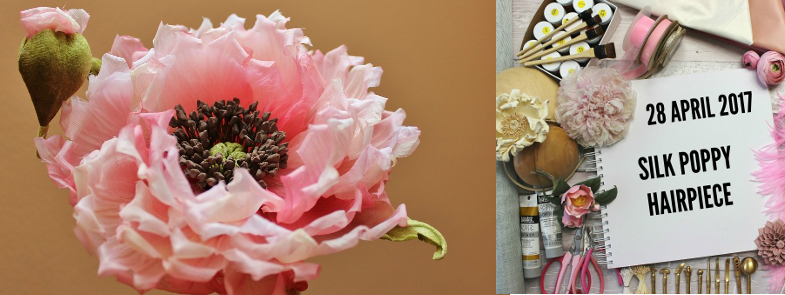
 First time leather anemones were featured in my #FlowerBreeze collection back in SS2016. A firm garden favourite, they deserved a detailed tutorial of their own which I am happy to present you with.
One of the earliest spring flowers, anemones are a bright uplifting sight after the dark days of winter – pure, simply pretty and cheerful.
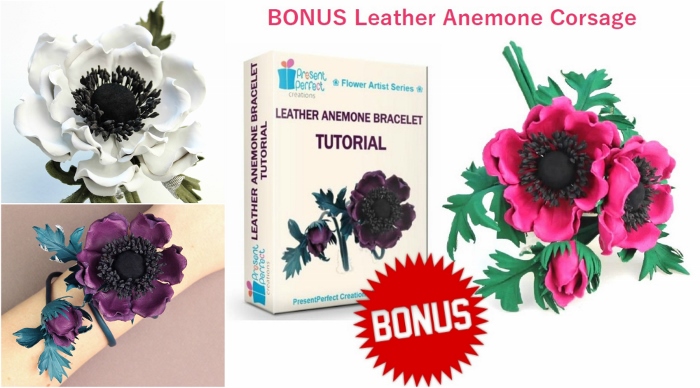
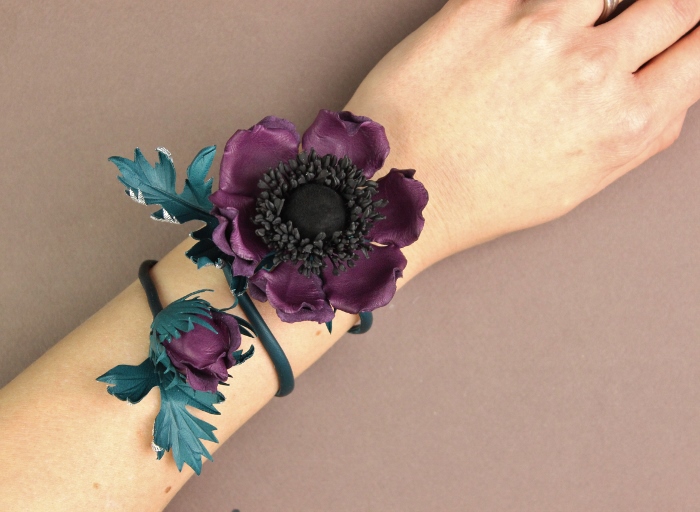
Now with the help of this tutorial you can learn how to create your own anemone bracelet, corsage, buttonhole or another floral accessory with these vibrant blooms in the sizes and colours of your choice.
Now with the help of this tutorial you can learn how to create your own anemone bracelet, corsage, buttonhole or another floral accessory with these vibrant blooms in the sizes and colours of your choice.
For this tutorial I have changed the template and the methods to come up with an improved flower that is charming but not too difficult to make.
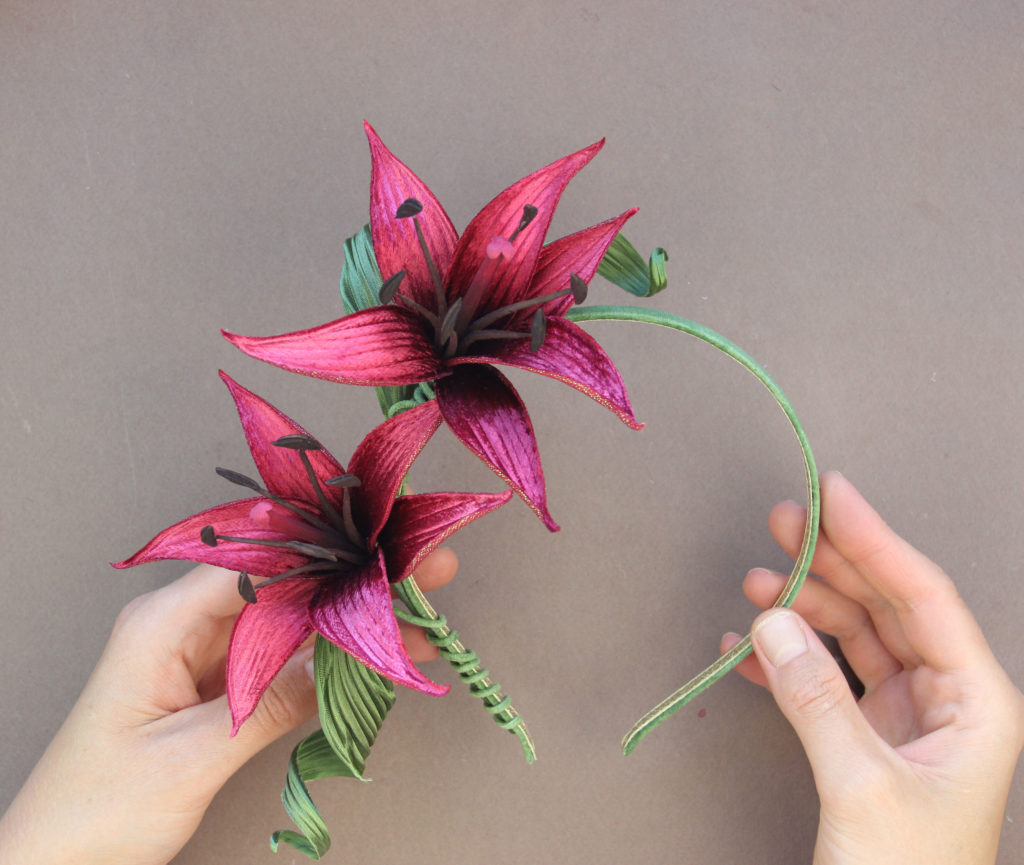
As most of my flowers, leather anemone flower can easily be turned into a variety of wearable accessories and trims. The tutorial shows how to make a leather anemone wrap around bracelet. You can turn your leather anemone into a hat trim, a groom’s buttonhole, a headband or a corsage (see the information on the BONUS below) and more.
Straightforward and detailed enough even for a leather flower newbie, this tutorial contains tips that experienced flower artists will find interesting as well.
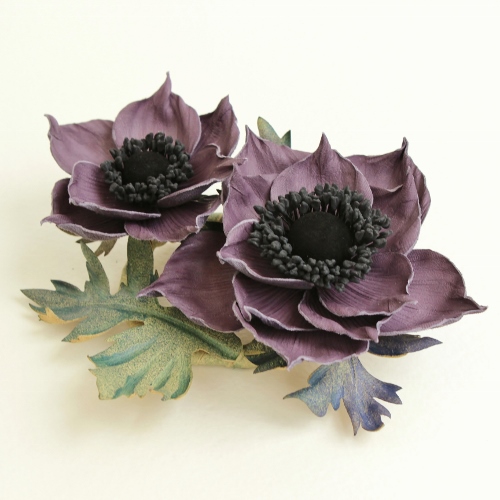
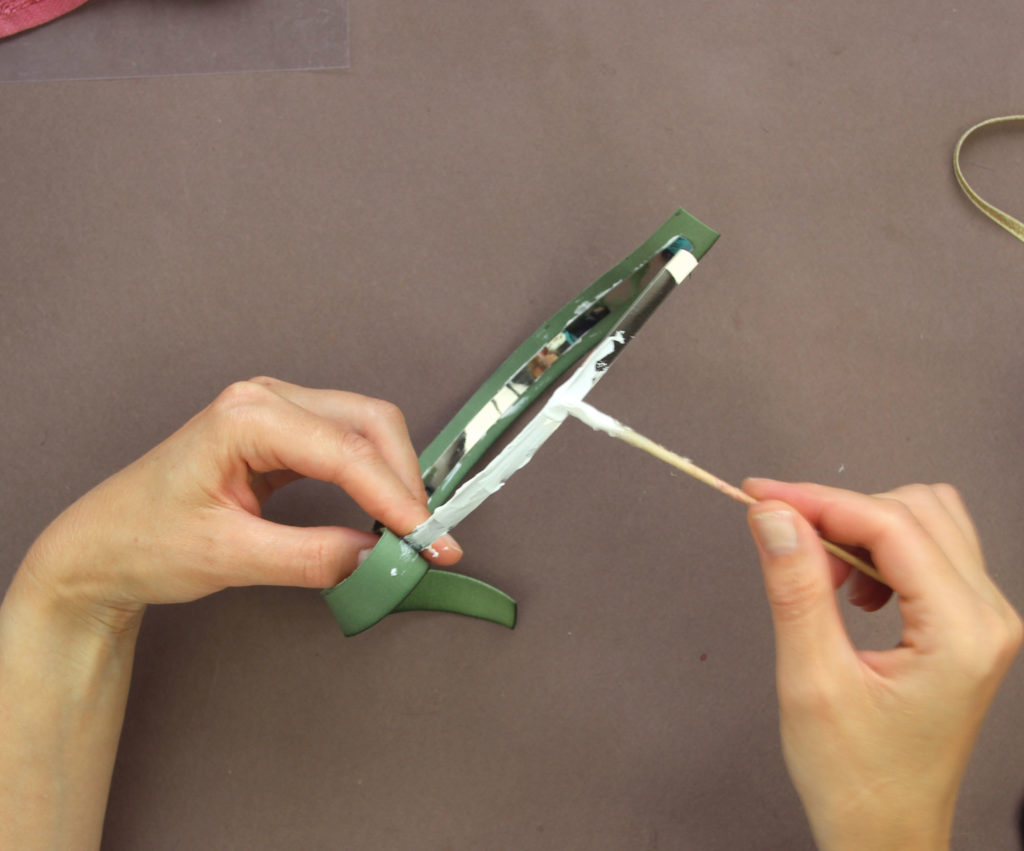
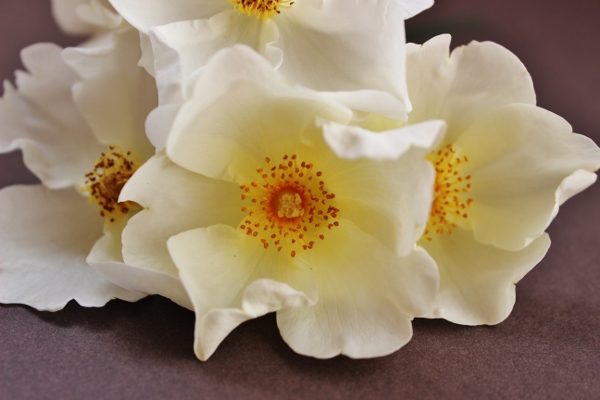
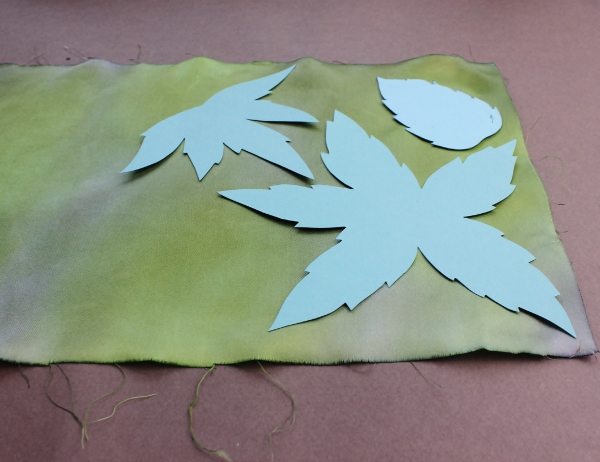
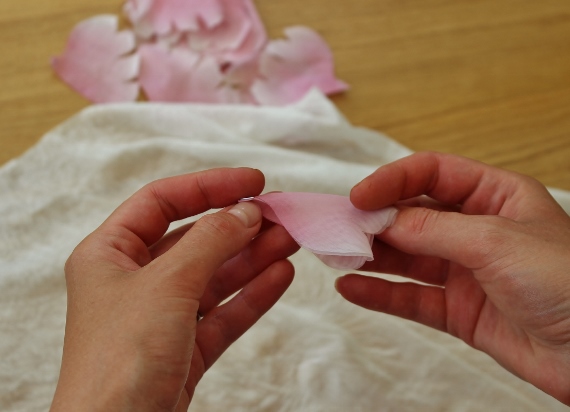
 The striking centre and the serrated foliage of the leather anemone look really attractive and can be achieved with minimum tools although some patience and practice are required.
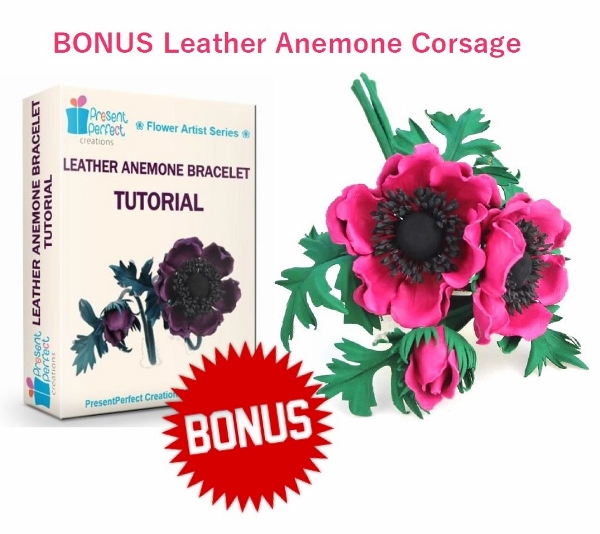
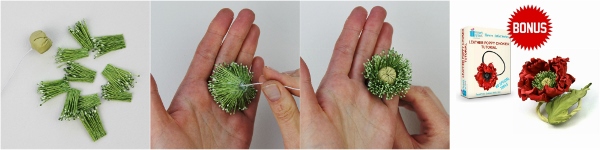
But I could not just stop at the anemone bracelet tutorial. So I have prepared a bonus anemone tutorial in addition to the main one. It costs nothing but your review on the main Leather Anemone Tutorial.
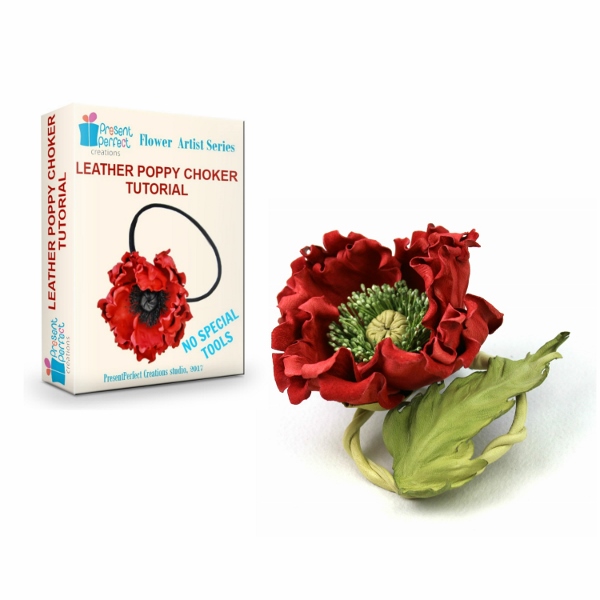
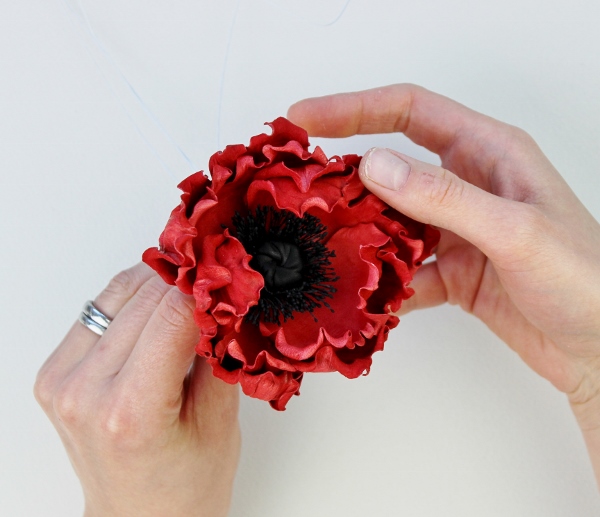
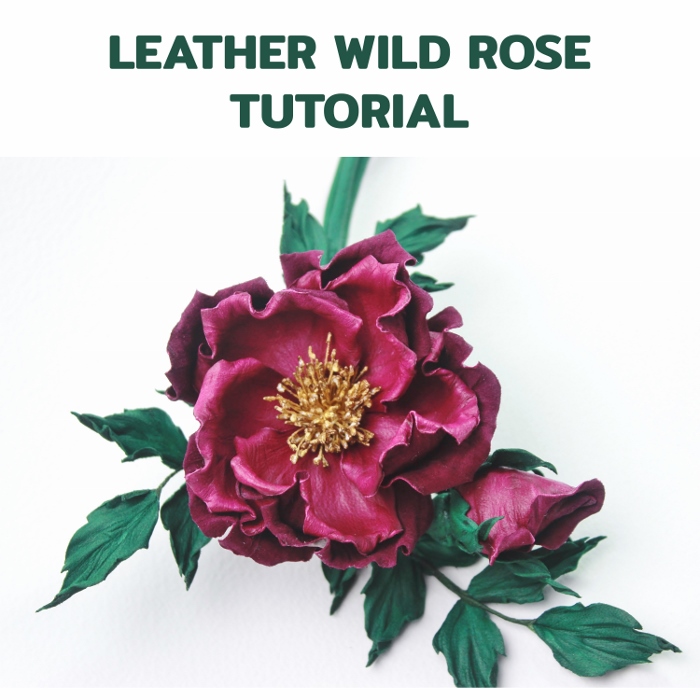
Using the explanations provided in the BONUS tutorial you will be able to assemble a larger anemone corsage arrangement with a large, a medium flower and a bud (see the photo to the left). You will learn how to attach leaves in a different way and see how suede works in leather designs . It contains tips on how to make a double anemone for a more compact flower brooch or a buttonhole. 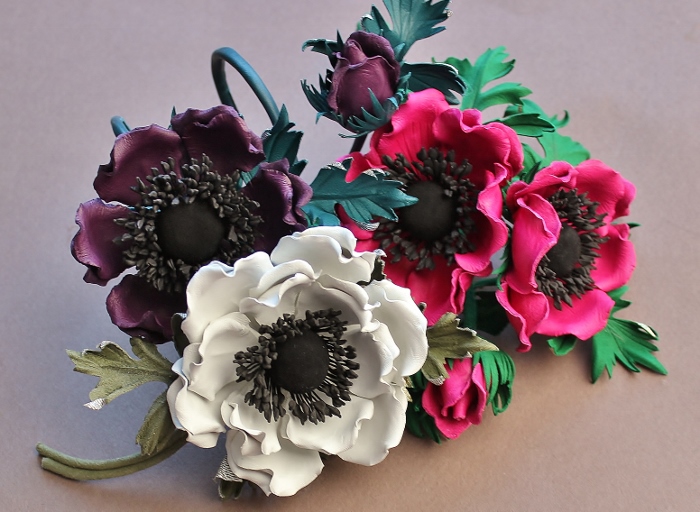
So, if you’d like to learn how to make these bright spring blooms and create a variety of accessories with them use this opprtunity to purchase the tutorial now whilst it is being offered at a special tutorial-of-the-month price (the offer is valid till 28 February 2019)
❀ ❀ ❀ ❀ ❀ ❀ ❀ ❀ ❀ ❀ ❀ ❀ ❀ ❀ ❀ ❀ ❀ ❀ ❀ ❀ ❀ ❀ ❀ ❀ ❀ ❀ ❀ ❀ ❀ ❀ ❀ ❀ ❀ ❀ ❀ ❀ ❀ ❀ ❀ ❀ ❀ ❀ ❀ ❀ ❀ ❀ ❀ ❀
❀ ❀ ❀ ❀ ❀ ❀ ❀ ❀ ❀ ❀ ❀ ❀ ❀ ❀ ❀ ❀ ❀ ❀ ❀ ❀ ❀ ❀ ❀ ❀ ❀ ❀ ❀ ❀ ❀ ❀ ❀ ❀ ❀ ❀ ❀ ❀ ❀ ❀ ❀ ❀ ❀ ❀ ❀ ❀ ❀ ❀ ❀ ❀
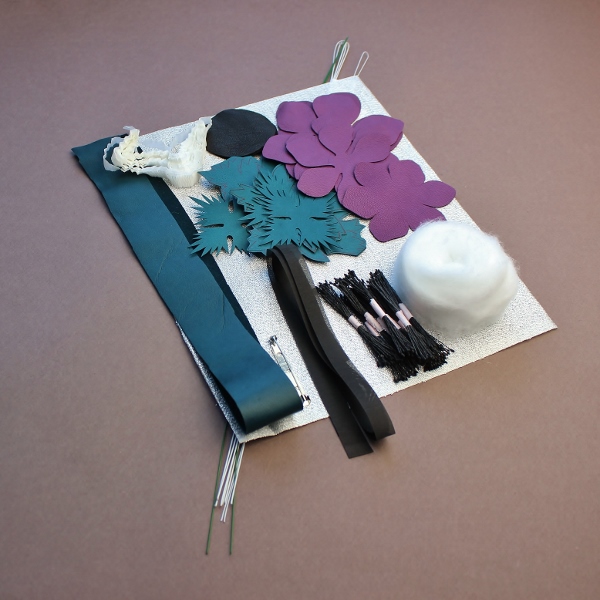
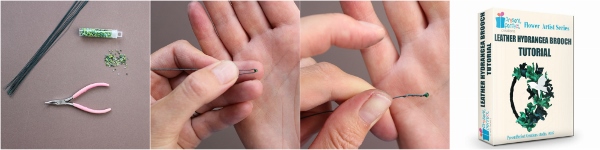
As the flower of the month you can now purchase the leather anemone tutorial + BONUS as well as the DIY kit with a discount (15% OFF). All discounts have already been applied on the website until 28 February 2019. Please click on the photos below to find out more and purchase.
In case if you are lucky enough to already own this tutorial but somehow you have not come round to actually making the anemonies now is the time!


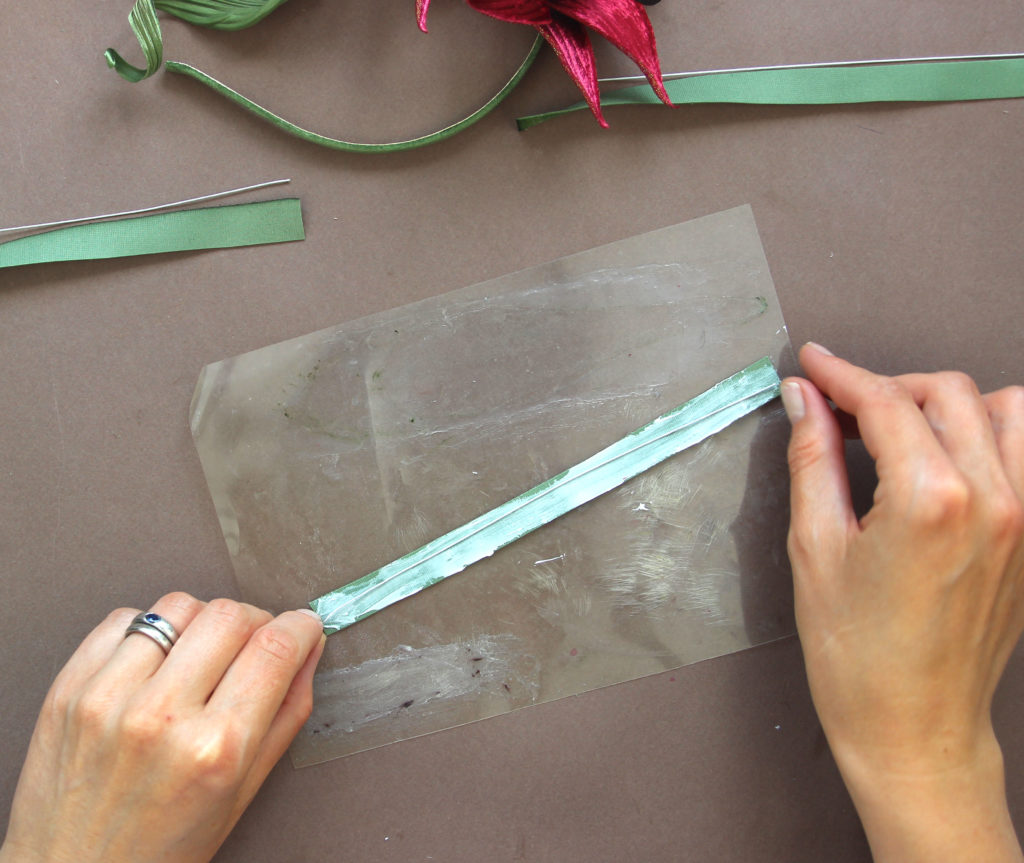
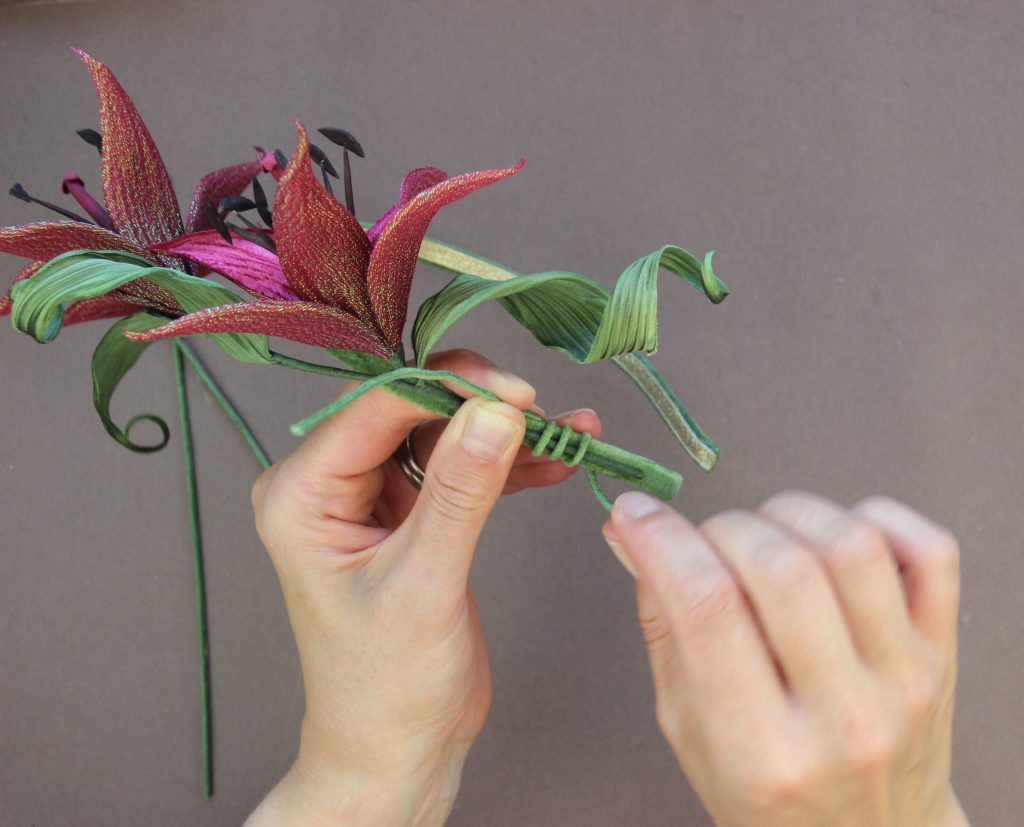
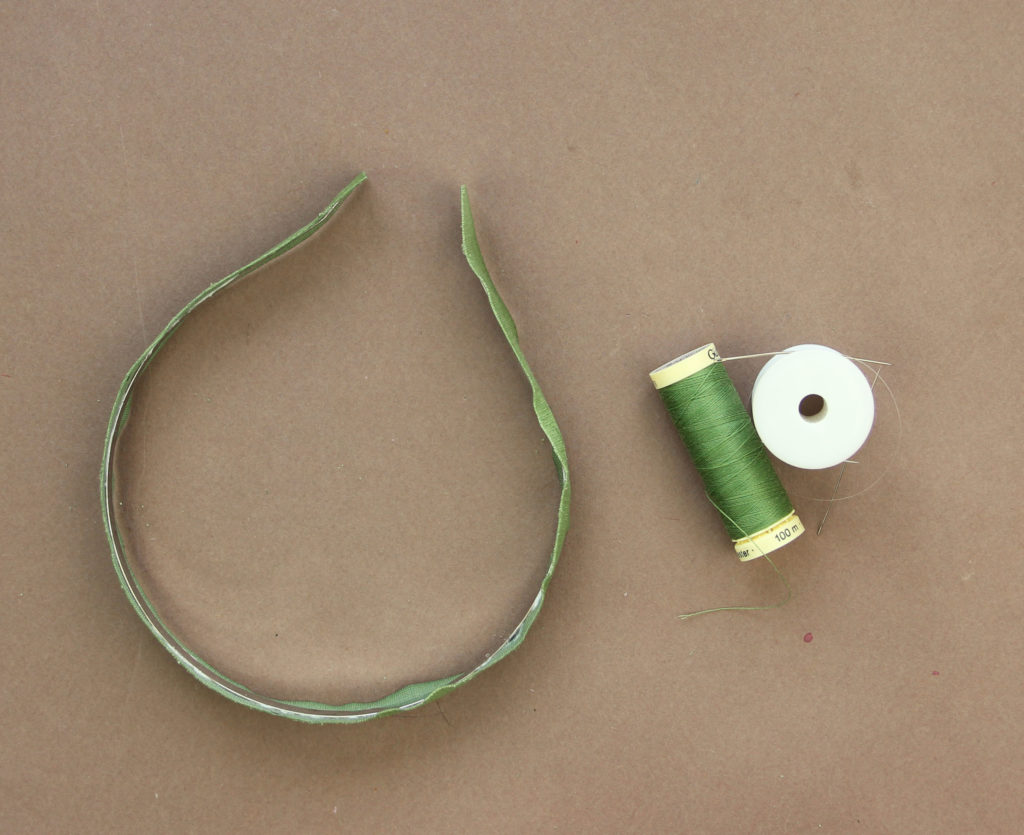 First, cover the headband with a strip of velvet in the chosen colour (hand dyed or otherwise).
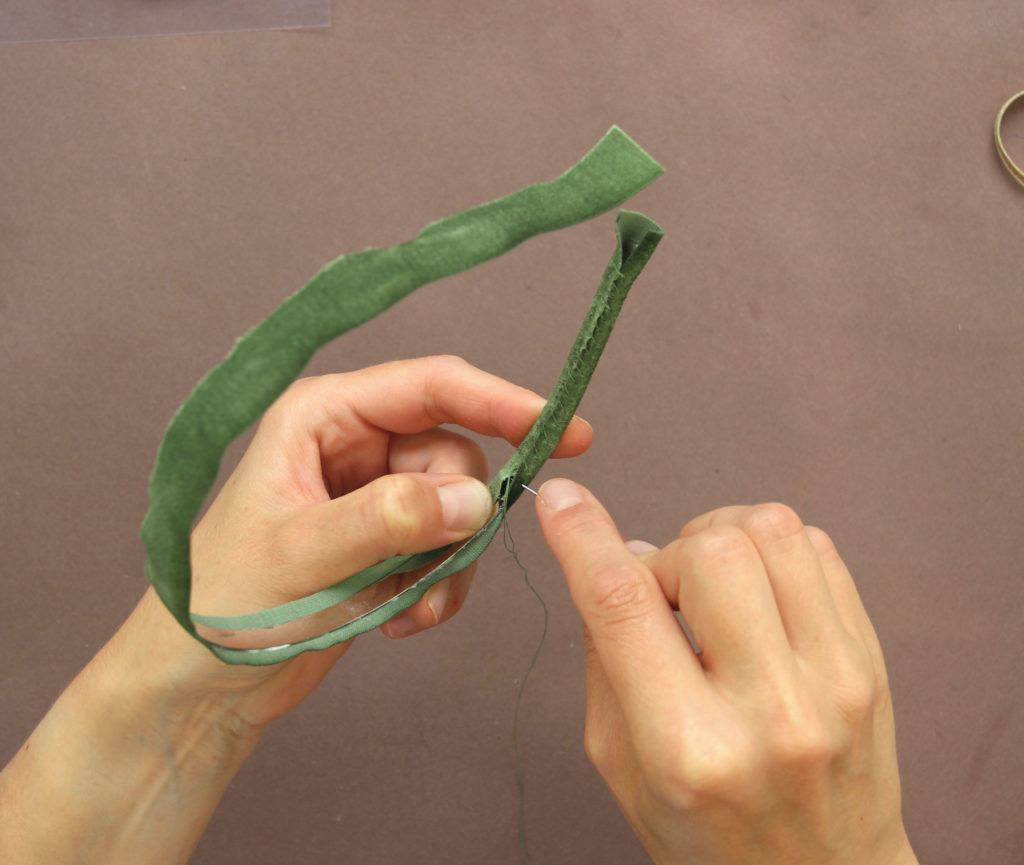
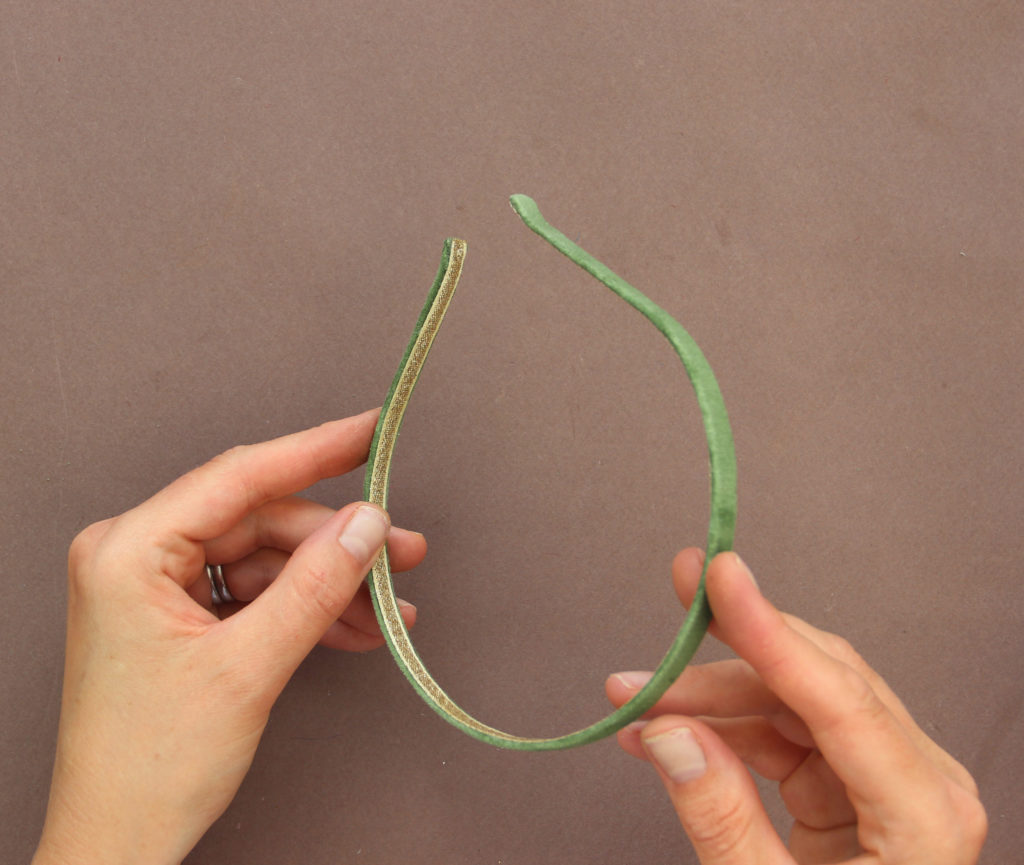
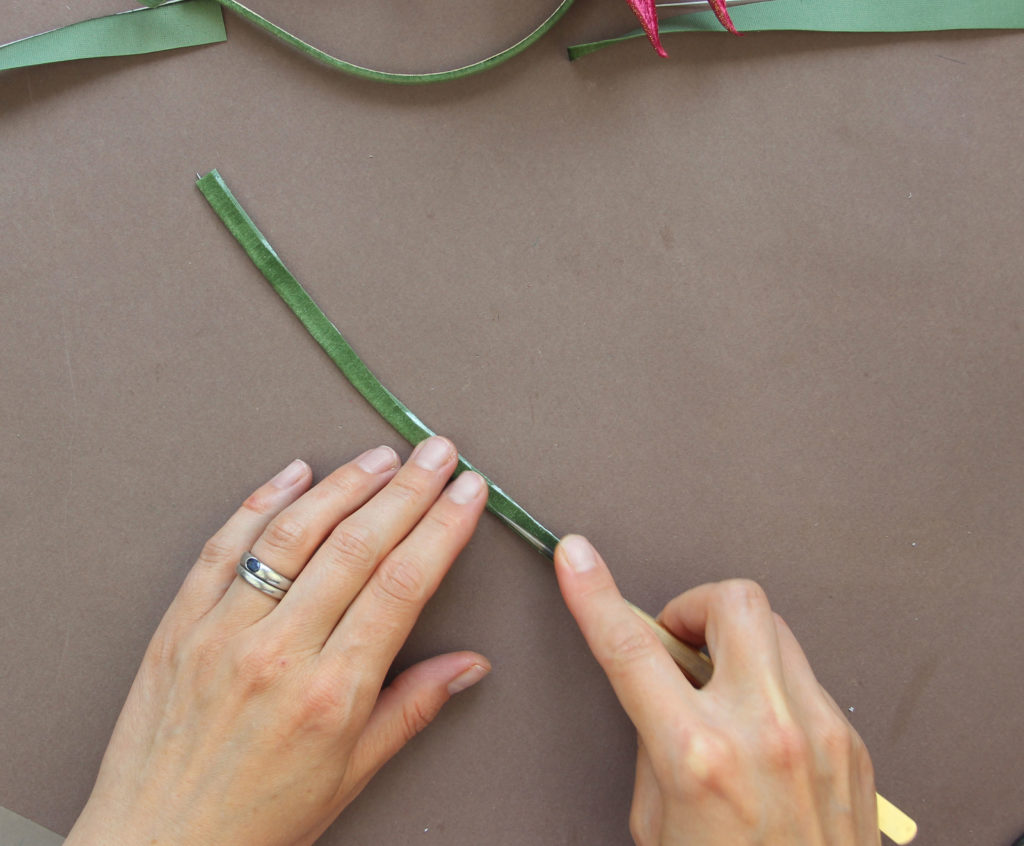
 Neatly sew in the edges, try to make the seams in this area as flat as possible.
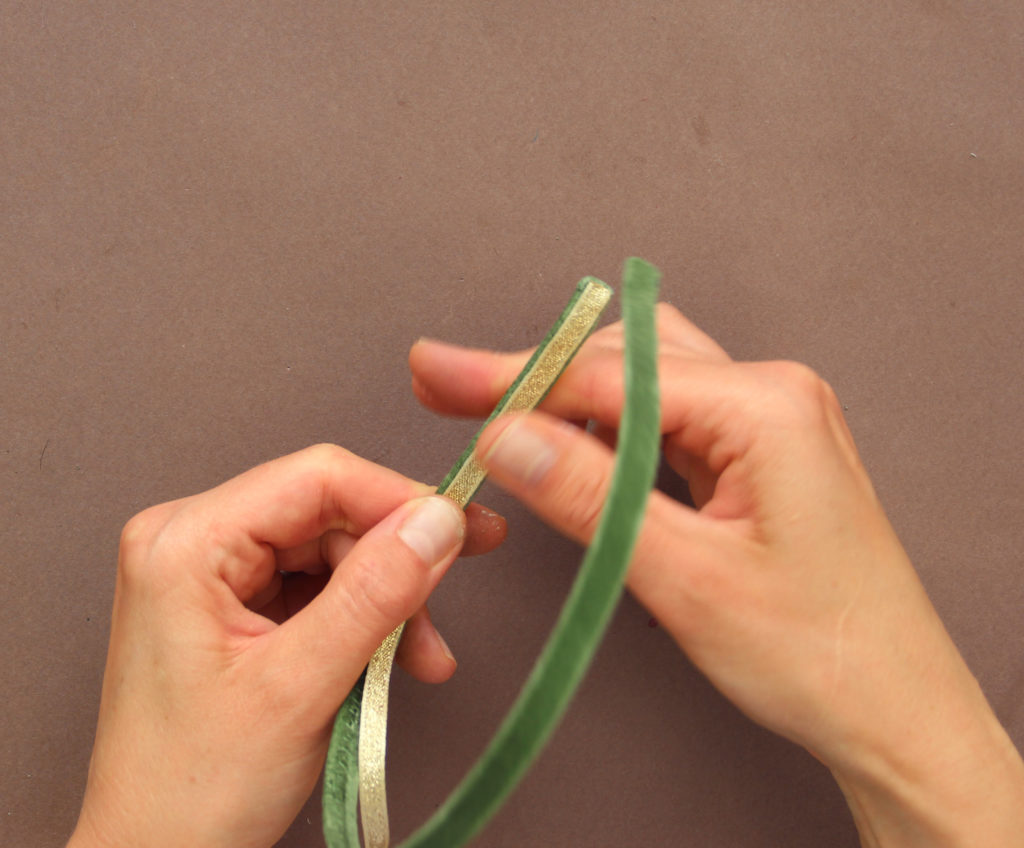
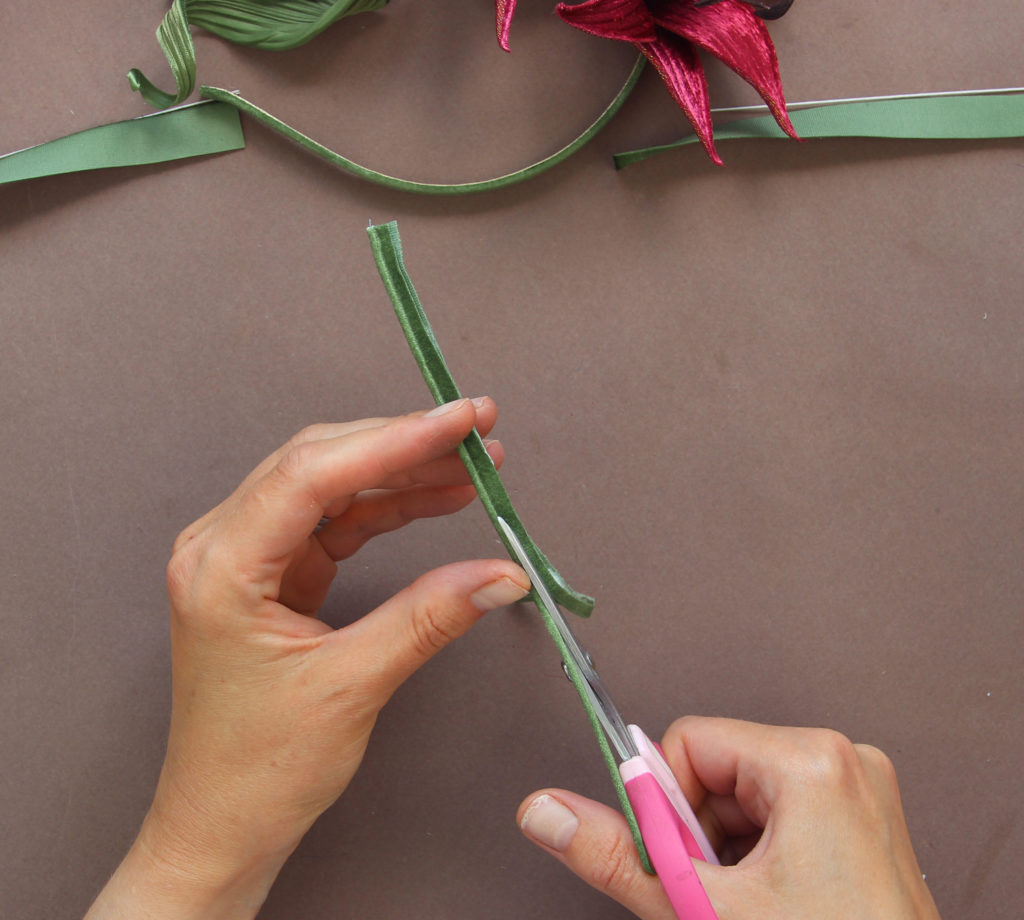
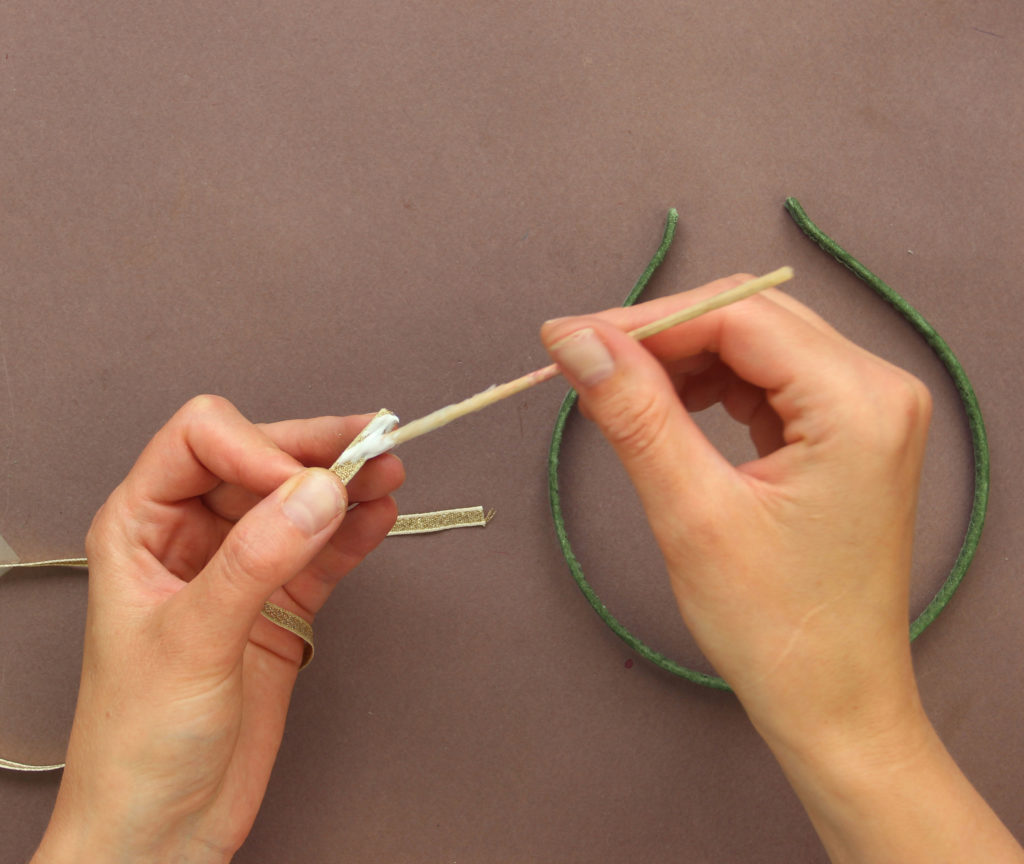
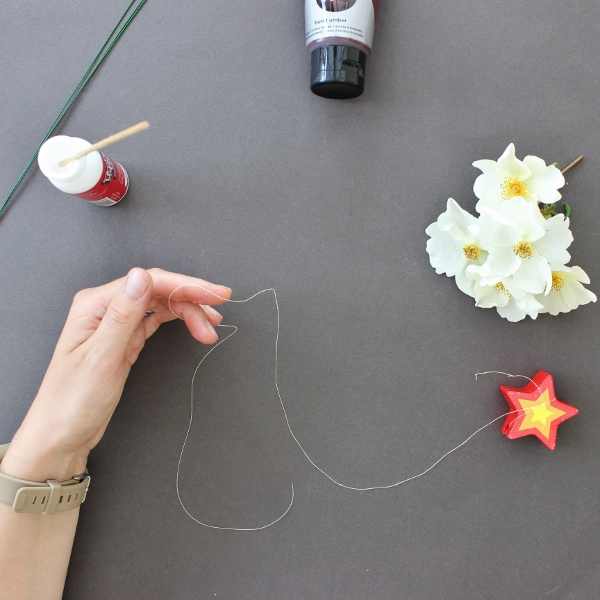
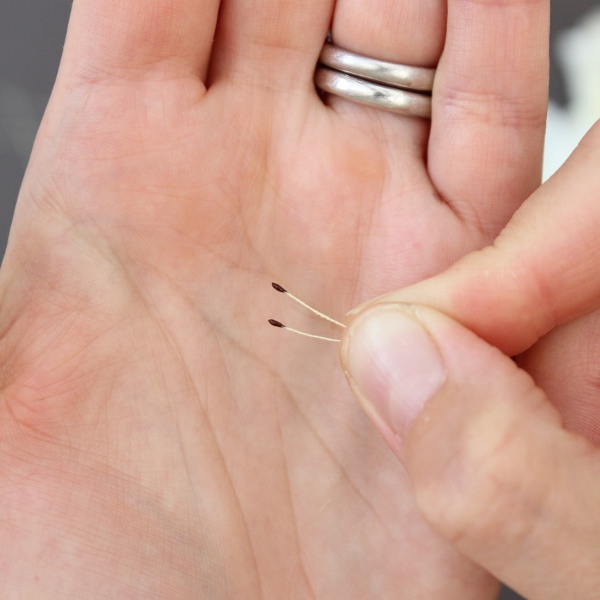
 You can curl up the ends of the wires with a pair of pliers to turn them into additional decorative elements as shown in the photos.
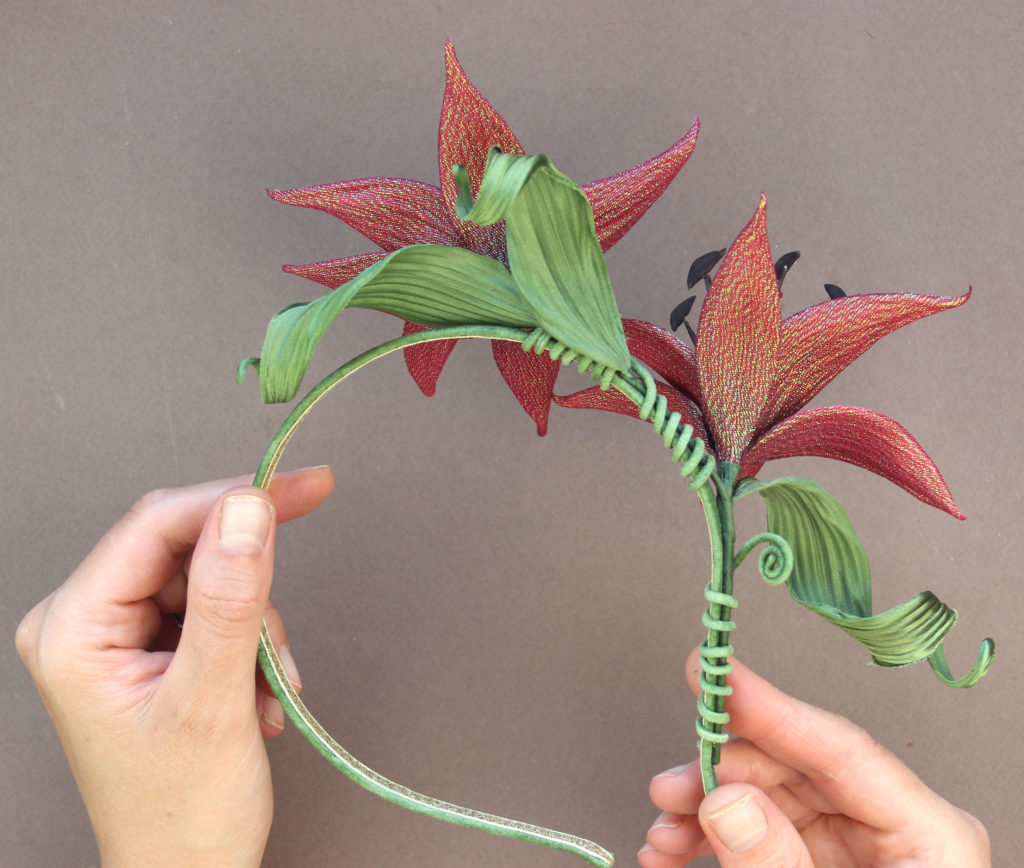
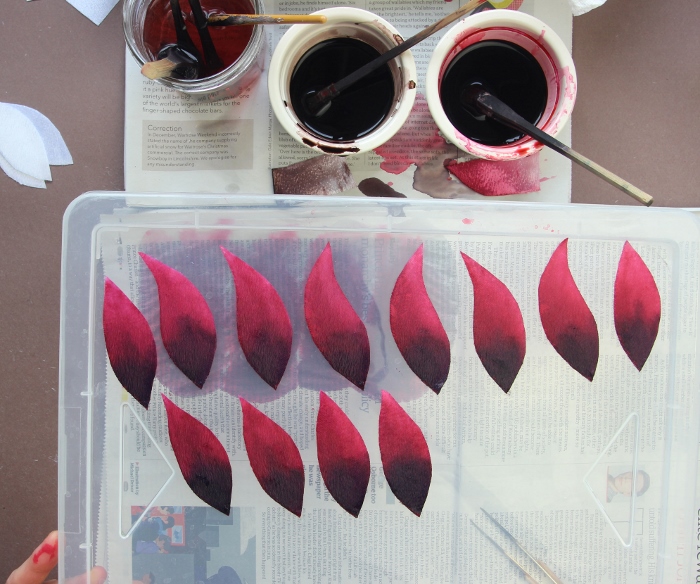
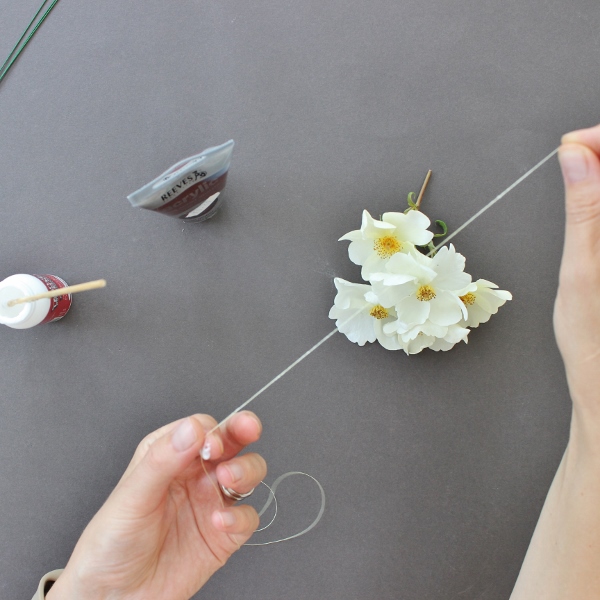
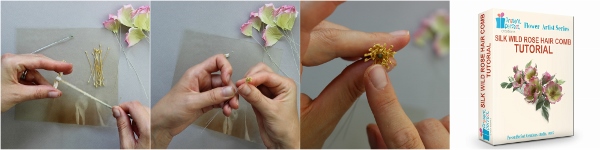
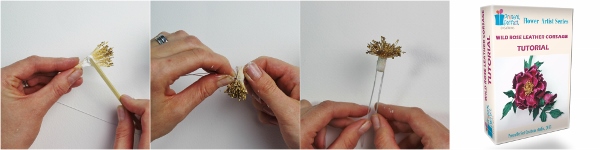
 Stamens make the heart of an art flower. They draw attention to its core. That’s why it is so important to get the size, the colour, the shape and even the quantity of your stamens right when creating your blooms, whether out of fabric or leather.
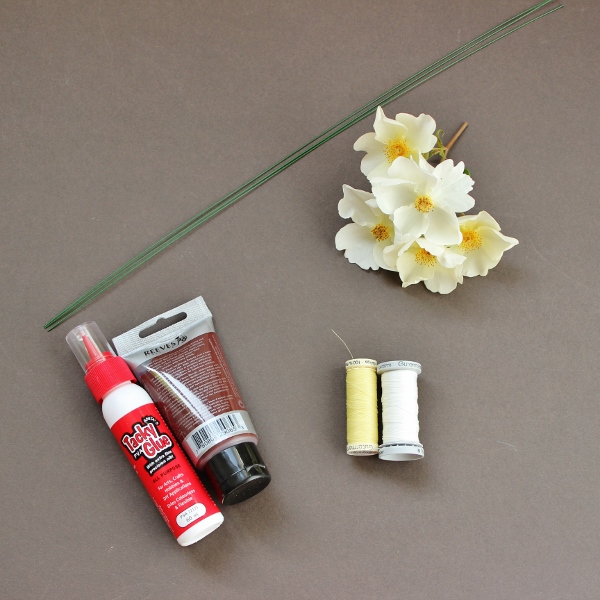
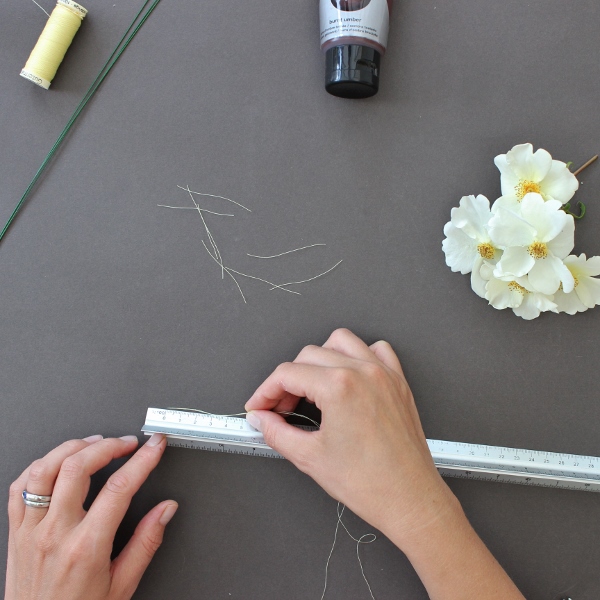
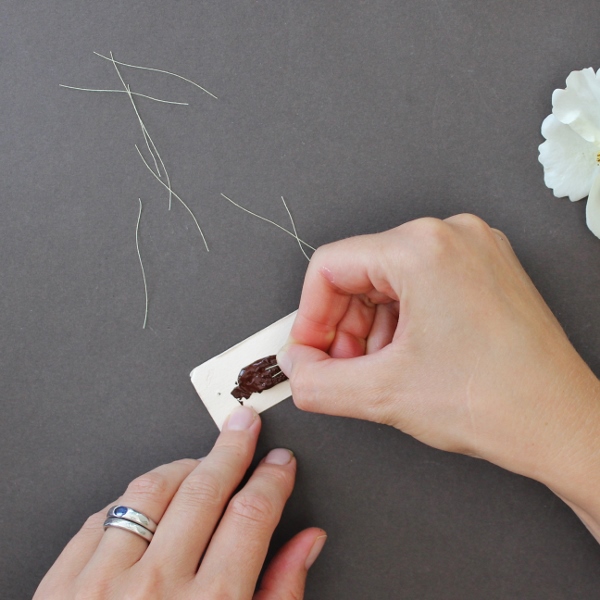
 box or a box lid (pictured). Simply hang the stamens in rows over the wires and leave them to dry completely. Make sure to space the stamens well apart to prevent them from sticking to each other when the paint is still wet. In a couple of hours you have got your handmade stamens ready to be used.
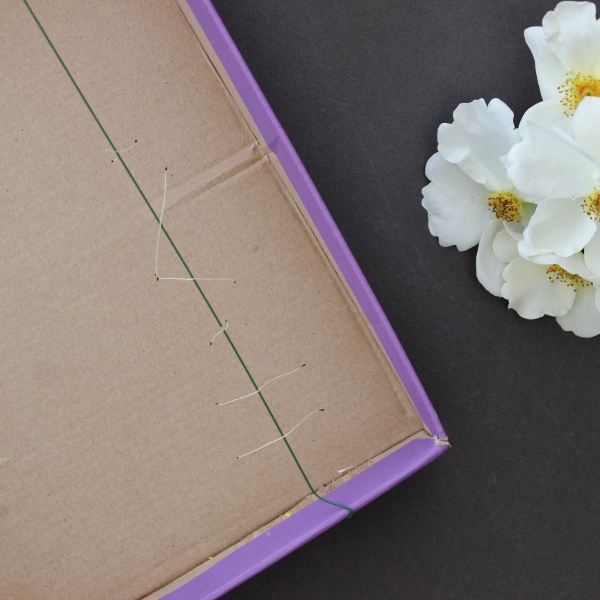


 NO tool flower making tutorials for beginners: are there any?

 We are happy to offer 3 leather flower making tutorials that require no millinery tools, on
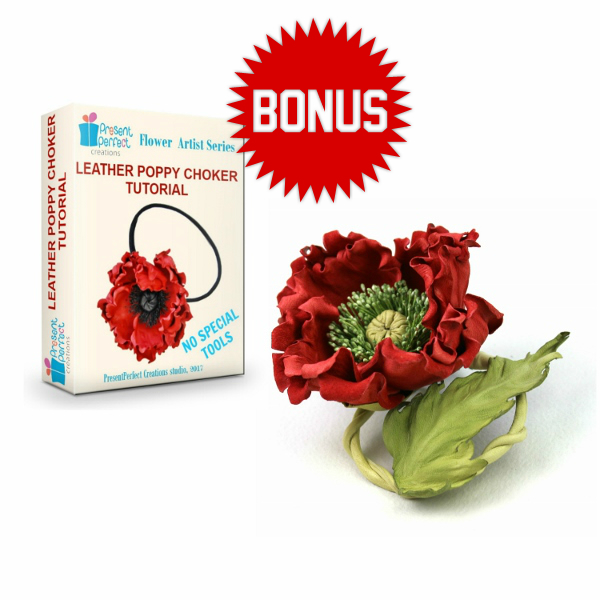
 I am well aware of the fact that not everyone has got a set of traditional millinery tools to shape flower petals and leaves. Although this does cause certain restrictions with regards to the techniques that can be used and the final results, there are methods that can be successfully applied without the use of tools.