wild leather violets TUTORIAL

Wild Leather Violets Tutorial

Free Wild Leather Violets Tutorial for beginners+

This is a fun free tutorial on stylised wild violet flowers made of genuine leather without the use of any specialist tools. The wild leather violet tutorial is suitable for all levels including complete beginners.

wild leather violets tutorial supplies
Leather Violets Tutorial

Other no tool beginner friendly flower making tutorials can be found here.

Here is a list of tools and supplies we will need for making our leather violets:

💜  thin genuine leather/ suede (lamb, goat, pig) in suitable colours

💜  contrasting leather for a butterfly (optional)

💜  lightweight silk fabric for stems (preferably stiffened)

💜  stamens

💜  wires (gauges #28 or #26)

💜  scissors

💜  wire cutters

💜  awl

💜  pliers

💜  thick tacky PVA glue for assembly + glue for stiffening

cotton cloth

💜  brooch pin (optional)

Use the button below to download your templates for this tutorial. In order to download them, you will be asked to subscribe to my Flower Makers’ newsletter. It is free and you can unsubscribe any time if you wish to do so.

wild leather violets tutorial
1. Using the template provided trace as many violet flowers as you need for your project. Here I am using 15-20 flowers. On darker coloured leathers it is helpful to use an acrylic pen in white or silver.

2. Once you have traced the flowers, cut the leather roughly to separate the flowers first. Using the dotted lines in the template as a guide make deeper cuts between the petals as shown in the photo. This will help with shaping later.

wild leather violets tutorial
3. Next, cut all the flowers our neatly, making sure you have cut off all the pen markings.

4. Prepare the stiffening solution. If you have never done it, read this blog post on how to do it.  Place all the flowers into the stiffening solution and let them saturate well.

wild leather violets tutorial
5. Once the leather flowers are completely soaked through, take them out of the solution and squeeze extra solution out so they are not dripping (excuse my pink fingers, the purple suede I am using has leaked some pink dye into the stiffening solution).

6. The flowers are going to be shaped by hand. Start shaping by folding each flower in half lengthwise. You will have 2 pairs of petals and one larger petal folded in half. Next, place one pair of petals on top of the other (see above).

wild leather violets tutorial
7. Place the large folded petal on top of all other petals to form a small neat pile. Next, fold the pile in half. It will be fiddly as the petals are small. Try to do your best here.

8. Place the folded pile of petals into a cotton cloth and twist the flower carefully together with the cloth as shown. This way the flower will remember shaping better. Shape all the prepared flowers in this way.


9. Leave the shaped violet flowers to semi dry for 1-2 hours.

10. Meanwhile prepare the lightweight silk for wrapping stems. I am using this thin rayon fabric which I have dyed green. If you have a thin green ribbon like this, it can work very well. I prefer my fabrics to be stiffened. Watch this video on how to stiffen your own fabrics.

wild leather violets tutorial
11. After 1-2 hours of drying carefully unravel each flower making sure you preserve the hand shaping you have meticulously created.

12. Open up all the flowers and leave to dry completely as shown above.

wild leather violets tutorial
13. For the next step prepare the stamens, the green fabric and the wires. I have dyed the top parts of mine purple so they are not seen inside the flowers. My wires are about 20 cm long for this design.

14. This step is optional. To secure a wire inside each flower I like making a small loop at the top of the wire (see above). Use an awl to wrap the wire around and make a neat loop.

wild leather violets tutorial
15.  To add a stamen to the wire and neatly cover the stem of each flower with silk, cut about 1 cm wire ribbon and fold in about 1/3 of its width (see above). By folding part of the ribbon like this you are stopping the edge from fraying, providing a neat finish to your stems.

16. Place a stamen next to the loop, add a little glue and start tightly wrapping them together wit the prepared folded in ribbon of thin silk at an angle as shown above.

wild leather violets tutorial
17. Stems are part of the design in my brooch so it is important to make them look nicely finished. Prepare the stems for all your violets in this way.

18. To wire the violet flowers make holes in the centre of each flower using the awl. Then thread a stem through the hole and add a dot of thick PVA glue just under the stamen (see the photo).


19. Carefully pull the stem down to make sure the stamen (and the loop) are glued deep inside the flower. If there is any excess glue remove it with the tip of your awl.

20. You can add a leather butterfly on one of the flowers if you wish. I am explaining in detail how to make small leather butterflies like this one in the Leather Hydrangea flower Tutorial.


21. Wire all the prepared violets and give the glue the time to set.

22. You can make a number of designs with these flowers, on their own or adding them to larger leather blooms you already know how to make. I have arranged my violets into an oblong brooch by twisting their stems together.


23. To make the piece wearable remember to add a brooch pin.

24. The Wild Leather Violet brooch is ready to wear 😊

These dainty flowers come in all shades of purple/ violet as well as pink and white. Experiment with the colour, size and finish and create pieces that are uniquely yours 💜

wild leather violets TUTORIAL


You can subscribe to my Youtube channel here.

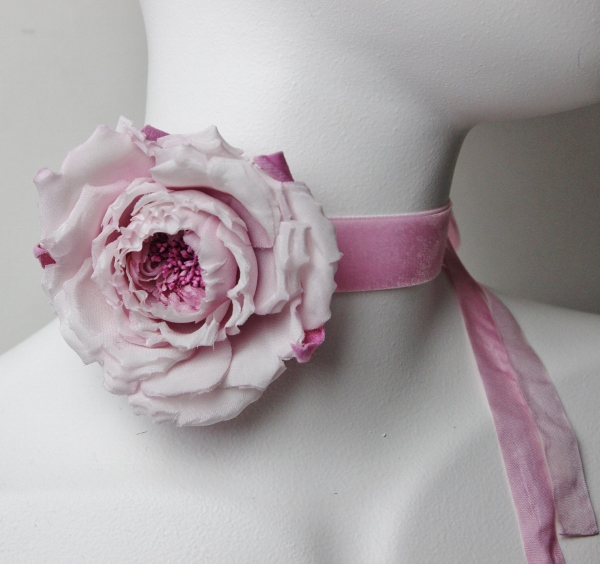
silk rose choker necklace

Flower chokers

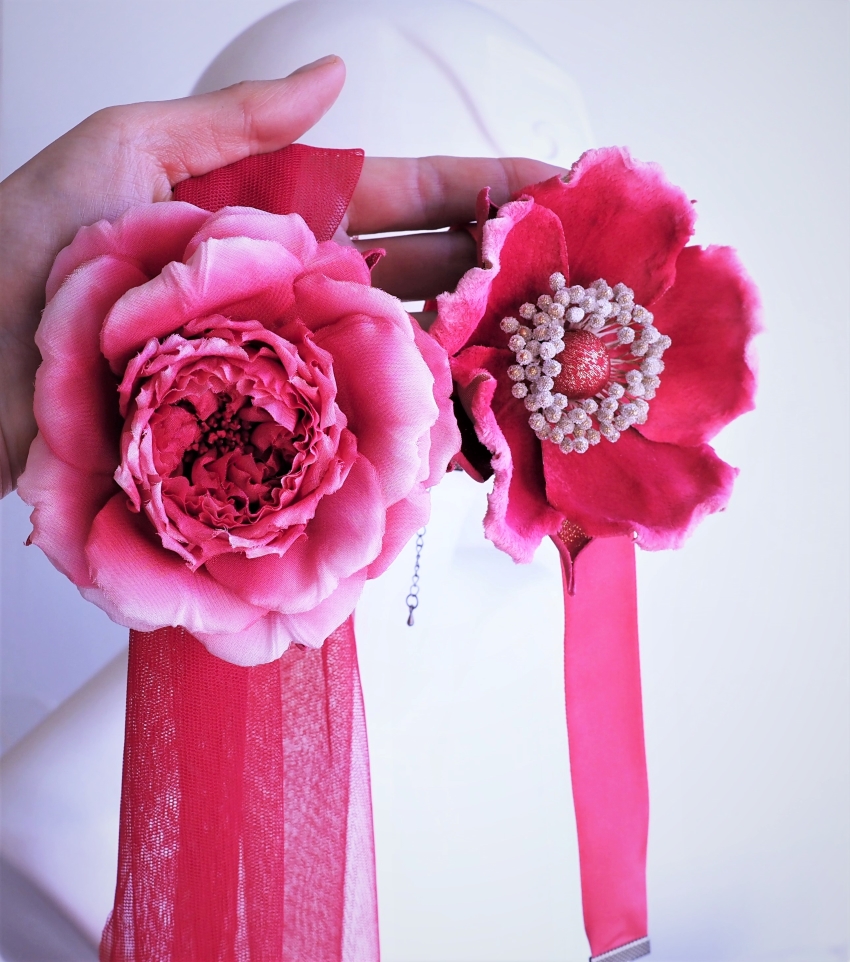
magenta flower chokers Delicate silk flowers seem to be a perfect fit for flower chokers, these romantic close-fitting necklaces that have remained popular over the years.

Perfect for bridal and evening wear, especially with strapless open neckline dresses flower chokers can accentuate the slender neck of the wearer as well as add a soft floral touch to the overall look. A medium sized rose works well here.

To shop flower chokers that are in stock right now click here 

As we dye our silk flowers from scratch the flower choker can be easily matched in colour with the dress.

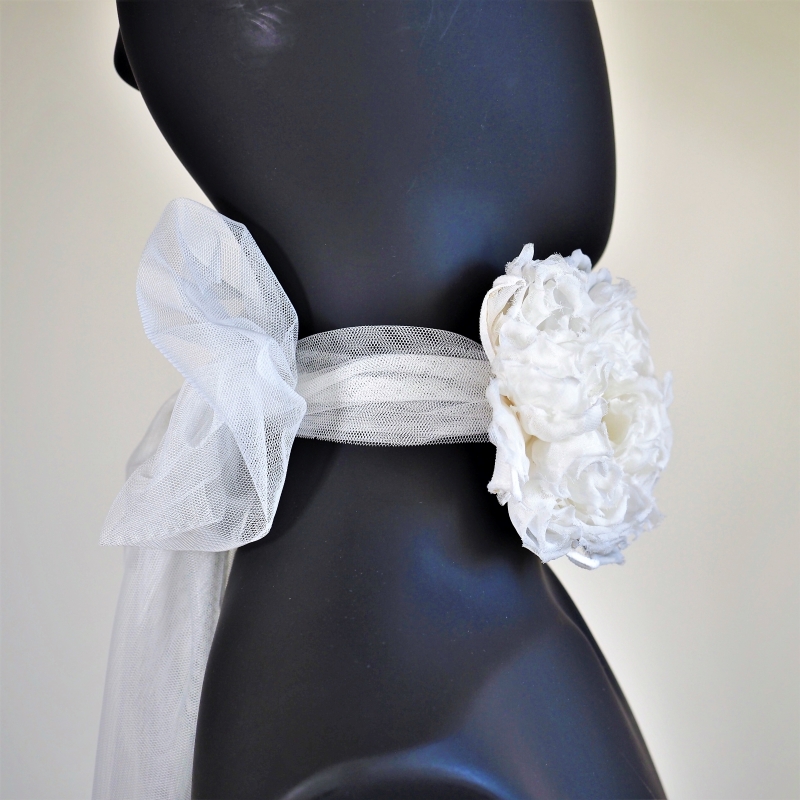
For bridal flower chokers opt for white, ivory or cream fabrics and include lightweight golden or silver fabrics as a possible addition.leather poppy flower choker
There are a number of metallic findings you can purchase for making chokers from ribbons. In theSilk Marie Antoinette tutorialI am demonstrating how to turn your handmade rose into a wearable one-size-fits-all choker simply using velvet and silk ribbons.

flower chokers side

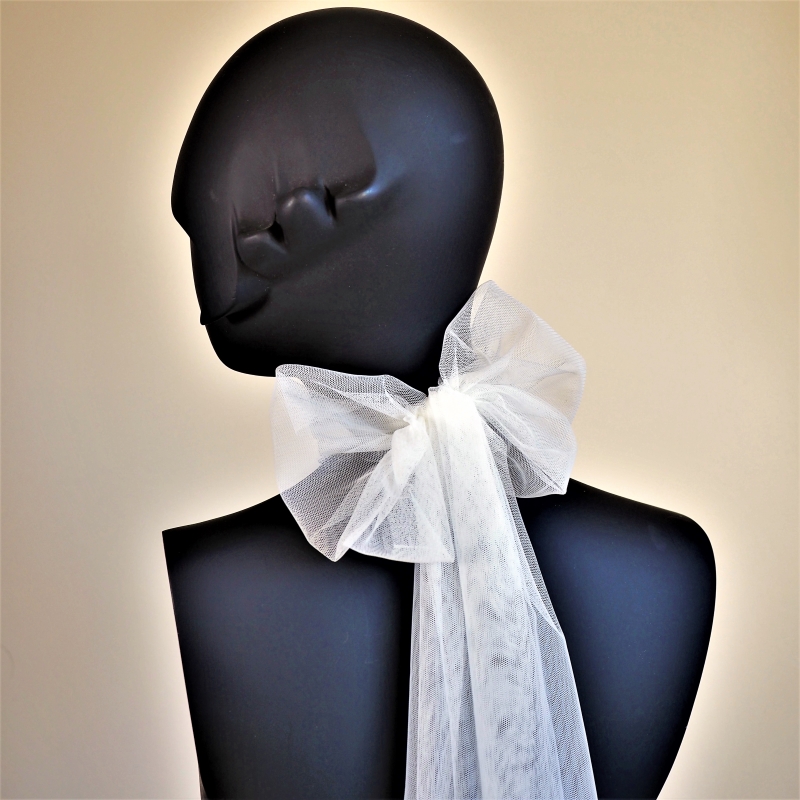
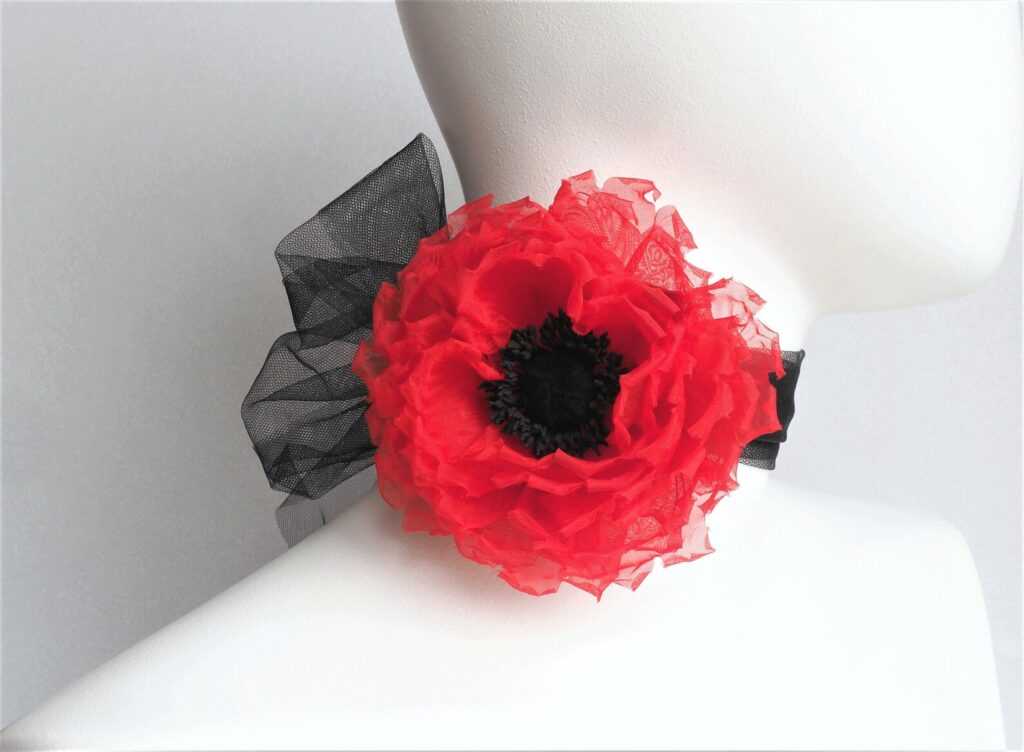
Another option to finish your silk rose is to use some soft tulle fabric (can be pur
chased in a number of colours) and tie it at the back into a large yet lightweight bow as shown in the photo on the right.
The fuller rose featured in this choker can be made during one of my
online video workshops I offer to my students.

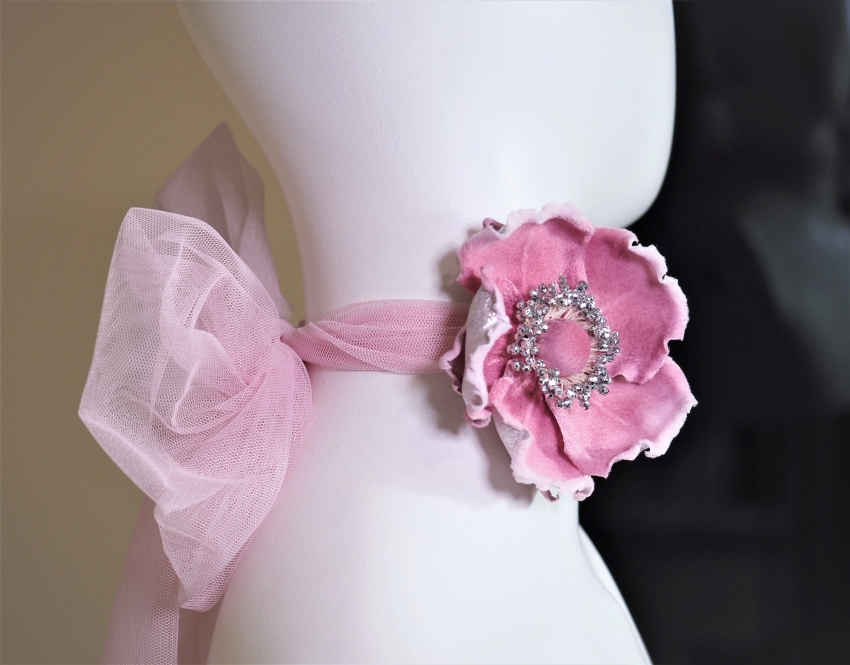
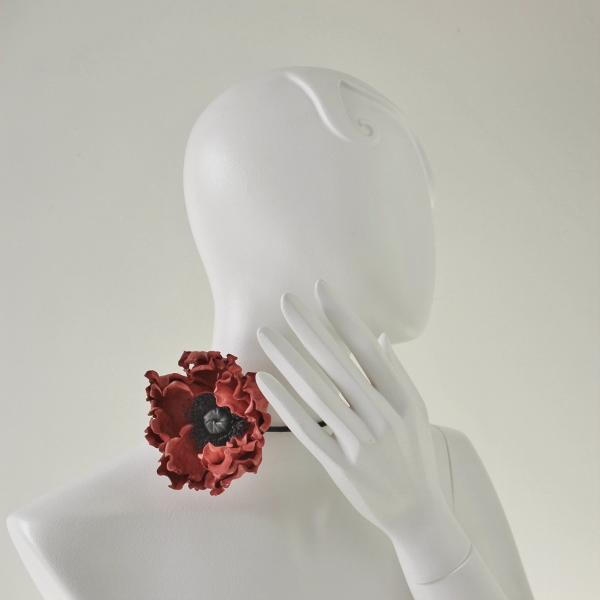
Some leather flowers can also be turned into choker style necklaces.
red organza poppy choker front

It is better to choose light soft flowers like this ever so popular leather poppy (photo on the left).


The poppy features 4 pairs of petals and it the right flower to be used here. Some leather roses can als
o be used instead (for example the Wild Leather Rose).
In the Leather Poppy Tutorial I am demonstrating how to turn the poppy stem into a choker style necklace, which means you will not need any special findings to turn your flower into a wearable piece.

 NEW! Now you can purchase an organza poppy choker as well.

 Very romantic, the leather poppy can look rather dramatic and add a bright colour accent to an outfit.
Depending on the style, occasion and outfit there are different options for possible flower chokers  you can
 consider.
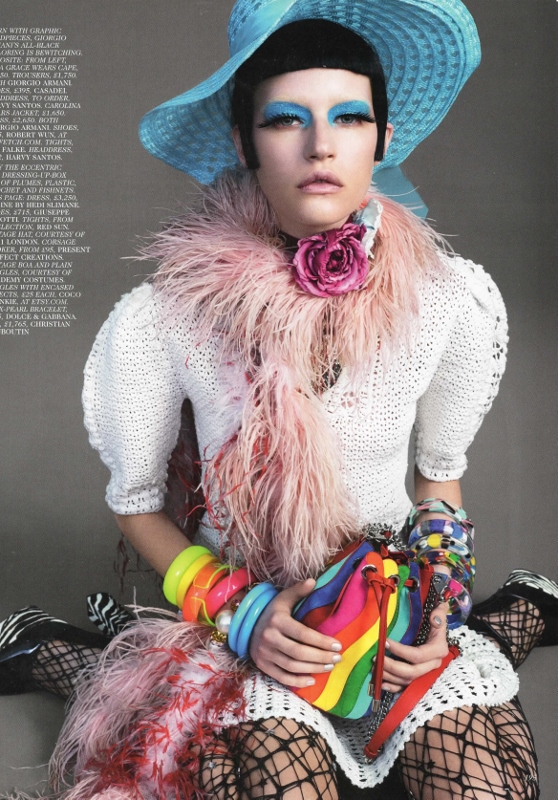
A couple of my silk rose chokers made it to the British Vogue acouple of years ago. If you are not offering any flower choker pieces as part of your collection it is high time you did.
I wonder which one you prefer more, silk or leather?
flower chokers back
Leather Anemone Collage

FEBRUARY 2019 Flower of the Month: ANEMONE

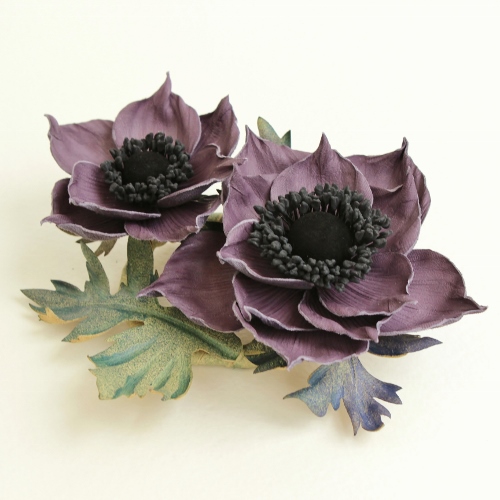
lilac leather anemone broochFirst time leather anemones were featured in my #FlowerBreeze collection back in SS2016. A firm garden favourite, they deserved a detailed tutorial of their own which I am happy to present you with.
 
One of the earliest spring flowers, anemones are a bright uplifting sight after the dark days of winter – pure, simply pretty and cheerful.
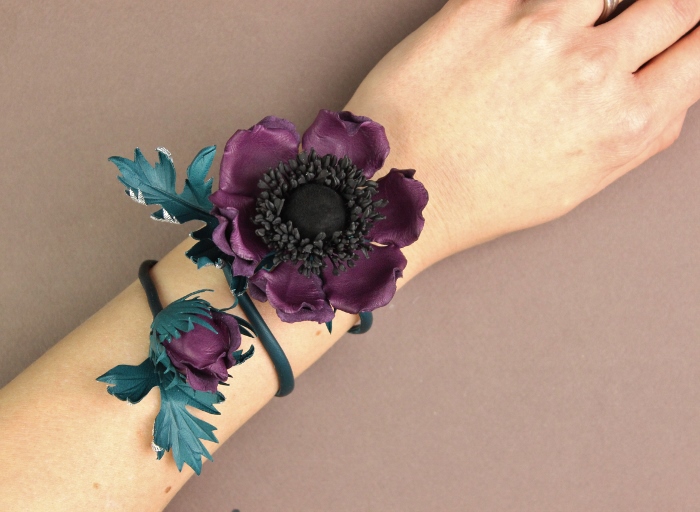
Now with the help of this tutorial you can learn how to create your own anemone bracelet, corsage, buttonhole or another floral accessory with these vibrant blooms in the sizes and colours of your choice.
BONUS leather anemone corsage ad (600x534)
For this tutorial I have changed the template and the methods to come up with an improved flower that is charming but not too difficult to make.
As most of my flowers, leather anemone flower can easily be turned into a variety of wearable accessories and trims. The tutorial shows how to make a leather anemone wrap around bracelet. You can turn your leather anemone into a hat trim, a groom’s buttonhole, a headband or a corsage (see the information on the BONUS below) and more.
Straightforward and detailed enough even for a leather flower newbie, this tutorial contains tips that experienced flower artists will find interesting as well. 

The striking centre and the serrated foliage of the leather anemone look really attractive and can be achieved with minimum tools although some patience and practice are required.
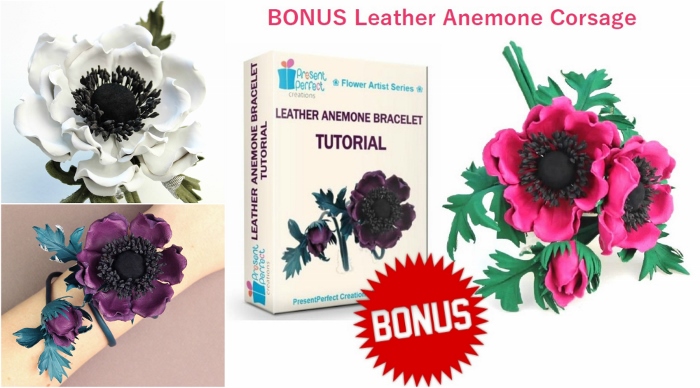
But I could not just stop at the anemone bracelet tutorial. So I have prepared a bonus anemone tutorial in addition to the main one. It costs nothing but your review on the main Leather Anemone Tutorial.

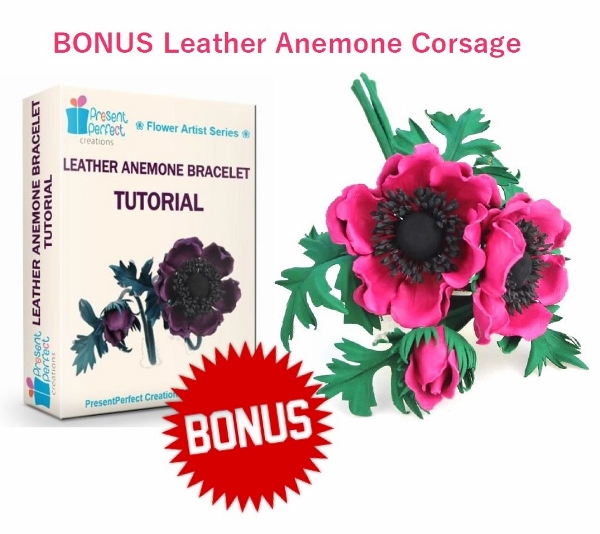
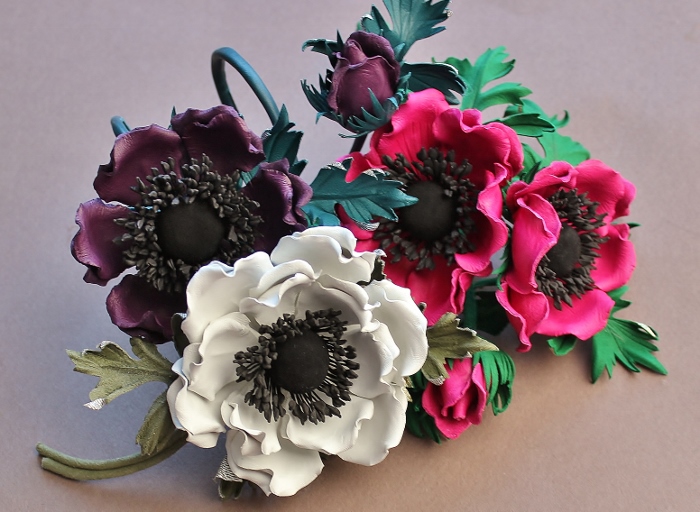
Using the explanations provided in the BONUS tutorial you will be able to assemble a larger anemone corsage arrangement with a large, a medium flower and a bud (see the photo to the left). You will learn how to attach leaves in a different way and see how suede works in leather designs . It contains tips on how to make a double anemone for a more compact flower brooch or a buttonhole. 
So, if you’d like to learn how to make these bright spring blooms and create a variety of accessories with them use this opprtunity to purchase  the tutorial now whilst it is being offered at a special tutorial-of-the-month price (the offer is valid till 28 February 2019)
❀ ❀ ❀ ❀ ❀ ❀ ❀ ❀ ❀ ❀ ❀ ❀ ❀ ❀ ❀ ❀ ❀ ❀ ❀ ❀ ❀ ❀ ❀ ❀ ❀ ❀ ❀ ❀ ❀ ❀ ❀ ❀ ❀ ❀ ❀ ❀ ❀ ❀ ❀ ❀ ❀ ❀ ❀ ❀ ❀ ❀ ❀ ❀ 
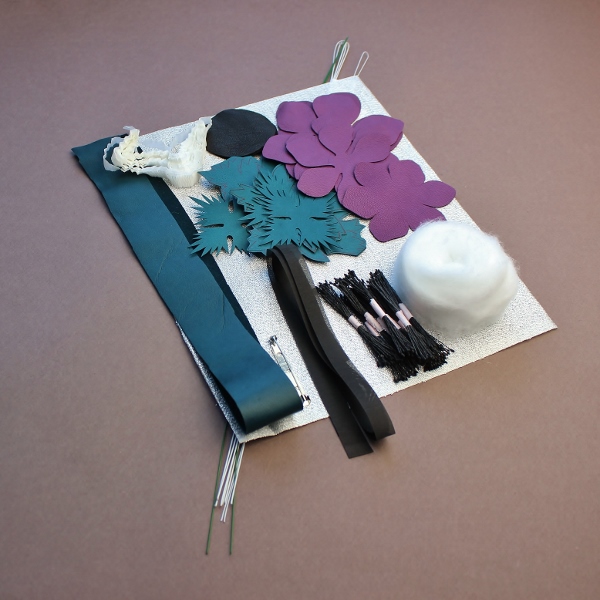
As the flower of the month you can now purchase the leather anemone tutorial + BONUS as well as the DIY kit with a discount (15% OFF). All discounts have already been applied on the website until 28 February 2019. Please click on the photos below to find out more and purchase.
In case if you are lucky enough to already own this tutorial but somehow you have not come round to actually making the anemonies now is the time! 
leather anemone kit
Leather Anemone DIY Kit
Leather Anemone Tutorial + BONUS