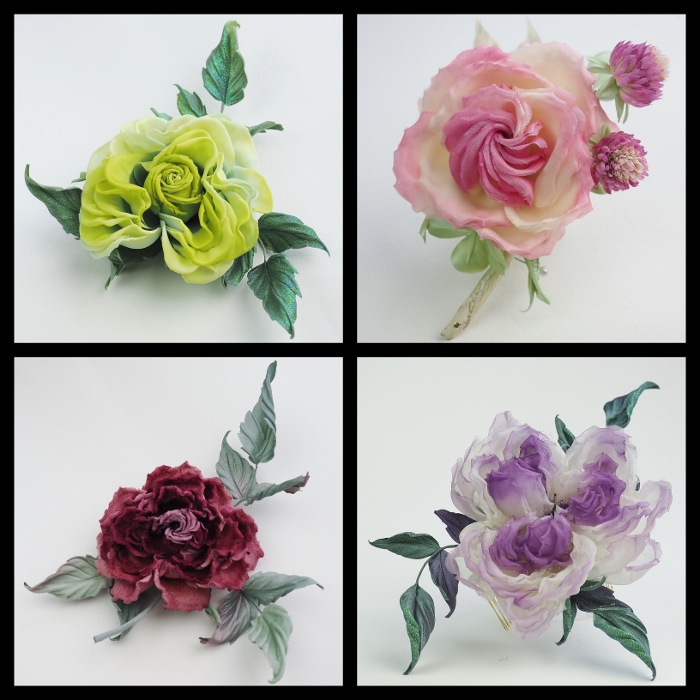
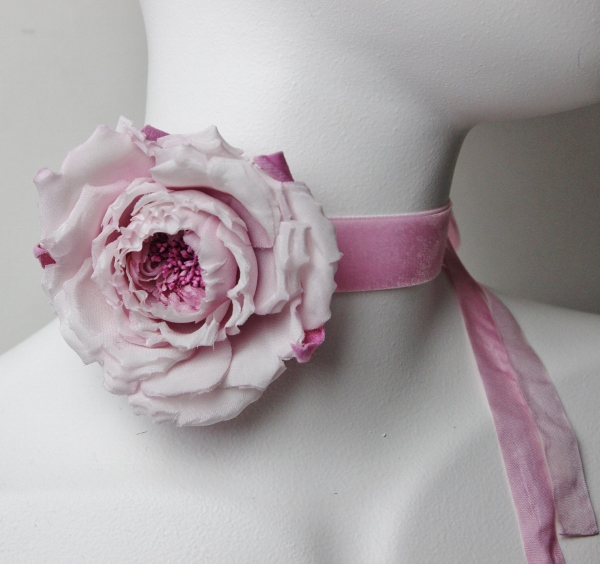
fabric for flower making in black

Black fabrics for flower making

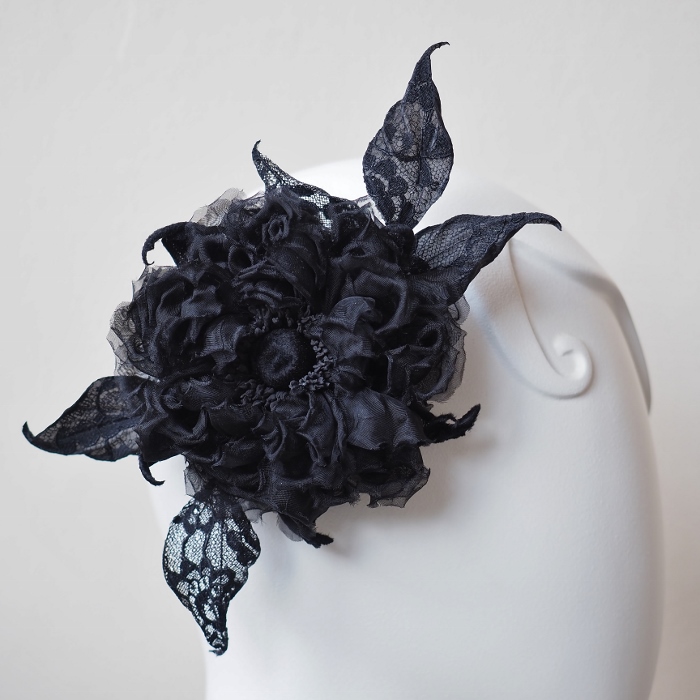
black rose hair combIn fabric flower making we tend to dye fabrics by hand. This technique helps us achieve a more realistic or more unique look, match the colour of the flower to that one of the outfit, do the gradation etc etc…
However there is a number of colours that are tricky to dye and you are better off purchasing fabrics in those colours to work with.
One of such colours is BLACK.
Black dye can range from black-green-grey to black-blue-purple and it is difficult to achieve the true soot black colour when dyeing by hand.
Luckily for us some key professionally stiffened fabrics come in …black and can be used straightaway in your favourite designs and for custom orders.
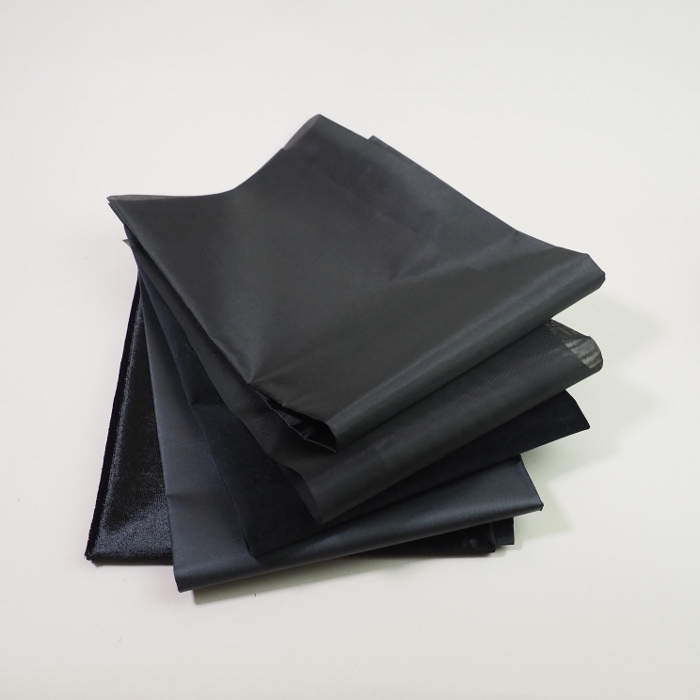
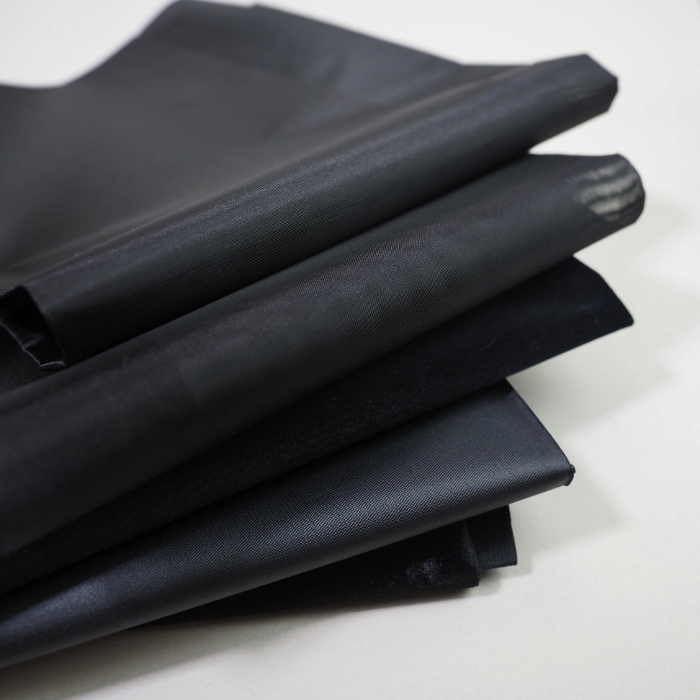
They include such staples as smooth rayon satinthin rayon backing fabric as well as luxurious cotton velvet and rayon velveteen. Another great fabric is rayon organza in black.

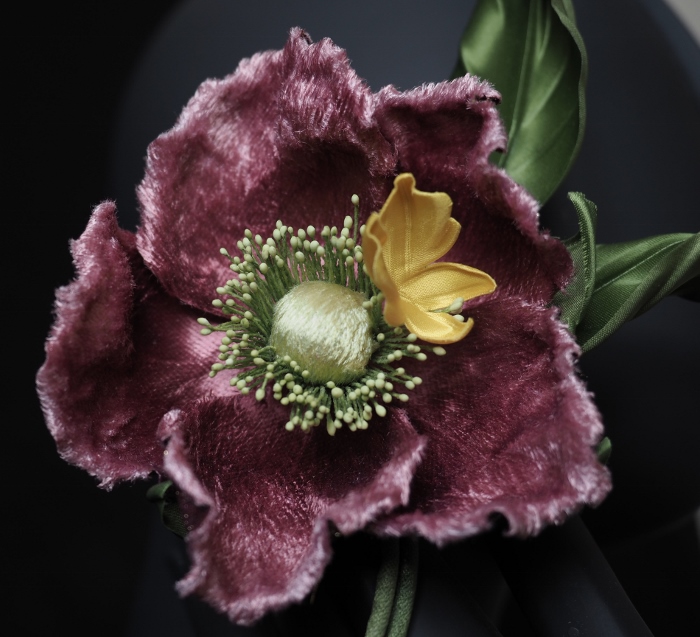
For the rose in the photo above I have used rayon organza, thin rayon fabric and rayon velveteen. Another great addition can be black lace.

Plus these black fabrics make a perfect combination with silver and golden metallics (another firm favourite of mine!). Use them for evening and special occasion flowers and trims.

Over the years the above mentioned fabrics have appeared in a great number of tutorials: Silk Peony Buttonhole TutorialMiniature Velvet Roses TutorialSilk Calla Lily TutorialSilk Orchid Necklace Tutorial , Advanced Silk Rose Video CourseVelvet Sweet Briar Rose Tutorial to name a few.
In case if you wish to try these wonderful fabrics in your work, I have a number of packs on offer at the moment. fabric for flower making in black
Each pack includes a fat quarters of each of the following fabrics:
❀ smooth rayon satin (black)
❀ cotton velvet with short pile (black)
❀ rayon velveteen (black)
❀ rayon organza (black)
❀ thin rayon backing fabric (black)
These fabrics can also be purchased individually (not as a pack), please see the links below.
Use the for either leaves or flower petals, butterflies and berries, anything you would make from hand dyed or white fabrics.
I hope you will find these black gems useful in your work and can’t wait to see your noir masterpieces!
dye velvet leaves

How to dye velvet leaves

Learn some tips and tricks on how to dye velvet leaves for your projects.
dye velvet leaves
Procion Dyes

I have talked so many times before about velvet and its uses in flower making, it is clear I like working with this gorgeously soft and very tactile fabric.

In flower making we are only really interested in the velvets that are made using natural fibers like silk, viscose or cotton. And there’s a good reason for that. These natural dye fabrics dye well with Procion and other silk dyes and can be shaped with millinery tools.

In my numerous tutorials I have used velvet for some parts of the designs, whether it be foliage, petals, orchid lips, passion flower coronas etc.

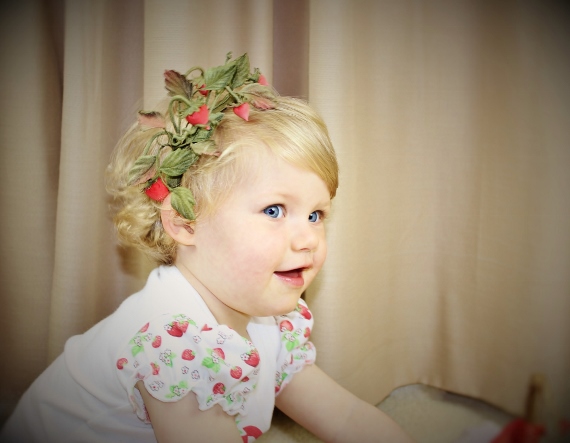
flower girl headband
Velvet Strawberry Tutorial
Velvet is simply perfect for making leaves, but whole flowers can be created out of it too (remember the Velvet Camellia Tutorial, the Velvet Lily Tutorial, the Velvet Strawberries Tutorial , the Velvet Sweet Briar Rose and the Miniature Rose Tutorial to name a few?).
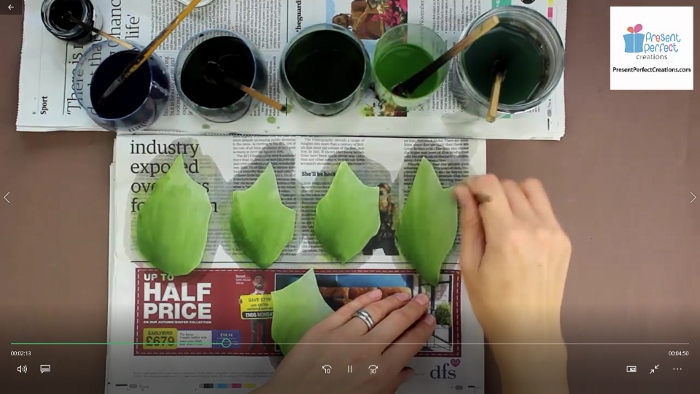
Today I have prepared a video which shows how to dye velvet leaves using several shades of green as well as other colours for a realistic look that goes well with your flowers.

Learn to layer your colours onto the fabric to bring your foliage to life with a play of light and shadow.

In this video I am using 3 different shades of green from paler lime one through to dark olive green.

Sweet Briar Rose dye velvet leaves
Velvet Sweet Briar Rose Tutorial

I also add a little blue and purple to my foliage. This is done to tie the leaves with the petals of your flower and is often a very good idea to bring the whole flower piece together.

Because of its heavy weight, thickness and pile velvet absorbs a lot of water when being dyed. When left to dry on a paper it will also lose a lot of water together with the dye. To achieve a brighter colour with velvet I recommend drying flower parts on non porous surfaces like glass or plastic.
Velvet is always dyed from the right side. Try to be gentle with your brush strokes not to mess up the pile too much. It is VERY important to consider the pile direction when tracing and cutting parts out of velvet and other similar fabrics.
As you can imagine velvet dries quite slowly too, especially on a plastic/ glass surface.
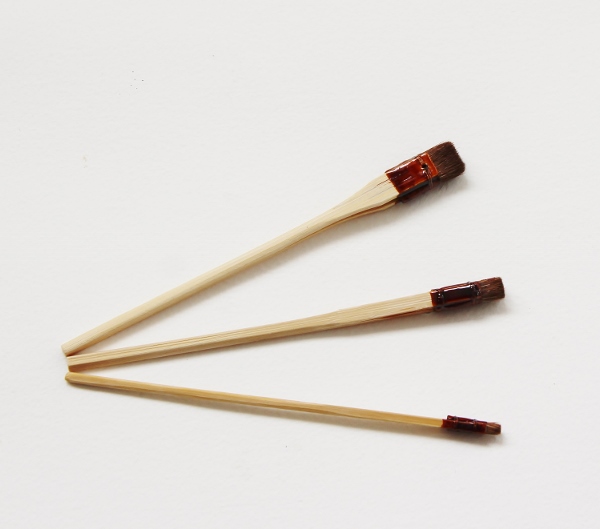
Below are the links to the fabric section with several kinds of velvet, special fabric brushes as well as some relevant tutorials available from my website.
I hope you enjoy the little video on how to dye velvet leaves below and from now on will be able to dye your own velvet leaves ideal for your projects every time! ☺
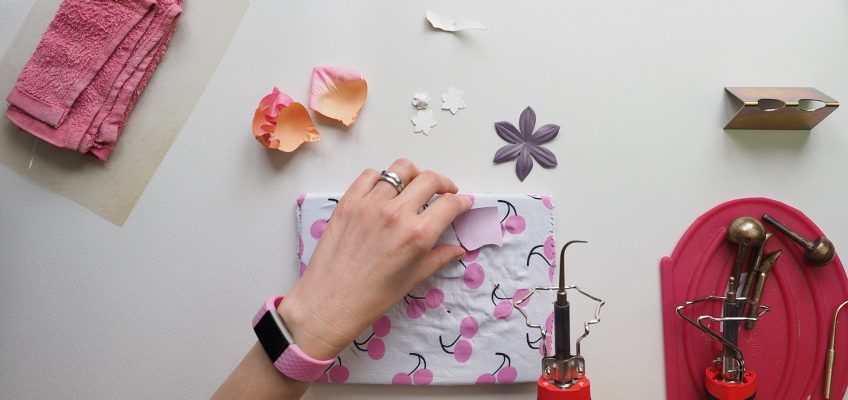
combination flower shaping tool

Flower shaping tools, part 7: COMBINATION FLOWER SHAPING TOOL

For 2019 I have planned a series of short videos demonstrating how to works with different types of flower tools.
I believe this will help you understand your tools better and use them to their full potential achieving great shapes and lines on your petals and leaves.

This is the seventh video in the series, for which I have chosen the newest addition to the flower shaping toolbox: the combination flower shaping tool.

You can successfully use the combination tool for shaping flower parts made out of different types of fabrics as well as natural leather.

So whether you make fabric or leather flowers (or both!) this tool is perfect for you.
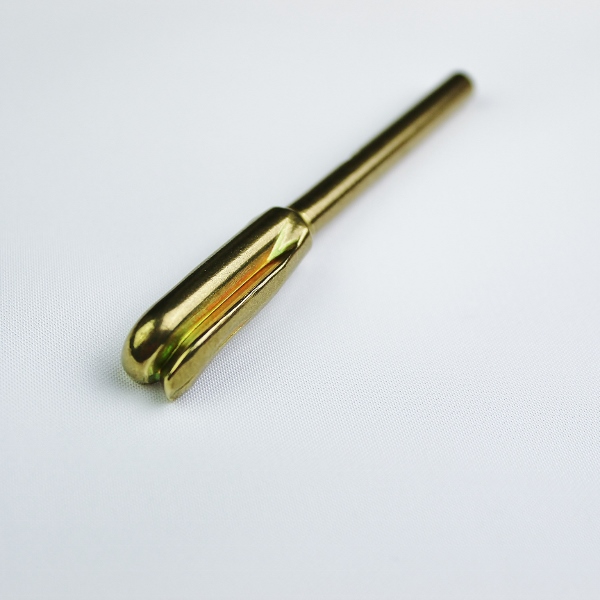
Basically the combination tool represents a combination of 2 tools: the knife tool and the medium sized Japanese style cat paw tool put together (hence the name).
Although you may wish to try and use the above mentioned tools separately to achieve the desired effect, it might not work as well as using the actual combination tool.
Due to its extra width the tool brings extra volume and instant shaping to large and small petals (think roses, peonies, poppies etc) and leaves (especially water lily and lotus pads, but also large poppy and rose leaves as well as others).Work with it on medium pads for best results.
Using this tool you can enhance the shaping of other tools, deepen concave petals, curl up foliage and add interest to flower parts in seconds as I am demonstrating in the video.
We have used the combination tool countless times at my workshops as well as in several tutorials on both leather and fabric flowers (Leather Butterfly tutorial, Leather Daisy and Forget-me-nots tutorial, Silk Water lily tutorial).
Currently the combination tool can be purchased separately from my online shop. So whatever set you have at the moment you can enhance it with the addition of this wonderful tool in time for your new creations.  

Meanwhile watch the video I have prepared for you today (see the button below) where I am demonstrating how to use this cool tool with petals and leaves, and (hopefully) discover something new for yourself.

combination flower shaping tool
Combination flower shaping tool
handmade eco-friendly fabric feathers

Make eco-friendly fabric feathers

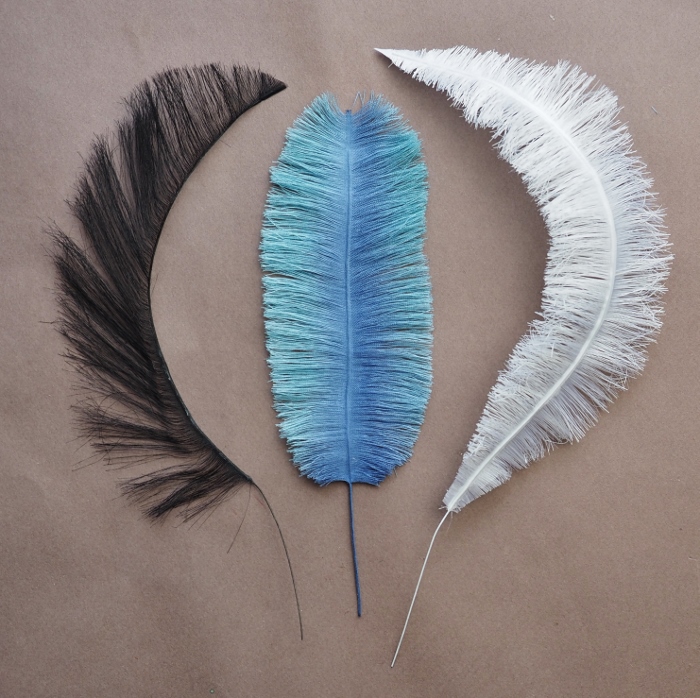
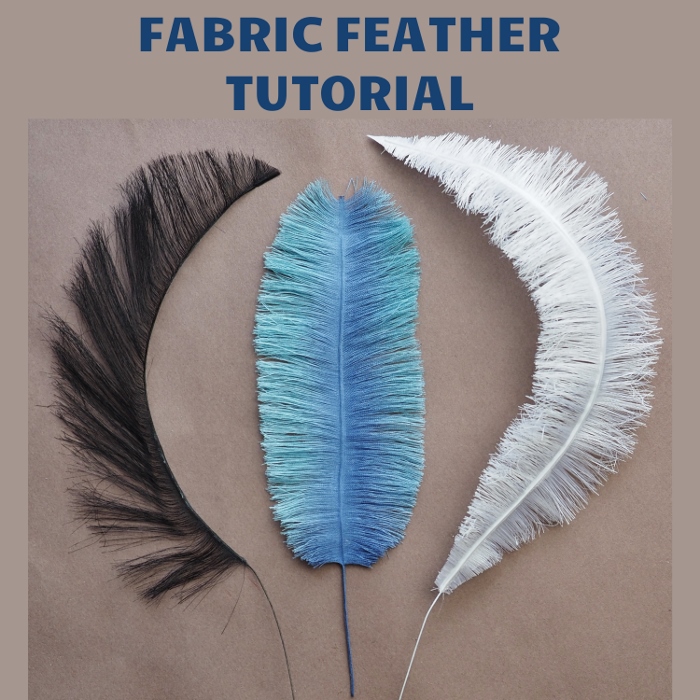
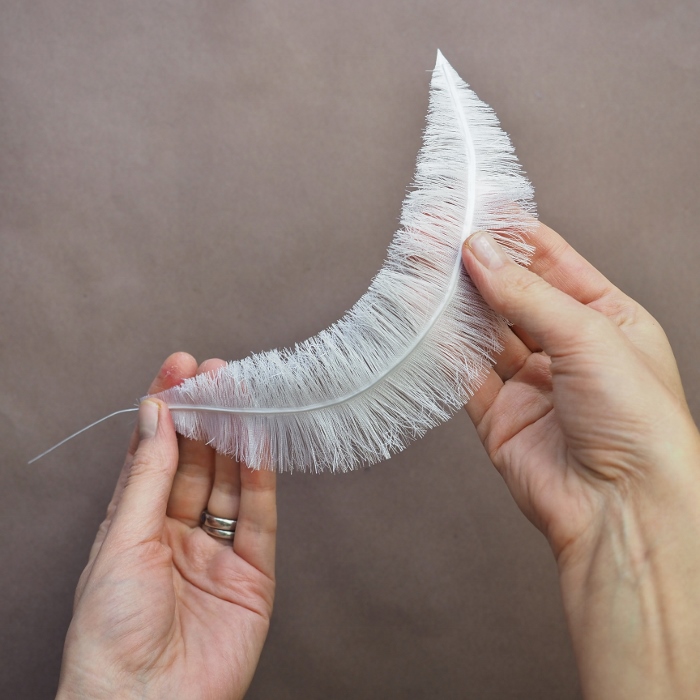
A tutorial on a fabric feather has been on my to-do list for a while now. Today I am happy to present my tutorial on handmade eco-friendly fabric feathers to you.  handmade eco friendly fabric feather tutorial
I feel quite excited about it and I think you should, too. Although I do not see handmade feathers replacing natural ones completely any time soon (but who knows, right?) there are definite advantages to this handcrafted feather that I am so pleased to share with you. It is always good to have options. Well, now we have one for feathers too.
So, WHAT makes these handmade eco-friendly fabric feathers SO good? Is it the fact that it’s handmade? Realistic? Cruel free? Versatile? Fragile? Or all of the above?
Yes, there is no mistake, a rather realistic looking feather, this amazing nature creation, can be made by hand using fabric and a sprinkle of knowledge. I won’t hide, the process is a teeny-weeny time consuming, but all the good things come to (s)he who waits.And the result is well worth it. What’s more is you can create a bespoke feather or two for your design and they will be an absolute match and a perfect fit.
handmade eco-friendly fabric feathers
❀ NO millinery tools are required for making fabric feathers
❀ you can use different types of fabric for different results (I am showing 3 in the tutorial)
❀ the tutorial is suitable for all skill levels
❀ bespoke designs to match your projects every time
❀ video of me talking through best practices in feather making
❀ suitable for all skill levels
❀ bespoke designs to match your projects every time
❀ learn to dye your feathers and make a neat quill
❀ cruelty and allergy free feathers
Imagine what you feel when you are holding one in your hand? Are the barbs soft?Are the feathers stiff enough to stand on their own? How fragile is the fabric feather? Can you steam it? Can you curl it? So many questions… The answers are waiting for you in the HANDMADE FABRIC FEATHER TUTORIAL.
For more information on this detailed step-by-step fabric feather photo tutorial click on the button below.
If you wish to explore the specialist fabrics we offer visit the fabrics section on our website HERE

stylised fabric feathers


Stylised Fabric Feathers

Earlier this year, I prepared a video tutorial on a different type of fabric feather, this time aiming for a more stylised version rather than necessarily realistic.
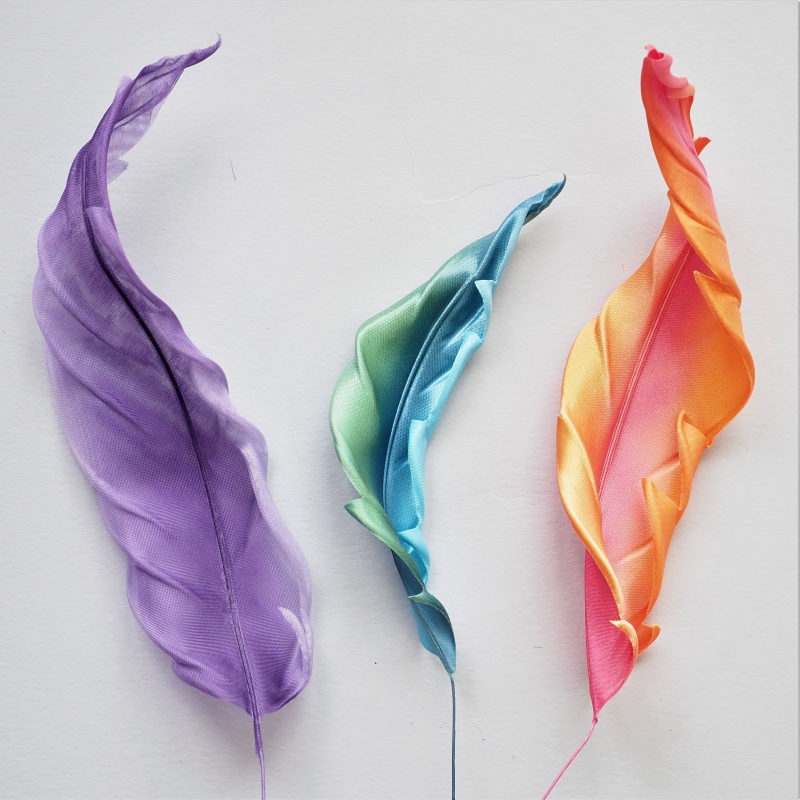
In this video tutorial, you will learn how to turn a flat piece of fabric into a dancing, swirly stylised feather.

By playing with colours, fabrics, sizes, etc. you will be able to create unique elements for your designs. These stylised fabric feathers are a versatile, easily customisable element perfect for trimming your headwear and headpieces. These feathers are great for those customers who are not keen on floral trims or those who prefer to avoid having real feathers on their headpieces for ethical, aesthetic, or health reasons.
Initially released exclusively for my patrons on Patreon, now access to this video tutorial is available through my shop on Patreon to a wider audience. To learn more and get access visit my Patreon shop here.

tube making tool

Flower shaping tools, part 6: TUBE MAKING TOOL

tube making toolFor 2019 I have planned a series of short videos demonstrating how to works with different types of flower tools.
I believe this will help you understand your tools better and use them to their full potential achieving great shapes and lines on your petals and leaves.

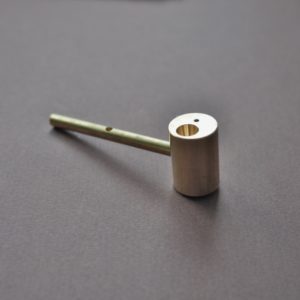
This is the sixth video in the series, for which I have chosen the rare but intriguing tool: the tube making tool. A Japanese version of this tool can be purchased here

In fact in the video I am showing 2 styles of this tool, a European and a Japanese. You can also come across it in other shapes but the principle of use will be exactly the same as I am demonstrating in the video today.

You can successfully use the tube making tool for making tubes out of different types of fabrics (feel free to experiment here) as well as natural leather.

tube making tool

I prefer to work with stiffened materials and recommend you do the same for neat and consistent results. 

Although the process is pretty straightforward, to achieve nicely looking smooth and even tubes some practice will be required.

In case if your fabric has the right and the wrong sides make sure your tubes display the best side of the fabric on the outside (think of satin).
 
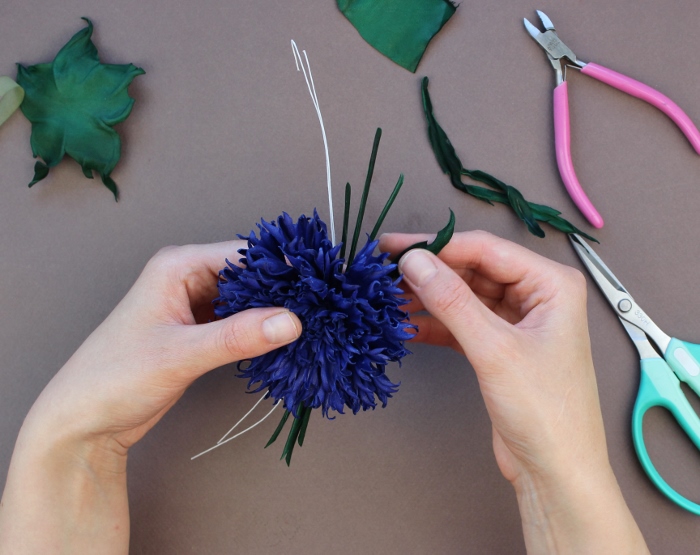
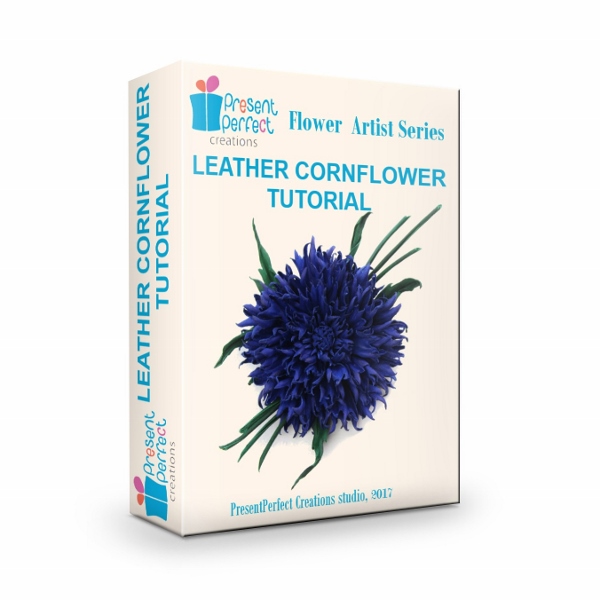
Use these tubes in your brooches, corsages and headpieces to imitate grass, stems and add interest to flowers alongside foliage, berries etc. The tubes have been featured in one of our previous tutorials, the Leather Cornflower Tutorial.
 
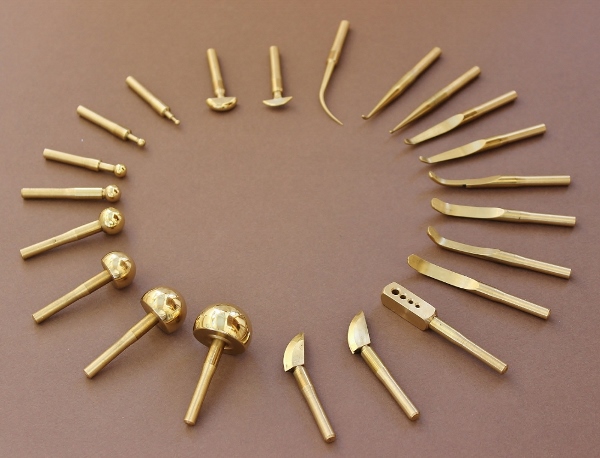
Currently the European style tube making  tool can be purchased as part of the 14 pc European set of tools or the more extensive 22 pc set of tools. The Japanese tube making tool is sold on its own and can be acquired to enhance the set of tools you already own.
 

To purchase the tube making tools, either as part of sets, or on its own use the links below the video.

Meanwhile watch the video I have prepared for you today (see the button below) where I am demonstrating how to use this mysterious tool with fabric and leather, and (hopefully) discover something new for yourself [[name]].


Join my Patreon here

finish handmade flowers

How to finish your handmade flowers

Variety is the spice of life.

I am sure you’ve heard this expression before. Luckily, there are so many different flowers in the world, there’s no problem with the variety here.

But what when it comes to finishes of our handmade flowers? What can they be turned into to become wearable accessories? Do we have a variety here? Let’s have a closer look.

Brooch is the first one that comes to mind probably. Indeed, brooches are very popular. So are flower corsages as well as buttonholes.
Over the years I have released a number of tutorials which cover this type of finish. Some of the popular ones are listed below:
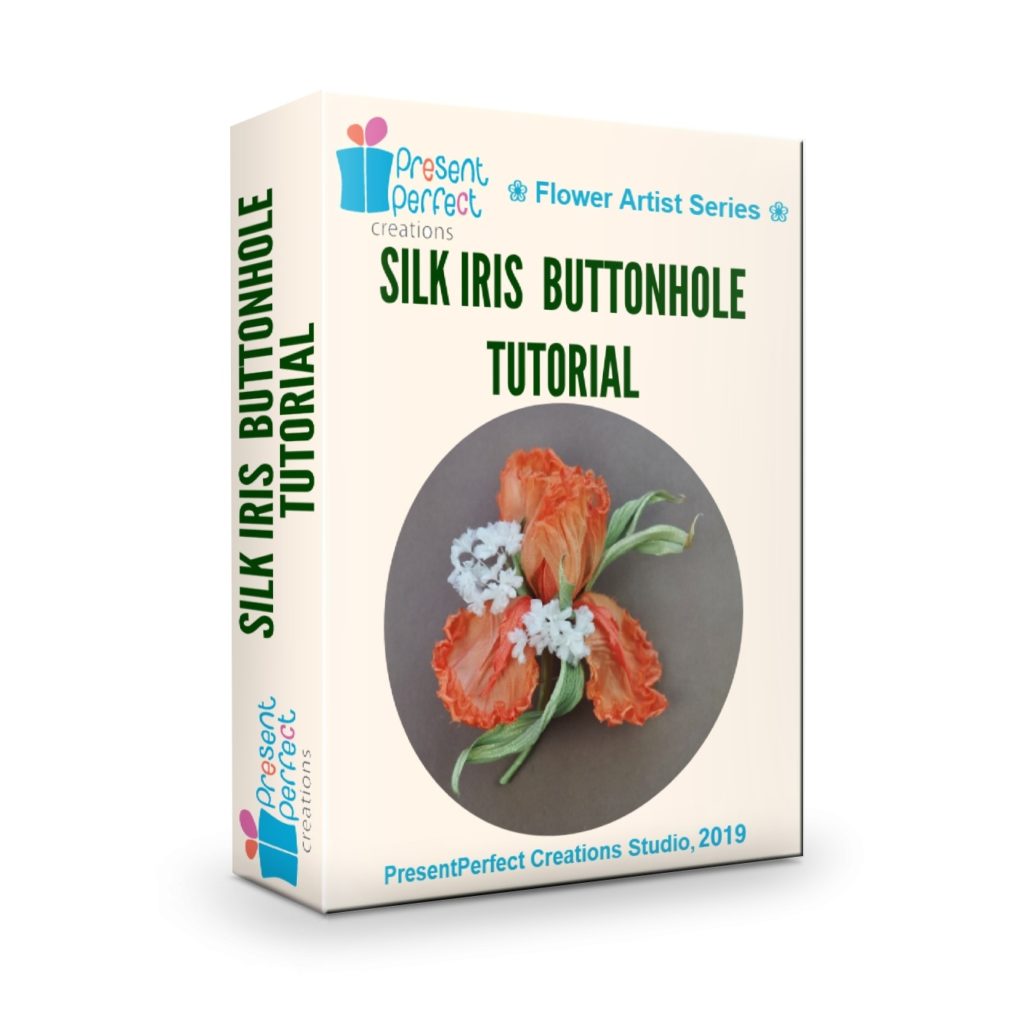
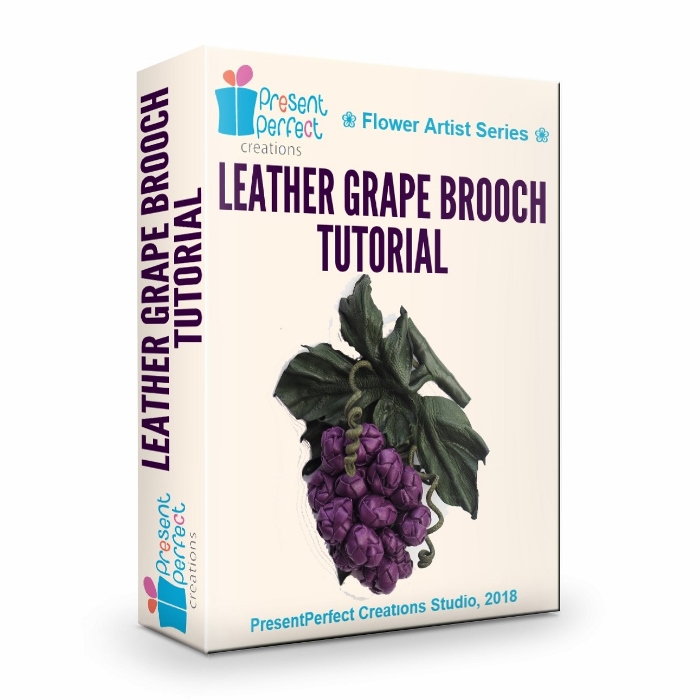
silk iris tutorial leather grape tutorial cover leather corsage tutorial
Hair accessories with flowers are ever so popular. They include but are not limited to headbands, hair clips, hair combs and flower circlets (see below).
Moreover, most, if not all handmade flowers can be used for hat and fascinator trims.


lace flower tutorial

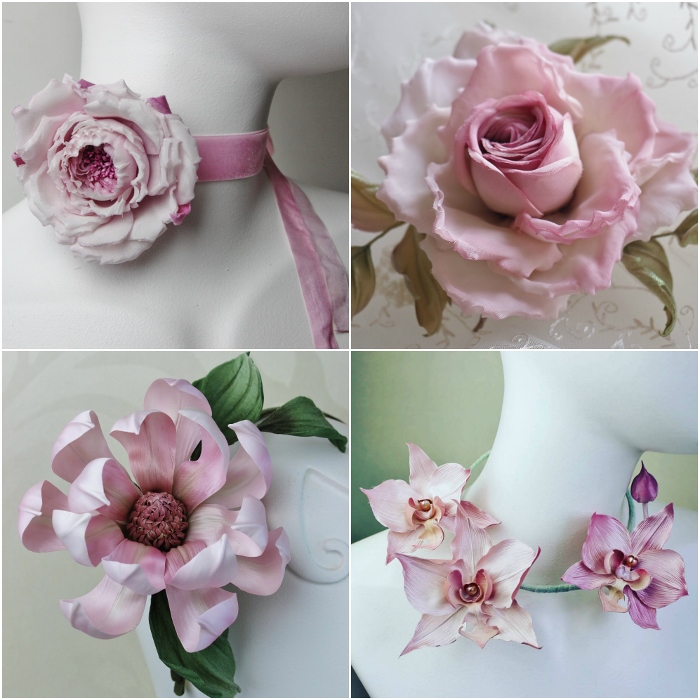
Making silk and leather flowers into necklaces and chokers is another great idea. Depending on your choice of flowers, colours and material you can get anything from a delicate bridal necklace to a bold statement leather piece.

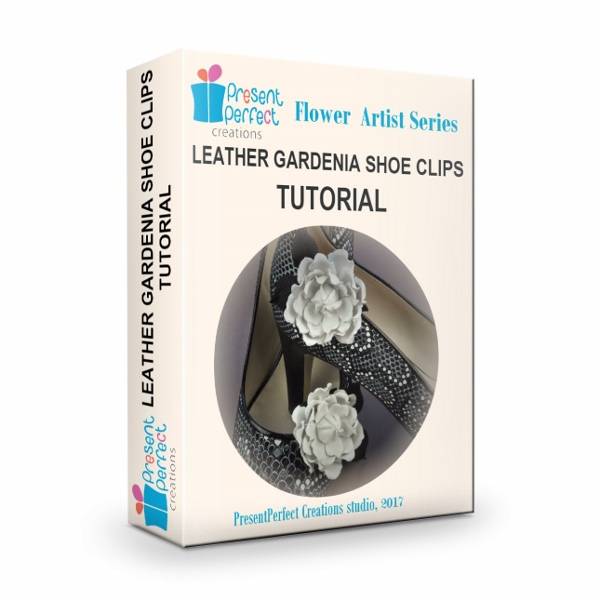
Flower shoe clips is yet another, possibly less obvious but nonetheless very effective way of using handmade flowers (see the tutorials below):
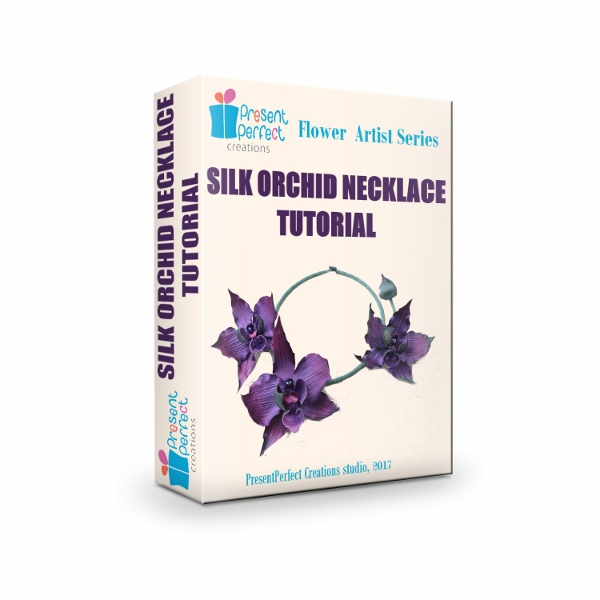
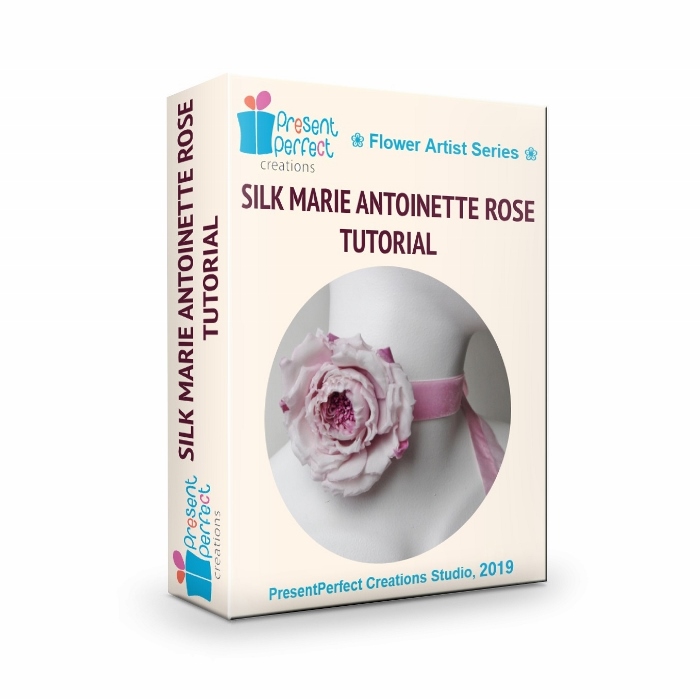
silk orchid tutorial silk marie antoinette rose tutorial leather shoe clips tutorial


Leather Anemone Collage


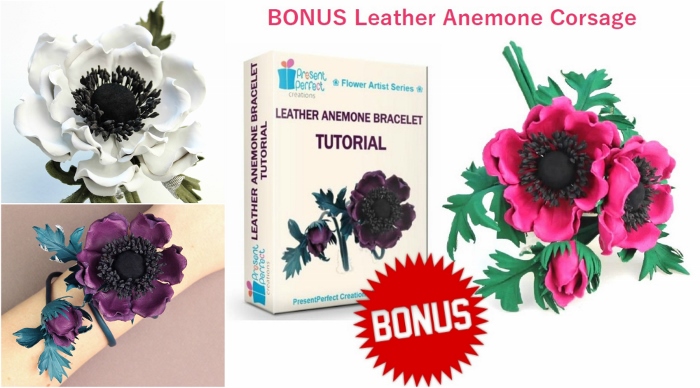
In my tutorials I have also covered a flower bracelet.


However, handmade flower applications are not limited to the ones mentioned above.
You can also try making flower earrings, flower bow tie brooches (for shirts and blouses), hair wreaths, flower sashes, flower rings and flower stick pins, as well as other wearable flower pieces (I bet I have not listed them all).
Feel free to experiment and share the results of your trials. I am sure there are still a lot of new ideas to be discovered and tested in flower making.

❀ ❀

Flower shaping tools, part 5: rat tail tool

For 2019 I have planned a series of short videos demonstrating how to works with different types of flower tools.
I believe this will help you understand your tools better and use them to their full potential achieving great shapes and lines on your petals and leaves.

This is the fifth video in the series, for which I have chosen an old and rather common tool that can be found in most sets, traditional or more modern: the so called rat tail tool aka the hook.

flower making tools full set

I am demonstrating how to work with the rat tail tool in the video where I am shaping a variety of petals, small and large. As a rule the rat tail tool is used together with other tools when shaping flower parts to achieve best possible results.
It can be used for shaping both leather as well as fabric flowers, you will see it in the video.

Normally the rat tail tool is used with medium pads as shown in the video.
In skillful hands this simple traditional tool can produce a range of different effects, a number of which I am showing in today’s video, where I am shaping a fine cotton rose petal, a leather lily-of-the-valley flower and a leather dahlia petal circle.

The more different flowers you learn to make, the better you become at using your rat tail tool. You will find it particularly useful if you do not own any of the Japanese style cat paw type tools as it can be a kind of a substitute for them in some cases.

Currently the rat tail tool can be purchased as part of the 14 pc European set of tools or the more extensive 22 pc set of tools (check out the flower making tool section here).

Meanwhile watch the video I have prepared for you today (see the button below) where I am demonstrating several ways of using this traditional tool and (hopefully) discover something new for yourself.

leather flower shoe clips with gerberas

Making leather flower shoe clips

Britain is (finally!) enjoying a bit of sunshine and warmth, which can be a perfect time to sport your summer style … and flowers ☺
Whilst leather flowers might not be necessarily associated with summer, one of their applications is particularly great for summer. I am talking about leather flower shoe clips, a firm favourite of mine.

Leather flower shoe clips are ideal for decorating plain court shoes or peep-toes, or in fact any pair of your favourite shoes that could benefit from jazzing up.
making leather flower shoe clips
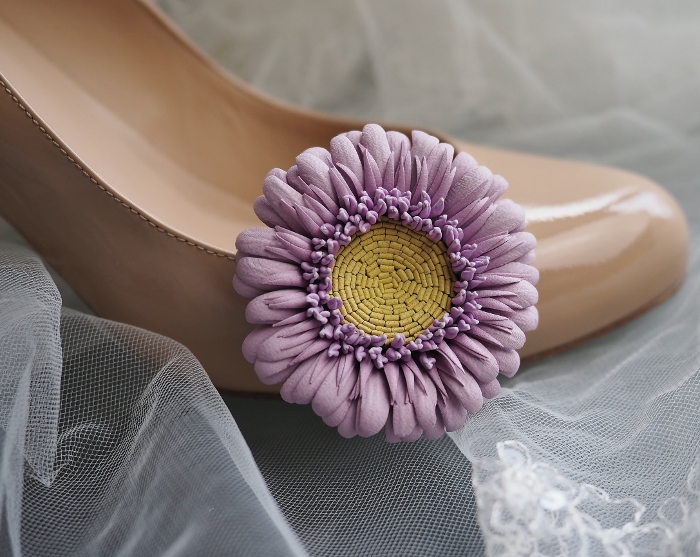
Although not all types of leather flowers can be successfully used for shoe clips from the technical side, there are a lot of them that make stunning leather shoe clips. Think sunflowersdahliasdaisiesgerberascornflowerscertain roseschrysanthemumscamellias and many others. In other words the suitable flowers have to have a relatively flat underside to stand a chance to be successfully transformed into shoe clips.
To make your first pair of leather flower shoe clips follow our detailed step-by-step tutorial on leather gardenia shoe clips. Not only do you learn how to make leather gardenias, the tutorial will reveal the mystery behind turning flowers into wearable shoe clips once and for all.
Once you’ve mastered the leather gardenia shoe clips, you can start creating other flower shoe clips, like Leather Dahlia, Leather Chrysanthemum, Leather Sunflower, Leather Gerbera or Camellia to name a few.
Press the button below to add the leather gardenia shoe clips tutorial to your library of flower making tutorials and start creating your very own leather flower shoe clips. For more  ideas on suitable flower tutorials for shoe clips see the pictures below.
making leather flower shoe clips

Although we’ve been talking about leather flowers for shoe clips, it’s worth mentioning that silk flowers are perfectly suitable for this too, same rules about the choice of flowers applied.
Velvet camellias, silk sunflowers, satin daisies and gerberas – the sky is the limit here. Think about embroidering the centres of your flowers like daisies with beads for a more elegant and sophisticated look.


HAVE FUN CREATING!
silk rose video course

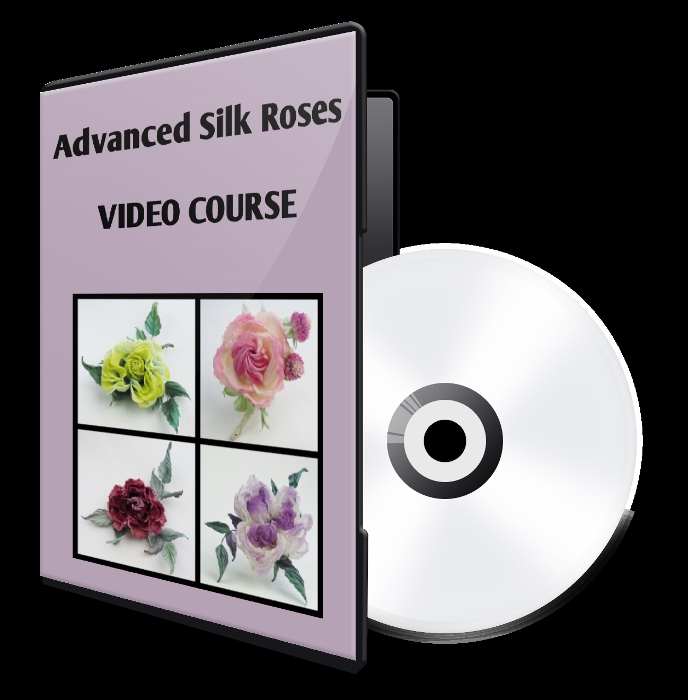
Advanced Silk Rose Course: start from 25 March 2019

If you follow me on social media, you already know that I am about to launch a long-awaited Advanced Silk Rose Video Course.

Why I think you should join this course? Advanced Silk Rose Course part I

I can see many reasons, some of which I am listing below:
  • it is a video course, which will allow me to explain the complex rose making process in a greater detail for you
  • all the rose designs are new, never previously offered in other tutorials OR at my workshops
  • roses are made from a variety of fabrics ranging from fine see-through organza to soft plush cotton velvet
  • these new roses will enhance your SS’19 collection or designs before anybody else learns to make them
  • it is the best way to learn advance level silk flower making when you can not attend live hands-on workshops
This list can go on…
The course includes 4 roses:
❀ Midsummer Dream, 
❀ Cottage Garden,
❀ Morning Mist,
❀ Velvet Elegance.
silk rose choker necklace
The video tutorials on these roses are NOT going to be sold individually. The Advanced Silk Rose video course is specifically designed to cover most aspects of advanced silk rose flower making for you and works best as a whole.
Also, if you join the course till midnight 17th March 2019, you will receive a photo tutorial on the 5th rose, ❀ Marie-Antoinette as a BONUS.

What’s so different about this course?

For starters, unlike my regular flower making tutorials, this is a video course that will be running from a certain date (25th March 2019 in this case) for 4 weeks.

In case if you are wondering, I am NOT shutting it down after 4 weeks, so you will be able to finish all your roses at your own pace.

However if you decide you are very busy now and are unable to join this group, the next opportunity will probably arise in September or October 2019.

If you are determined to take your rose making skills to the next level this spring PresentPerfect Creations Studio, please do not miss this opportunity and book your spot*** now at the lowest price.


*** The number of spots for each package is limited. This way I will be able to give feedback and help each student.


silk dandelion headpiece

My Tethered Butterfly Crown for the 2019 Hatalk hat making competition

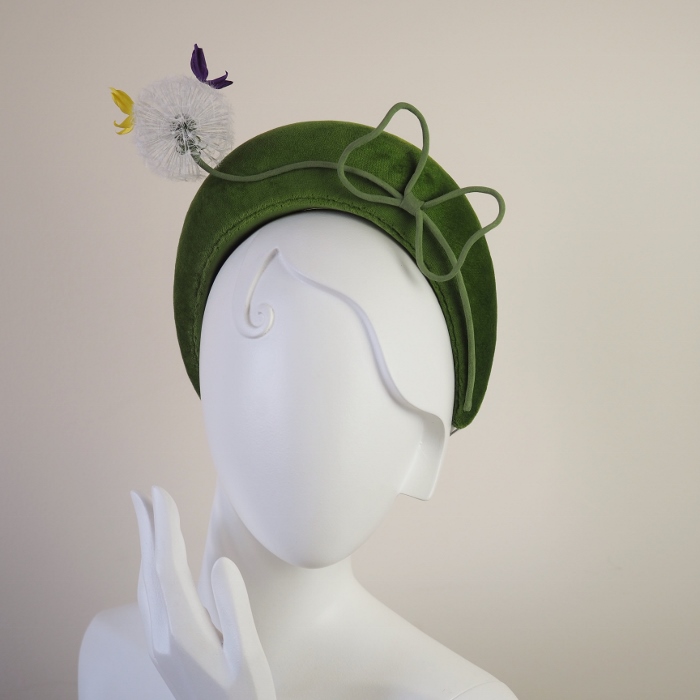
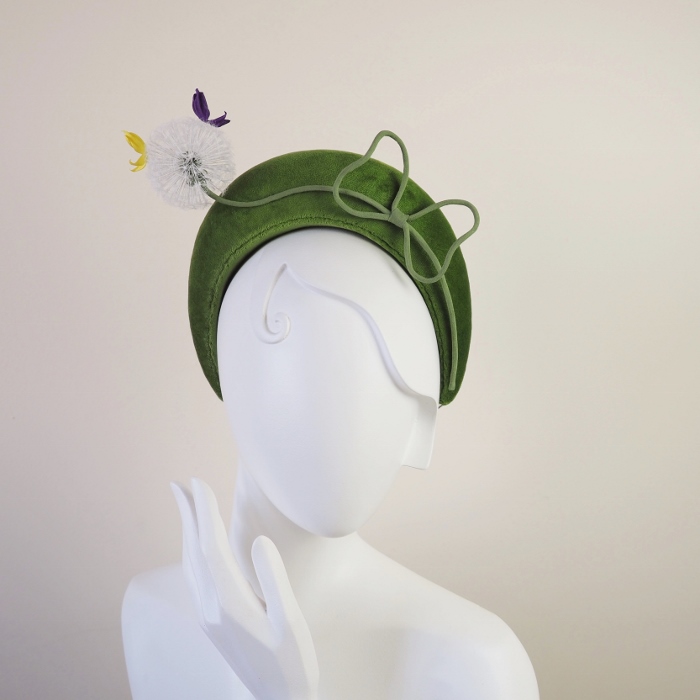
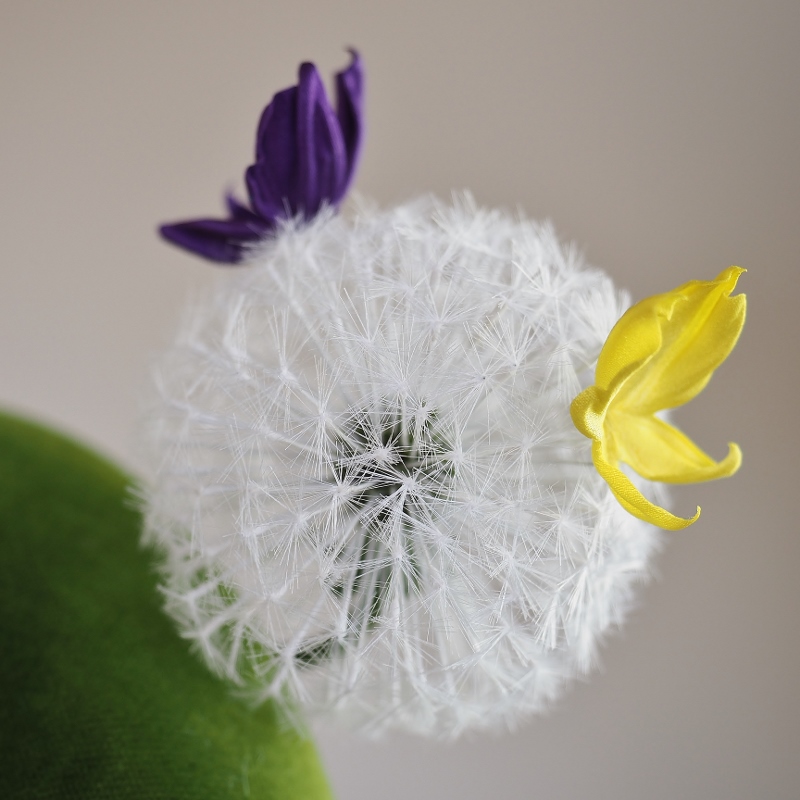
I created this spring green crown with the silk dandleion for the 2019 Hatalk hat making competition, where the theme was Equilibrium.silk dandelion headpiece
My Tethered Butterfly Crown for a millinery competition: the why

“The butterfly is a flying flower,
The flower a tethered butterfly.”

― Ponce Denis Écouchard Le Brun

Nature is an endless source of inspiration for me. Its colours, shapes and textures seem to be in a constant contradiction yet represent a peaceful harmony of its parts.

For my headpiece trim I have chosen two very fragile representatives of the natural world: a delicate dandelion clock and a couple of dainty airy butterflies – and arranged them in a perfect balance. The complementary colours of the butterflies – yellow and purple – ofter occur in nature where they work well and make strong compositions. This is another example of how opposites attract and create a perfect equilibrium.
silk dandelion headpieceMy Tethered Butterfly Crown for a millinery competition: the how

To make the silk dandelion headpiece I blocked the crown in 2 parts using buckram. Then I covered both parts with green cotton velvet (which I’ve found very fiddly)
As the dandelion is very fragile, I had to sew in the handdyed fabric covered stem folded into a bow at this stage, before joining the parts of the crown together.

Once that was done I joined the 2 parts of the crown together adding the millinery elasctic at the same time.

The next stage was to make the dandelion clock itself and add the butterflies.  The dandleion on the crown is about 6 cm in
silk dandelion clock tutorial

diameter and has about 200 organza parachutes which were all needed to be made separately. The 2 little btterflies were made using handdyed silk satin in contrasting yellow and purple colours.

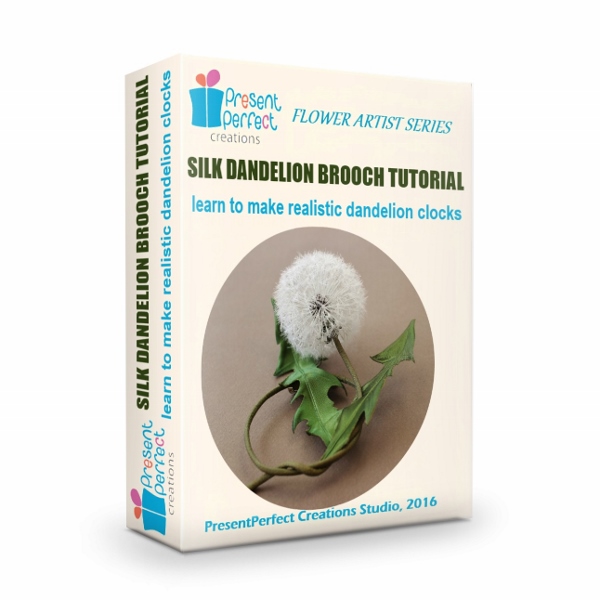
Counterintuitively assembling the dandelion clock with the silk butterflies had to be the last stage of the headpiece making. If you have been  inspired by the pieces of textile art and would like to create your own silk dandelions for jewellery, millinery and other craft projects, you are welcome to get my step-by-step tutorial on Silk Dandelion Clock available here.

My Tethered Butterfly Crown for a millinery competition: the result

And there we have it, a silk dandelion clock with dainty butterflies that seem to have just landed onto it in a whimsical dance as a perfectly balanced headpiece ready to be worn and enjoyed.

WATCH THIS SPACE: still waiting for the results of the competition… If you would like, you could vote for my silk dandelion headpiece here
1 2 3 4 5