My leather rose tutorial for HATalk e-magazine

Leather Rose Tutorial (intermediate)

Leather English Rose Tutorial (advanvced)

Leather Wild Rose Tutorial (beginner)

introduction to leather flower making ebook

Β 

Β 

Just to let you know...

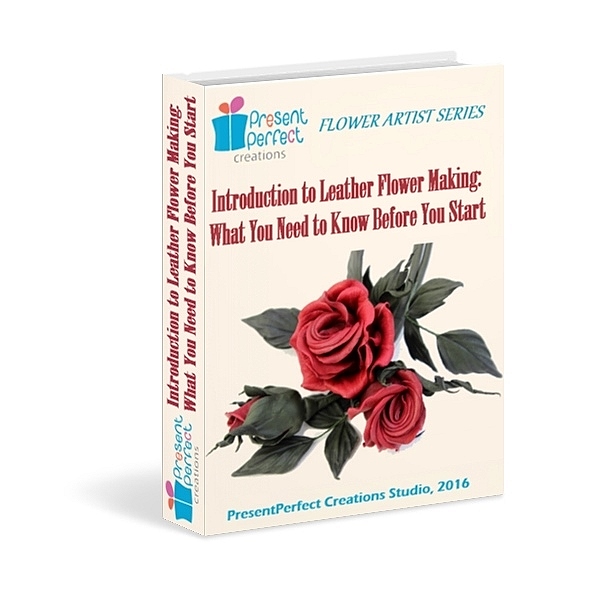
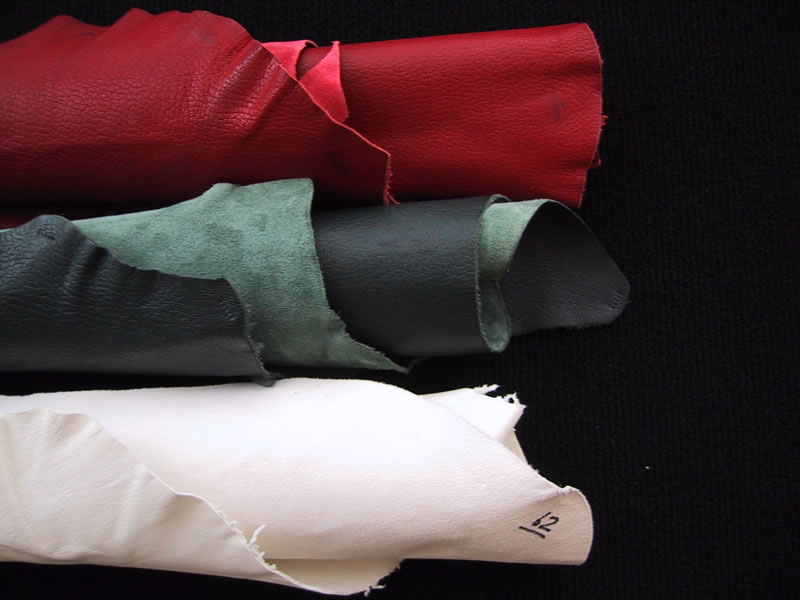
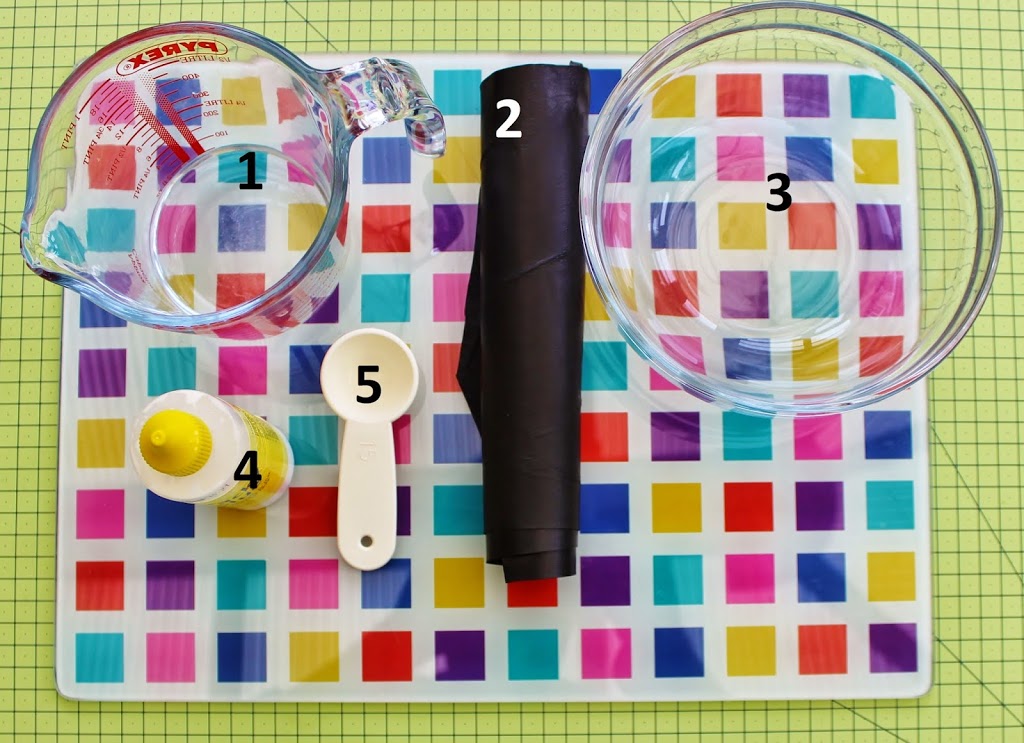
Our Introduction to Leather Flower Making ebook is out now and available for immediate download after purchase.Β 
Learn the basics about working with leather to start making exquisite leather flowers of your own to match any project at hand.
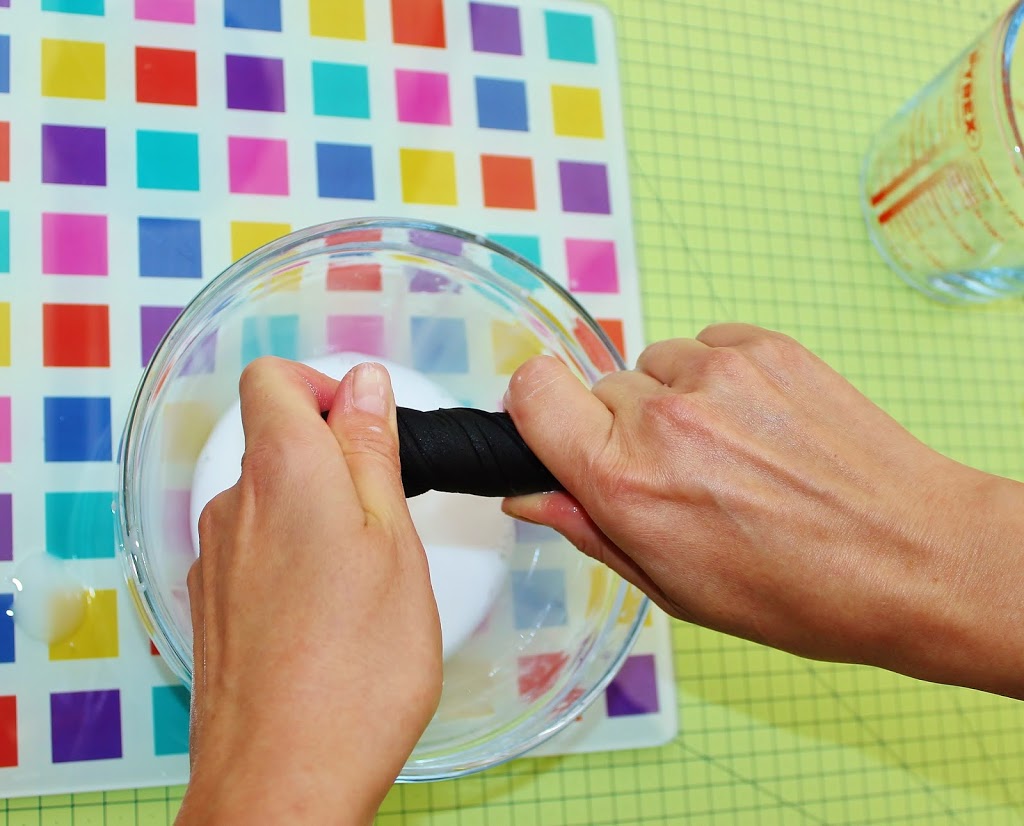
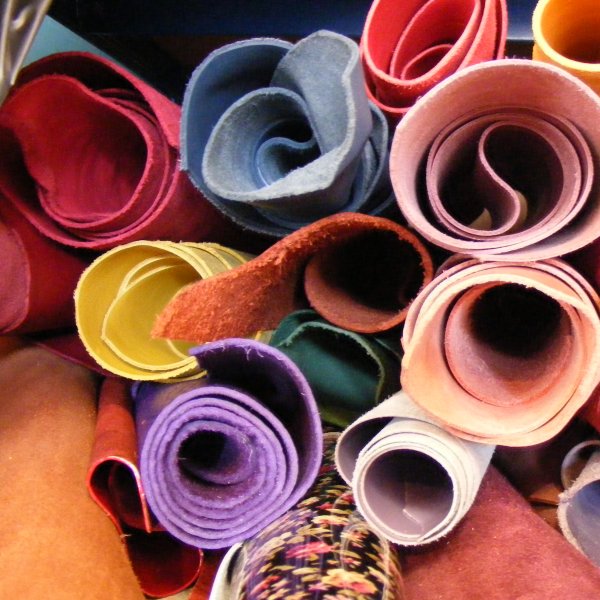
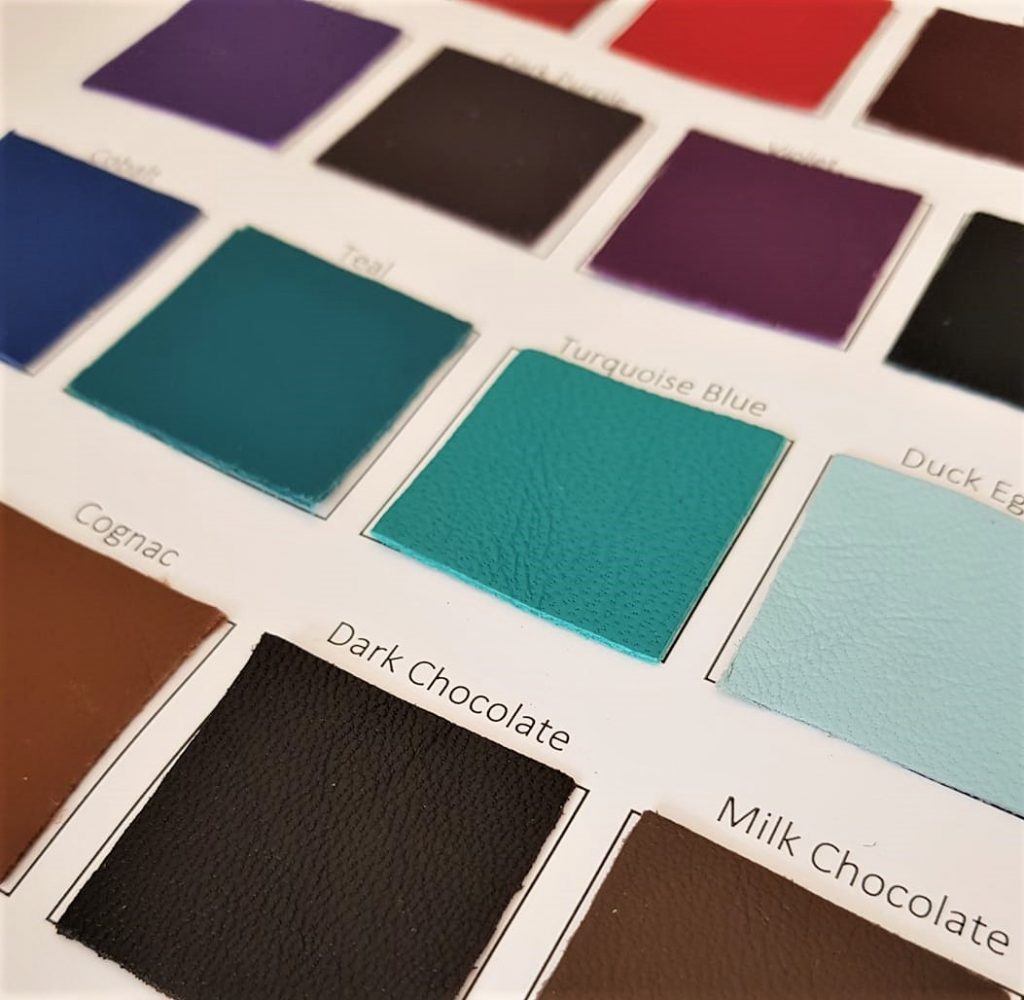
Β 

Β 

You are well awareΒ that I make flowers not only out of fabric but out of genuine leather too.

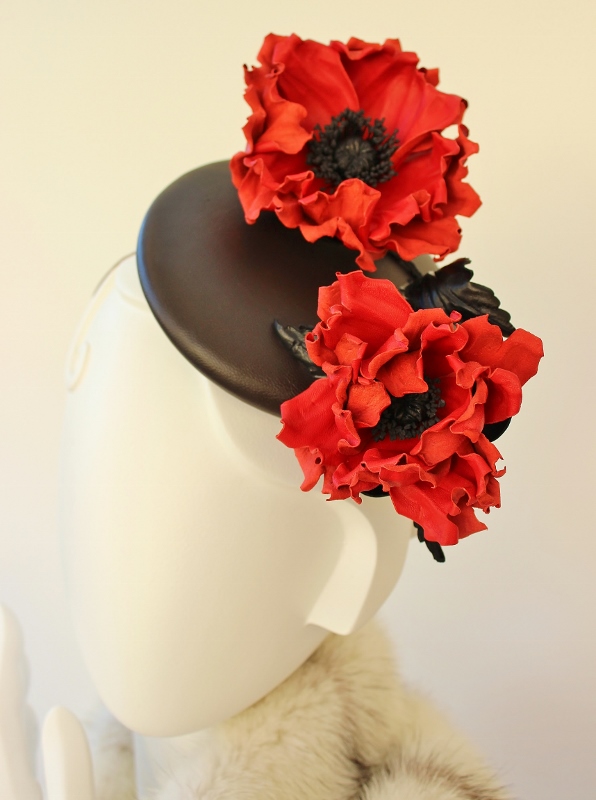
In November 2014 I took part in a millinery contestΒ devoted to the First World War Centenary organised by HATalk Social. To express the theme of Remembrance I created a leather button hat with large bright red leather poppies (on the left). The judges were favourable enough to award me the second place out of 100+ contestants from all over the world. Needless to say I was thrilled! Not only have I won some hat blocks but also I have been asked to contribute to their ezine by offering a leather flower tutorial to the subscribers of HATalk monthly e-publication.
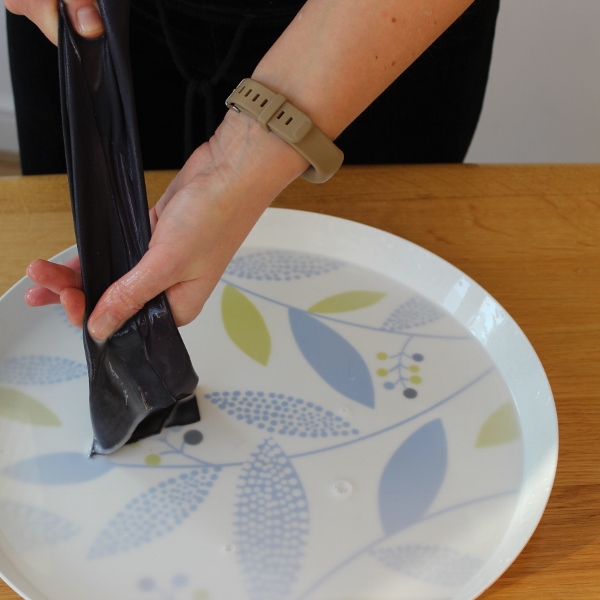
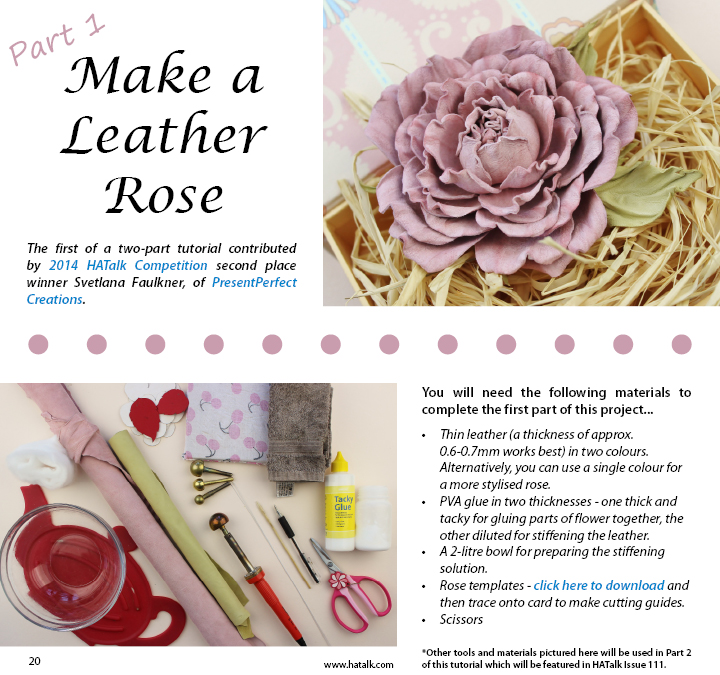
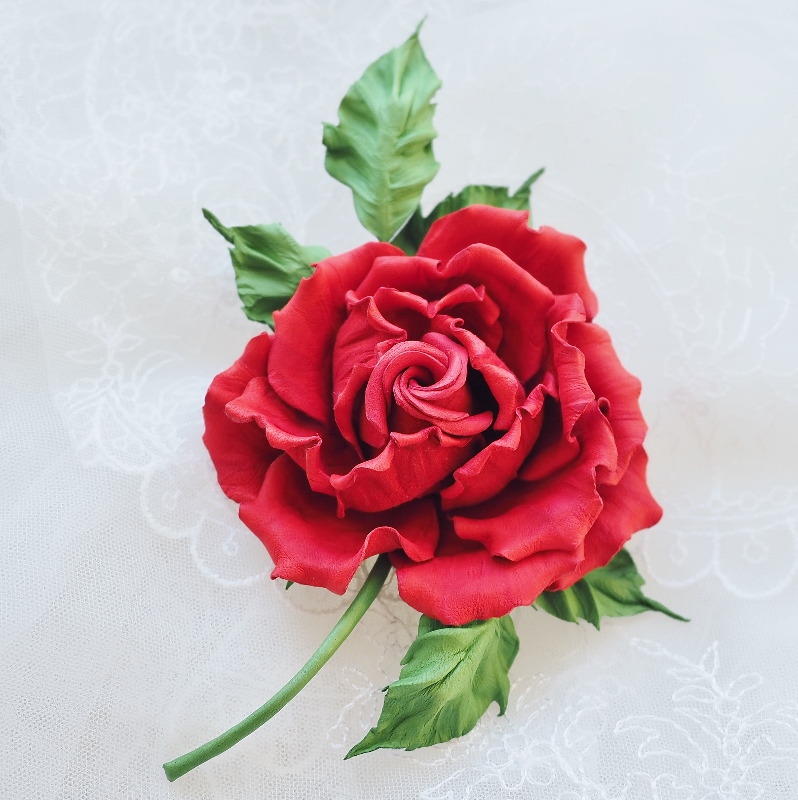
This months saw the release of the first part of my exclusive leather rose tutorial that is shown in the picture below.

PresentPerfect

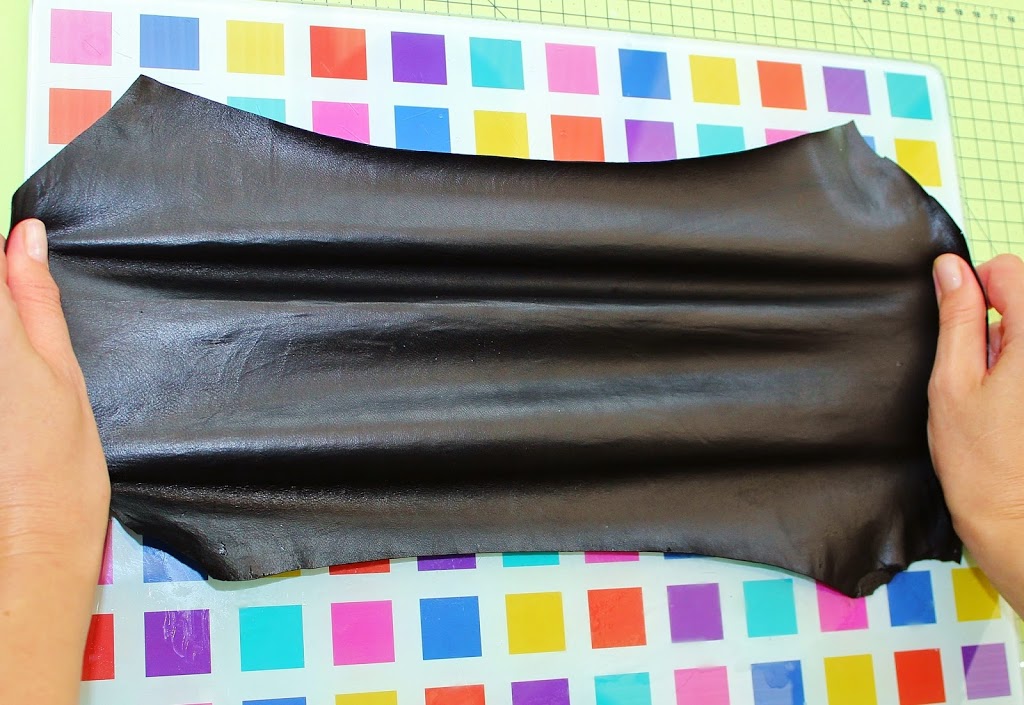
If you have all the necessary equipment for fabric flower making but have never tried making leather flowers I think you should give it a go. Leather flowers require less manipulations but due to the nature of material look as equally (if not more!) impressive as the silk ones. Besides, they are a good robust trimming alternative for those colder months when thin transparent fabrics look a bit out of place.

leather corsage tutorial

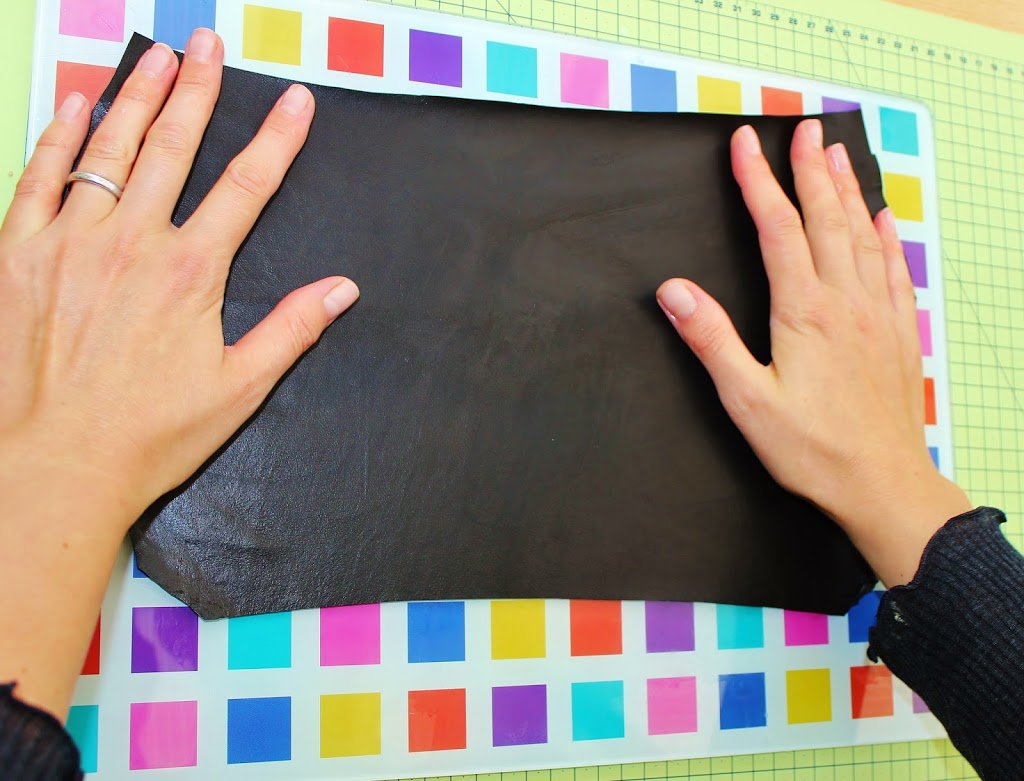
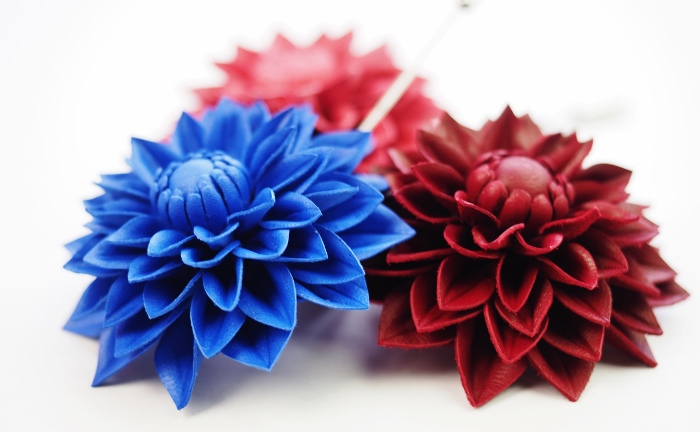
If you have not yet invested into a set of tools but would really like to have a go at making flowers why not try leather blooms? The thing is, leather is such a luxurious and beautiful material to work with that often you do not need to do much before you turn it into a lovely flower. Hand shaping combined with the use of a pair of tweezers can create beautiful as well as pretty realistic flowers.
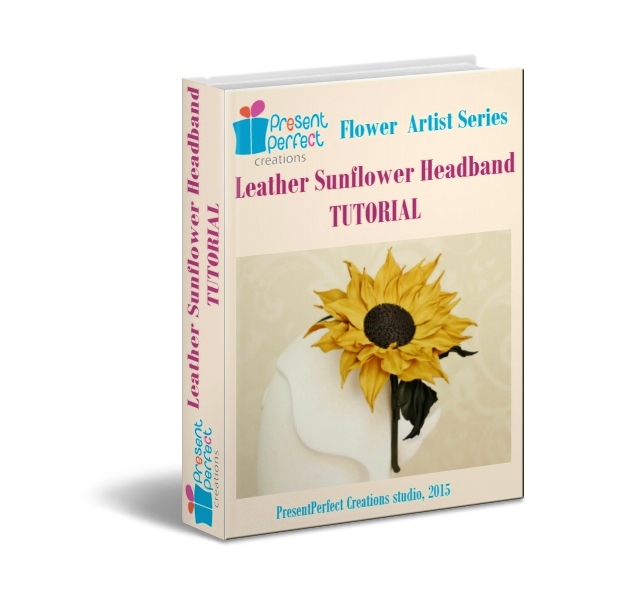
Β 

We are happy to offer a number of leather flower making tutorials that require no millinery tools, on Wild Leather Rose BroochΒ on Leather Sunflower HeadbandΒ and on Leather Poppy Choker.Β They are a good point to start from if you want to explore leather flower making without the need to invest in a set of millinery tools. Moreover, in these tutrorials you will learn how to make 3 different types of accessories (a brooch, a headpiece and a choker).
Flower making kits are available separately. Click on the photos of the tutorials for more information.
Β 

I have a schedule packed withΒ more forthcoming leather flower tutorials, so if this topic is of interest to you do subscribe to my updates below and be the first to leather poppy flower tutorial
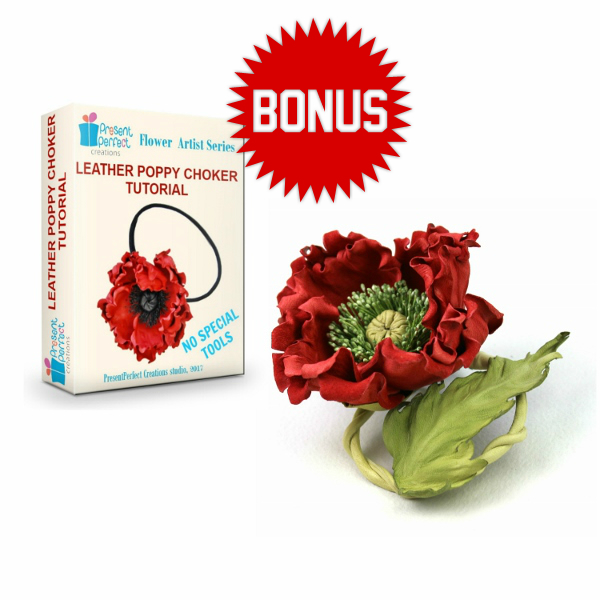
know about new tutorials. As my subscriber you will have a chance to purchase them with an attractive discount too!

CLICK HERE TO SUBSCRIBE TO OUR FLOWER MAKERS' UPDATES&OFFERS

You might also like these articles:

NO TOOL flower making tutorials for beginners

Choosing the right glue for making flowers

How I choose leather for making flowers

leather for making flowers

How I choose leather for making flowers

leather hides
As I’ve always said cold months is that period of the year when leather flowers outshine fabric ones. Amongst other reasons I would mention at least the following two:

❀ leather is a more durable material and flowers made of leather are moreΒ weather-resistant than silk ones

❀ leather and suede flowers nicelyΒ complementΒ winter wardrobe pieces made of thick warm fabrics and wool, accentuate hats, bags and boots.

At the moment I am working on a new tutorial which will be released later this week. As the tutorial is on a leather flower, I thought I’d share some useful tips on how to choose leather for making flowers the way I do it for mine.

In order to create leather blooms (the way I show in my tutorials) we use only genuine leather or suede. No synthetic substitutes can withstand the heat of a flower iron when flowers are being shaped. Moreover, faux leather does not possess the level of flexibility and suppleness needed for making our gorgeous blooms.

first leather rose video course
MY FIRST LEATHER ROSE VIDEO COURSE

It is best to work with good quality materials. This way you will enjoy the process of creation and the final piece will show class. However, good quality does not have to cost the earth.

Leather comes in grades. There are several grades of leather, sometimes marked as Grade 1 or Grade A etc.Β  the smaller the number the higher the quality (Grade A is higher quality than Grade C). Because petals and leaves are relatively small compared to, say, garment parts, we Β do not necessarily have to use leather skins of higher grades. Lower grades as as well as smaller pieces of leather will work just fine.

For leather or suede flowers only thin and soft skins are recommended. The best thickness is 0.5-0.8 mm (1-2 oz in weight), but you can use skins up to 1 mm thick (for certain flowers). Ideally look for lambskins and goat skinsΒ  that are suitable foe clothing or glove making (gloving leather).how to choose leather

Sometimes I use pig suede. Although it is a bit on a thicker side and can be uneven, the wide range of rich colours it comes in makes it difficult to resist.

Leather and suede have different finishes. ThisΒ variety of finishes isΒ used to enhance the natural beauty of leather. The most common ones are aniline, pigmented, patent, metallic, oily, waxy, suede and nubuck. Leathers with different finishes will behave differently when stiffened and shaped to be turned into a flower piece.

Unlike silk leather is much less predictable. That is why it is virtually impossible to recreate a leather flower again. It will be different and for me that is the advantage of working with leather. Creating leather flowers is always a journey into the unknown. No need to worry, the outcome is always uniquely beautiful.

I hope this information will help you choose the right leather for your flowers and enjoy the process of creation even more.

PHOTO TUTORIALS on LEATHER FLOWERS THAT ARE AVAILABLE FOR PURCHASE


tutorial banner


We also offer individual workshops on leather flowers, so if you are interested pleaseΒ click through for more information.


stiffening leather tutorial

How I tame leather. Mini-tutorial on stiffening leather skins

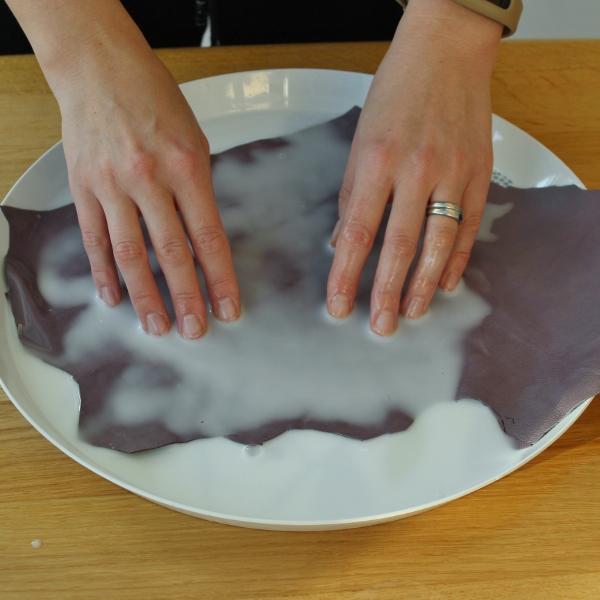
Stiffening leather tutorial

Those of you who have tried working with genuine leather know how temperamental it can be.Β Leather is a natural product and as a result may have imperfections such as holes or scars, the thickness and stretch can vary too. And it is completely unpredictable when it comes to shaping it with hot flower iron.
For my floral pieces I stiffen leather is several ways. Today I am going to share one of this ways with you. The result is a flat stiff piece of leather that can be shaped with a flower iron. I use flat stiff leather to make a range of flowers including my camellias, gerberas etc.So here is how I do it. But first of all the kit:

1. Measuring jug
2. A piece of genuine leather for stiffening
3. Bowl
4. White (PVA) glue
5. Measuring spoon
and a piece of plastic or a glass board as seen in the picture.
I use a rather thiсk PVA glue intended for craft purposes. The ratio of glue to water can be 1 part of glue  to 5 -10 parts of water depending on how thick your leather is or how tacky your glue is and how stiff you want the leather to be. You might need to experiment with the quantities, but the general guidelines are: the thicker the leather the weaker the solution (less glue). The ready to use solution should look like milk.

I use a measuring spoon to measure the amount of glue.

In the picture 10 ml of glue are being mixed with 100 ml of water.

Dissolve the glue in water to get a solution resembling milk. If you have sensitive skin consider wearing gloves.

Immerse the piece of leather (about A4 size or so) into the solution and make sure it is well soaked in it.

When the whole piece has been soaked, twist it to get rid of extra solution. The leather should be almost dry.

Then stretch it to make it even and thin it a bit more. I tend to use leathers with a thickness of 0.6-0.8 mm or so the sellers say but it is still rather thick for the flower making. Stretching the wet piece of leather in some cases makes it thinner but it all depends on the properties of the particular leather you are using.

I stretch in all directions: horizontally, vertically and diagonally.

With your both hands flatten the stretch piece of leather on the smooth flat surface (like this glass board).

Leave the flattened and smoothed piece of leather to dry completely before cutting and tooling it. It might take up to 24 hours.


stiffening leather


Coloured leather skins are rather delicate and mayΒ require more gentle handling than the black leather shown in the photos Β above.

Consider using a large kitchen tray where you can place your leather in one layer.Β Place the piece of leather into the tray (either side up) and pour the warm stiffening solution over it. Let it soak for several minutes. Most probably you will need to help the leather get well saturated by gently rubbing the solution into the leather with your fingertips. Try to do it carefully to avoid making any marks or damage the surface of the leather.

stiffening leather


Once the leather has gone evenly darker all over its surface, lift it and gently squeeze any extra solution out of it by running it between your fingers. Then you can spread it onto a work surface or a glass table evenly as shown above and leave to dry completely.


leather dahlia brooch tutorial

I hope find this stiffening leather tutorial useful.

For more detailed instructions on how to stiffen coloured (especially pale) leather skins refer to our detailed LEATHER DAHLIA TUTORIAL.


Good luck with your stiffening!


You are welcome to follow me onΒ Instagram hereΒ 

or become my patron onΒ Patreon hereΒ