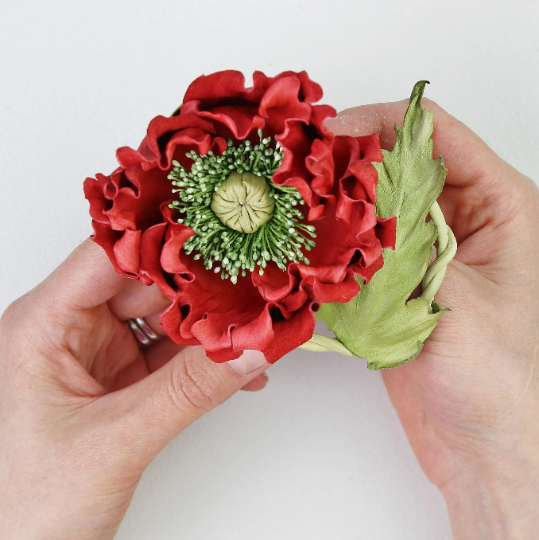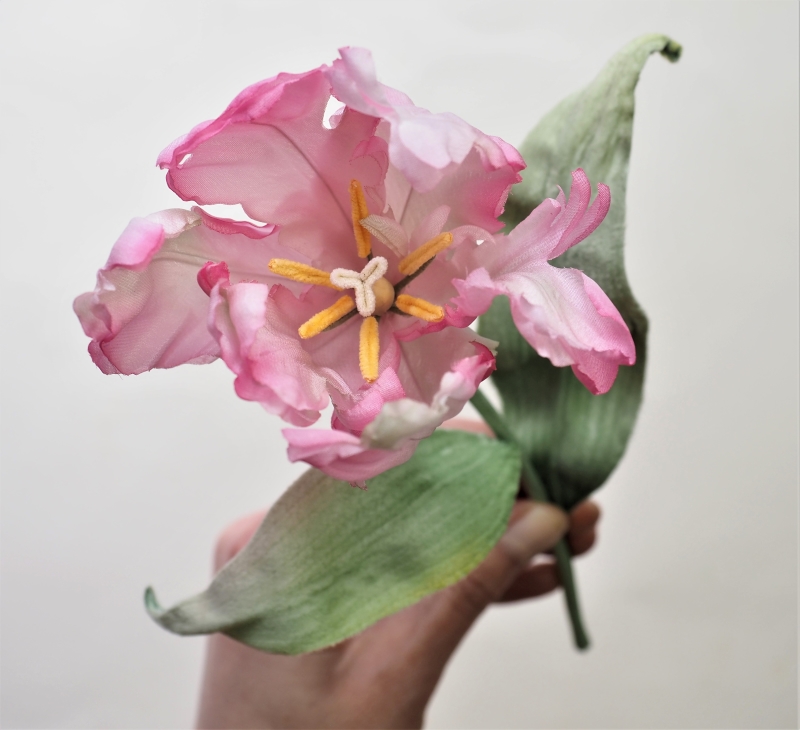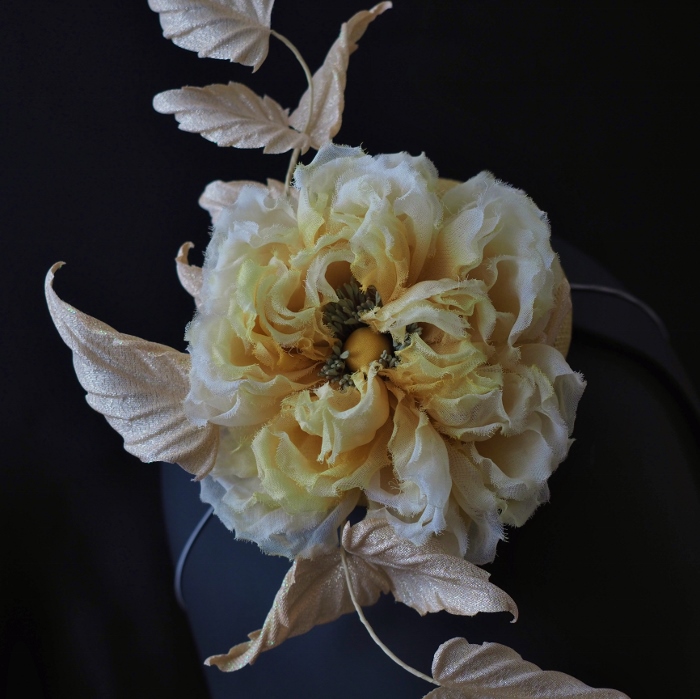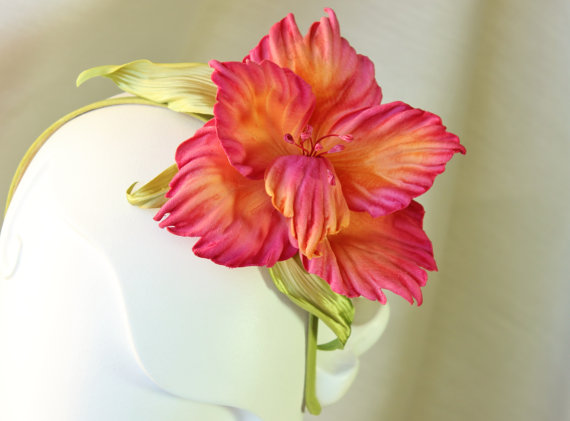
Silk Parrot tulip with leaves

Flower Making on a Budget

Often I hear that flower making tools (materials, tutorials etc.) are expensive. Can flower making be done on a budget at all or does one have  to invest a considerable amount of money to start the journey?
A question of money is important, I get it more than anybody else probably, because when I started 11 years ago I also was on a very tight budget. But I fell in love with handmade flowers and really wanted to make it work for me.
Since then I have made and sold a lot of different flowers and I have taught a number of people all over the world how to make them.
Today I would like to share some of the best money saving (and making ideas) in flower making with you. If this subject is of interest to you, please read on.
When you are on a tight budget, every bit of information is valuable, especially free sources. You are welcome to subscribe to my weekly flower makers’  newstetter here.  In it every week I share valuable tips, offer discounts and advice on flower making matters. My newsletter is free and if you are paying attention, you can pick up mini tutorials, valuable advice, professional tips, money saving coupons etc which will save you time and money.

Also, on my website you will find a blog with a number of useful articles (on fabric and leather stiffening, etc), mini-tutorials, videos on use of different tools, mixing of dyes etc. Again, this source of information on flower making is completely free for you. flower shaping tools

On my Youtube channel there are a number of videos on a wide range of flowers. These are not complete tutorials, however they do give a good insight into how I work with tools, dyes, how I assemble flowers etc. You can subscribe to my channel and be notified of any new videos I share there.

Although I am a great believer that the best investment you can make in your flower making is to get yourself a decent set of flower shaping tools, I understand that it might be a bit pricey when you begin. So I recommend starting with NO TOOL flowers which you can make now, sell and earn money for your set of tools.
There are a number of gorgeous flowers that can be made without tools, the tutorials of which can be found on my website. including my famous DANDELION, popular LILY-OF-THE-VALLEY, delicate WILD ROSES, PANSIES and cute BUTTEFLIES.
denim wild rose brooch
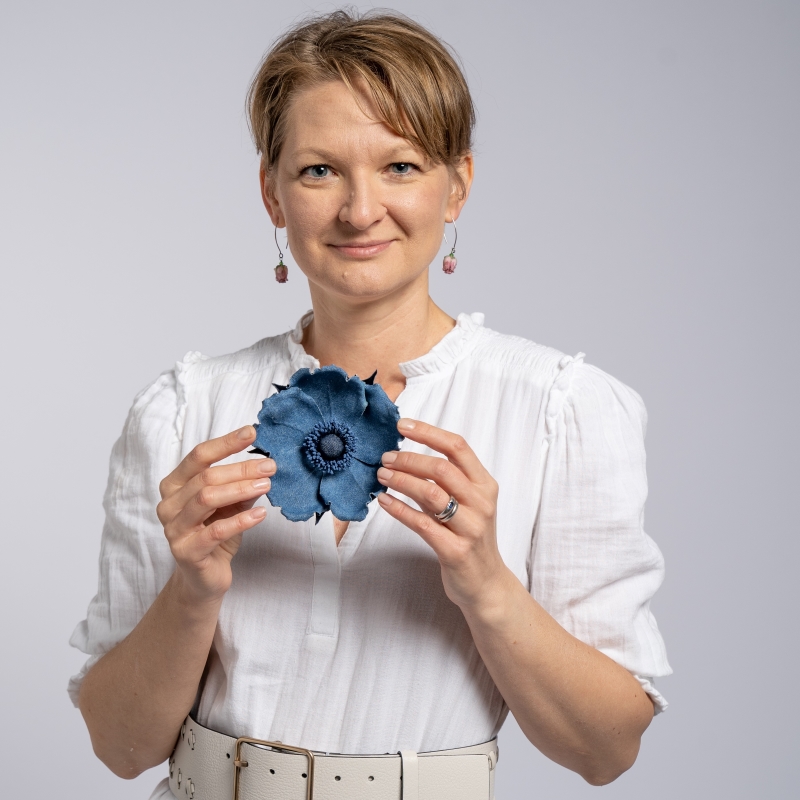
Also, earlier this year in partnership with Domestika I have released a very beginner friendly course on NO TOOL denim flowers you can purchase at a very affordable price right now.  The featured designs are very popular in my own shop and if you make and sell several of them you will earn enough to invest into a set of flower shaping tools, which opens up limitless possibilities for you.

A new initiative for 2023 is my Patreon membership for those creative flower makers who love to learn and get new flower making ideas regularly.

For a small monthly fee (currently $20 or an equivalent in your currency) you get a number of benefits including access to my monthly live online demonstration + some exclusive content (like the Icelandic Poppies and stylised fabric feathers already found on my Patreon with new exclusive content added each month ).

Again, if you simply use a couple of ideas from the Creative Club on Patreon, your membership fee will be paid off several times over.
silk cherry blossom bridalAnother way to save is to purchase Tutorial of the month (with 15% discount).
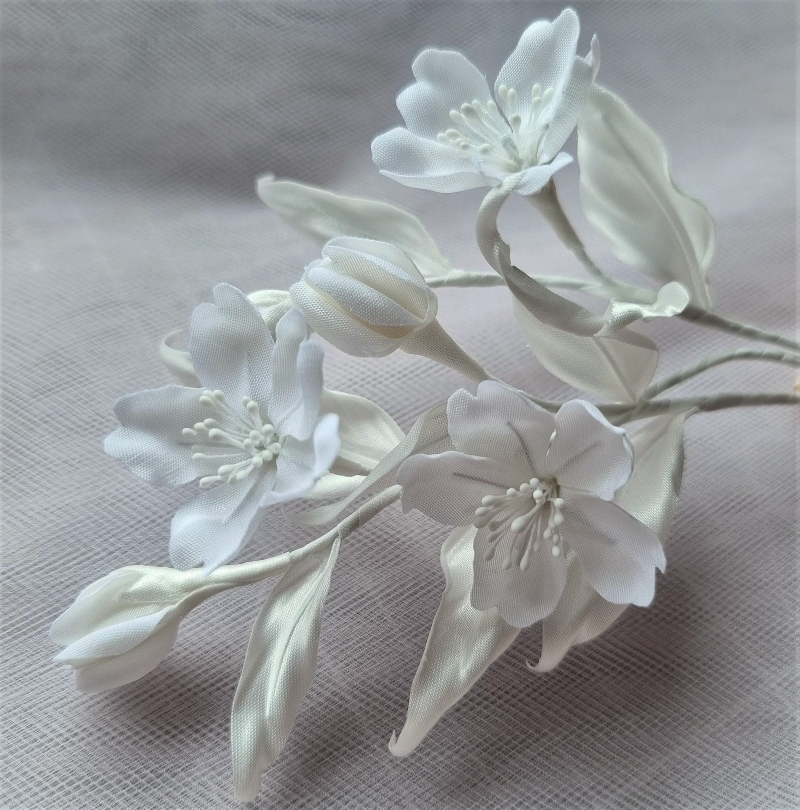
Every month I offer several seasonal tutorials in the Tutorial of the month category. For the month of March you can treat yourself to the Silk Cherry Blossom: single vs double demo recording or Leather Magnolia Tutorial. Both tutorials are very popular and worth mastering.
Usually I choose seasonal and versatile tutorials for this category, so if you would like to purchase some useful tutorials with a discount, keep an eye on the Tutorial on the Month category.
Several 4-for-the-price-of-3 bundles offer a saving and some of my most 4 for the price of 3 silk rose tutorial bundle popular tutorials.
Choose from NO TOOL leather flowers bundle, Fabric Roses bundle and Leather Roses bundle here .
Some tutorials and courses include BONUSes which can be an additional tutorial (see my Small Flowers. Spring Edit Video Course and Silk Parrot Tulip Video Course).
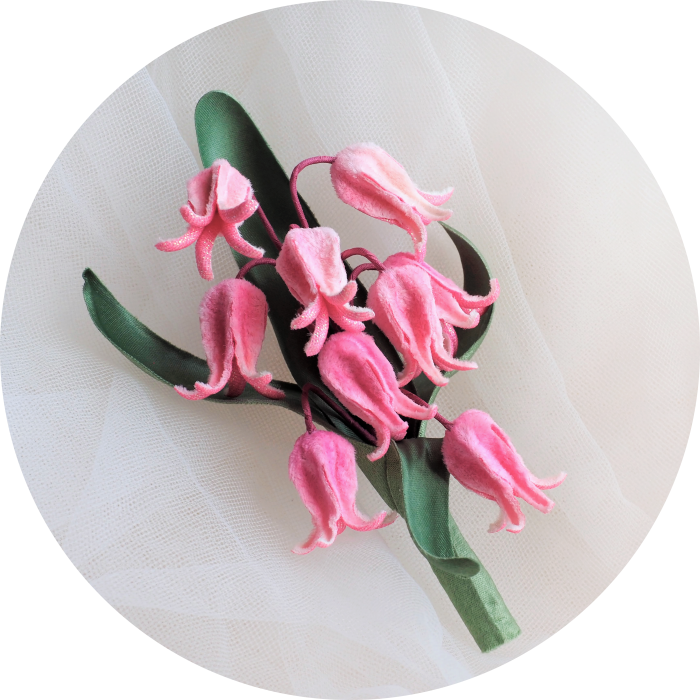
fantasy velvet bells video tutorial
Generally I encourage early bird buying which means the earlier (from the moment of release) you purchase a course/ tutorial, the cheaper it will cost you. With time tutorials often get expanded and their price increases.
Hopefully this overview of different ways to access flower making knowledge has given you lots of ideas.
The main thing is that even if you master one or two flower designs and do them well, they will help you pay for your tools and further tutorials without fail. The result is perhaps not instant or overnight, yet rather achievable as this is what I have done myself.
Once you have mastered simpler flowers  and are ready to invest more into your flower making skills you are welcome to move onto more advanced designs and/or attend my workshops. Our flower making journey continues every day and I am glad to be on it. I hope you will join me and stay, too.
viva rolled edge rose tutorial

Basic Method of Stiffening Fabrics for Flower Making

This basic method of stiffening fabrics is an easy and affordable method which allows you to prepare your own fabrics for flower making.

All the fabrics that are used in flower making, need be be stiffened before use. This makes fabrics more stable, gives them body and rose course kits ultimately allows petals and leaves keep their 3D shape.

There are different ways of stiffening fabrics and different stiffeners one can use. Below in a short video I am sharing a basic method of stiffening fabrics for flower making using Stiffy (check it on Amazon), a PVA glue based stiffener. if Stiffy is unavailable where you live, you can create your own stiffening solution by diluting some good quality white fabric PVA glue (check your proportions on a sample first) and use it to stiffen fabrics in the same way.

To browse professionally stiffened velvets and metallic fabrics for flower making visit this section. These specialist fabrics can make a great addition to the plain silks and cottons you have stiffened yourself.

📌  If you wish to know how to stiffen velvet and lace read this blog post.


You can subscribe to my Youtube channel here 
or become one of my Patrons on Patreon here

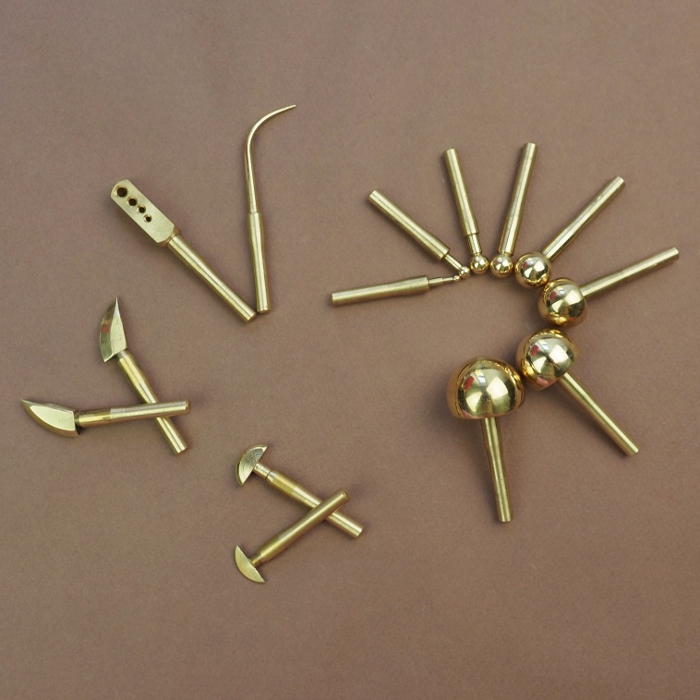
Flower shaping tools, part 4: knife tools

For 2019 I have planned a series of short videos demonstrating how to works with different types of flower tools.
I believe this will help you understand your tools better and use them to their full potential achieving great shapes and lines on your petals and leaves.

This is the forth video in the series, for which I have chosen another popular tool that can probably be found in any set, traditional or more modern: a knife tool, the sharpest tool in the flower making set.

flower shaping tools
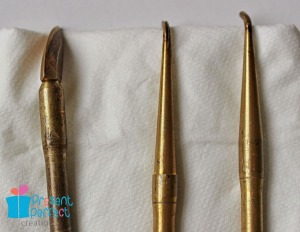
To be more precise I am demonstrating how to work with both, the single blade knife tool and the double knife tool that has got a groove.
Both of these tools can be used for shaping a wide variety of leaves as well as flower petals. I regularly use the knife tool to shape fabric butterfly wings, too.  In other words, anywhere where you could do with some veining or lines to add texture, shape and interest, you can use your knife tools on fabric as well as leather.

Normally knife type tools are used with medium pads  as shown in the video.

In skillful hands a simple knife tool can produce a range of different effects, some of which I am showing in today’s video, where I am shaping a flannelette poppy leaf, a velveteen lily petal and a golden lame satin butterfly wing, all of which are made with different fabrics.
The more different flowers you learn to make, the better you become at using your knife tools. I think I would  probably not be wrong if I say that the knife tool features in most of our tutorials, which shows how indispensable it really is for a flower maker.
Currently the single blade and double blade knife tools can be purchased as part of the 14 pc European set of tools or the more extensive 22 pc set of tools (use the links at the end of the email to find out more about each set).
In case if you believe you could benefit from a hands-on one-to-one workshop to improve your flower shaping and flower making skills you are welcome to book one of our workshops (see the schedule here).
Meanwhile watch the video I have prepared for you today (see the link below) where I am demonstrating several ways of using these well-known tools and (hopefully) discover something new for yourself.
Leather Pompom Rose tutorial

Flower shaping tools, part 3: ball tools

For 2019 I have planned a series of short videos demonstrating how to works with different types of flower tools.
I believe this will help you understand your tools better and use them to their full potential achieving great shapes and lines on your petals and leaves.

This is the third video in the series, for which I have chosen a very familiar flower shaping tool, or, in fact tools: ball tools.

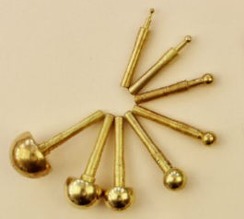
I wouldn’t be far off, if I said that a round or a ball tool was one of the first tools invented for shaping flowers. Lots of petals have a concave shape, so a tool like that was really necessary in flower making.flower shaping ball tools
As a rule each set has several balls of different diameter ranging from 2mm to 30mm.
If you wish, you could find ball tools even larger than 30 mm for shaping oversized flowers.

Ball tools are widely used for shaping rose petals and work well with both soft and medium pads.

In skillful hands a simple ball tool can produce incredible and very different results.
Some of which I am showing in the video below, where I am shaping 4 rose petals in 4 different ways to achieve different effect and therefore a differently shaped flower.
The more different roses (as well as other flowers) you learn to make, the better you become at using your ball tools.
In my Advanced Silk Rose video course (book now to take part in September 2019) we’cover conventional and less so ordinary use of the ball tools when shaping our roses. So if this subject is of interest to you, you have some experience in flower making and would like to improve your skills you are welcome to join the course here.
Meanwhile watch the video I have prepared for you today (see the link below) where I am demonstrating less so ordinary ways of using these familiar tools and (hopefully) discover something new for yourself
.
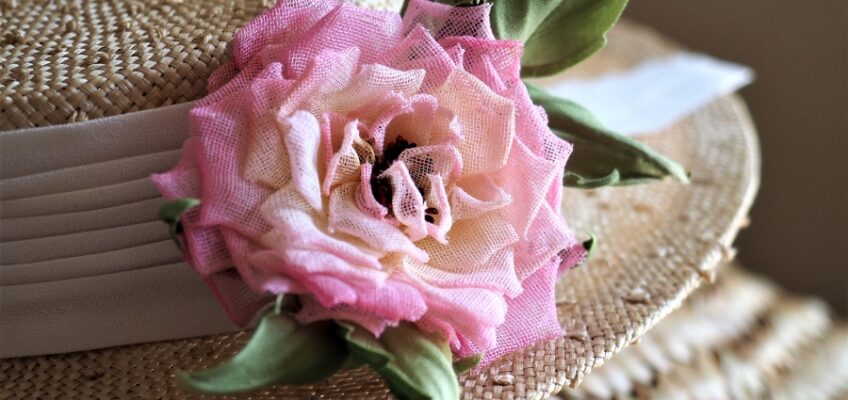
yellow silk rose hat

Flower shaping tools, part 2: TWEEZERS

For 2019 I have planned a series of short videos demonstrating how to works with different types of flower tools.
I believe this will help you understand your tools better and use them to their full potential achieving great shapes and lines on your petals and leaves.

This is the second video in the series, for which I have chosen the oh-so-ambiguous and not-so-specialist tool: a pair of tweezers. flower shaping tweezers

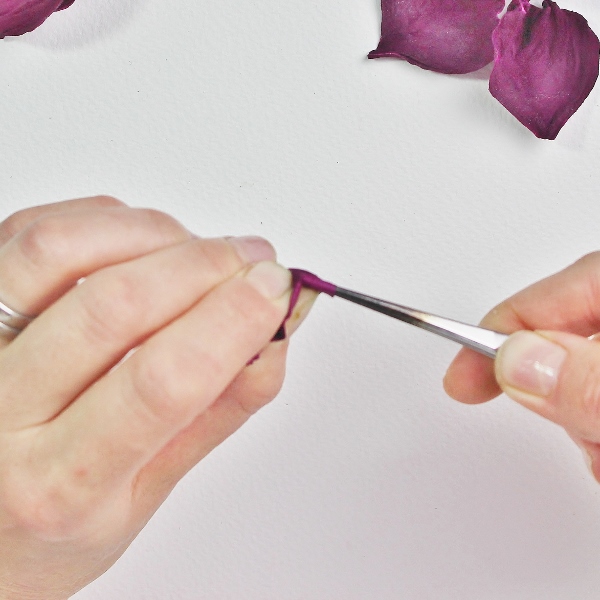
It’s true, the tweezers we are using are not a specialist flower shaping tool as such. You can pick up a pair at your local craft store or online. Just make sure they have smooth straight tips and a very good grip (I mean the tips can be put really close to each other without any space between them and they can grab and hold even the finest of fabrics without it being able to easily slip out of their grip when shaped).

If you have not had a chance to obtain a suitable pair of tweezers for your flower shaping jobs, you can order a pair on my website

Once you’ve got a pair that you can work with, the next step is to master that curl ☺
I am going to be completely honest with you here: there’s no other way but to practise (a lot). The more you try and work with your tweezers the better you become at curling edges of flower petals.
I can not stress enough how important this technique is. So it is all worth it to spend some time grasping the idea and fine tuning your movement for a decent result.
By all means watch the video I have prepared for you (see the link below) where I am trying to not only show but also explain all the minutiae of this technique.
But please remember to practise enough to nail this technique. Believe me you won’t regret it as it will take your rose, iris, poppy, peony and many other flower petals to a completely new level.
Make tweezers your good friend and enjoy shaping flower petals.

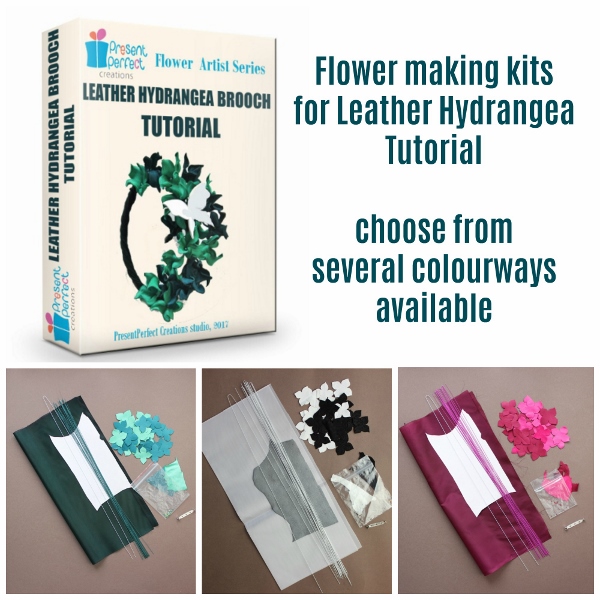
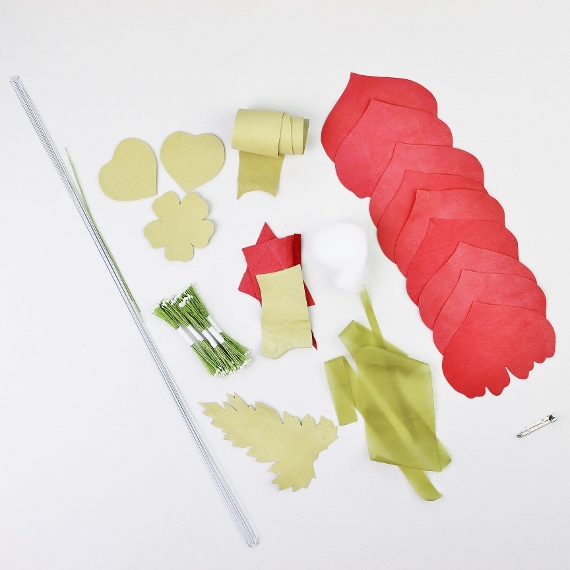
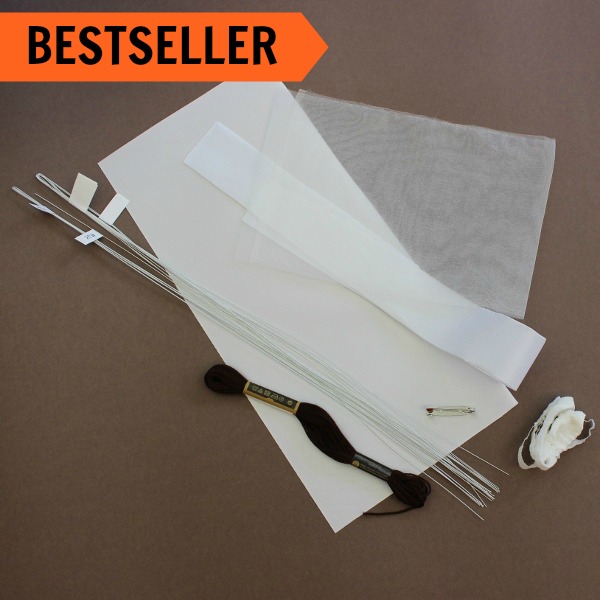
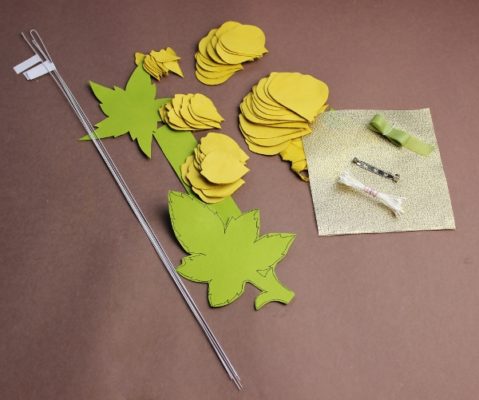
Why buy flower making kits?

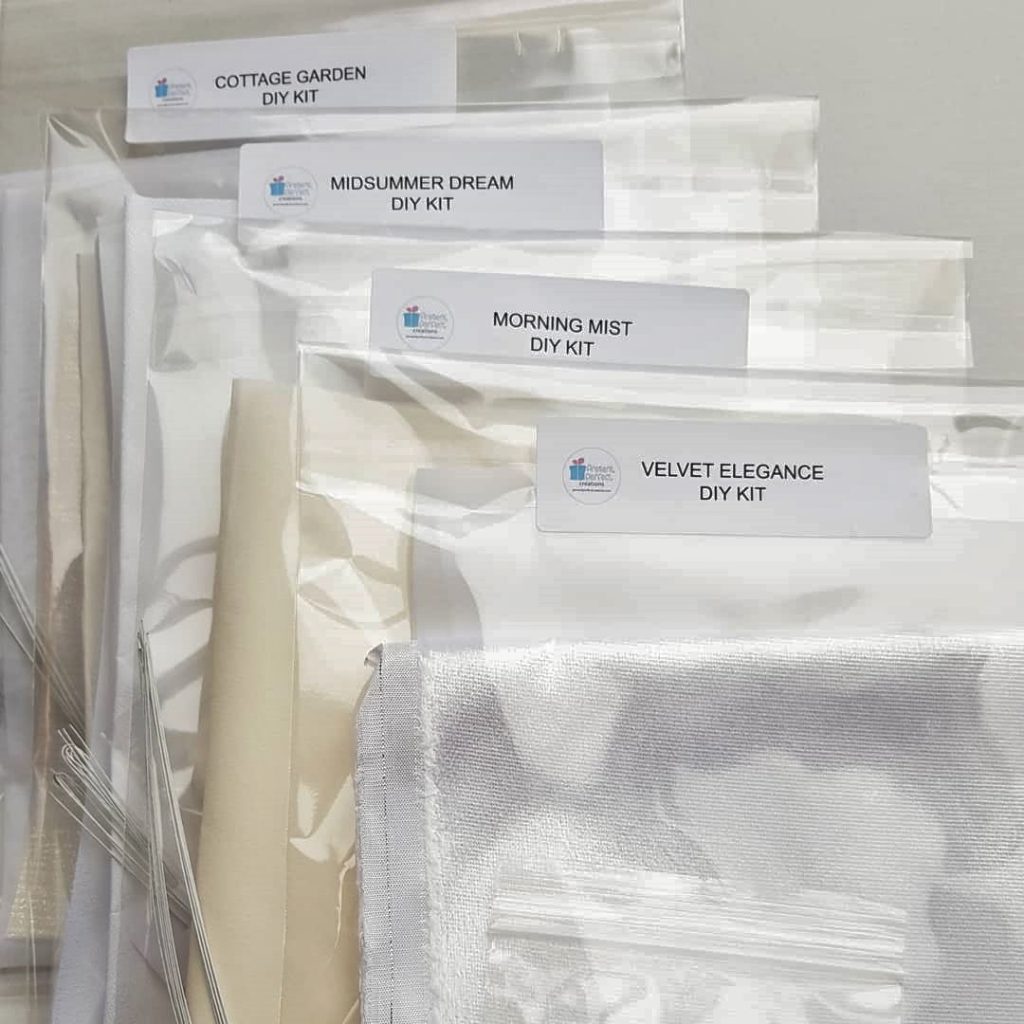
If you have followed our recent tutorial releases you have probably noticed that with every new tutorial we try and offer you flower making kits as well.

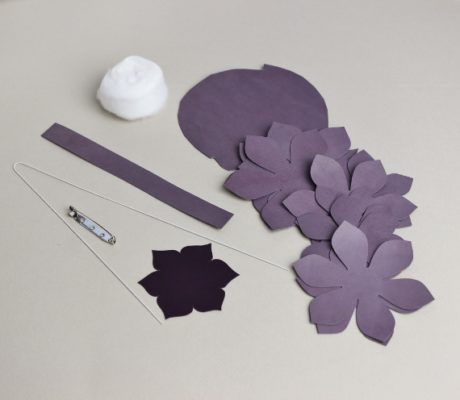
leather poppy kit BROOCH
Leather Poppy Brooch KIT

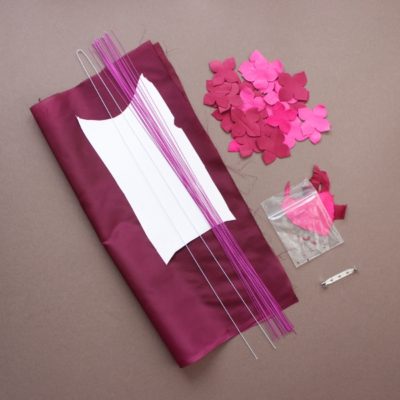
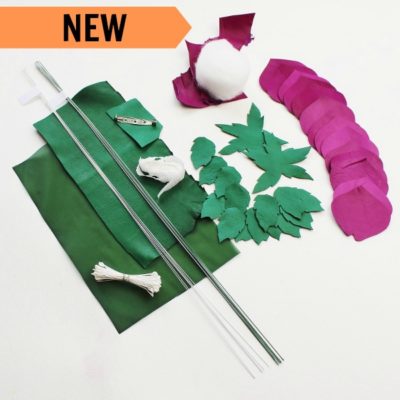
Now, you might prefer to source your own materials, if you know well what you are looking for. However, if you have not had much experience in flower making as we offer it, hunting down the right materials can be more complicated than it seems. That’s why when making your first silk or leather flowers you might want to try one of our flower making kits.
Although having a kit is just a part of success, you will get a very good understanding of what materials I use myself when I make my flower pieces as well as develop tutorials for you Friend. Next time when you source your own materials you will know exactly what you need. Say, leather for leather flowers has to be rather thin, soft and pliable, with as little sealant or coating as possible, to give the required result. If you make a leather poppy from our latest tutorial using a kit, you will get the feel of the suitable leather you want to source for your future projects.

Silk Dandelion kit
Silk Dandelion Clock KIT


Some flowers may require specialist fabrics because of their nature. One of such flowers is the Silk Dandelion Clock made with finest pure silk organza plus several other fabrics.
Luckily, the silk dandelion clock can be made without the use of flower shaping tools. All you need is one of our Silk Dandelion Clock kits, some silk dyes, good quality thick PVA glue and lots of patience to create this jaw dropping design.
In case if you decide to make a Silk Dandelion Clock with a flower, you will receive a DIY kit which contains 7 DIFFERENT FABRICS. And they are there for a reason.

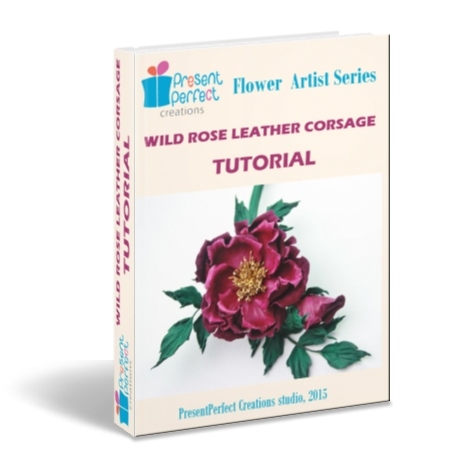
Due to popular demand, we are now developing flower making kits for of our older tutorials, like this one on the Wild Leather Rose Corsage. That’s another great flower that can be made without the use of flower shaping/ millinery tools. All the parts of this open leather rose design are hand shaped, the petals being finished with a pair of tweezers. A limited quantity of the Wild Leather Rose Corsage kits is now available on our website.


Remember that our kits are flat packed and therefore can not contain any dyes, glue or tools.
If you have a question regarding any of these, please get in touch with us via enquiries@presentperfectcreations.com to receive a recommendation or advice on what sort of dyes, tools or glue are the best to use and where to obtain them.
A lot of basic information of this kind can be found in my introductory ebooks on Silk and Leather flower making, designed specifically for beginners, as well as at the beginning of each tutorial.


Backing of handmade flower petals and leaves

silk camelliasTo back or not to back [ handmade flower petals and leaves with fabric ]? If you have not yet decided on this one, I hope this article will help you make up your mind.
So let’s see why, how and with what we back flower petals and leaves. If you have been following PresentPerfect Creations for a while and had a chance to see our tutorials you might have noticed that I always back foliage with a layer of fabric and quite often (depending on the project though) I do the same with flower petals.

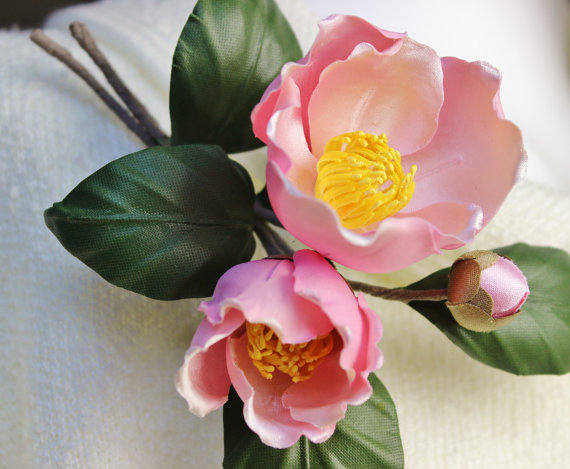
On one hand, flower petals should look thin and delicate, but on the othcamellia japonica comp screen JPEGer hand since we make wearable flower pieces they need to be durable and robust enough to withstand wear, pressure and possible damage to some extent at least. Reinforcing handmade flower petals and leaves with another layer of fabric really helps achieve certain durability. Have a look at the camellia flowers above. Would you be able to guess that they are actually cardboard hard? They certainly do not look it and that’s the trick: whilst backing petals with another layer of fabric to give them a look of delicacy and fragility that we see in fresh flowers at the same time.
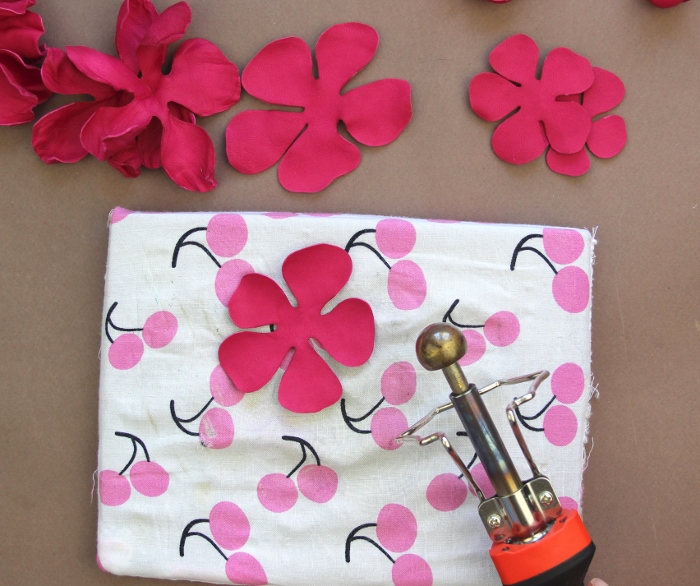
There are different ways of achieving this look and make your stiff durable flowers appear full of life. The techniqueoversized flower headpieces will vary from flower to flower but as a rule we use a flower iron and a pair of tweezers to shape parts. My SILK CAMELLIA JAPONICA CORSAGE video tutorial explains the process in detail.
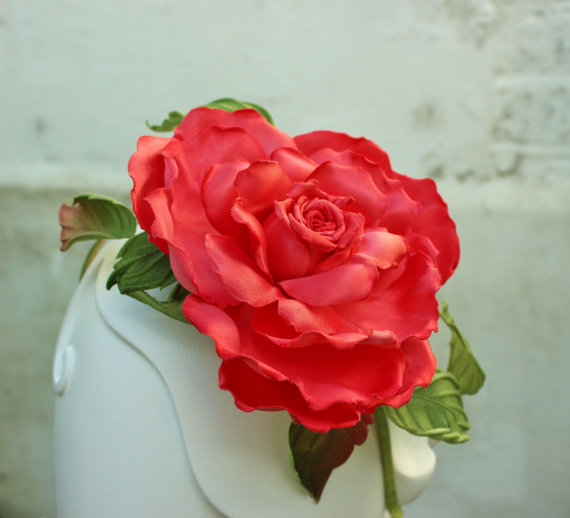
If you happen to attend one of my workshops on an OVERSIZED ROSE HEADPIECE, you have experienced petal backing to full extent. Indeed this oversized rose is made of large satin petals that are all backed with a layer of thin silk. This job requires precision, speed, dexterity and neatness. The good news is, practice makes perfect. If you wish to join me for a workshop on this oversized silk rose please send your enquiry to enquiries@presentperfectcreations.comlace orchid headband 2
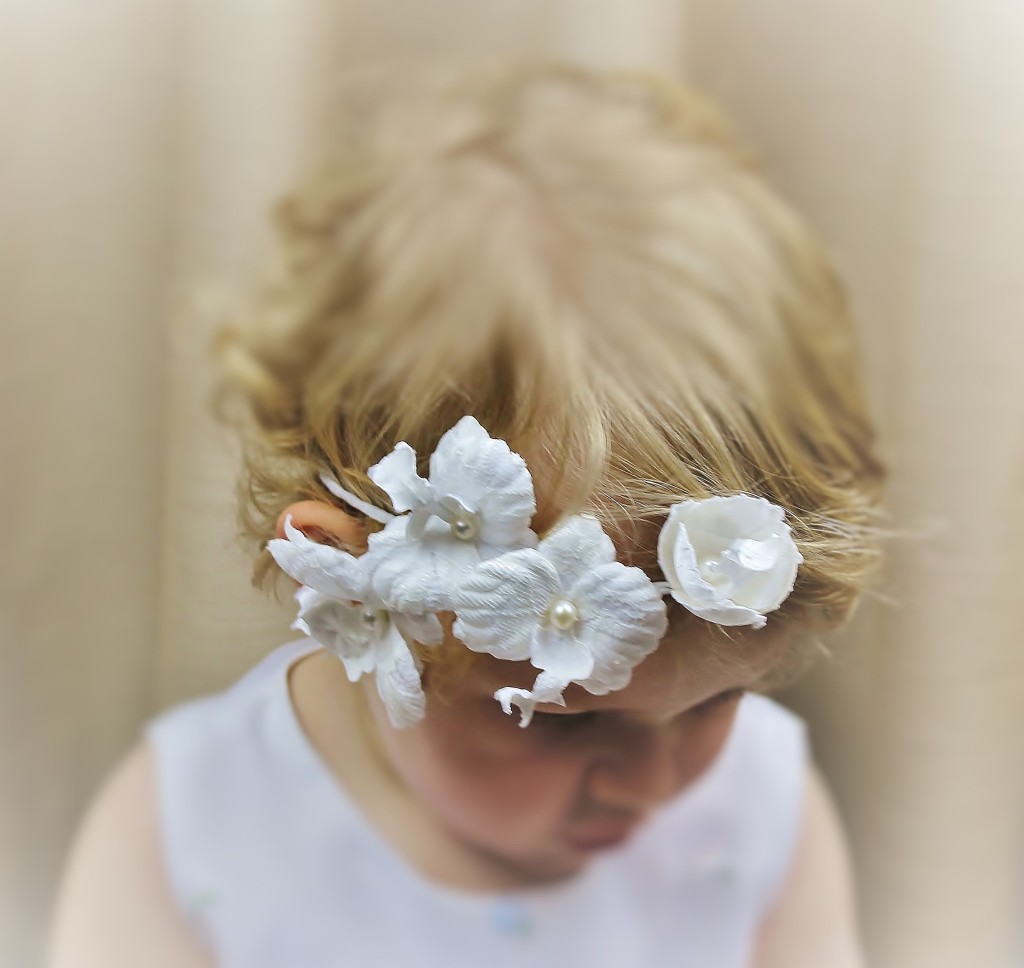
Although not all flower petals get backed, a certain range of materials would benefit from being backed on every occasion. Amongst those are lace, velvet, denimetc.
LACE ORCHID HAIR CIRCLET video tutorial teaches you how to work with lace and turn it into delicate ethereal flowers that are also robust. White lace flowers are perfect for bridal pieces but if you take coloured lace or dye white lace yourself you can make evening wear floral pieces and much more.
Another video course on a DENIM ROSE BUD shows how to work with denim.
So, leather rose spray corsagewhat fabric(s) to choose for backing?
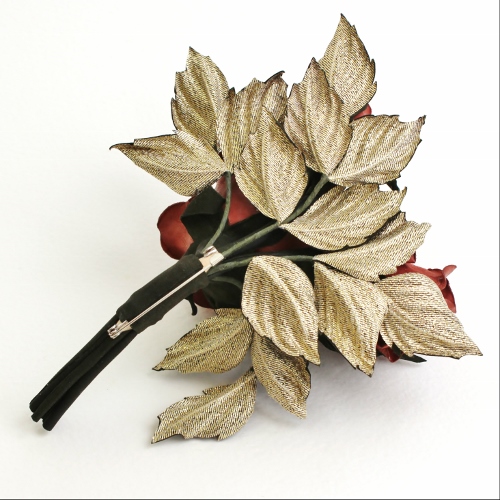
The choice is more than you might think. For petals some thin fabrics like pongee or organza are used in most cases. But if your petals are made of heavier fabric (velvet, denim or similar), you can go for thin or thick satins, or decorative fabrics with metallic threads.
When backing leaves you can choose from an array of different fabrics ranging from very thin (think pongee, organza) to satins to decorative metallic fabrics to velvet should you blue silk hydrangeawish. There is no hard and fast rule about which fabric to use. Depending on your main fabric try to choose a backing fabric that will complement your design and give it a beautiful finish.
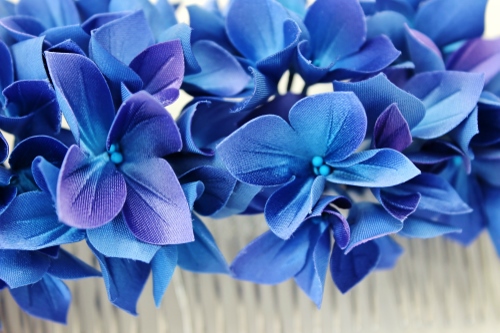
I personally love the durability and definition of backed flower parts be it petals, leaves or butterfly wings, that is why I use this method on a regular basis in my works. To learn more about how you can create handmade flower petals and leaves by backing them with a layer of fabric please have a look at some of the photo tutorials by PresentPerfect Creations studio below:
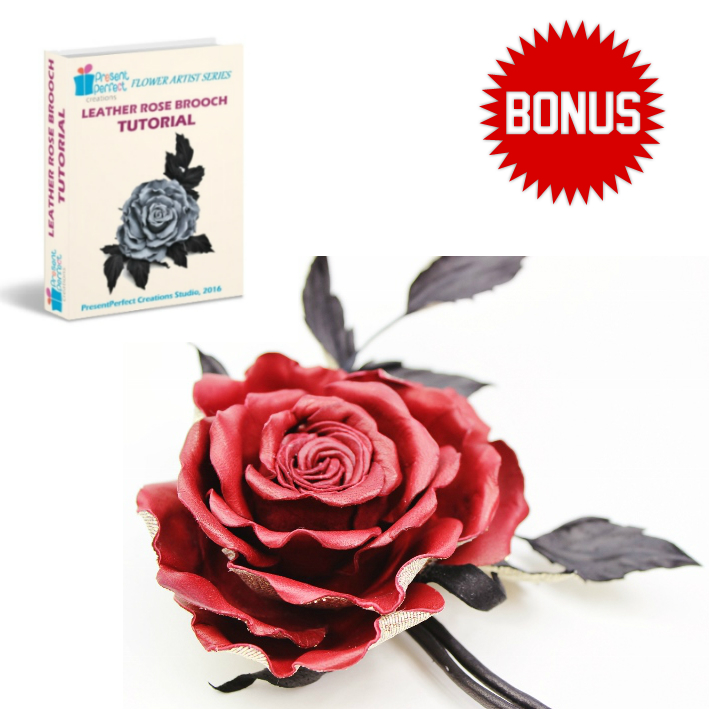
leather-baccara-tutorial-bonus-sq

A detailed BONUS photo tutorial on Leather Rose Brooch. Yes, you got it right, you can back leather petals and leaves with fabric too! And this bonus tutorial that comes as a freebie together with LEATHER ROSE BROOCH photo tutorial will teach you exactly how you can do that.

learn-more-button


fabric leaves tutorial

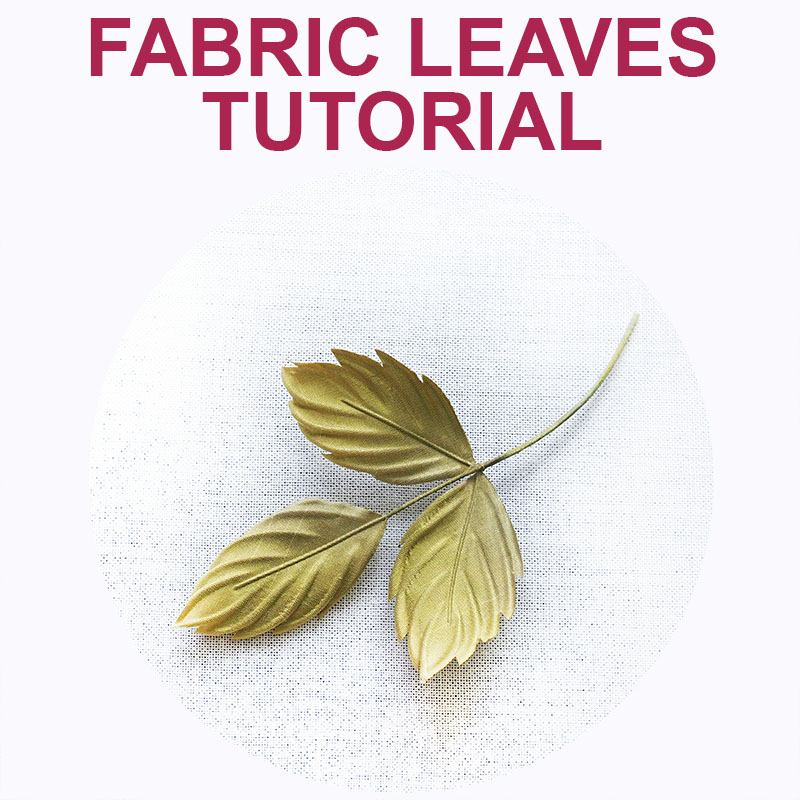
A step-by-step photo tutorial on how to create MILLINERY LEAVES that are just right for your project. Still looking for suitable leaves online and in shops? Look no further. A flower iron and this tutorial is everything you need to create any fabric leaves your project calls for.

learn-more-button


lace butterfly tutorial

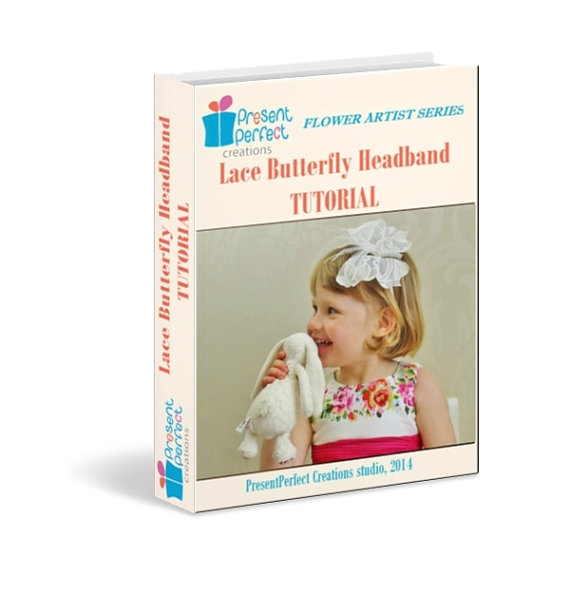
A step-by-step photo tutorial on how to create our SIGNATURE SILK AND LACE BUTTERFLY ON A HEADBAND. As a bonus you will also get FREE tutorial on how to shape a velvet butterfly with a flower iron (details inside the main tutorial once you’ve got it)

learn-more-button


Should you wish to try and use some decorative fabric with metallic threads in your work (think Christmas ☺) please check this beautiful semitransparent rayon fabric with golden metallic thread. It will look great at the back of leaves as well as petals. The fabric comes prestiffened and is ready to be used in flower making.

button

`[tiny_coffee]`

velvet for making flowers

Velvet fabrics for making flowers

Velvet fabrics for making flowers

Velvet is a luxurious versatile fabric that is used a lot in flower making. Whether you choose to make certain parts of a flower from it or a whole piece, it is good to know which velvet to choose when and why.

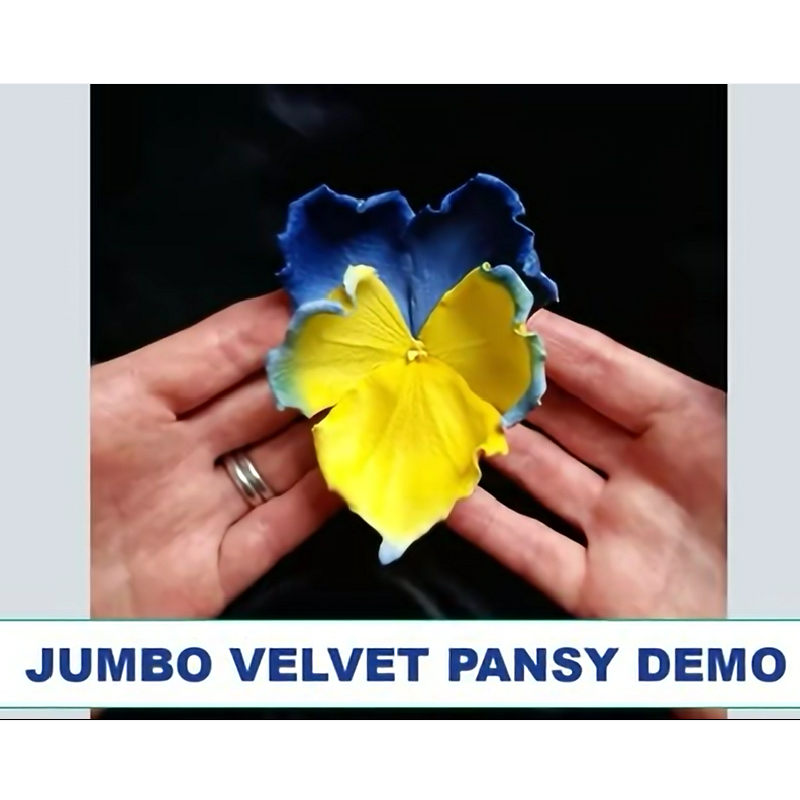
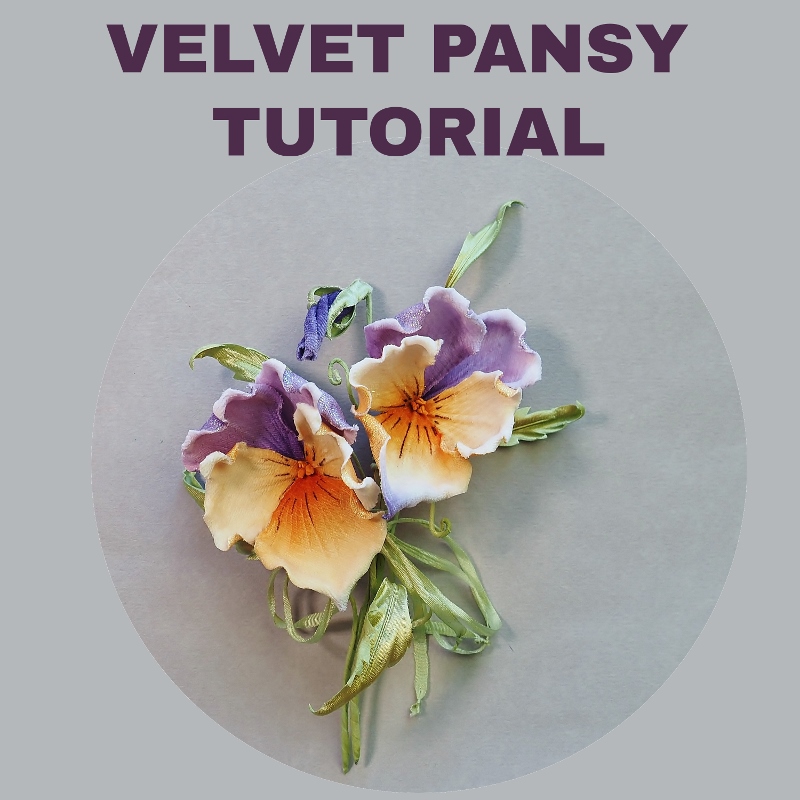
velvet pansy tutorial
Velvet Pansy Tutorial

As autumn draws nearer I want to talk about velvet for making flowers. Velvet flowers are great for autumn-winter season and make perfect trims for felt hats too.
Since velvet was introduced for the first time in the Middle East back in 9th century it has always been associated with luxury, nobility, royalty. And indeed it was so expensive in the past that only wealthy people could afford it.

So what is velvet?
Velvet is a kind of woven tufted fabric in which the cut threads are distributed in an even manner in a short dense pile thus giving a very soft and smooth feel. Traditionally velvet was made using silk. Nowadays velvet is made from cotton, linen, mohair and wool along with silk. Lately, synthetic velvets too are being produced.

velvet gladiolus flower 2In flower making we are only interested in velvets made using natural fibers like silk, viscose or cotton. These fabrics dye well with Procion and other silk dyes and can be shaped with millinery tools.
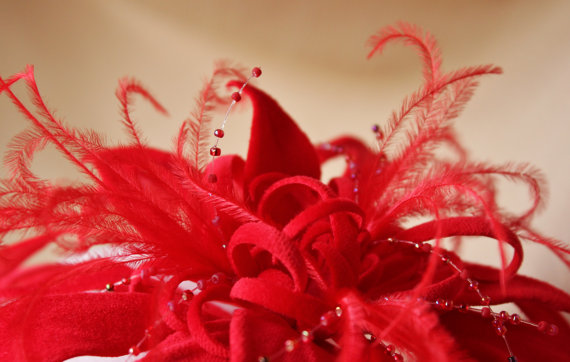
Velvet is perfect for making leaves (with the use of our Realistic Fabric leaves tutorial ), but whole flowers can be created out of it too. Think roses, pansies, gladioli, daffodils, orchids, camellias and many others.
Very often velvet is used for making flower centres or even for wrapping stems (as we did in CAMELLIA JAPONICA video tutorial)
Most of the techniques for working with velvet are very similar to other fabrics but there are some tricks and nuances that make velvet a little bit more delicate to deal with.
First is colouring. Because of its heavy weight, thickness and pile velvet absorbs a lot of water when being dyed. When left to dry on paper it will also lose a lot of water together with the dye. To achieve a brighter colour with velvet I always recommend drying flower parts on non porous surfaces like glass or plastic.
velvet fantasy flower 4Velvet is always dyed from the right side. Try to be gentle with your brush strokes not to mess up the pile too much.
As you can imagine velvet dries quite slowly too, especially on a non porous surface.
Another thing that can be tricky is shaping.
When shaping velvet take your time and do it slowly, letting the hot tool warm the thick fabric through and mould it into shape.
In most cases velvet flower parts are backed with a thin layer of fabric.
Because velvet has such a gorgeous sophisticated finish I like using lame fabrics for backing to add an extra touch.
Velvet can be backed with satin too.
Like all other fabrics velvet needs to be stiffened before it can be used for making flowers. A while ago I have already described one way velvet can be stiffened (please check out this post to find out how).

cotton velvet


The type of velvet I commonly use in my works is made of cotton and has a very short pile.

It dyes well and is easy to work with.
I have a limited quantity of fat quarters of this velvet  as well as different velveteen fabrics currently available in my shop, so if you’d like to try it in your designs, make sure you get one now.
Ah, and the best bit is that this velvet comes prestiffened. It means it is ready to be used either for leaves, petals or a complete flower. To buy a velvet fat quarter please use the button below


 purchase-velvet-button
press here to purchase velvet fabric


Subscribe to our YouTube Channel for more flower making videos.


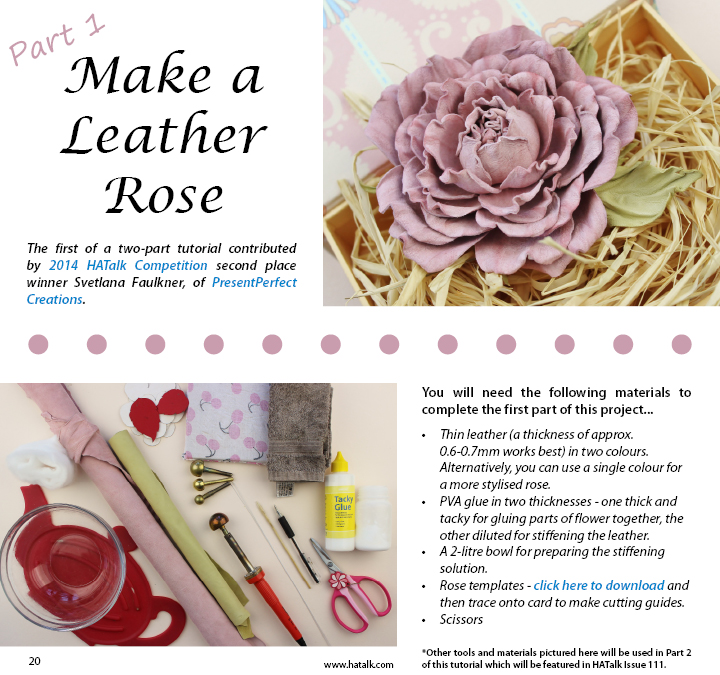
My leather rose tutorial for HATalk e-magazine

Leather Rose Tutorial (intermediate)

Leather English Rose Tutorial (advanvced)

Leather Wild Rose Tutorial (beginner)

introduction to leather flower making ebook


Just to let you know...

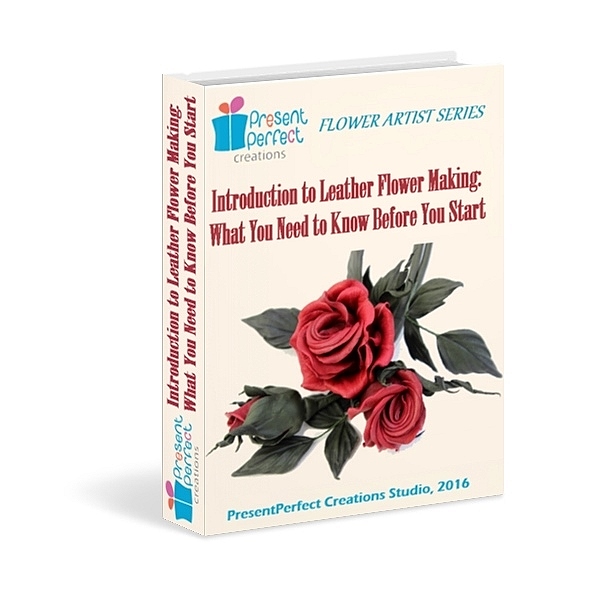
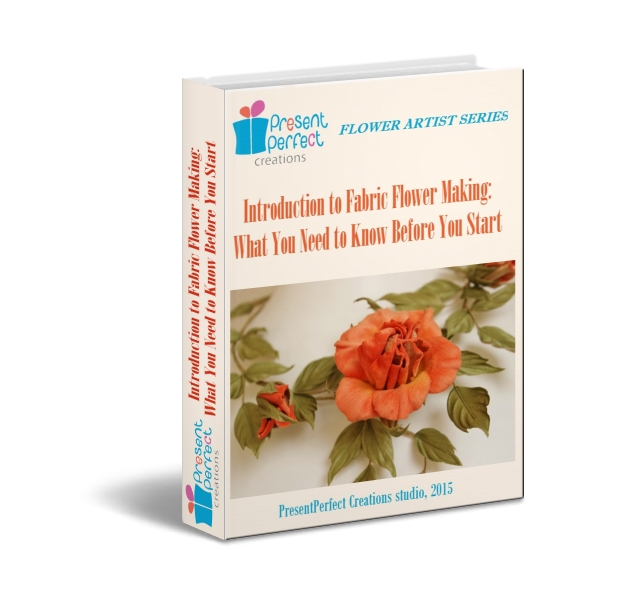
Our Introduction to Leather Flower Making ebook is out now and available for immediate download after purchase. 
Learn the basics about working with leather to start making exquisite leather flowers of your own to match any project at hand.


You are well aware that I make flowers not only out of fabric but out of genuine leather too.

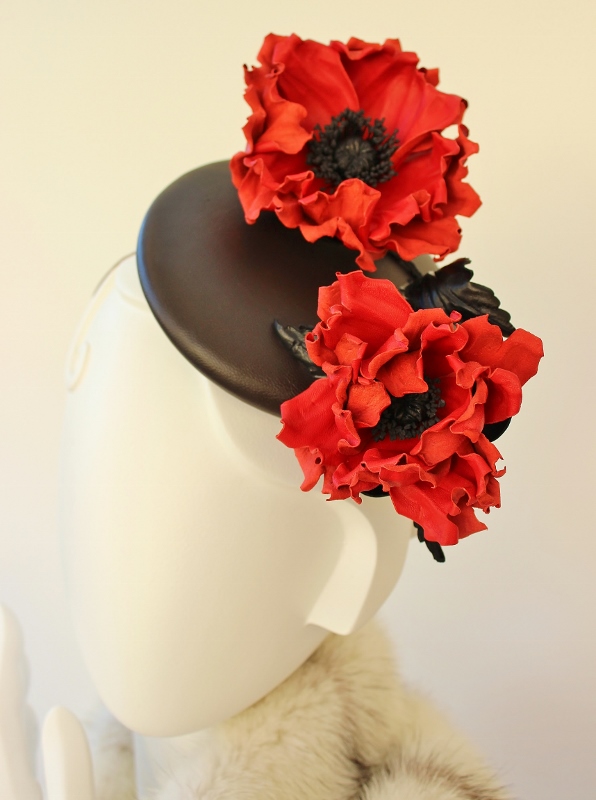
In November 2014 I took part in a millinery contest devoted to the First World War Centenary organised by HATalk Social. To express the theme of Remembrance I created a leather button hat with large bright red leather poppies (on the left). The judges were favourable enough to award me the second place out of 100+ contestants from all over the world. Needless to say I was thrilled! Not only have I won some hat blocks but also I have been asked to contribute to their ezine by offering a leather flower tutorial to the subscribers of HATalk monthly e-publication.
This months saw the release of the first part of my exclusive leather rose tutorial that is shown in the picture below.

PresentPerfect

If you have all the necessary equipment for fabric flower making but have never tried making leather flowers I think you should give it a go. Leather flowers require less manipulations but due to the nature of material look as equally (if not more!) impressive as the silk ones. Besides, they are a good robust trimming alternative for those colder months when thin transparent fabrics look a bit out of place.

leather corsage tutorial

If you have not yet invested into a set of tools but would really like to have a go at making flowers why not try leather blooms? The thing is, leather is such a luxurious and beautiful material to work with that often you do not need to do much before you turn it into a lovely flower. Hand shaping combined with the use of a pair of tweezers can create beautiful as well as pretty realistic flowers. 

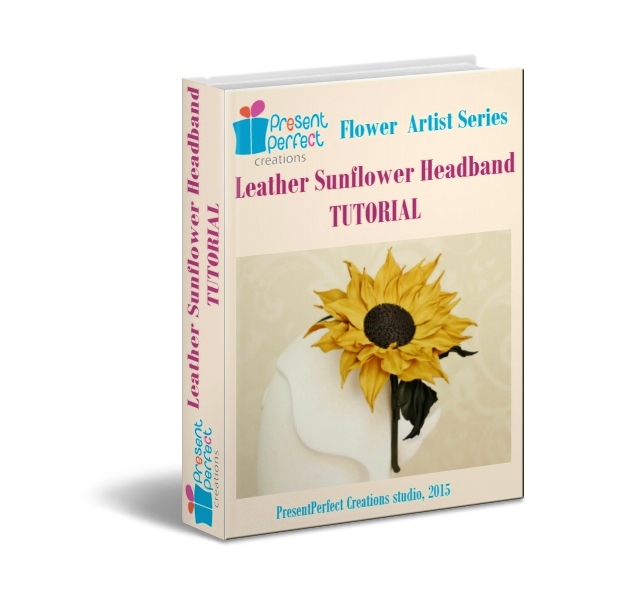
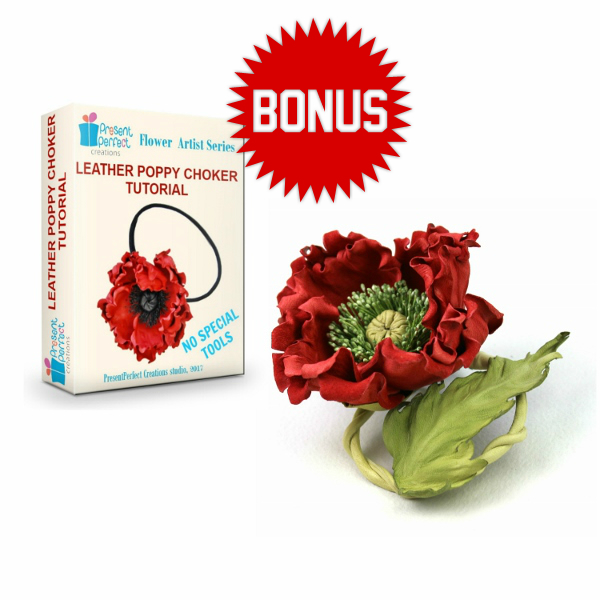
We are happy to offer a number of leather flower making tutorials that require no millinery tools, on Wild Leather Rose Brooch on Leather Sunflower Headband and on Leather Poppy Choker. They are a good point to start from if you want to explore leather flower making without the need to invest in a set of millinery tools. Moreover, in these tutrorials you will learn how to make 3 different types of accessories (a brooch, a headpiece and a choker).
Flower making kits are available separately. Click on the photos of the tutorials for more information.
 

I have a schedule packed with more forthcoming leather flower tutorials, so if this topic is of interest to you do subscribe to my updates below and be the first to leather poppy flower tutorialknow about new tutorials. As my subscriber you will have a chance to purchase them with an attractive discount too!

CLICK HERE TO SUBSCRIBE TO OUR FLOWER MAKERS' UPDATES&OFFERS

You might also like these articles:

NO TOOL flower making tutorials for beginners

Choosing the right glue for making flowers

How I choose leather for making flowers

fabric leaves tutorial

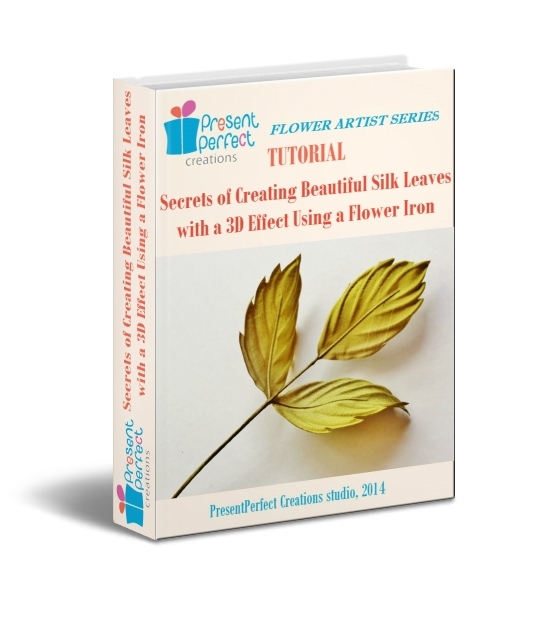
Want to know how to create realistic looking silk rose leaves with a 3D effect? Here’s how I do it

 
A lot of you have commented on the 3D effect my silk millinery leaves have wondering how I manage to achieve it. Now you can do it too with my new updated and extended e-book tutorial, which is available for purchase from my tutorials store for just £6.


fabric leaves tutorial
https://presentperfectcreations.com/product/millinery-fabric-leaves-photo-tutorial-pdf-format/

Packed with tips and hints this 20 page .pdf ebook  will teach you how to create impressive fabric millinery leaves for you projects every time. I have included the patterns too.

You can use an array of different fabrics, such as silks, velvet, lace to make just the right leaves you require. No more fruitless searches online when you can make them in a matter of minutes.

Who is this tutorial for:

  • milliners
  • accessory designers
  • silk flower makers
  • those, who know how to work with a flower iron and would like to improve their results.


I would NOT recommend this tutorial for:

  • complete novices in silk flower making
  • those, who DO NOT have a flower iron


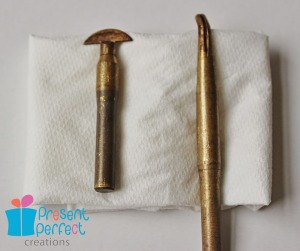
The tools and the flower iron tips that are required for making the leaves are shown in the pictures below. Please have a look and if you are not sure you have all the tools you need please contact me via this blog before buying the tutorial to clarify any questions you might have.


The flower iron tips I was using in the tutorial
The flower iron tips that can be used alternatively

red workshop schedule for June and July (500x500)


For some  fresh news and insparation from the exciting world of handmade fabric flowers as well as tips, discounts and much more please subscribe to our newsletter if you haven’t done this just yet. Should you wish to learn how to make silk flowers I am happy to share my know-how, knowledge and skills through individual and group hands on workshops in our studio in Stamford, Lincs. For the current schedule please visit our workshop page.


[grwebform url=”http://app.getresponse.com/view_webform.js?wid=10058202&u=3lMQ” css=”on” center=”off” center_margin=”200″/]


1 2