leather rowan berries

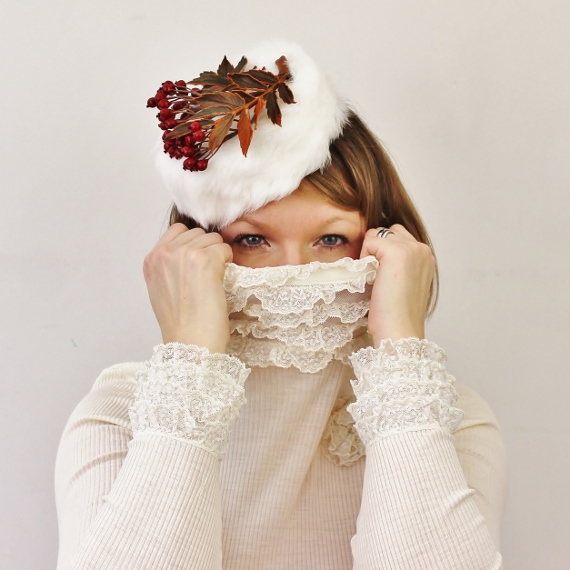
Rabbit fur pillbox hat with leather rowan berries for 2016 Hatalk hat making competition

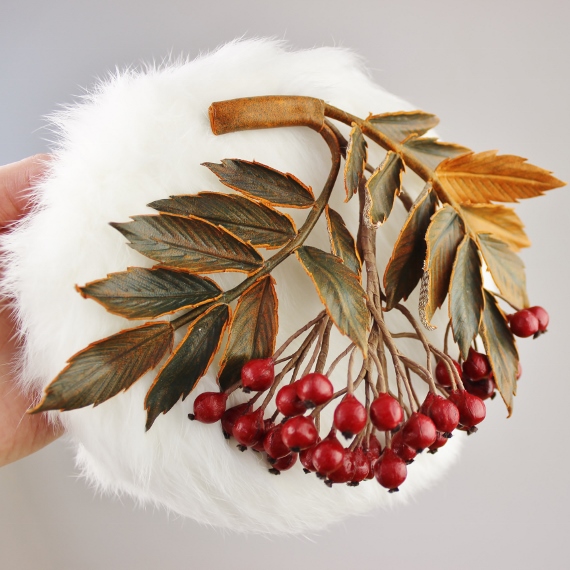
rabbit fur pillbox hatI created this white rabbit fur pillbox hat decorated with a cluster of leather rowan berries for the 2016 Hatalk hat making competition, where the theme was Connections.

My fantasy rabbit fur pillbox hat for a millinery competition: the why

The theme Connections is very broad; however the first connection I immediately thought of was a cultural connection, connection with my roots and traditions.

I live and create in the UK now, but I grew up in a small town in the Far North of Russia, lost somewhere between permafrost and the Northern lights. The climate is so harsh and cold locals have to wear clothes and boots made of fur in order to survive severe frosts and snow storms. I chose white rabbit fur for my hat thinking that it would represent snow of my childhood so very well.
Rowan is a meaningful symbol in the Russian culture. Numerous proverbs and poems, paintings and even recipes are dedicated to this symbolic tree that is so dear to the hearts of Russians. Touched by the first frosts rowan berries unlock their potential and become sweet and delicious to eat. They can be used in a variety of dishes and drinks. It is not uncommon to see clusters of rowan berries covered with heaps of fresh snow as part of winter scenery throughout Russia. Those snowy clusters of bright red berries were the vision I had in mind when I was working on my First Snow Fur Pillbox hat.

rabbit fur pillbox hat

My fantasy rabbit fur pillbox hat for a millinery competition: the how

To make First Snow Fur Pillbox hat I blocked 2 layers of buckram, rabbit fur pelt and silk satin over a pillbox block (each material at a time). Then I wired the buckram base, put the blocked fur on top of it and stitched the two together around the bottom edge. After that I sewed in the lining and the petersham ribbon.

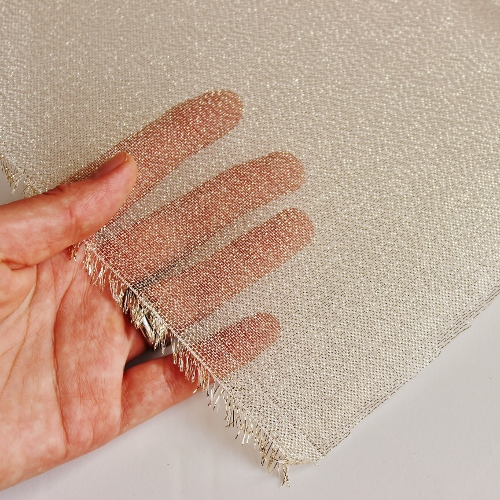
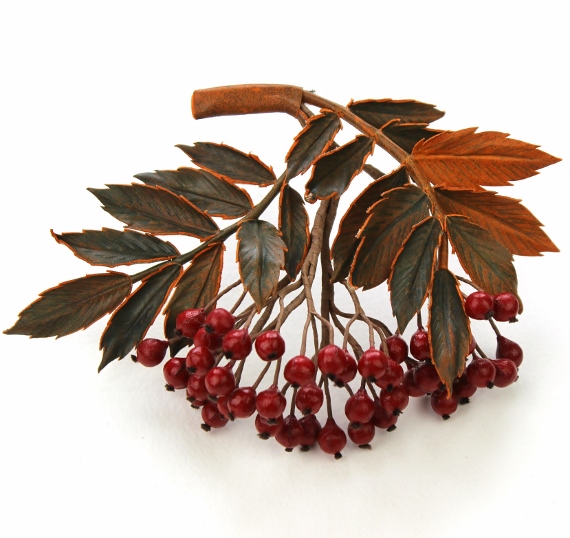
The cluster of rowan berries and leaves are made of genuine leather or several colours. All the leaves are backed with golden metallic lame fabric and shaped with millinery tools.I joined the berries in the cluster with hand dyed rayon pongee strips. The rowan berries and leaves are finished with a brooch pin. They can be removed and used as a separate brooch.

The result?

Alas, the white rabbit fur pillbox hat has not taken any prize in the competition, but with hope in my heart I am planning on taking part in other forthcoming hat making (and other!) competitions. Watch this space for more details.

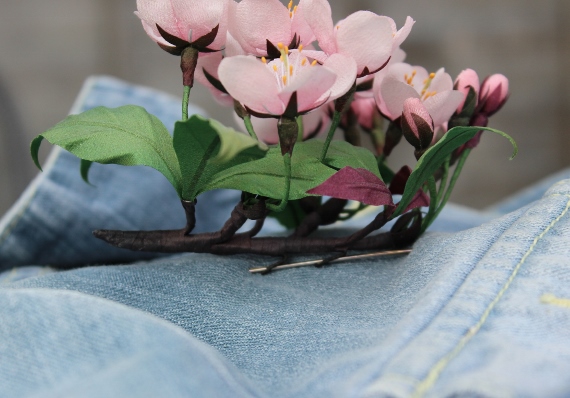
pink flowers buttonhole

3 ways to dye silk petals to achieve the intensity of colour

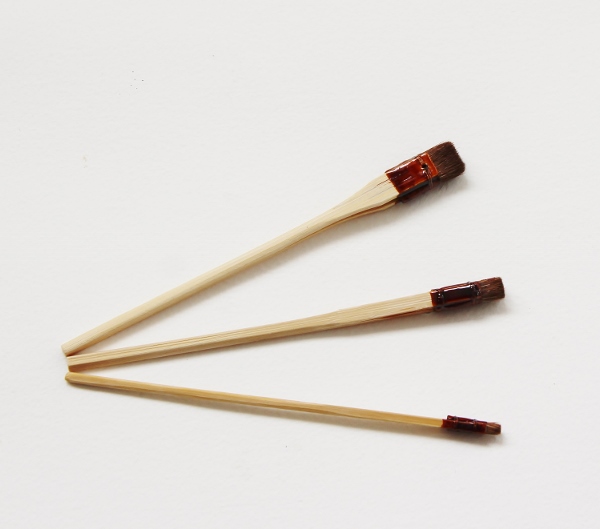
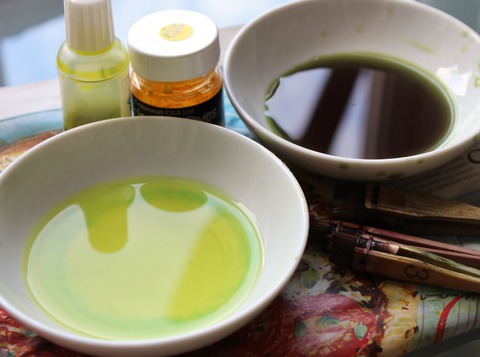
silk painting brushesLet’s talk about the ways to dye silk petals to achieve intense colours.

If you, like me, do a great deal of custom work, you are
constantly presented with an issue of matching colours. Whilst mixing dyes to match colours is a task in itself, today I wanted to talk about the ways to achieve an intense colour when dyeing petals/ leaves. If you prefer to use natural hair brushes specially designed for dyeing silks and other fabrics check this horse hair painting brush set.

how to dye silk petals
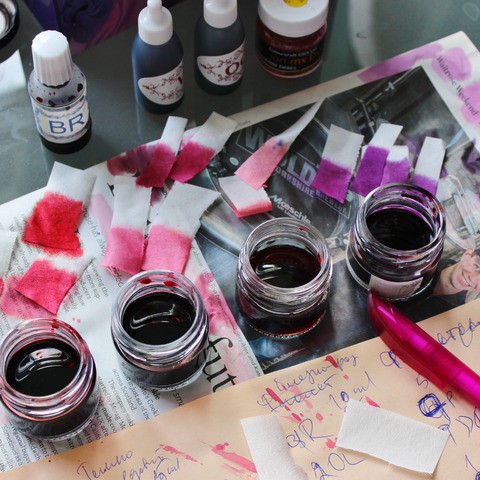
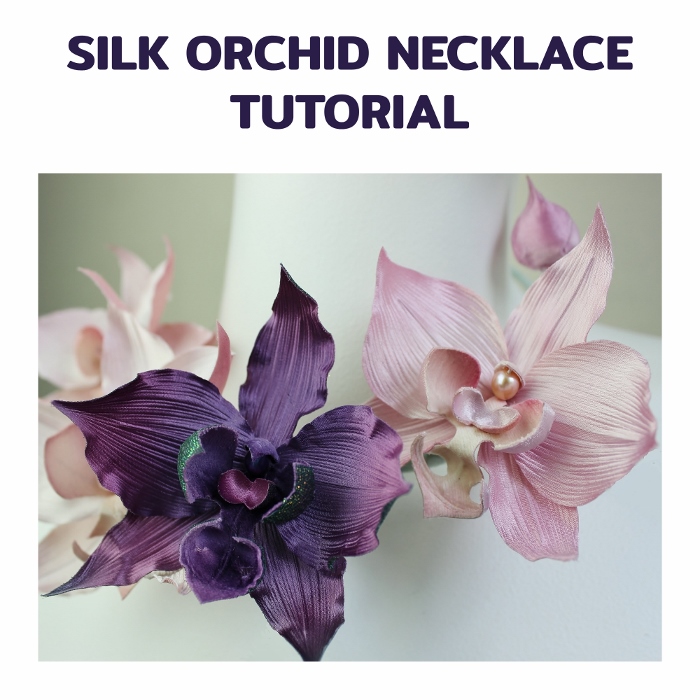
The FIRST, probably the most obvious way, is to prepare a very concentrated dye. If you work with powdered dyes, use more powder and less water to dilute it. For liquid dyes, again, add a small amount of water or none at all to achieve a deeper colour. When you colour match it is always a good idea to prepare some fabric swatches (using the same fabric that you are going to dye).After you have mixed the dye apply some on them. Then let the swatches dry before comparing the colours. Remember that a wet swatch will invariably be more intensely coloured.silk orchid tutorial


THE SECOND way is good to use when the first one has not quite worked out. You simply paint your petals again to achieve the intensity of colour.

You can do it whilst they are still slightly wet, i.e. have not dried out completely. If they are completely dry, you need to moisten them again and paint as normal.
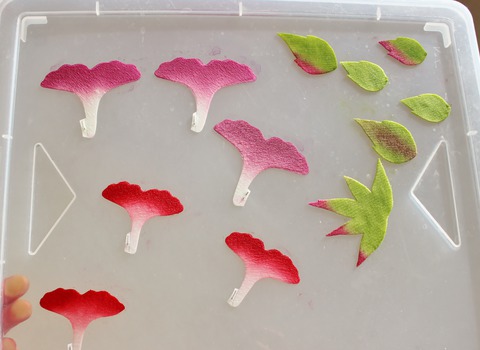
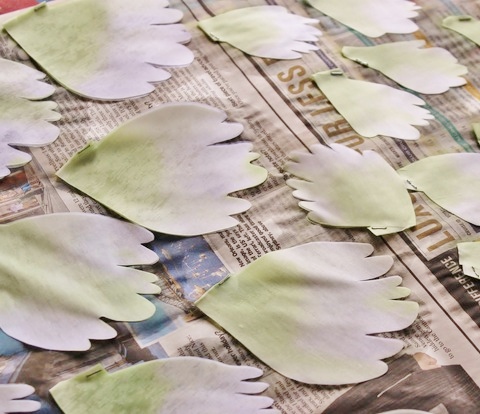
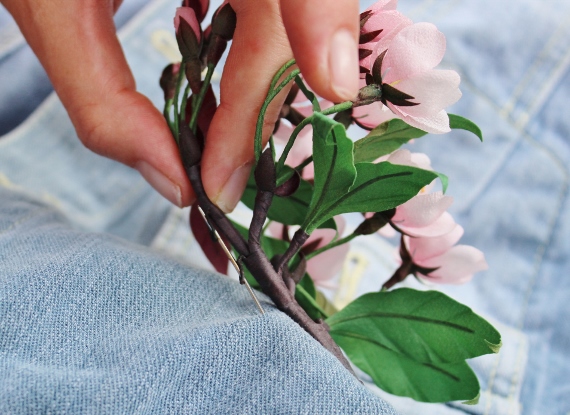
how to dye silk petalsTHE THIRD method is the one I probably use more often than others. The trick is to let petals or foliage dry on a non porous surface like glass or plastic. This method works especially well for velvet and similar thick fabrics that absorb a lot of water and dye and then lose the dye drying on a newspaper. I paint my petals and leaves as normal on a newspaper. Then I transfer them onto a piece of plastic with a pair or tweezers careful enough not to ruin the colouring work (see the photo on the left)
Once the fabric parts are on plastic, I often add some more dye with a brush where it is most needed and then leave them to dry completely. Please note that drying this way will take considerably more time (especially for velvet) than drying on a newspaper. But the result is worth it.

There are a couple of other ways for achieving intsilk camellia tutorialense colours when dyeing fabric, but we will talk about them another time.
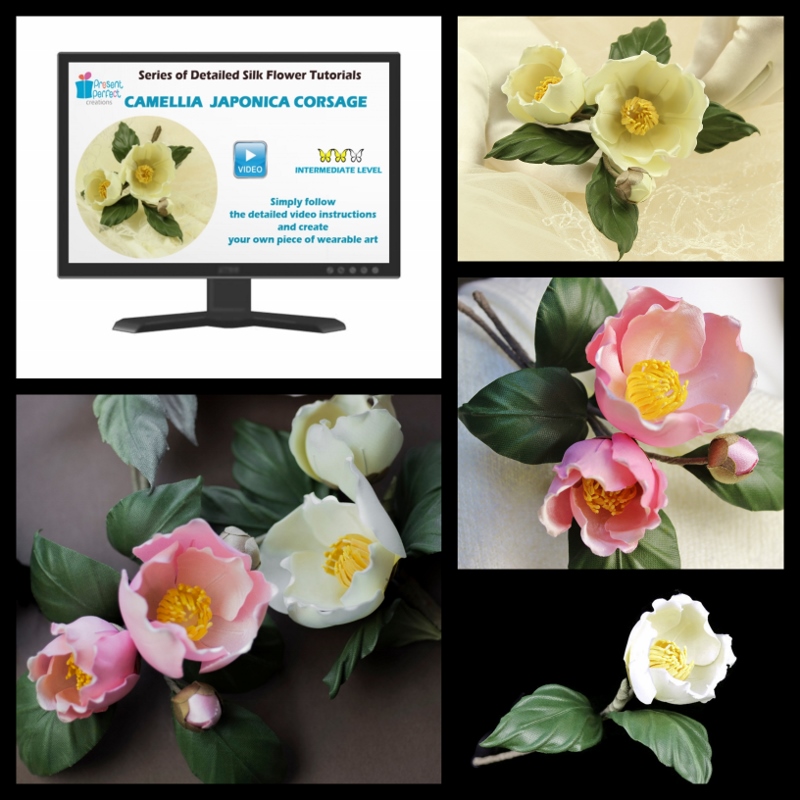
I hope you’ve found this information useful and applicable to your projects. In case if you need more information on dyeing parts of fabric flowers I recommend you watch my detailed video tutorial on Silk Camellia Corsage . In it I explain the whole process of dyeing different parts of a silk flower step by step.
For more detail on this silk camellia video tutorial  simply click on the picture of the cover to the right.
Have fun creating!
Introduction to fabric flower making ebook
P.S. 

If you have not got a copy of our Introduction to Fabric Flower Making ebook, you can purchase one HERE. The ebook will introduce you to the materials and tools you will require for making flowers. You will know what dyes and brushes are good to use, which silk to buy and how to prepare the fabric for flower making.


Silk Passion flower tutorial

must have fabrics for making flowers

3 must have fabrics for making flowers

taster fabric packOne of the evergreen questions I get to hear is about what must have fabrics for making flowers are considered the best and should be used.


SHOP OUR RANGE OF PROFESSIONAL  FABRICS FOR FLOWER MAKING HERE 


I must admit navigating in the sea of fabrics can be very daunting especially if you are quite new to the art of flower making. What exactly is satin and do you really need pure silk? Questions, questions, questions…
In short, flowers can probably be made with any fabric, but the end result will differ. If you wish to make detailed realistic delicate flowers you will need to choose certain fabrics that have proven to work well for couture flowers.
Here I present my short guide to the 3 must have fabrics you’ll require when you start making flowers. These 3 fabrics are a good starting point for the beginner.  Once you have become more experienced and confident you will be able to expand the list of fabrics that can be used in flower making (we’ll talk about some other fabrics during the next weeks).
Before I start, let’s clarify the difference between a fabric and a finish. Fabrics are cotton, silk, linen, rayon or polyester, to name a few. Finishes are terms like crepe, taffeta, and satin. That said, “satin” does not mean silk fabric as satin can be made out of polyester, rayon or other fibers. Not all of the fabrics will be equally good for our purpose.
Let’s have a look as the three must have fabrics for making flowers you could do when starting out in flower making.
Silk Crepe de Chine
is light and fine plain woven dress fabric. Crepe de Chine  has a slightly crepe character, a feature produced by the use of weft, or filling, yarns spun with the twist running in reverse directions.
This fabric is great for us for several reasons:

 ~ it is very forgiving, pliable, pleasant and easy to work with

~ it frays very very little if at all which makes it suitable for small and large flowers

~ it has no right or wrong side which works well for some designs

I would strongly recommend using this type of fabric for flower petals. It dyes well too.
I have a tutorial on SILK CLOVER that demonstrate how to work with Crepe de Chine, which is perfect for this small flower.


Very unusual humble flower of clover is perfect for summer flower crowns and hat trims. Fiddly to make out of fabric but well worth the effort for that special project you have in mind.


LEARN MORE ABOUT THE FABRIC CLOVER TUTORIAL


Silk Satin

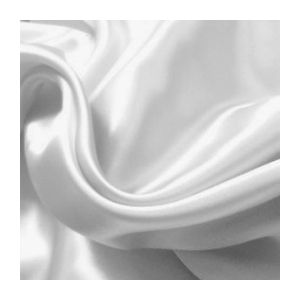
When we think of silk, the texture we usually visualise is satin.This fabric is formed with a satin weave and can be made out of various fibers including silk, nylon, or polyester. It is smooth and soft to the touch, and usually quite lightweight. Satin has a subtle sheen, meaning it will catch and reflect the light.
This fabric is your first choice when making fabric leaves. It allows to imitate the glossy smooth surface of real foliage.
But it will make beautiful rose petals too (as well as any other petals). So experiment with it and try using it for both: fabric leaves and fabric petals.
Unlike crepe, satin fabric has the right (shiny) side and wrong (matte, crepe-like) side to it.
Silk satin is a popular fabric with flower makers and customers alike so I have prepared a number of tutorials that use satin.
 This video tutorial on silk camellias is marked “Intermediate” but will be perfectly suitable for beginners. Learn to cut flower parts, paint them with silk colours, shape with millinery tools and assemble into one of a kind floral jewellery or hairpieces.
 LEARN MORE ABOUT THE CAMELLIA FLOWER VIDEO TUTORIAL

A more complicated video tutorial on a large English rose hair comb is recommended for the flower makers with some experience. Satin silk can be used for both the petals and the foliage.
 LEARN MORE ABOUT THE ENGLISH ROSE VIDEO TUTORIAL

Concise and easy to follow photo tutorial on silk leaves shows how to back leaves with a layer of thin silk and shape them with millinery tools to achieve a realistic look. You also get several leaf templates. 
 LEARN MORE ABOUT THE FABRIC LEAVES PHOTO TUTORIAL


Silk pongee

is a plain woven thin fabric. It is also known as China silk or Habutai (Habotai). The fabric is lighter in weight than other silks. Quite often it is used for lightweight scarves.

In flower making pongee is a secret agent. That is it’s not really seen but often plays a vital role in creating silk floral designs. It is widely used for backing leaves and petals as well as wrapping stems of flowers with silk. It can also be used for small filling petals in large roses, peonies or other fairly large multipetal flowers.
I also use it for a number of jobs in leather flower making. Definitely a must have fabric for your stash.
 The fabrics I have listed above are just few out of a whole range of different fabrics that can be used for making flowers.
But they are great to begin with. I would recommend you should obtain pure silk fabrics for the following reasons:

❀ they are easy to work with and will provide a predictable result
❀ they dye easily and beautifully
❀ they will take the heat of a flower iron and tools well
Best places to purchase these silks are online batik and art shops. If you google them in your area you will be able to find local suppliers.If you are a UK based maker, please feel free to contact me if you need any assistance finding shops to bgolden backing fabricuy these silks, I will be happy to help.

There are a lot of other fabrics to talk about with regards to flower making. We discuss them in detail in our newsletter. Stay tuned! If you have not yet, feel free to join the list below.

Some professional prestiffened fabrics for flower making are available in our online shop.

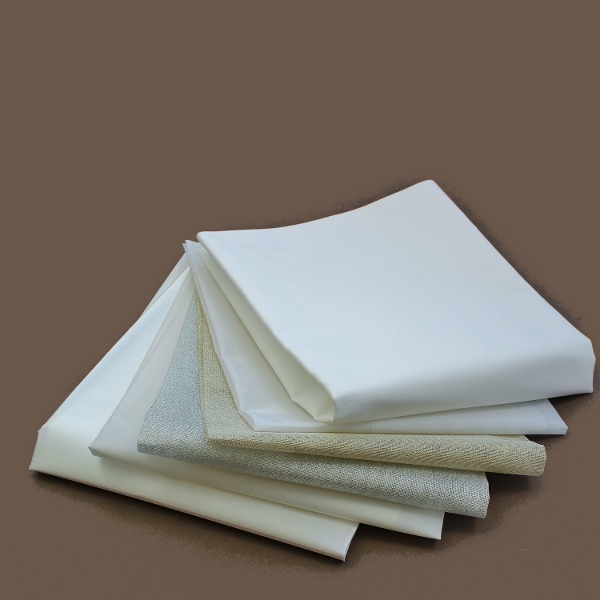
Currently we are offering the following professional fabrics for you to try and fall in love with with:

➡ FABRIC TASTER PACK 

➡ GOLDEN, SILVER or PEARL LAME SATIN

➡ RAYON ORGANZA FABRIC

➡ THIN RAYON BACKING FABRIC

➡ RAYON SATIN FABRIC

➡ GOLDEN, SILVER or PEARL BACKING FABRIC

➡ WHITE or BLACK COTTON VELVET FABRIC

Should you require any specialist fabrics for your project, feel free to get in touch with us at enquiries@presentperfectcreations.com to place a custom order.
 

Subscribe to our YouTube Channel for more flower making videos.
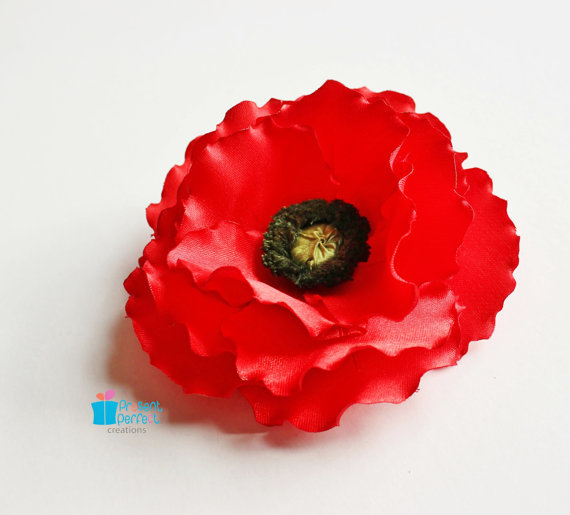
how to make a poppy

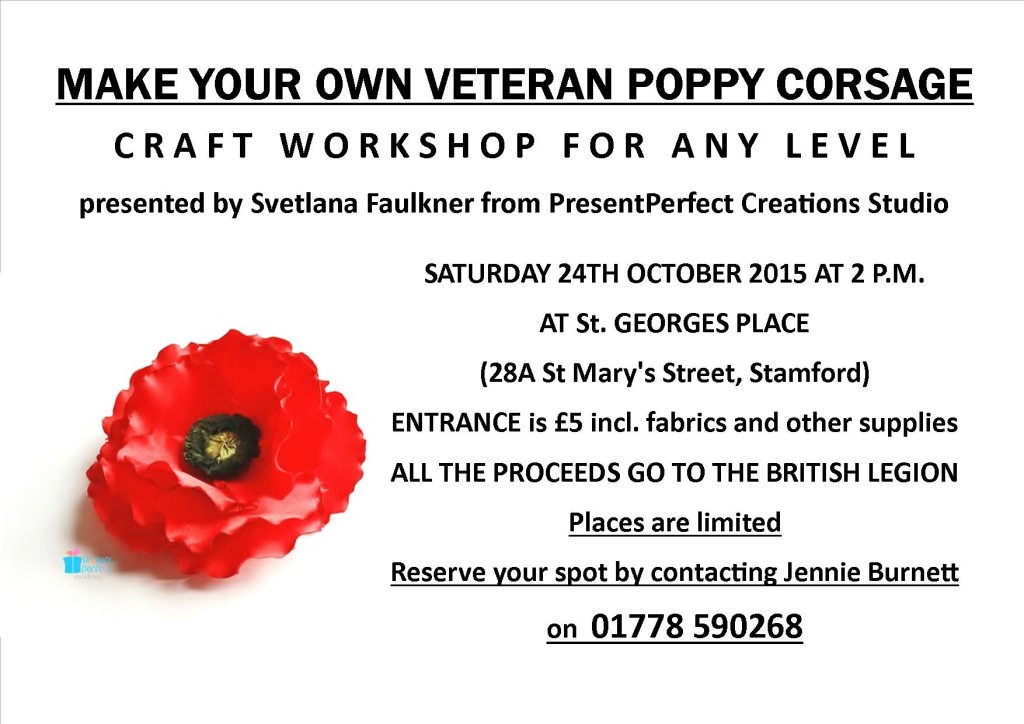
Join our charity workshop on a Remembrance poppy corsage

If you can make it to Stamford, Lincs on Saturday 24th October 2015 you are most welcome to join our one-off craft workshop and learn how to make a poppy , or a veteran poppy corsage. See all the details in the poster below.
Hope to see you there ♥

fabric poppy pattern


Alternatively you can purchase a photo tutorial on a poppy corsage

here at out online shop

poppy corsageSubscribe to my Youtube Channel here
how to dye silk flowers

How to dye silk flowers: white flowers

dyes 2The 2015 Wedding Season is in full swing. I would not be far off if I suggest that some of you are currently making lots of white flowers. So I thought I would share some tips on how to dye (or not to dye?) the fabric for making white silk flowers.


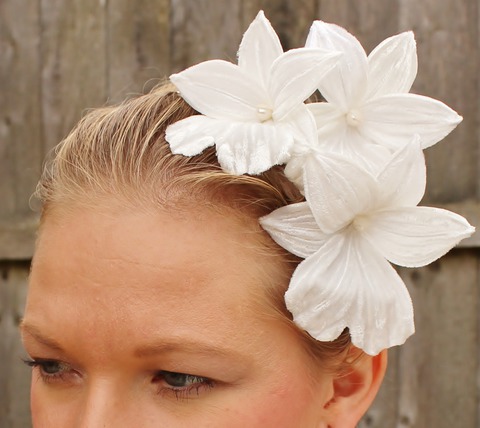
Your actions will depend on the task in hand. Certainly there are situations when we need to create a white orchid hearbandpure white flower, in  warm white or even in cold bluish white. In this case you just need to choose your fabric right, because different fabrics, although all white can vary in shades. Bleached silks are usually cold white, whilst unbleached tend to be of warm, ivory shades. Simply choose the best suitable fabric for the job and skip the dyeing stage altogether.


white petalsOn the other hand, if you would like to create a more realistic white flower, you will need to use some dyes. Why? Because if you look at the living flowers either in the pictures or fresh in your garden or vase, they are never just white.
Very often the petals are tinted at the base with a choice of colours ranging from light green to yellow to pink etc.

So, to give some depth and dimension to your fabric flower creation I would recommend to dye the petals in their lower part using pale green or yellow-green for a neutral look. I used exactly this principle in my video tutorial when making Camellia japonica corsage. You can also choose other colours like pale pink or soft peach for a more dramatic effect.


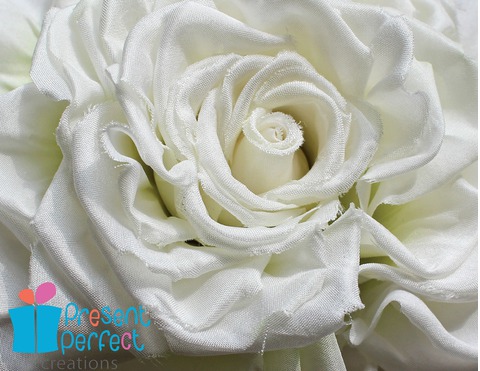
Another thing to consider is either colour the rest of the petal with a very diluted green white bride roseyellow to create more of an ivory look of the flower or add some strokes of this colour here and there on the petals using a wide brush. The strokes of dye will not be seen as such but when assembled will let the petals look more realistic than just white pieces of fabric put together. The flower will have a depth to it. This technique works very well with such multipetal flowers like roses, peonies, fantasy poppies etc. So next time you are making a white flower try to add a little bit of colour to it and see the flower coming to life in your hands.

If you happen to own any Japanese flower making books go through them as they often show the process of dyeing in quite a detail. If not we sometimes have an opportunity to offer a limited number of these books on our website. To see what is available at the moment please click here.

If you would lite to receive more of useful information on how to make fabric and leather flowers in your inbox please feel free to subscribe to our newsletter

[grwebform url=”http://app.getresponse.com/view_webform.js?wid=10058202&u=3lMQ” css=”on” center=”off” center_margin=”200″/]

All-purpose finish for fabric flowers. How does it work?

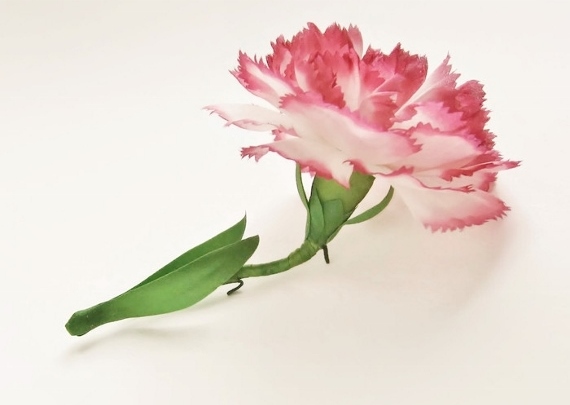
At the very beginning of my career in fabric flower making I often made my pieces with 2 small loops on the back side as a way of finishing them. Here is how it looked

pink_carnation_left_side ff (570x485)

stick pin 1 (570x395)
1


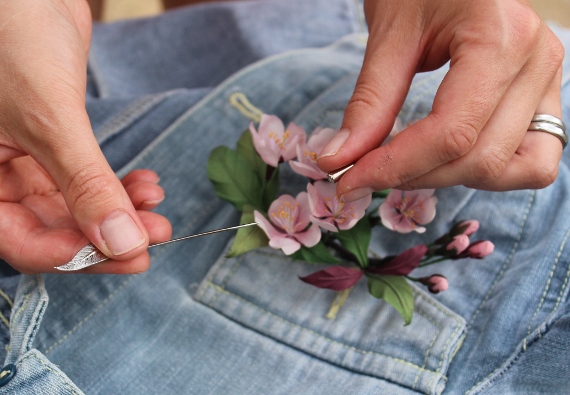
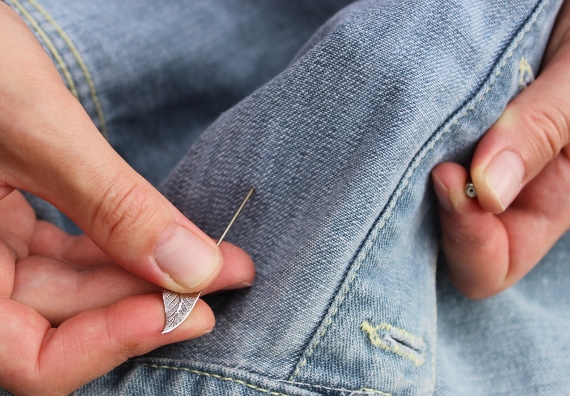
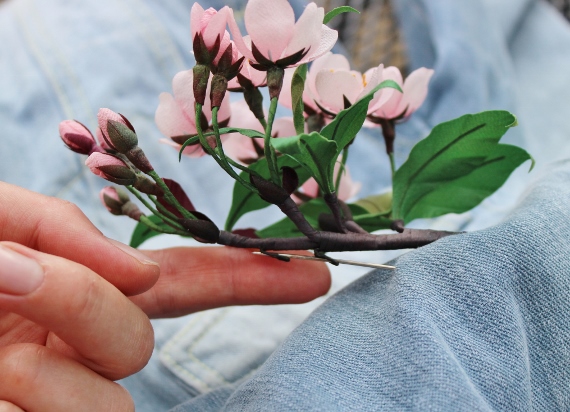
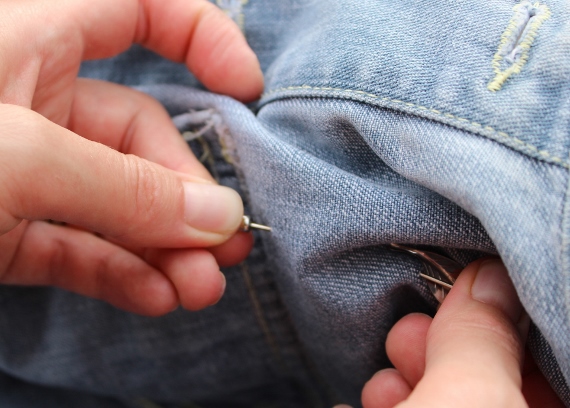
This finish is very versatile that is why it is dabbed a multifunctional, all-purpose or universal. Indeed, the flower can be stitched using the loops, it can be pinned with a stick pin or safety pins; with an alligator clip or a couple of bobby pins threaded through the loops it easily turns into a hairpiece etc.


stick pin 2 (570x396)
2


Sometimes I still make flowers with this sort of finish although they are rare these days. Because it is not always clear how to attach a flower finished with 2 loops I have been asked by my customers for some clarifications. That is why I decided to write a blog post explaining in pictures what to do.


stick pin 4 (570x412)
3


Here are the photos I have taken to show how to use the stick pin when attaching a flower. Usually my flowers come with a nice stick pin to be attached to a garment, a bag or a hat as a brooch.


stick pin 5 (570x408)
4


So what one has to do is basically pierce an item of clothing from inside out, then thread the needle of the stick pin through both loops, then pierce the fabric again onto inside and there cover the sharp end with a little protector which is usually supplied with a pin. A small sized hat pin will work well too.


stick pin 6 (570x398)
5


So this is how you attach a flower that has an all-purpose finish. I have prepared a two part article on most popular and useful finishes for fabric flowers which get sent via my newsletter. If you have not yet subscribed to it but would like to get our updates, useful articles and discounts please feel free to subscribe below by filling in your details [grwebform url=”http://app.getresponse.com/view_webform.js?wid=10297802&u=3lMQ” css=”on”/]


intro 3 d cover

As a welcome gift from us you will get a chance

to flick thorough our new e-book that introduces

into the exciting world of fabric flowers as well as

provides some stiffening recipes for you to try.

IMPORTANT: changes in the sale of my tutorials

IMPORTANT ANNOUNCEMENT for MY CUSTOMERS

Since January 1st 2015, all digital goods (including electronic, telecommunications, software, ebook and broadcast services) sold across EU borders have been liable under EU law to EU VAT (a.k.a. IVA) charged in the country of purchase, at the VAT rate in that country (background information: http://www2.deloitte.com/global/en/pages/tax/articles/eu-2015-place-of-supply-changes-mini-one-stop-shop.html). So the prices for my downloadable tutorials that you can see  are exclusive of VAT. If you live in one of the EU counties the appropriate VAT will be added to the price of the tutorial you are purchasing on checkout. At the end of the quarter the VAT amount that you’ve paid will go to your country’s tax office. If you are not from the EU, the price you see is the price you are going to pay, no VAT for you.

Thank you for understanding.


Please click here to have a look, purchase and immediately download the tutorials that are available now.


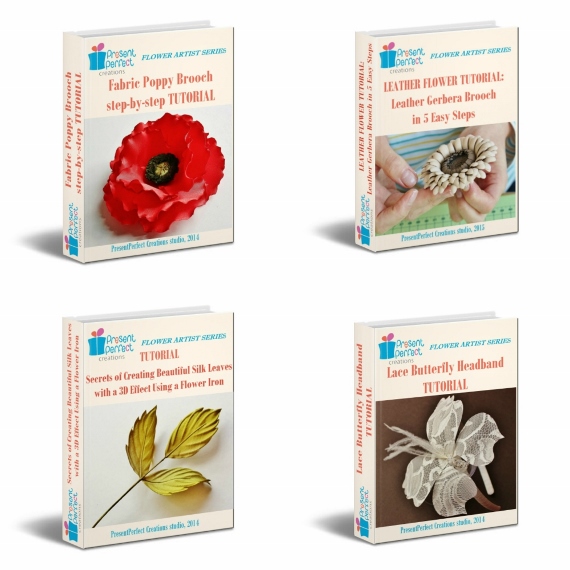
4 tutorial collage (570x570)


Thank you and Happy New Year 2015!


Few hours are left before the end of this year and this is the time to congratulate you my dear subscribers with the New Year 2015!new_year
We have been very busy and productive this year at PresentPerfect Creations, we have accomplished a lot but we are planning to do even more in the coming year of 2015.

We took part in a number of contests of different levels, both art flower and millinery ones and were awarded in some of them.
More than 30 floral pieces by PresentPerfect Creations studio have been donated to good causes, we also held a Charity Sale in support of Ukrainian refugee children all the proceeds of which have gone onto purchasing some school necessities for kids in Ukraine.
More than 100 orders (including 2 large ones for silk leaves required to restore beautiful antique timepieces) have been taken, completed and despatched to all corners of the globe from Canada to Australia.

In 2014 we sold most pieces to our customers in the USA, Russia and the UK. About a third of all orders were placed for leather flowers.

The launch of our website www.presentperfectcreations.com in November was a very exciting event for us. More products and tutorials will be added to it but even now you are welcome to place your orders, read the blog and leave comments.

We have publicised a new tutorial on a leather gerbera flower, and in the coming year we are planning to issue new tutorials on both leather and silk flowers on a regular basis.

We are full of plans, ideas, projects and thoughts to be fulfilled in 2015. And we hope that you as well are looking forward to new and interesting things with optimism and impatience.
May the coming year be full of joy and laughter, pleasant surprises and new acquaintances for you. Spend more time with the people who are dear to you and remember that the Universe has good things in abundance for us, in fact anything we ever want and need.
We would like to thank you for being with us in 2014 and are looking forward to 2015 together with you!
And now to the New Wonderful 2015!!! It is time I had a glass of bubbly too 😀

chin chin

leather hat

Leather hat for a millinery contest

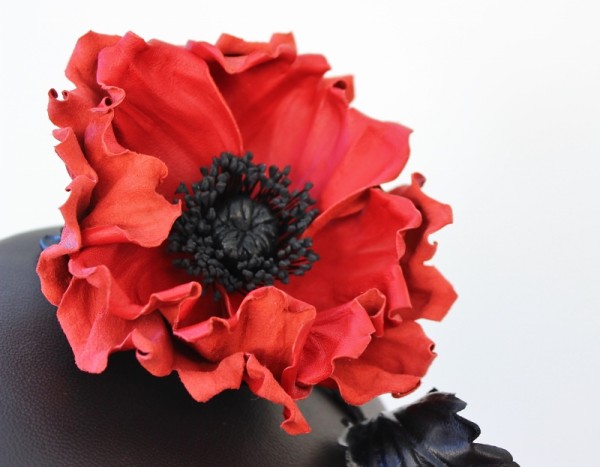
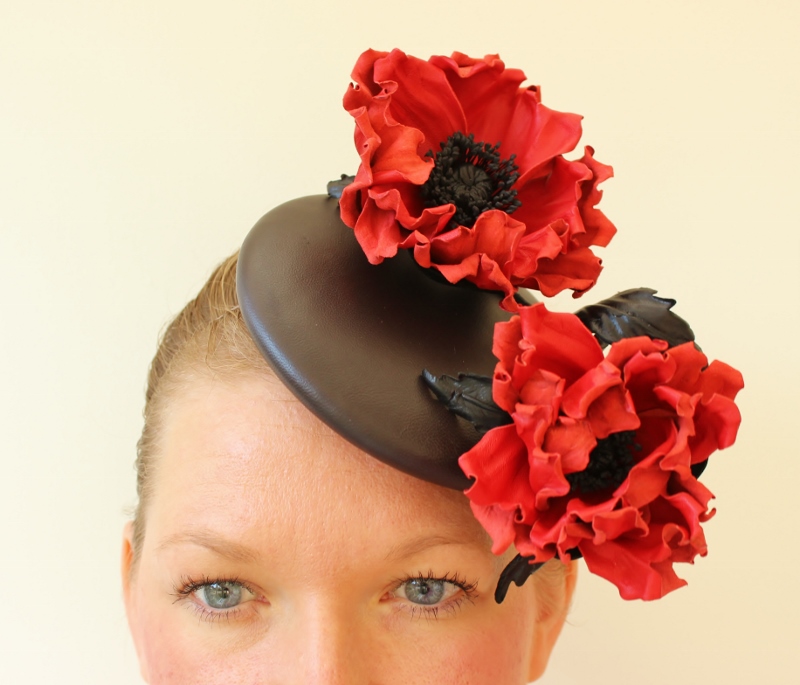
Contests are a great moving force. Well, for me they are. I have been thinking about creating poppies out of leather for a while. So when I read about a millinery contest devoted to the First World War Centenary I immediately imagined a little leather hat with impressive red poppies and accepted the challenge.

poppy cocktail hat 3 (800x623)

Because I am only a budding milliner impeccably crafted flowers were supposed to become the focal point of my hat. To make the headpiece more unusual and the challenge more complicated I opted for leather instead of fabric as a main material.

poppy cocktail hat 1 (800x685)


I enjoyed blocking leather and working on this cocktail leather hat. The winners are going to be chosen by the middle of next week. Fingers crossed my leather cocktail hat will be noticed by the contest judges 🙂


If you would like to own a leather hat with poppies you could place your order here


leather poppy flower tutorial


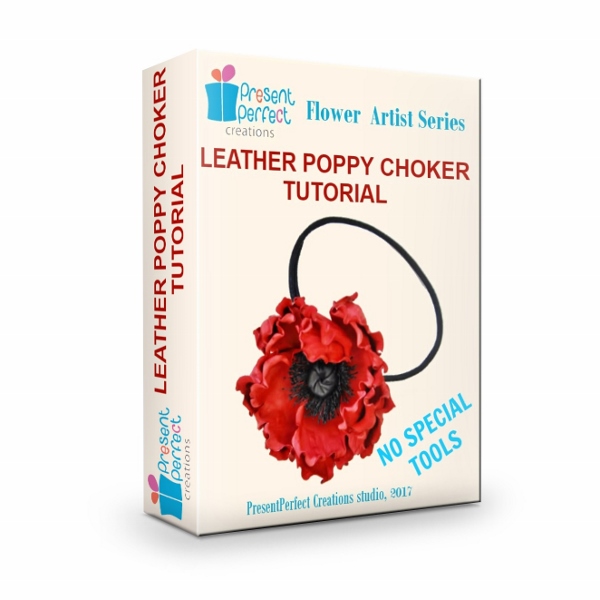
If you wish to learn to make leather poppies yourself, you can now do it with the use of our brand new tutorial.

Leather poppy kits are available separately.

To read more about the tutorial and purchase please click here

1 2 3 4 5