 One of the evergreen questions I get to hear is about what must have fabrics for making flowers are considered the best and should be used.
SHOP OUR RANGE OF PROFESSIONAL FABRICS FOR FLOWER MAKING HERE
I must admit navigating in the sea of fabrics can be very daunting especially if you are quite new to the art of flower making. What exactly is satin and do you really need pure silk? Questions, questions, questions…
In short, flowers can probably be made with any fabric, but the end result will differ. If you wish to make detailed realistic delicate flowers you will need to choose certain fabrics that have proven to work well for couture flowers.
Here I present my short guide to the 3 must have fabrics you’ll require when you start making flowers. These 3 fabrics are a good starting point for the beginner. Once you have become more experienced and confident you will be able to expand the list of fabrics that can be used in flower making (we’ll talk about some other fabrics during the next weeks).
Before I start, let’s clarify the difference between a fabric and a finish. Fabrics are cotton, silk, linen, rayon or polyester, to name a few. Finishes are terms like crepe, taffeta, and satin. That said, “satin” does not mean silk fabric as satin can be made out of polyester, rayon or other fibers. Not all of the fabrics will be equally good for our purpose.
Let’s have a look as the three must have fabrics for making flowers you could do when starting out in flower making.
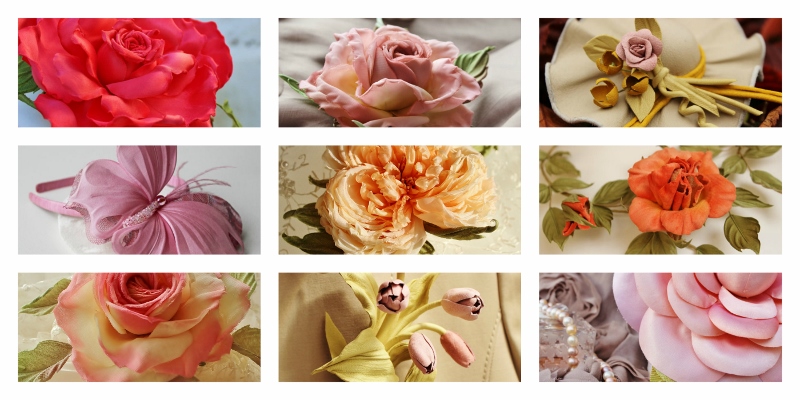
Silk Crepe de Chine
is light and fine plain woven dress fabric. Crepe de Chine has a slightly crepe character, a feature produced by the use of weft, or filling, yarns spun with the twist running in reverse directions.
This fabric is great for us for several reasons:
~ it is very forgiving, pliable, pleasant and easy to work with
~ it frays very very little if at all which makes it suitable for small and large flowers
~ it has no right or wrong side which works well for some designs
I would strongly recommend using this type of fabric for flower petals. It dyes well too.
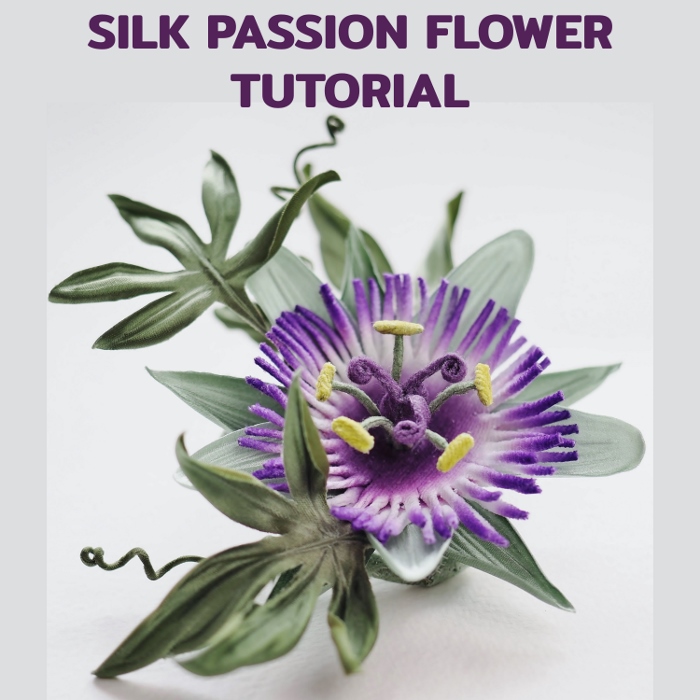
I have a tutorial on SILK CLOVER that demonstrate how to work with Crepe de Chine, which is perfect for this small flower.
Very unusual humble flower of clover is perfect for summer flower crowns and hat trims. Fiddly to make out of fabric but well worth the effort for that special project you have in mind.
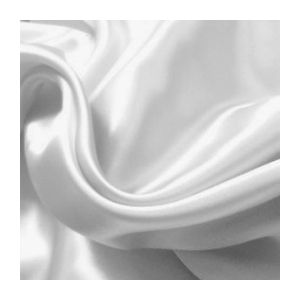
Silk Satin
When we think of silk, the texture we usually visualise is satin.This fabric is formed with a satin weave and can be made out of various fibers including silk, nylon, or polyester. It is smooth and soft to the touch, and usually quite lightweight. Satin has a subtle sheen, meaning it will catch and reflect the light.
This fabric is your first choice when making fabric leaves. It allows to imitate the glossy smooth surface of real foliage.
But it will make beautiful rose petals too (as well as any other petals). So experiment with it and try using it for both: fabric leaves and fabric petals.
Unlike crepe, satin fabric has the right (shiny) side and wrong (matte, crepe-like) side to it.
Silk satin is a popular fabric with flower makers and customers alike so I have prepared a number of tutorials that use satin.
This video tutorial on silk camellias is marked “Intermediate” but will be perfectly suitable for beginners. Learn to cut flower parts, paint them with silk colours, shape with millinery tools and assemble into one of a kind floral jewellery or hairpieces.
A more complicated video tutorial on a large English rose hair comb is recommended for the flower makers with some experience. Satin silk can be used for both the petals and the foliage.
Concise and easy to follow photo tutorial on silk leaves shows how to back leaves with a layer of thin silk and shape them with millinery tools to achieve a realistic look. You also get several leaf templates.
Silk pongee
is a plain woven thin fabric. It is also known as China silk or Habutai (Habotai). The fabric is lighter in weight than other silks. Quite often it is used for lightweight scarves.
In flower making pongee is a secret agent. That is it’s not really seen but often plays a vital role in creating silk floral designs. It is widely used for backing leaves and petals as well as wrapping stems of flowers with silk. It can also be used for small filling petals in large roses, peonies or other fairly large multipetal flowers.
I also use it for a number of jobs in leather flower making. Definitely a must have fabric for your stash.
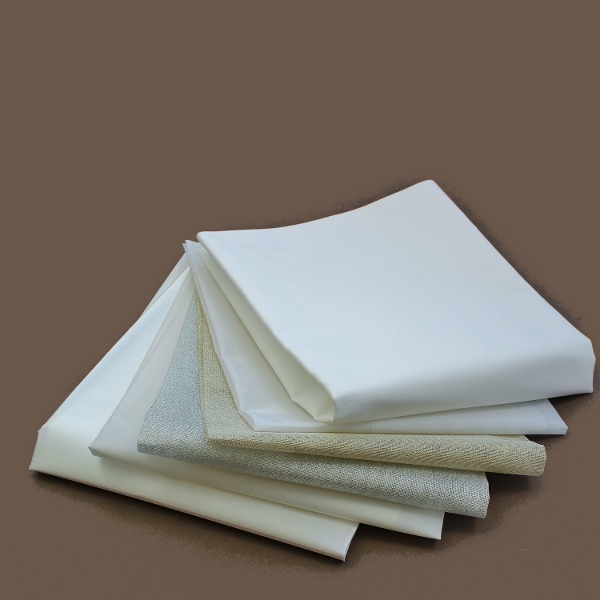
The fabrics I have listed above are just few out of a whole range of different fabrics that can be used for making flowers.
But they are great to begin with. I would recommend you should obtain pure silk fabrics for the following reasons:
❀ they are easy to work with and will provide a predictable result
❀ they dye easily and beautifully
❀ they will take the heat of a flower iron and tools well
Best places to purchase these silks are online batik and art shops. If you google them in your area you will be able to find local suppliers.If you are a UK based maker, please feel free to contact me if you need any assistance finding shops to b
uy these silks, I will be happy to help.
There are a lot of other fabrics to talk about with regards to flower making. We discuss them in detail in our newsletter. Stay tuned! If you have not yet, feel free to join the list below.
Some professional prestiffened fabrics for flower making are available in our online shop.
Currently we are offering the following professional fabrics for you to try and fall in love with with:
➡ FABRIC TASTER PACK
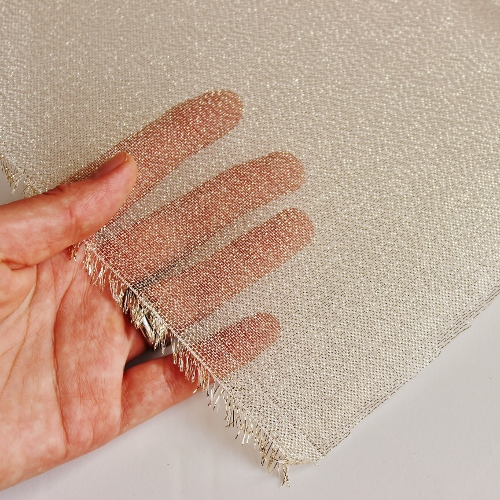
➡ GOLDEN, SILVER or PEARL LAME SATIN
➡ RAYON ORGANZA FABRIC
➡ THIN RAYON BACKING FABRIC
➡ RAYON SATIN FABRIC
➡ GOLDEN, SILVER or PEARL BACKING FABRIC
➡ WHITE or BLACK COTTON VELVET FABRIC
Should you require any specialist fabrics for your project, feel free to get in touch with us at enquiries@presentperfectcreations.com to place a custom order.
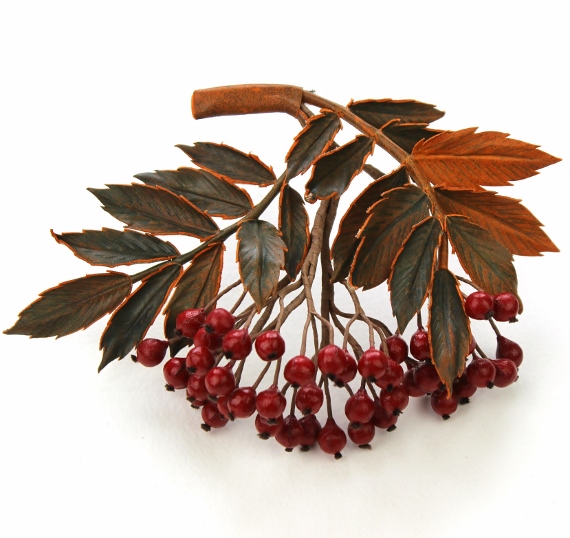
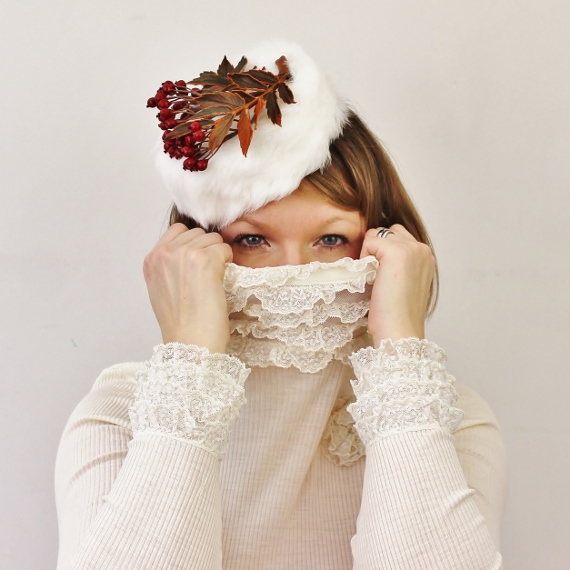 I created this white rabbit fur pillbox hat decorated with a cluster of leather rowan berries for the 2016 Hatalk hat making competition, where the theme was Connections.
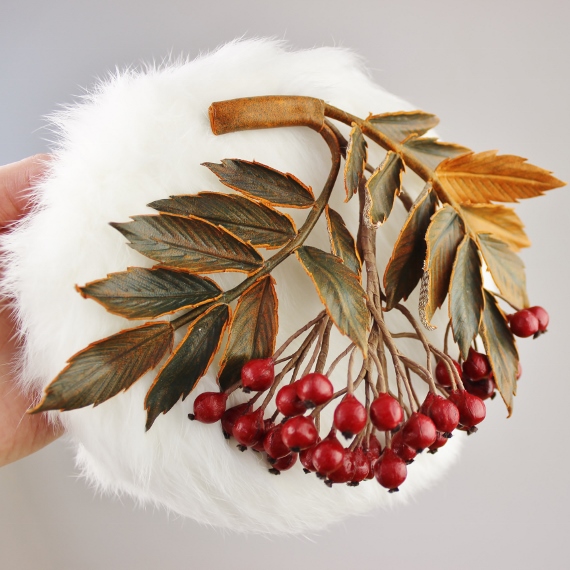
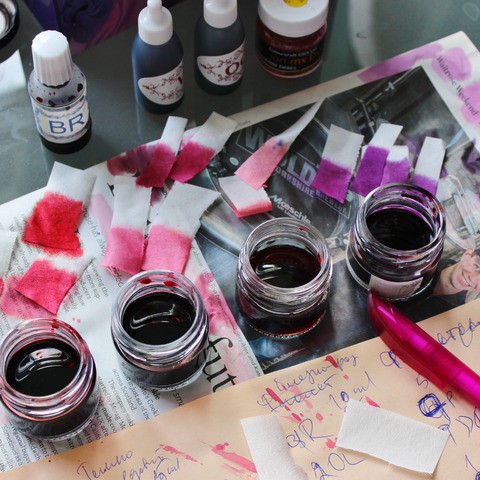

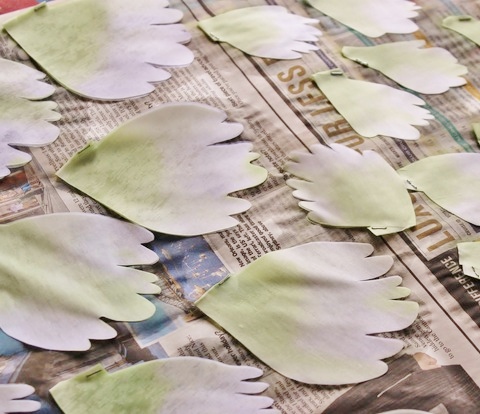
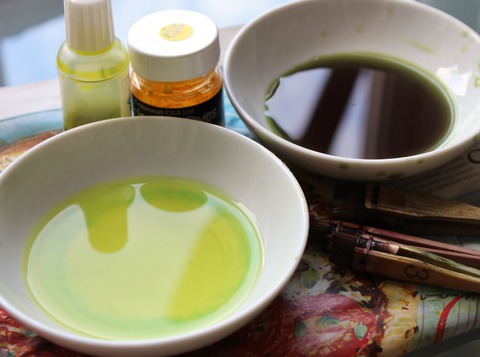
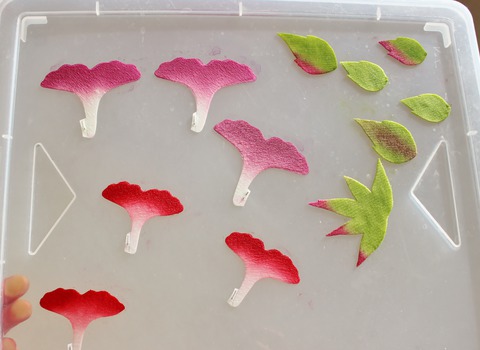 THE THIRD method is the one I probably use more often than others. The trick is to let petals or foliage dry on a non porous surface like glass or plastic. This method works especially well for velvet and similar thick fabrics that absorb a lot of water and dye and then lose the dye drying on a newspaper. I paint my petals and leaves as normal on a newspaper. Then I transfer them onto a piece of plastic with a pair or tweezers careful enough not to ruin the colouring work (see the photo on the left)
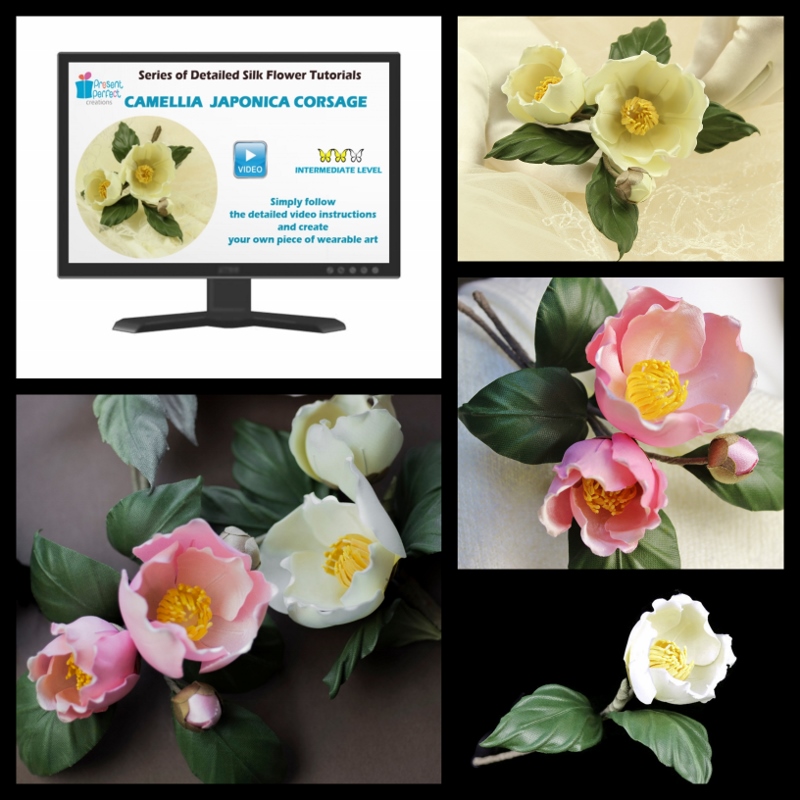


 Subscribe to my Youtube Channel here