finish handmade flowers

How to finish your handmade flowers

Variety is the spice of life.

I am sure you’ve heard this expression before. Luckily, there are so many different flowers in the world, there’s no problem with the variety here.

But what when it comes to finishes of our handmade flowers? What can they be turned into to become wearable accessories? Do we have a variety here? Let’s have a closer look.

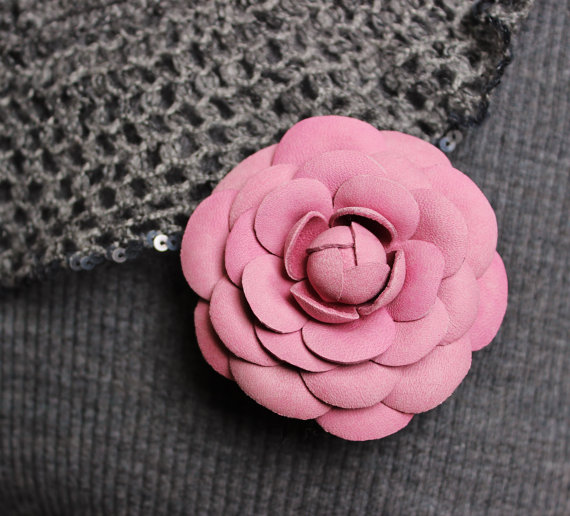
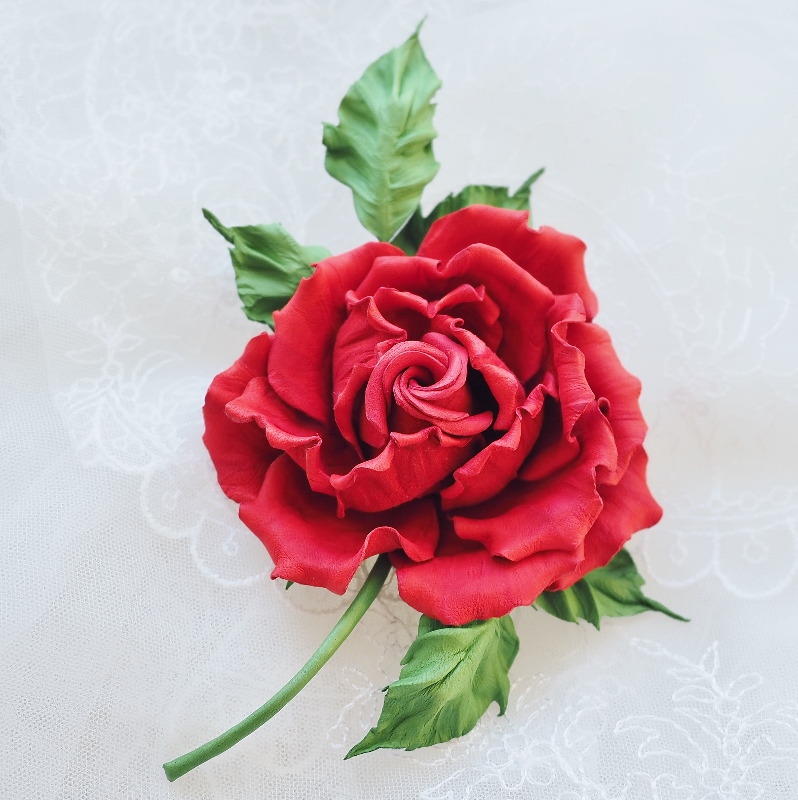
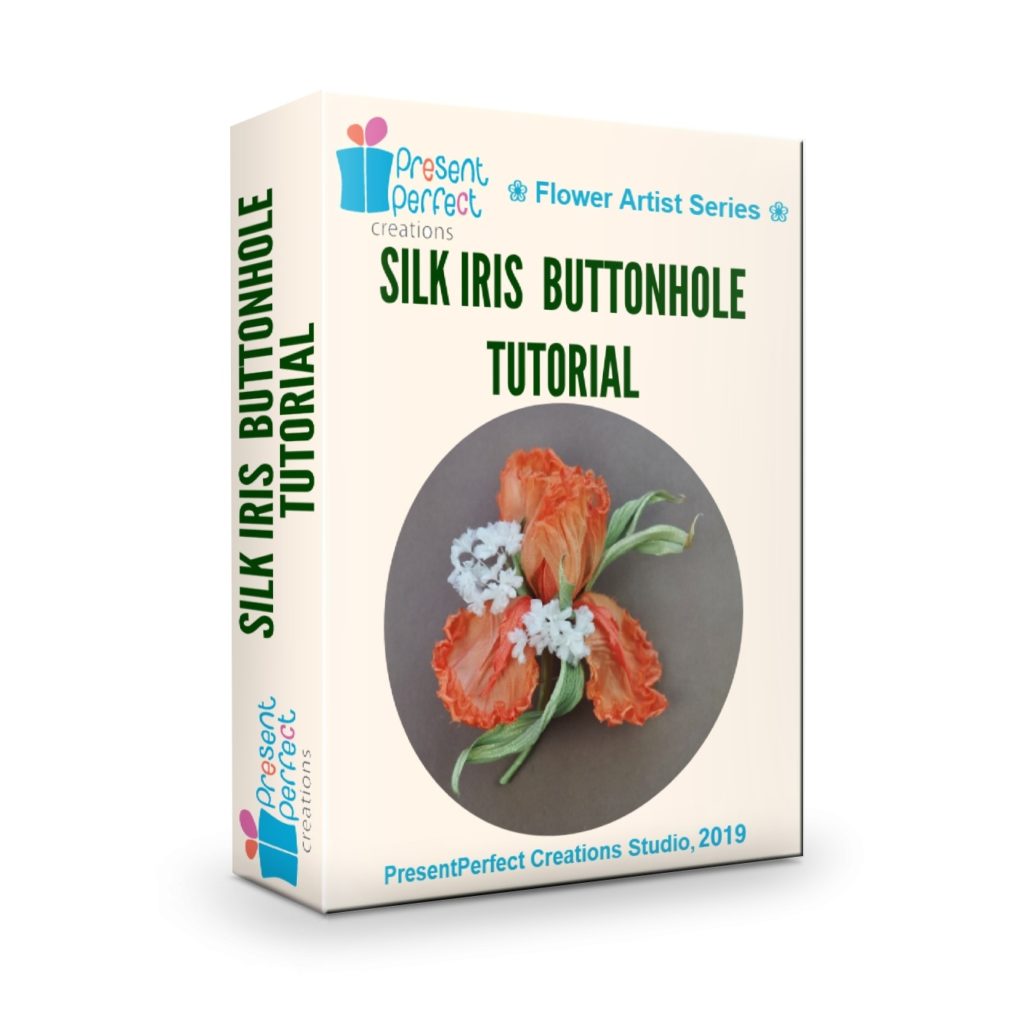
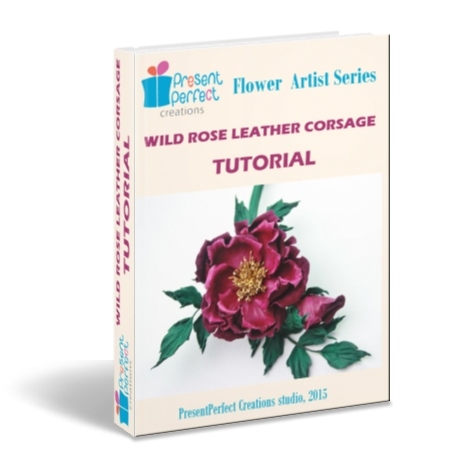
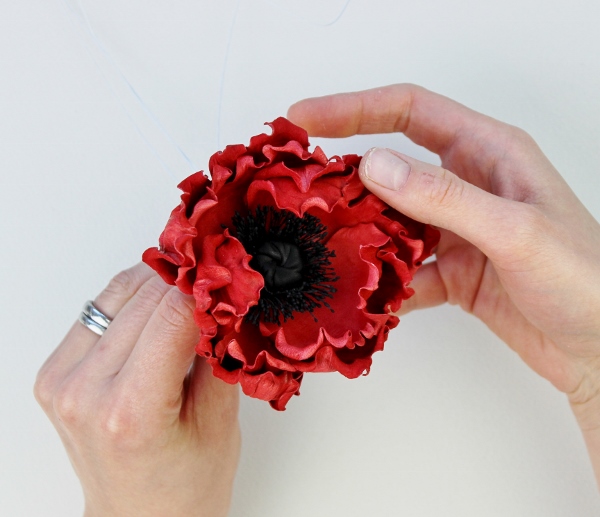
Brooch is the first one that comes to mind probably. Indeed, brooches are very popular. So are flower corsages as well as buttonholes.
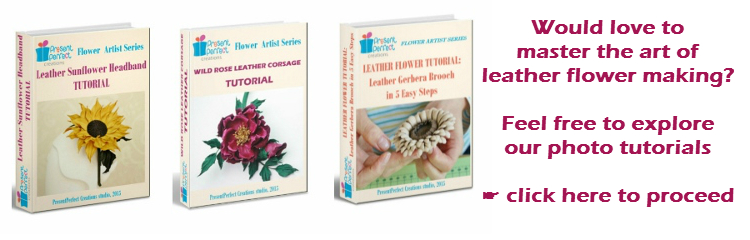
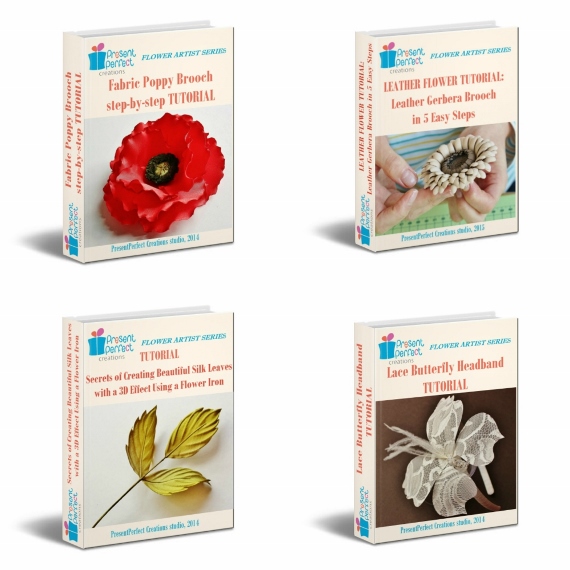
Over the years I have released a number of tutorials which cover this type of finish. Some of the popular ones are listed below:
silk iris tutorial leather grape tutorial cover leather corsage tutorial
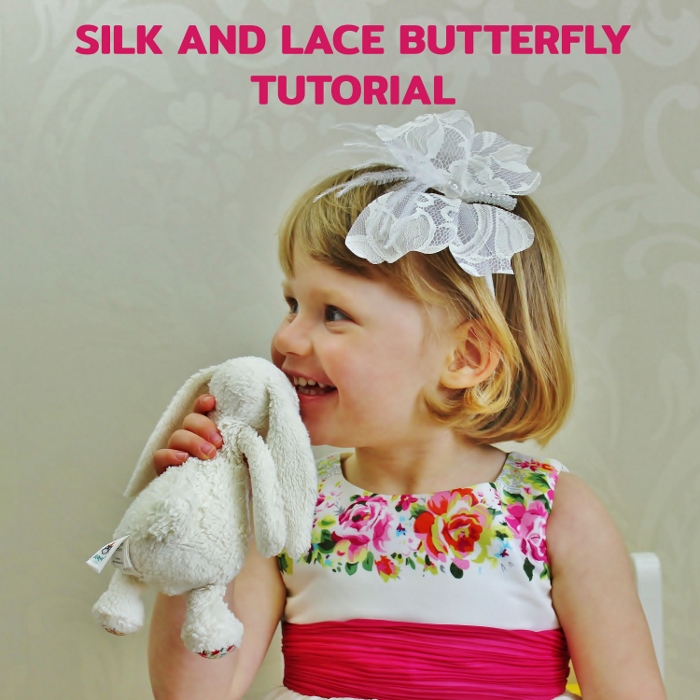
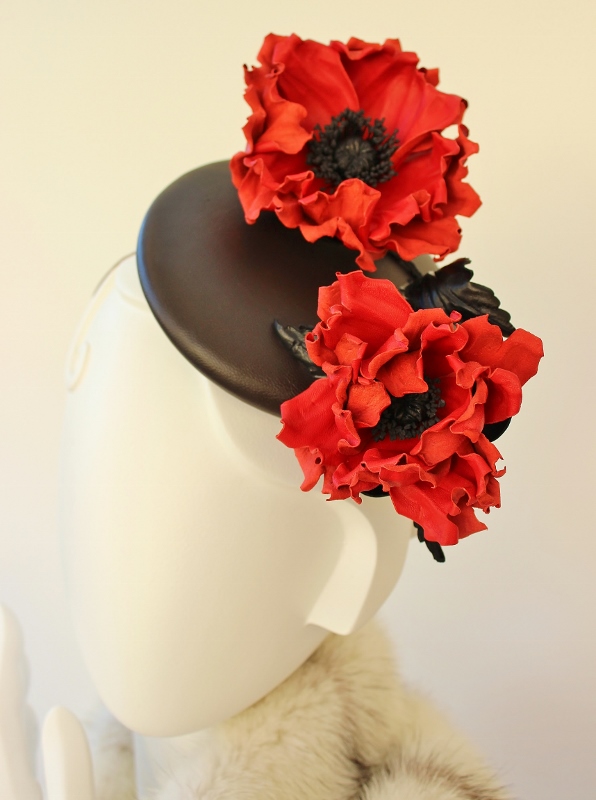
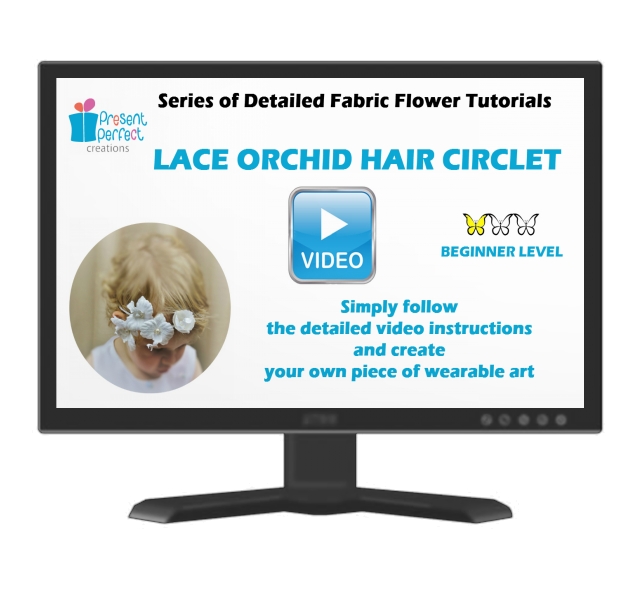
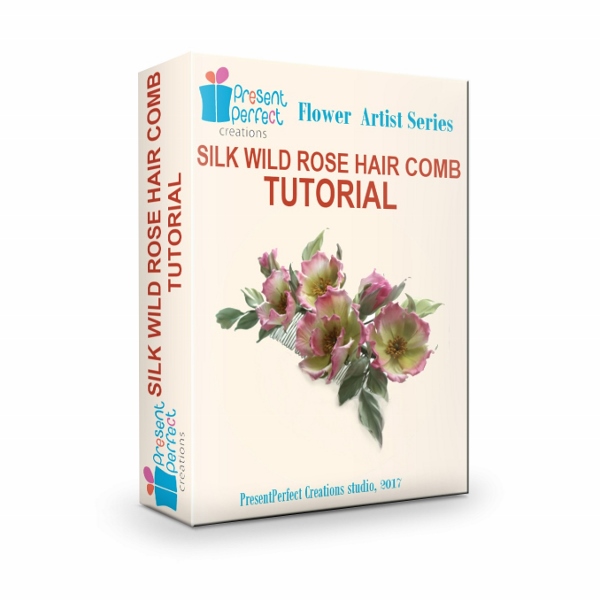
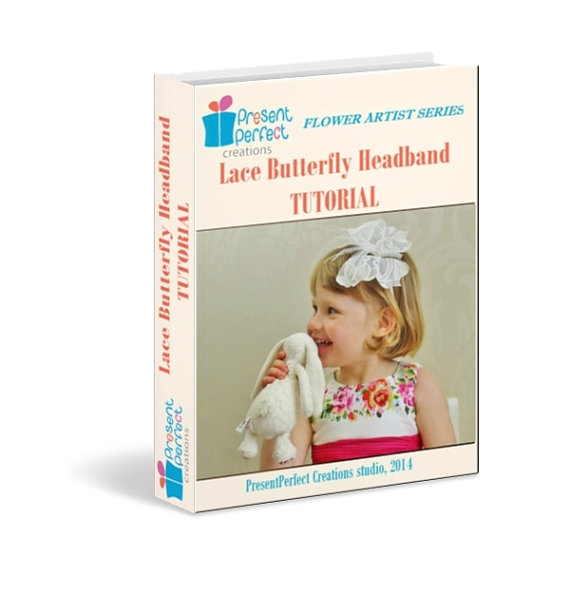
Hair accessories with flowers are ever so popular. They include but are not limited to headbands, hair clips, hair combs and flower circlets (see below).
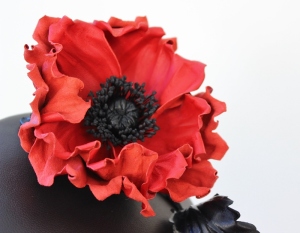
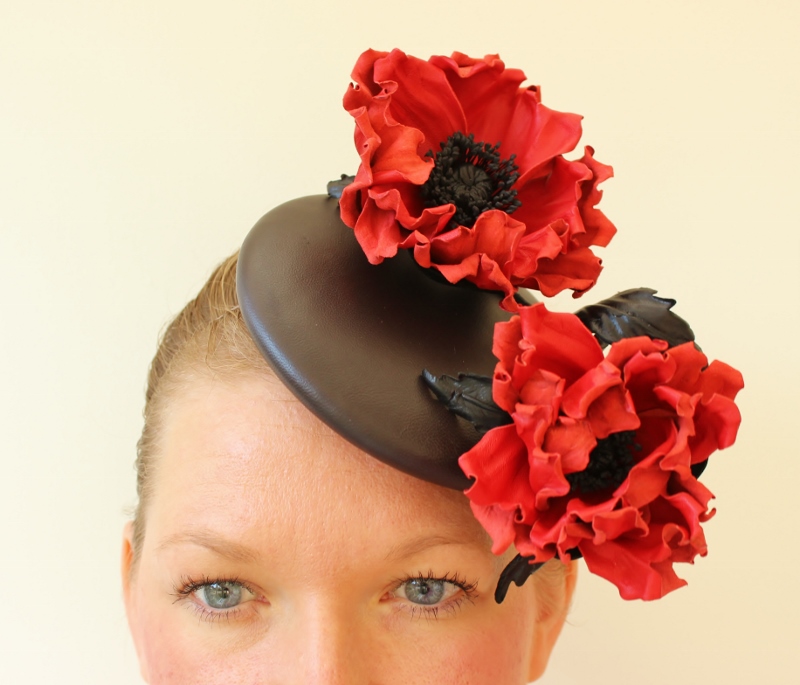
Moreover, most, if not all handmade flowers can be used for hat and fascinator trims.


lace flower tutorial

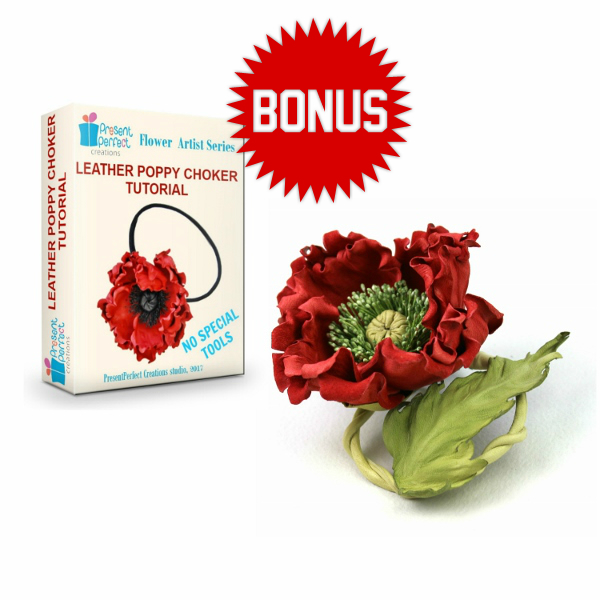
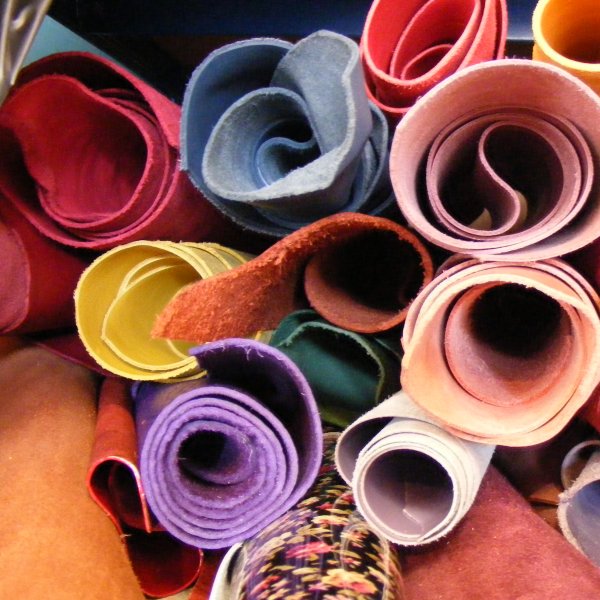
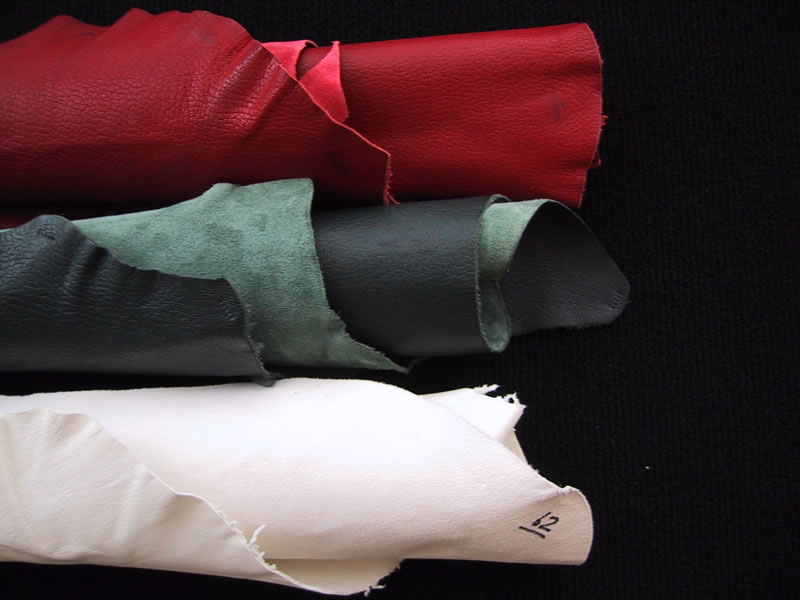
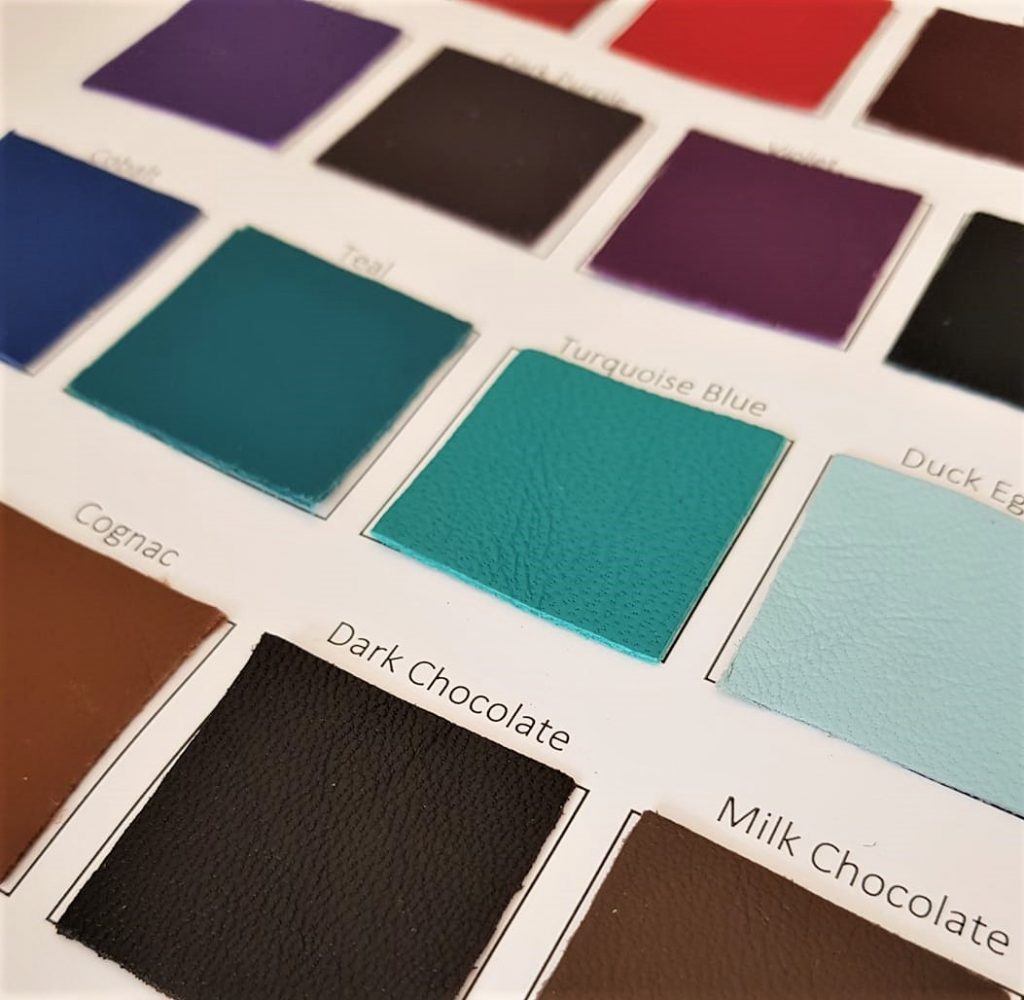
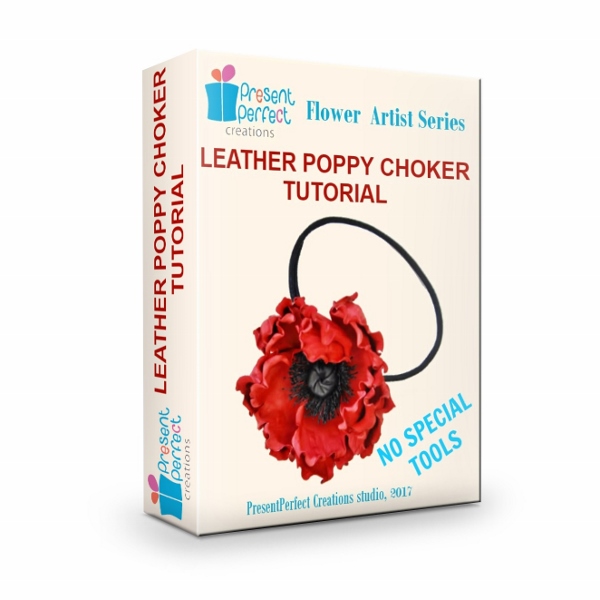
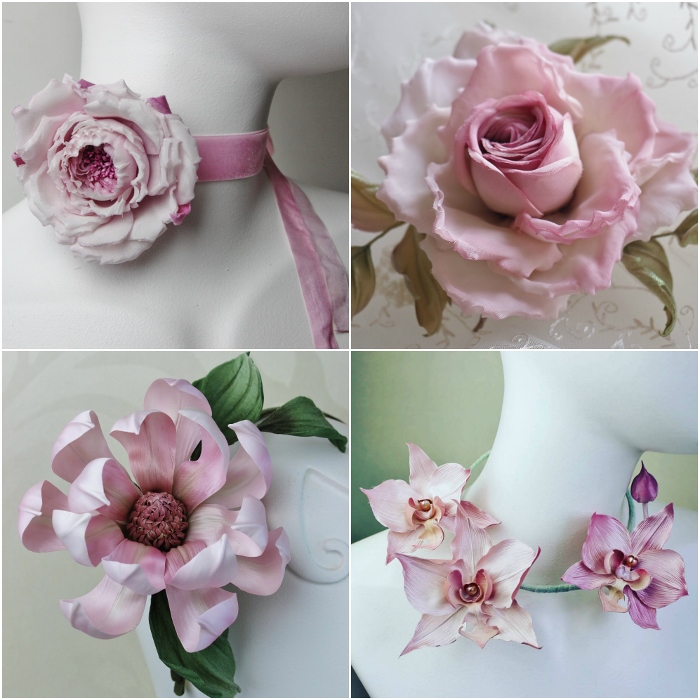
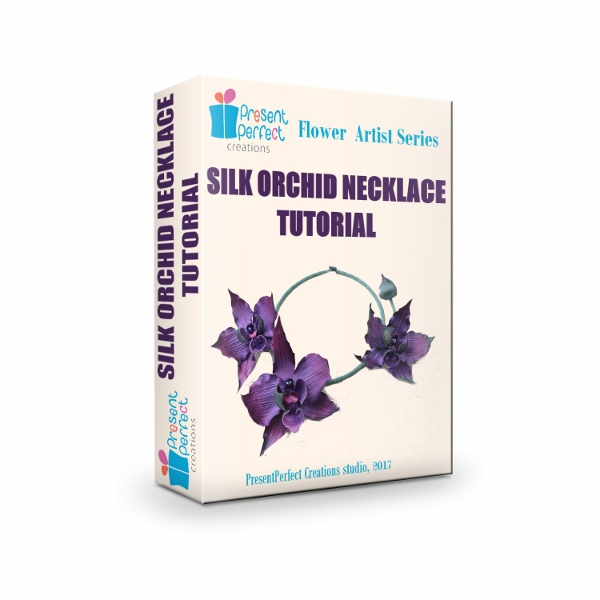
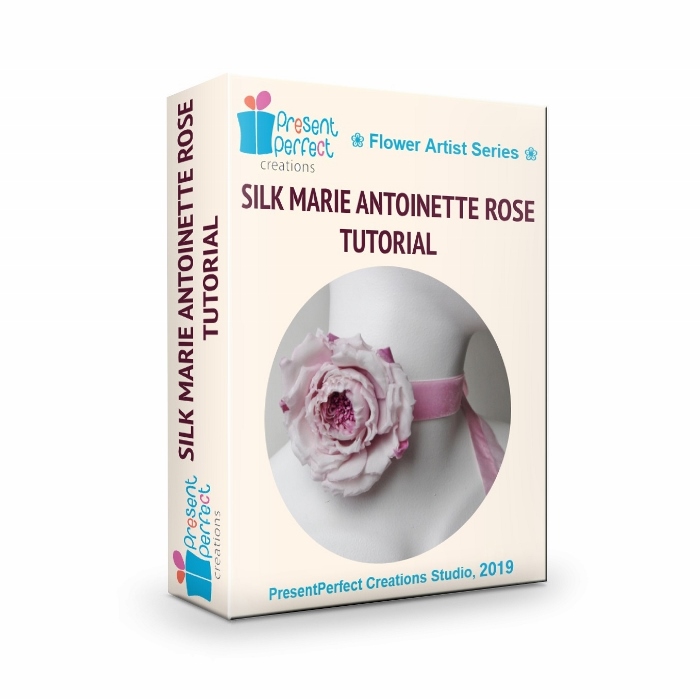
Making silk and leather flowers into necklaces and chokers is another great idea. Depending on your choice of flowers, colours and material you can get anything from a delicate bridal necklace to a bold statement leather piece.

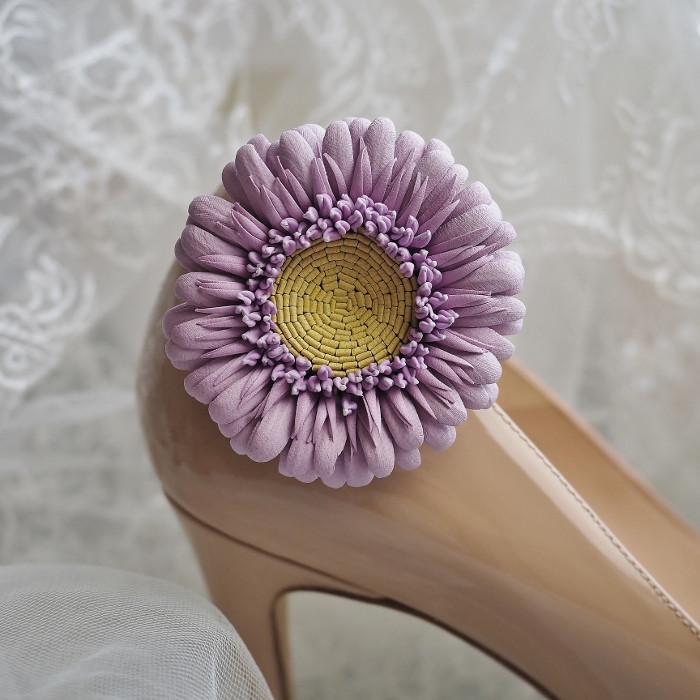
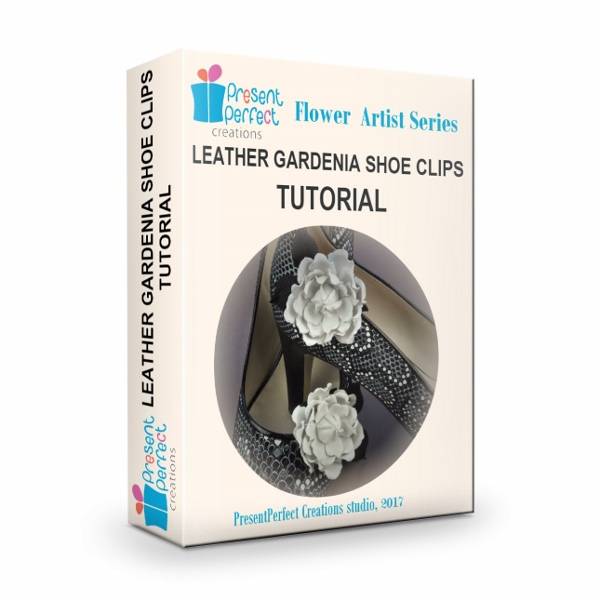
Flower shoe clips is yet another, possibly less obvious but nonetheless very effective way of using handmade flowers (see the tutorials below):
silk orchid tutorial silk marie antoinette rose tutorial leather shoe clips tutorial


Leather Anemone Collage


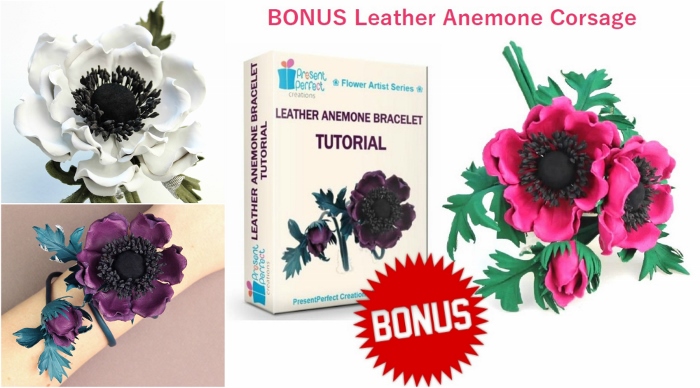
In my tutorials I have also covered a flower bracelet.


However, handmade flower applications are not limited to the ones mentioned above.
You can also try making flower earrings, flower bow tie brooches (for shirts and blouses), hair wreaths, flower sashes, flower rings and flower stick pins, as well as other wearable flower pieces (I bet I have not listed them all).
Feel free to experiment and share the results of your trials. I am sure there are still a lot of new ideas to be discovered and tested in flower making.

❀ ❀

colouring stamens for flowers

Colouring stamens for flowers

colouring stamens
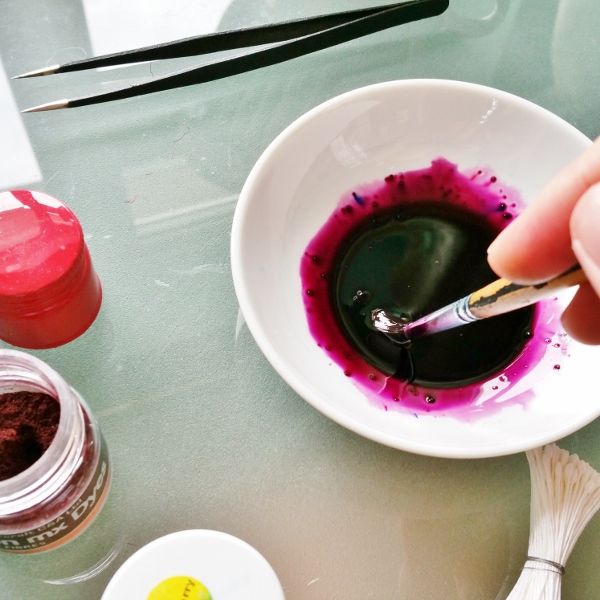
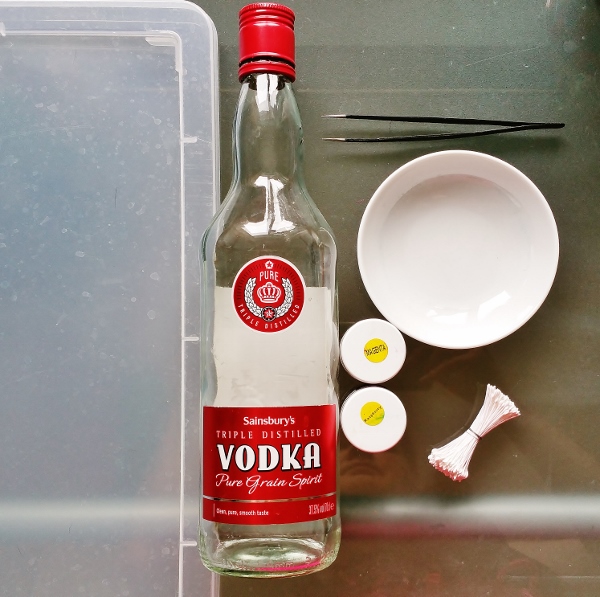
Colouring stamens for flowers made easy!

Although ready made stamens come in a variety of colours and sizes is is often difficult to find ones in suitable colour for a project in question. That’s why I find it easier to colour white stamens myself. This way I make sure that the stamens match my flower in colour and size.

For dyeing stamens we’ll need:
– non porous surface (plastic or glass)
– some vodka (or even better spirit)
– Procion (acid) dyes in chosen colours
– a receptacle (a porcelain dish)
– a pair of tweezers
– a bunch of stamens

Vodka evaporates quicker than water which means the dye will dry before the stamen heads dissolve in the licolouring stamensquid. Water is not as good for this task and even with vodka one should act really quickly.


Pour a small quantity of vodka (10-15 ml) into the dish and dissolve some powder dye in it. I find intense colours work better, that’s why I put a generous amount of powder dye into the dish. colouring stamens
Using a brush dissolve the dye well in vodka. It will take a bit longer than dissolving the dye in water, so make sure all the dye grains are dissolved.


Now using a pair of tweezers ( and possibly disposable gloves) dip several stamens at a time into the prepared dye and dye them evenly. Do not try to put all of the stamens at once. This will only dissolve all the stamen heads and ruin the stamens.


colouring stamens
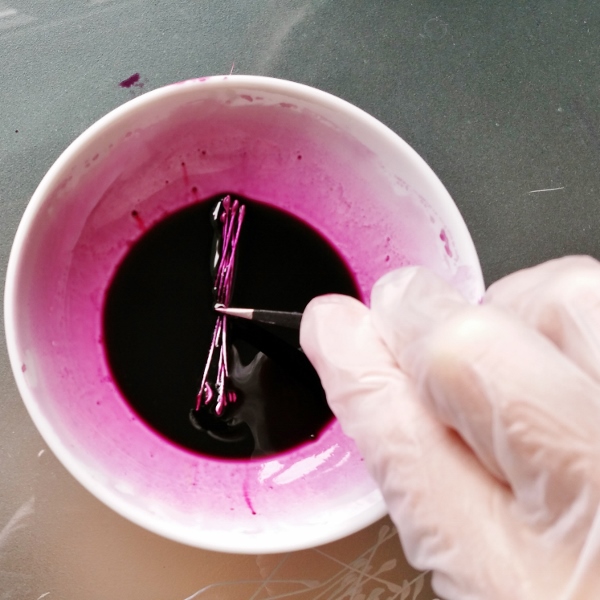
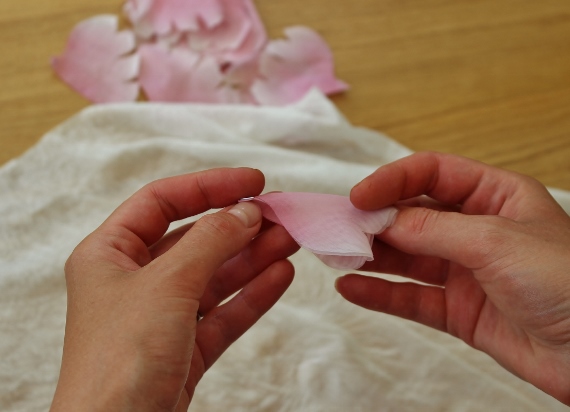
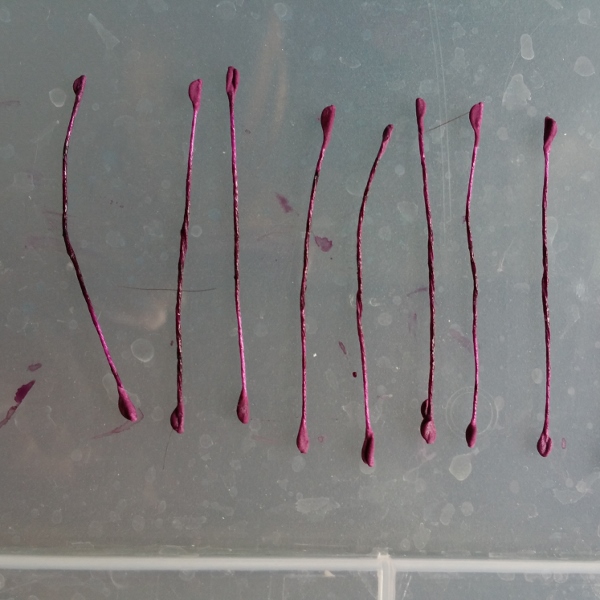
Having dyed a small bunch of stamens put them onto a prepared non porous surface like glass or plastic and leave to dry. It is important that the stamens are separated (see the photo). Otherwise they will stick together as they are drying.
In this way, portion by porting a small bunch at a time dye all the stamens and lay them out tocolouring stamens 
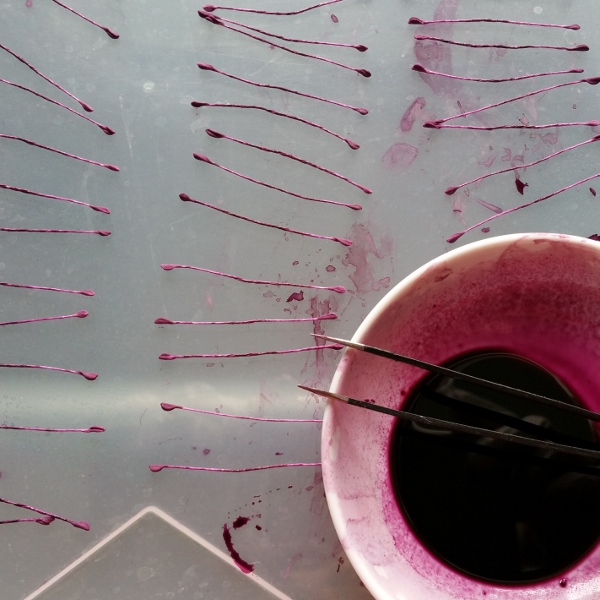
dry on the non porous surface. Please do not use paper as the wet stamens stick to it.


I hope this information on colouring stamens for flowers is useful for you and you’ll be confident to dye white stamens for your project now.


Video tutorials on flowers from £39


EXPLORE FLOWER MAKING PHOTO TUTORIALS
EXPLORE FLOWER MAKING VIDEO TUTORIALS
no tool flower making tutorials for beginners

NO TOOL flower making tutorials for beginners

shaping fabric flower petals without the use of tools 8NO tool flower making tutorials for beginners: are there any?

I am well aware of the fact that not every flower making artist (especially a beginning one) has got a set of traditional millinery tools to shape flower petals and leaves. Although this does cause serious restrictions with regards to the techniques that can be used and the final results that can be obtained, there are several methods that could be successfully applied without the use of tools and help make certain flowers. There are several no tool flower making tutorials for beginners too.
Here on my blog I am explaining how you can shape petals using a so called cold shaping method. This method works great for such flowers as peonies, poppies, irises etc.


Then of course there is a whole branch of flower making that uses artificial fabrics and their qualities. These fabrics can be singed
on the flame of a candle to be shaped into petals and leaves. This technique cannot be used for natural fabrics as they simply burn in the flame. To learn more about this technique and make a bright poppy brooch please check out our Fabric Poppy Brooch Tutorial here.


silk dandelion clock tutorial cover


Luckily some fabric flowers do not require tools simply due to their nature and the way they are. This is the case with Silk Dandelion Clock Brooch. Yes, you’ve got it right, to make a dandelion clock out of pure silk you do not need any millinery tools. We do use tools to shape the foliage in the tutorial, so if you wish you can get those tools from our website (hurry as the offer is very limited). Otherwise feel free to omit the tooling.


If you have not yet invested into a set
of tools but would really like to have a go at making flowers why not try leather blooms? The thing is, leather is such a luxurious and beautiful material to work with that often you do not need to do much before you turn it into a lovely flower. Hand shaping combined with the use of a pair of tweezers can create beautiful as well as pretty realistic flowers.


leather sunflower brooch
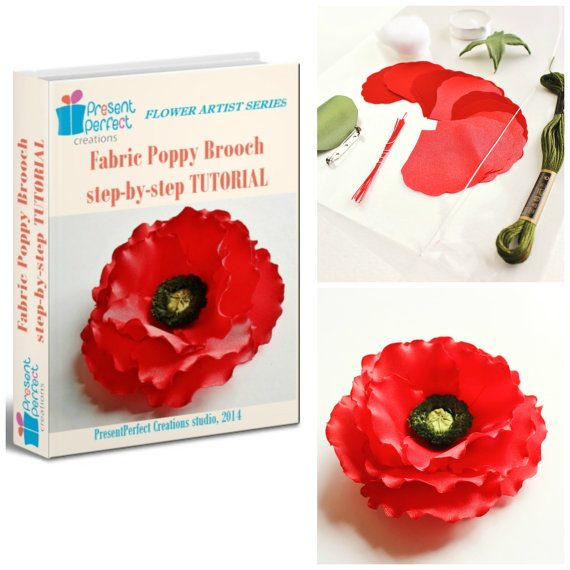
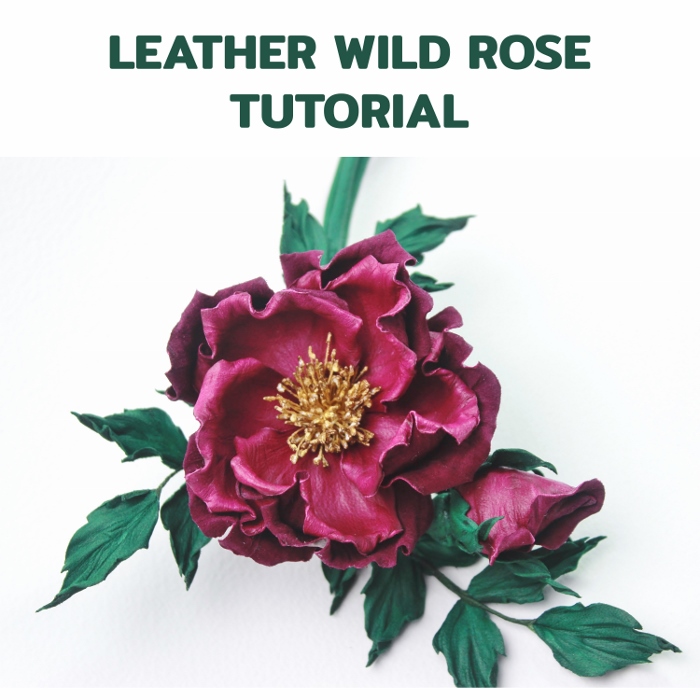
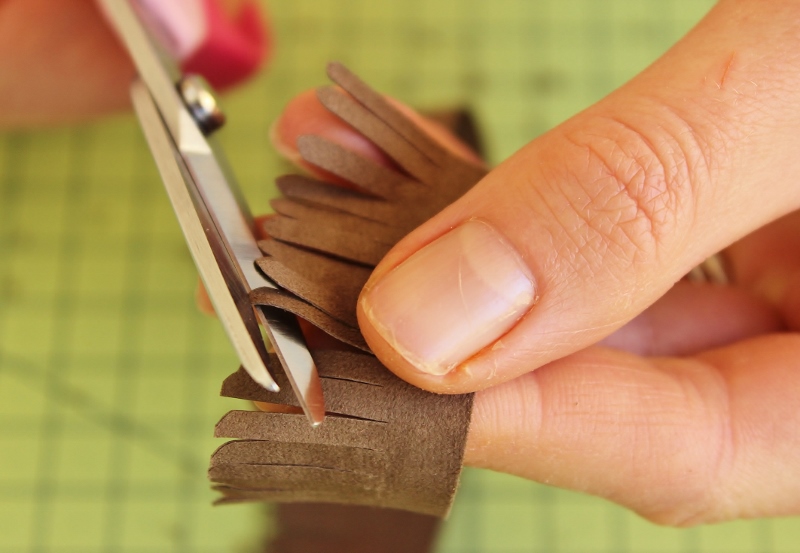
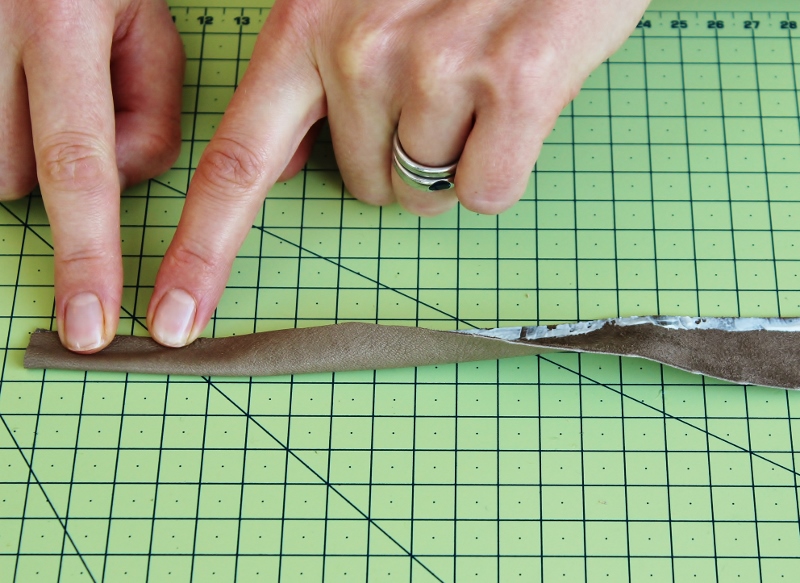
We are happy to offer 3 leather flower making tutorials that require no millinery tools, on Wild Leather Rose leather poppy flower tutorialBrooch , on Leather Sunflower Headband and on Leather Poppy Choker.
They are a good point to start from if you want to explore leather flower making
without the need to invest in a set of millinery tools.
leather grape tutorial
One of our latest no-tool leather tutorials in on the Leather Grapes. Again, using only your hands and some specialist techniques you can create a beautiful bunch of grapes in a variety of  colours and sizes to be used as a brooch, a hat trim or another accessory.
To learn more about the Leather Grape Tutorial click here


silk and lace butterfly tutorial

If you wish to work with more unusual material like lace, the iconic tutorial on Lace and Silk Butterfly can be a good one to explore. Although butterfly wings can be shaped with millinery  tools (and there’s a BONUS on how to do this), the butterfly in the picture can be made without the use of tools. DIY kits for the lace and silk butterfly are also available and sold separately. To learn more about the Lace and Silk Butterfly Tutorial click here.


I hope you will find some of these no tool flower making tutorials for beginners useful. Feel free to share photos of you finished pieces with us ☺

Subscribe to our YouTube Channel for more flower making videos.

My leather rose tutorial for HATalk e-magazine

Leather Rose Tutorial (intermediate)

Leather English Rose Tutorial (advanvced)

Leather Wild Rose Tutorial (beginner)

introduction to leather flower making ebook


Just to let you know...

Our Introduction to Leather Flower Making ebook is out now and available for immediate download after purchase. 
Learn the basics about working with leather to start making exquisite leather flowers of your own to match any project at hand.


You are well aware that I make flowers not only out of fabric but out of genuine leather too.

In November 2014 I took part in a millinery contest devoted to the First World War Centenary organised by HATalk Social. To express the theme of Remembrance I created a leather button hat with large bright red leather poppies (on the left). The judges were favourable enough to award me the second place out of 100+ contestants from all over the world. Needless to say I was thrilled! Not only have I won some hat blocks but also I have been asked to contribute to their ezine by offering a leather flower tutorial to the subscribers of HATalk monthly e-publication.
This months saw the release of the first part of my exclusive leather rose tutorial that is shown in the picture below.

PresentPerfect

If you have all the necessary equipment for fabric flower making but have never tried making leather flowers I think you should give it a go. Leather flowers require less manipulations but due to the nature of material look as equally (if not more!) impressive as the silk ones. Besides, they are a good robust trimming alternative for those colder months when thin transparent fabrics look a bit out of place.

leather corsage tutorial

If you have not yet invested into a set of tools but would really like to have a go at making flowers why not try leather blooms? The thing is, leather is such a luxurious and beautiful material to work with that often you do not need to do much before you turn it into a lovely flower. Hand shaping combined with the use of a pair of tweezers can create beautiful as well as pretty realistic flowers. 

We are happy to offer a number of leather flower making tutorials that require no millinery tools, on Wild Leather Rose Brooch on Leather Sunflower Headband and on Leather Poppy Choker. They are a good point to start from if you want to explore leather flower making without the need to invest in a set of millinery tools. Moreover, in these tutrorials you will learn how to make 3 different types of accessories (a brooch, a headpiece and a choker).
Flower making kits are available separately. Click on the photos of the tutorials for more information.
 

I have a schedule packed with more forthcoming leather flower tutorials, so if this topic is of interest to you do subscribe to my updates below and be the first to leather poppy flower tutorialknow about new tutorials. As my subscriber you will have a chance to purchase them with an attractive discount too!

CLICK HERE TO SUBSCRIBE TO OUR FLOWER MAKERS' UPDATES&OFFERS

You might also like these articles:

NO TOOL flower making tutorials for beginners

Choosing the right glue for making flowers

How I choose leather for making flowers

leather flower tutorial

New leather flower tutorial is out!

LEATHER GERBERA TUTORIALNew leather flower tutorial is out now

LEATHER GERBERA TUTORIAL IS AVAILABLE FOR DOWNLOAD NOW.

As promised yesterday I am sharing a link to the new leather flower tutorial.
To read more about it, see the materials and tools needed and purchase please go to https://presentperfectcreations.com/product/leather-gerbera-brooch-photo-tutorial-pdf/

This new tutorial is more than any previous ones full packed of pictures showing every step of the process, but should you have any questions or would like me to comment of the flower you have created using this tutorial I am here to help. You can always e-mail me at enquiries@presentperfectcreations.com. I would also like to hear if there are any particular flower tutorials you would be interested in. There are so many beautiful blooms in this world and they are all so different that it is virtually impossible to create all of them. But such all time favourites like roses and poppies are already on my list of tutorials to do.

Ah, and the last thing (but not the least)! To purchase your copy of tutorial with a 30% discount simply use gerbera30 discount code on checkout. But do remember that this is a time sensitive offer and it is valid only until midnight Sunday 14 December 2014 GMT.

I am sure that there is still plenty of time to make a couple of gerberas and present them as original and hand crafted Christmas gifts. Good luck to you! ☺

Here are the tools and materials that are required for this tutorial.


materials


This is a choice of flower iron tips you can use in this tutorial. You will require JUST ONE of these, any that you have in your set. I am using the far left wide foot with 3 grooves.

iron tips

And finally, some pleasant news for you as subscribers of my blog. I am going to offer you a special introductory price on this tutorial till the end of this week (midnight on Sunday) so you will have a chance to make your own leather gerbera and pay 30% less for the tutorial.

Tomorrow I will send you a link for the tutorial at my online shop as well as a discount promo code for it.

I hope that you are as excited as I am waiting for the release. I have a lot of other ideas on tutorials on silk and leather flowers but your comments and preferences will be much appreciated, so if you want to ask or suggest something please do so by leaving a comment for me below.

leather gerbera flower shoe clips

Stiffening leather and getting ready!

beige gerbera knit

Hours are left before the release of the tutorial and I can not keep it a secret any longer! Yes, the tutorial is on creating a leather gerbera flower just like one in the picture to the left. It is easy enough even for a beginner to try and at the same time those of you who can not wait to use their flower irons can have a go at them when making this flower. Although the tutorial shows how to finish the gerbera with a brooch pin, it can be turned into a range of other accessories just like any other flower. In fact, I take pride in my ability to come up with quite unusual and quirky floral accessories. To share one idea with you I can say that a pair of leather  gerberas can make stunning shoe clips which you can jazz up your favourite pair of shoes with. It goes without saying that leather gerbera brooch makes an original and much appreciated gift for those who understand about hand crafted accessories. Provided you have got some suitable leather and a bit of time you can still make one or two flowers before Christmas!
To use time efficiently you can stiffen you leather in advance. I am explaining how to do in in my blog post here.  It is better to use 2 contrasting colours, say, a darker leather for the centre and some pale (or rich!) coloured leather or suede for the petals.

Here is the list of materials and tools you will need for the tutorial. If you have any questions regarding this list please feel free to leave a comment below.

materials


This is a choice of flower iron tips you can use in this tutorial. You will require JUST ONE of these, any that you have in your set. I am using the far left wide foot with 3 grooves.

iron tips

And finally, some pleasant news for you as subscribers of my blog. I am going to offer you a special introductory price on this tutorial till the end of this week (midnight on Sunday) so instead of full price  you will have a chance to make your own leather gerbera with a 30% discount.

Tomorrow I will send you a link for the tutorial at my online shop as well as a discount promo code for it.

I hope that you are as excited as I am waiting for the release. I have a lot of other ideas on tutorials on silk and leather flowers but your comments and preferences will be much appreciated, so if you want to ask or suggest something please do so by leaving a comment for me below.

Tools for shaping leather flowers

millinery tools
SET OF 2 EXTRA NARROW MILLINERY TOOLS

What tools for shaping leather flowers should you choose?

ph-open-leather-rose-close-2-logo1

Now that we have chosen thin and soft leather for creating leather flowers it is time to talk about the right tools which are going to help us turn a flat piece of skin into a 3D floral masterpiece.

Tool number one is (believe me or not) our hands. A lot of shaping can be done with just hands. In fact, some flowers are made without any special tools. Different ways of folding, twisting, stretching and rolling leather give a wide range of special effects that allow us to create beautiful leather flowers.

Tool number two is a floral iron with interchangeable tips used for shaping fabric flowers. This tool can be used to almost the same extent with leather but bear in mind that leather can not withstand high temperatures. It can burn and shrink if the flower iron is too hot for it, so I recommend to always check the temperature of your iron on an off-cut before touching a petal or a leaf. I wrote about my set of tools in this post here, so if you have not seen it you might want to read it now.

tweezers

The third tool I would like to mention is a pair of tweezers like these ones in the picture. Tweezers are heated in the body of the flower iron and used for curling petals for roses, poppies and other flowers.
Leather petals might be quite stiff to the touch but the shape you are giving them will make them look light, airy, breathable and ever so live! I highly recommend to get yourselves a pair of tweezers like those. Humble as they look the role they play is very important and the results will impress you.


A PAIR OF SUITABLE TWEEZERS FOR SHAPING FLOWER PETALS CAN BE PURCHASED HERE.

The work on the new leather tutorial is in full swing at the moment. Tomorrow I will reveal what flower can be created with the help of the tutorial, but if you are good at guessing here as a couple of photos for your inquisitive minds:

tools for shaping leather flowers                         tools for shaping leather flowers

If you are interested in learning how to make fabric or leather flowers feel free to subscribe to our YouTube Channel for more flower making videos.

leather for making flowers

How I choose leather for making flowers

leather hides
As I’ve always said cold months is that period of the year when leather flowers outshine fabric ones. Amongst other reasons I would mention at least the following two:

❀ leather is a more durable material and flowers made of leather are more weather-resistant than silk ones

❀ leather and suede flowers nicely complement winter wardrobe pieces made of thick warm fabrics and wool, accentuate hats, bags and boots.

At the moment I am working on a new tutorial which will be released later this week. As the tutorial is on a leather flower, I thought I’d share some useful tips on how to choose leather for making flowers the way I do it for mine.

In order to create leather blooms (the way I show in my tutorials) we use only genuine leather or suede. No synthetic substitutes can withstand the heat of a flower iron when flowers are being shaped. Moreover, faux leather does not possess the level of flexibility and suppleness needed for making our gorgeous blooms.

first leather rose video course
MY FIRST LEATHER ROSE VIDEO COURSE

It is best to work with good quality materials. This way you will enjoy the process of creation and the final piece will show class. However, good quality does not have to cost the earth.

Leather comes in grades. There are several grades of leather, sometimes marked as Grade 1 or Grade A etc.  the smaller the number the higher the quality (Grade A is higher quality than Grade C). Because petals and leaves are relatively small compared to, say, garment parts, we  do not necessarily have to use leather skins of higher grades. Lower grades as as well as smaller pieces of leather will work just fine.

For leather or suede flowers only thin and soft skins are recommended. The best thickness is 0.5-0.8 mm (1-2 oz in weight), but you can use skins up to 1 mm thick (for certain flowers). Ideally look for lambskins and goat skins  that are suitable foe clothing or glove making (gloving leather).how to choose leather

Sometimes I use pig suede. Although it is a bit on a thicker side and can be uneven, the wide range of rich colours it comes in makes it difficult to resist.

Leather and suede have different finishes. This variety of finishes is used to enhance the natural beauty of leather. The most common ones are aniline, pigmented, patent, metallic, oily, waxy, suede and nubuck. Leathers with different finishes will behave differently when stiffened and shaped to be turned into a flower piece.

Unlike silk leather is much less predictable. That is why it is virtually impossible to recreate a leather flower again. It will be different and for me that is the advantage of working with leather. Creating leather flowers is always a journey into the unknown. No need to worry, the outcome is always uniquely beautiful.

I hope this information will help you choose the right leather for your flowers and enjoy the process of creation even more.

PHOTO TUTORIALS on LEATHER FLOWERS THAT ARE AVAILABLE FOR PURCHASE


tutorial banner


We also offer individual workshops on leather flowers, so if you are interested please click through for more information.


leather hat

Leather hat for a millinery contest

Contests are a great moving force. Well, for me they are. I have been thinking about creating poppies out of leather for a while. So when I read about a millinery contest devoted to the First World War Centenary I immediately imagined a little leather hat with impressive red poppies and accepted the challenge.

poppy cocktail hat 3 (800x623)

Because I am only a budding milliner impeccably crafted flowers were supposed to become the focal point of my hat. To make the headpiece more unusual and the challenge more complicated I opted for leather instead of fabric as a main material.

poppy cocktail hat 1 (800x685)


I enjoyed blocking leather and working on this cocktail leather hat. The winners are going to be chosen by the middle of next week. Fingers crossed my leather cocktail hat will be noticed by the contest judges 🙂


If you would like to own a leather hat with poppies you could place your order here


leather poppy flower tutorial


If you wish to learn to make leather poppies yourself, you can now do it with the use of our brand new tutorial.

Leather poppy kits are available separately.

To read more about the tutorial and purchase please click here