how to make flower stamens

How to make flower stamens

decorative stamens
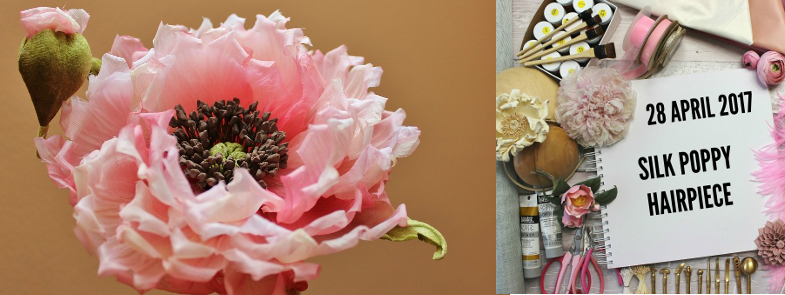
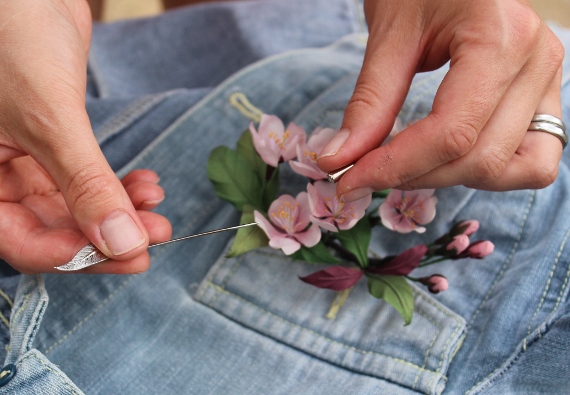
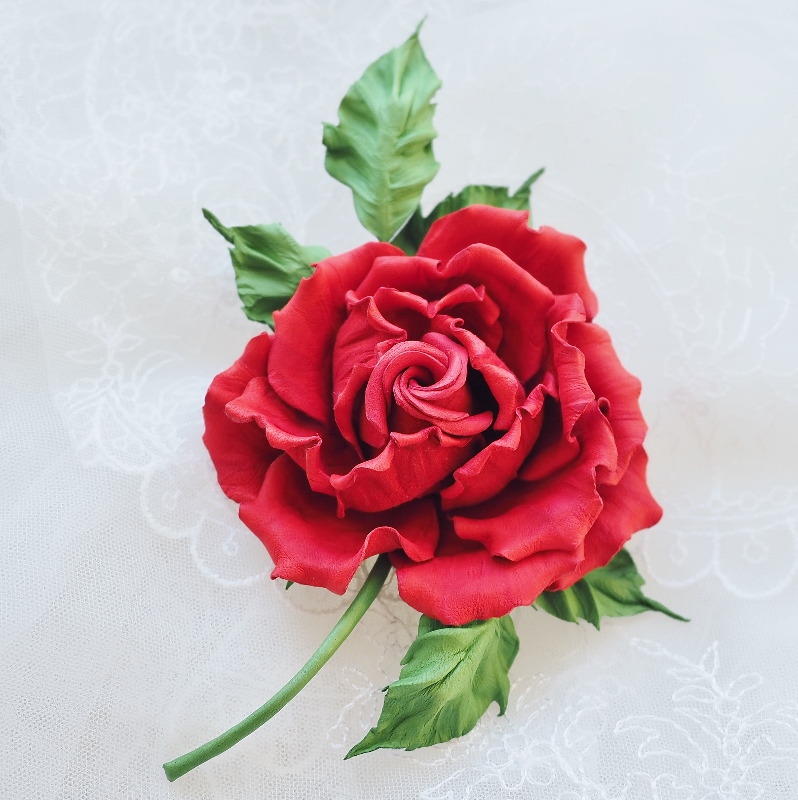
Stamens make the heart of an art flower. They draw attention to its core. That’s why it is so important to get the size, the colour, the shape and even the quantity of your stamens right when creating your blooms, whether out of fabric or leather.

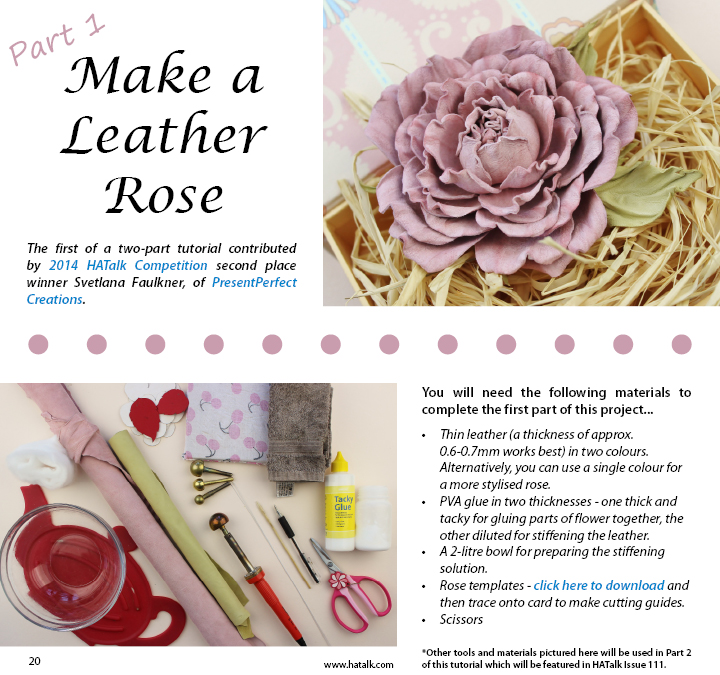
There are a wide variety of stamens, very realistic as well as stylised ones that are available to purchase. You can check out the current availability in our online shop here. Today, however, we are going to explore another option.

how to make flower stamens 1

Did you know you could make your own flower stamens to be used in fabric and leather flowers in case you do not have access to factory made or for some reason they are not suitable for your project?
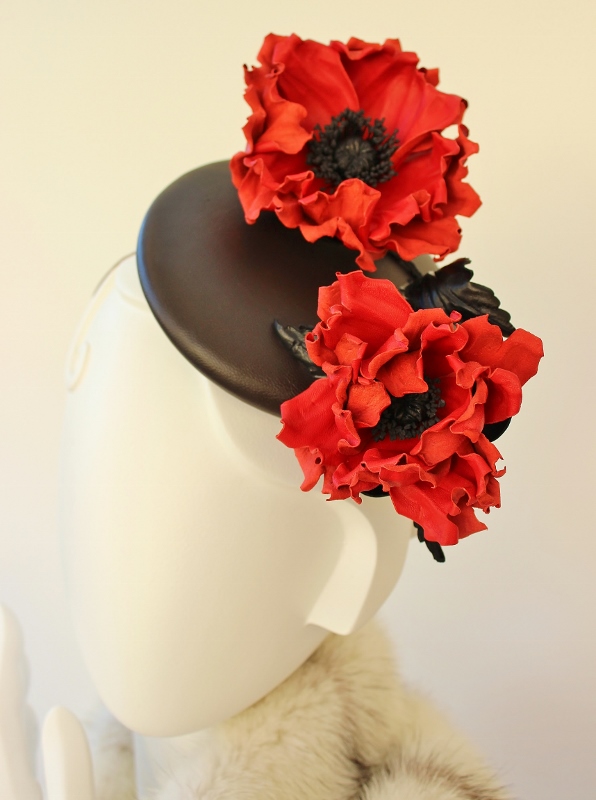
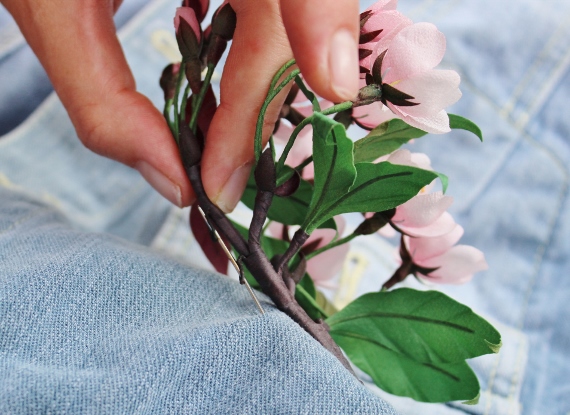
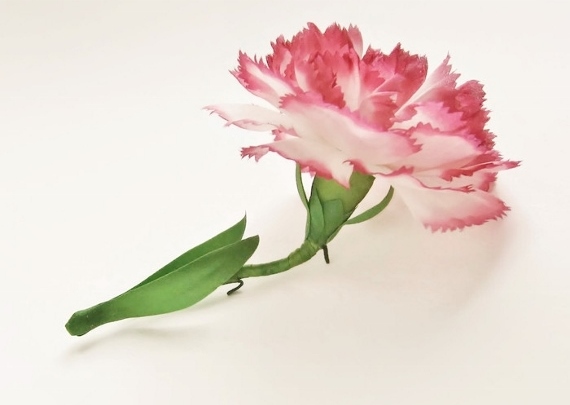
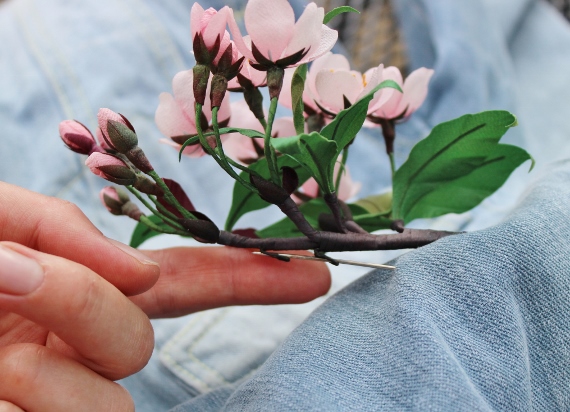
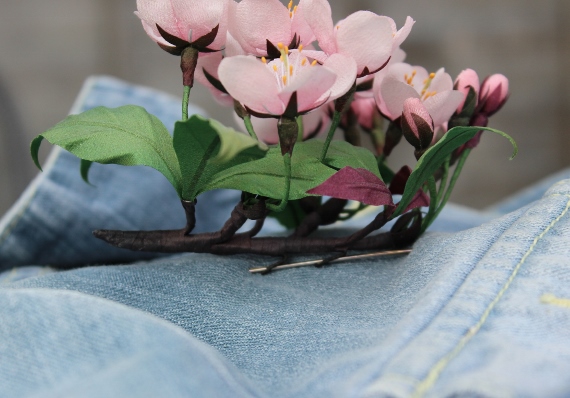
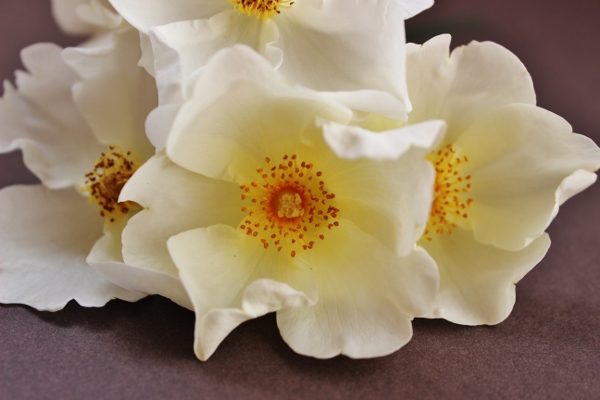
Often tiny stamens for small and blooms can be difficult to obtain. That’s why today I am showing how to make very small stamens similar to those most roses have. You can also use them for cherry blossom, apple blossom and other small flowers.


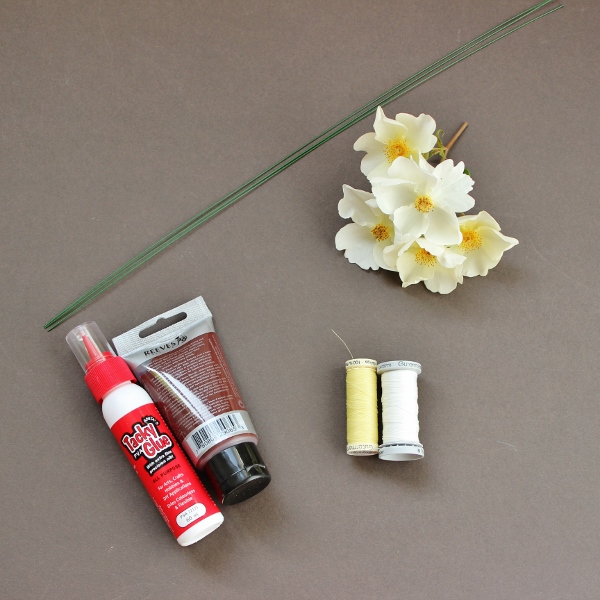
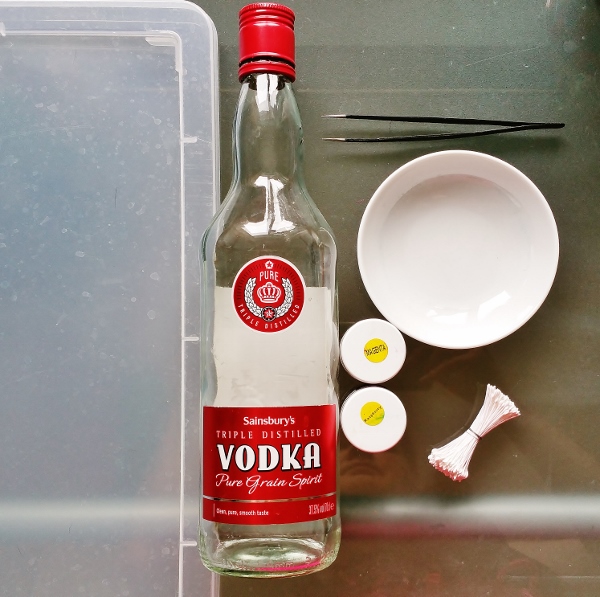
What you’ll require  is some PVA glue (or other stiffener), thick cottonhow to make flower stamens 3

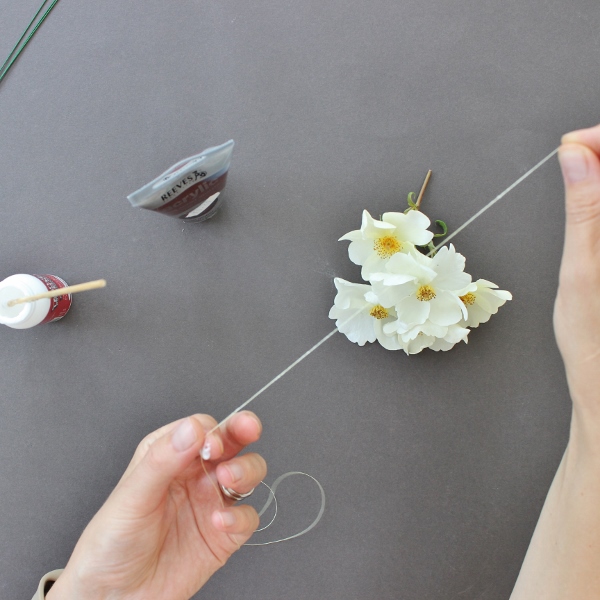
thread and  some acrylic paint in brown , yellow or other suitable colour.


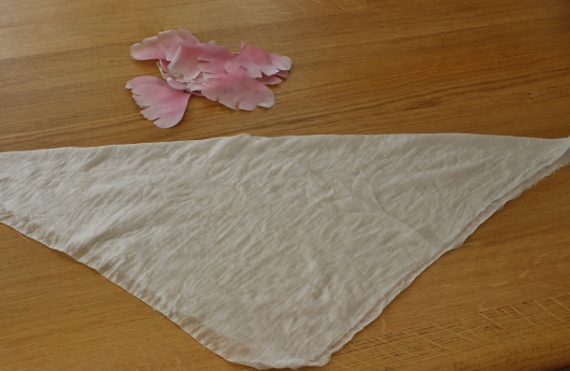
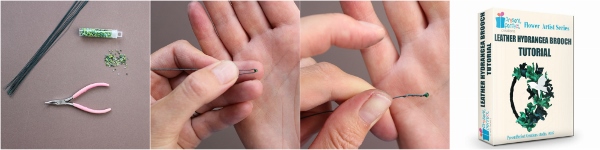
First, the thread needs to be stiffened. That will give it some body and let the stamens hold the shape in a flower once assembled. You can starch it or use your preferred stiffener. I simply cover a length of thread with PVA. To do that apply a blob of glue on your index finger and run the thread between the index finger and thumb to coat with glue as shown.


how to make flower stamens


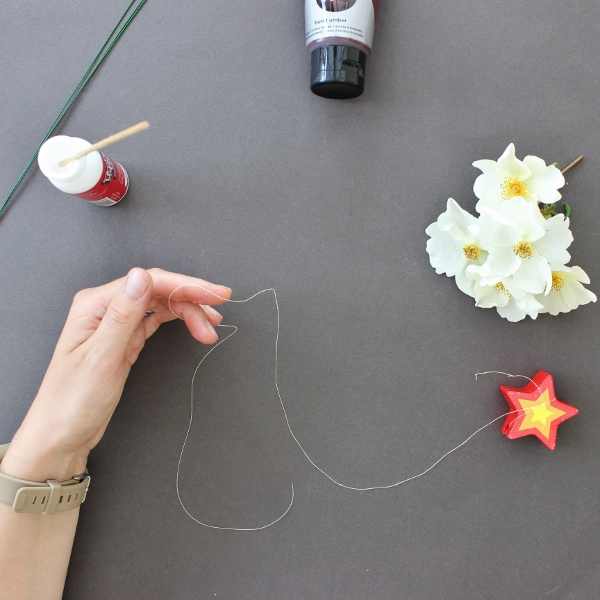
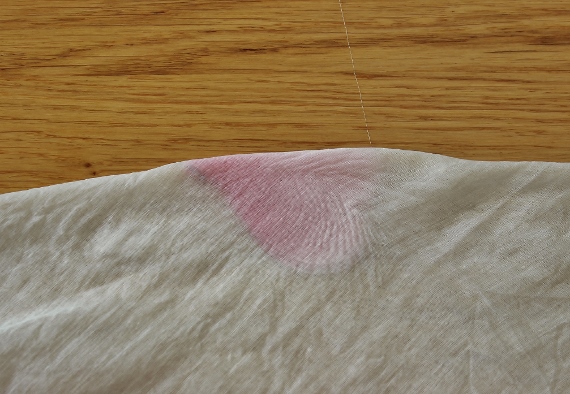
To make sure the stiffened thread dries straight I like using a weight and hang it to dry (I am using a large wooden star as a weight in the photo). Because you will need to make a considerable amount of small stamens for each flower, try hanging several long threads at a time and leave them to dry.


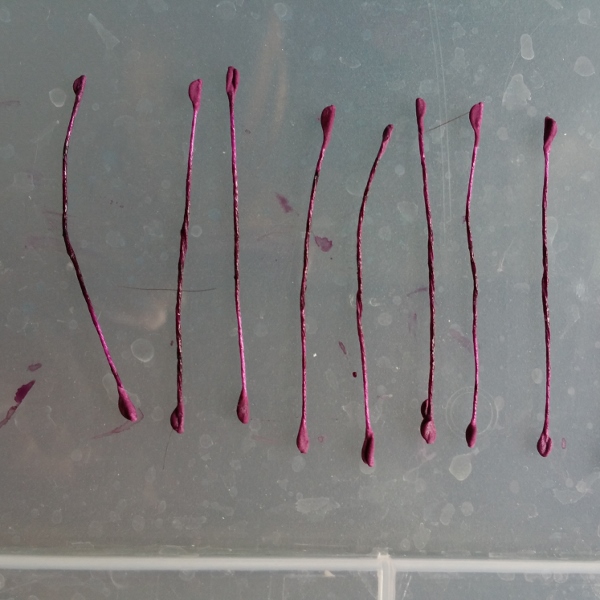
Once the threads are dry and stiff (if you use PVA it dries rather quickly), cut them

how to make flower stamens

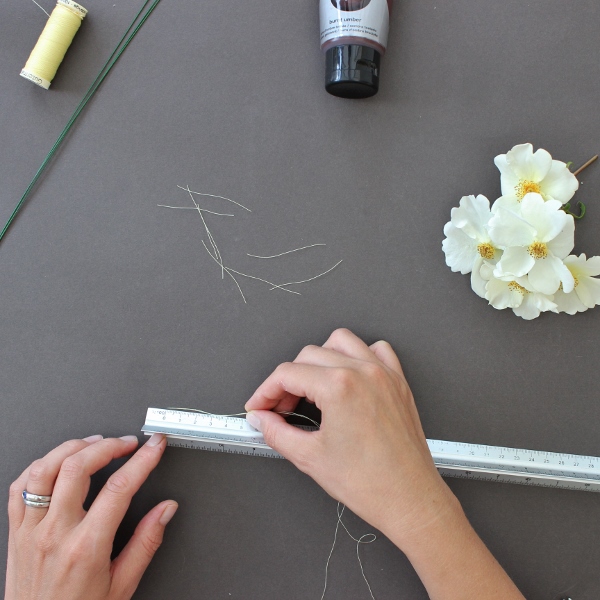
up into individual stamens. The standard length of a double sided stamen strand is around 5 cm, but you can always adjust the length to suit your project and make them either shorter or longer.


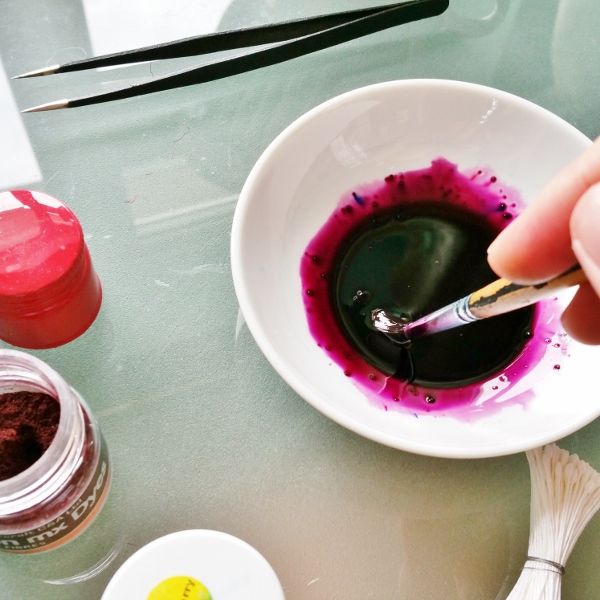
Now squeeze out some acrylic paint onto a piece of card, fold a piece of thread in half and dip the  tips into the paint. To get  enough paint onto the tips try dipping a couple of times. The thicker the thread the more paint will stick to it and stay on the tips.

how to make flower stamens


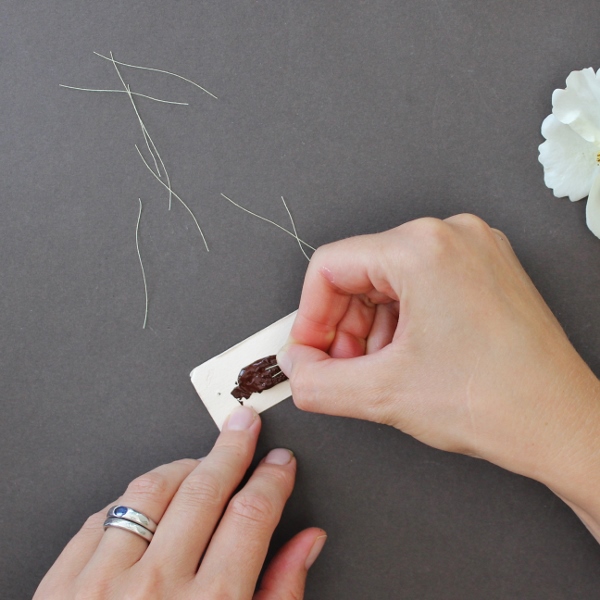
I am using a very thin thread here so the drops of paint on the tips are quite small after one dip. For more impact please use a thicker thread (and / or more paint).


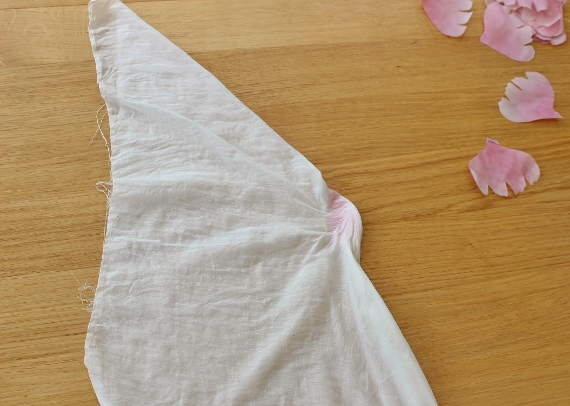
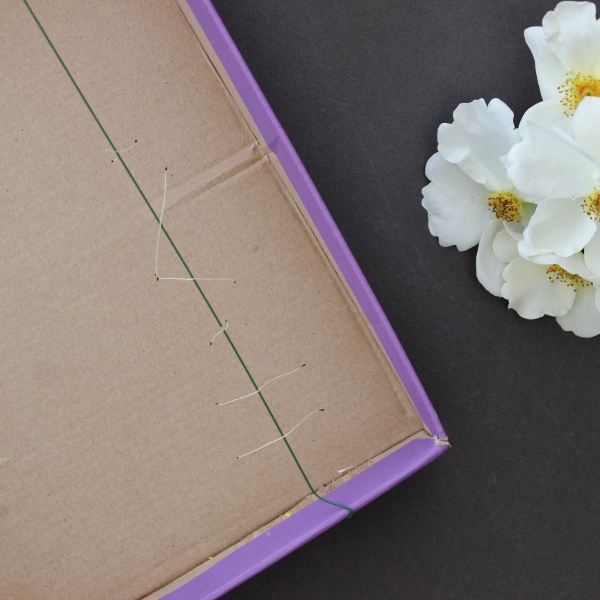
Now the freshly made stamens need to dry. I am using an improvised rack created by placing a couple of thick wires across ahow to make flower stamens 
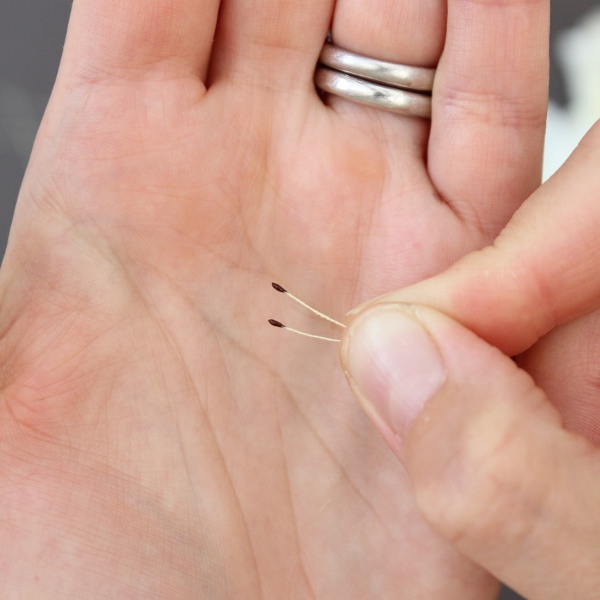
box or a box lid (pictured). Simply hang the stamens in rows over the wires and leave them to dry completely. Make sure to space the stamens well apart to prevent them from sticking to each other when the paint is still wet. In a couple of hours  you have got your handmade stamens ready to be used.


Now you know how to make flower stamens. However, this by no means is the only way of making flower stamens. We might be exploring other options in our forthcoming  blog posts and tutorials.

how to make flower stamens 8


Stay tuned!


Below you will find some tutorials that cover the use of different stamens in flower making.


colouring stamens for flowers

Colouring stamens for flowers

colouring stamens
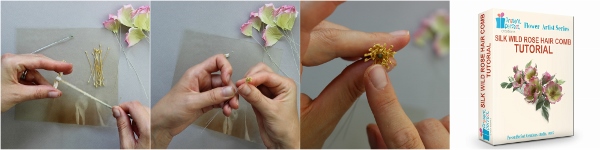
Colouring stamens for flowers made easy!

Although ready made stamens come in a variety of colours and sizes is is often difficult to find ones in suitable colour for a project in question. That’s why I find it easier to colour white stamens myself. This way I make sure that the stamens match my flower in colour and size.

For dyeing stamens we’ll need:
– non porous surface (plastic or glass)
– some vodka (or even better spirit)
– Procion (acid) dyes in chosen colours
– a receptacle (a porcelain dish)
– a pair of tweezers
– a bunch of stamens

Vodka evaporates quicker than water which means the dye will dry before the stamen heads dissolve in the licolouring stamensquid. Water is not as good for this task and even with vodka one should act really quickly.


Pour a small quantity of vodka (10-15 ml) into the dish and dissolve some powder dye in it. I find intense colours work better, that’s why I put a generous amount of powder dye into the dish. colouring stamens
Using a brush dissolve the dye well in vodka. It will take a bit longer than dissolving the dye in water, so make sure all the dye grains are dissolved.


Now using a pair of tweezers ( and possibly disposable gloves) dip several stamens at a time into the prepared dye and dye them evenly. Do not try to put all of the stamens at once. This will only dissolve all the stamen heads and ruin the stamens.


colouring stamens
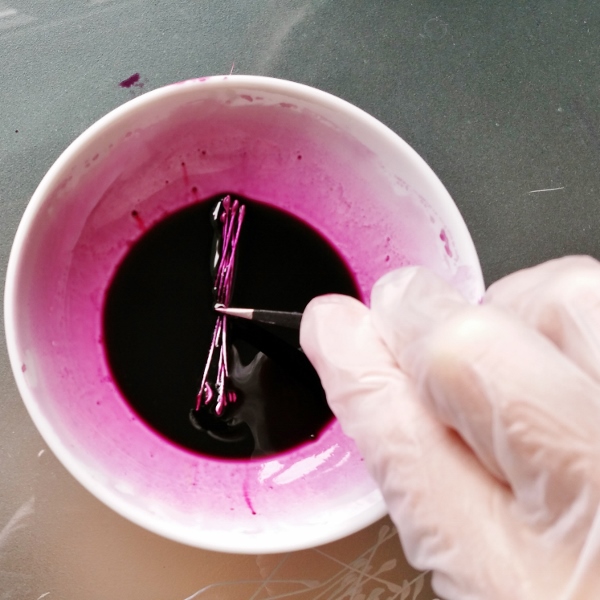
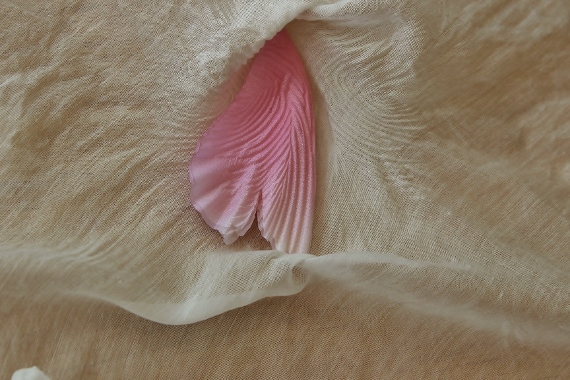
Having dyed a small bunch of stamens put them onto a prepared non porous surface like glass or plastic and leave to dry. It is important that the stamens are separated (see the photo). Otherwise they will stick together as they are drying.
In this way, portion by porting a small bunch at a time dye all the stamens and lay them out tocolouring stamens 
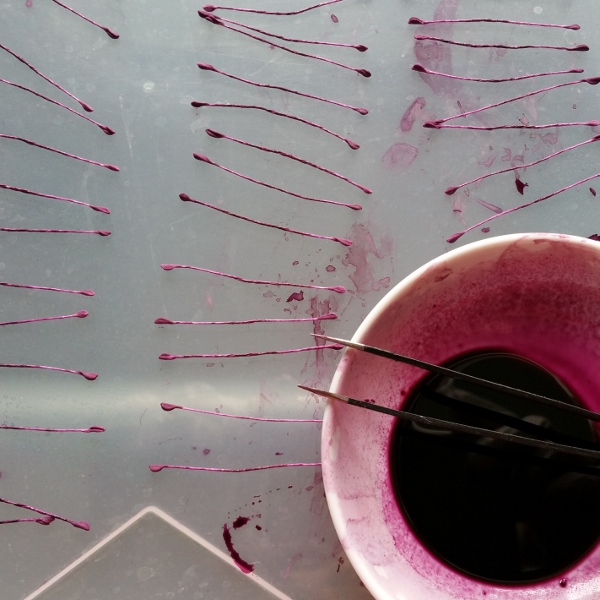
dry on the non porous surface. Please do not use paper as the wet stamens stick to it.


I hope this information on colouring stamens for flowers is useful for you and you’ll be confident to dye white stamens for your project now.


Video tutorials on flowers from £39


EXPLORE FLOWER MAKING PHOTO TUTORIALS
EXPLORE FLOWER MAKING VIDEO TUTORIALS
no tool flower making tutorials for beginners

NO TOOL flower making tutorials for beginners

shaping fabric flower petals without the use of tools 8NO tool flower making tutorials for beginners: are there any?

I am well aware of the fact that not every flower making artist (especially a beginning one) has got a set of traditional millinery tools to shape flower petals and leaves. Although this does cause serious restrictions with regards to the techniques that can be used and the final results that can be obtained, there are several methods that could be successfully applied without the use of tools and help make certain flowers. There are several no tool flower making tutorials for beginners too.
Here on my blog I am explaining how you can shape petals using a so called cold shaping method. This method works great for such flowers as peonies, poppies, irises etc.


Then of course there is a whole branch of flower making that uses artificial fabrics and their qualities. These fabrics can be singed
on the flame of a candle to be shaped into petals and leaves. This technique cannot be used for natural fabrics as they simply burn in the flame. To learn more about this technique and make a bright poppy brooch please check out our Fabric Poppy Brooch Tutorial here.


silk dandelion clock tutorial cover


Luckily some fabric flowers do not require tools simply due to their nature and the way they are. This is the case with Silk Dandelion Clock Brooch. Yes, you’ve got it right, to make a dandelion clock out of pure silk you do not need any millinery tools. We do use tools to shape the foliage in the tutorial, so if you wish you can get those tools from our website (hurry as the offer is very limited). Otherwise feel free to omit the tooling.


If you have not yet invested into a set
of tools but would really like to have a go at making flowers why not try leather blooms? The thing is, leather is such a luxurious and beautiful material to work with that often you do not need to do much before you turn it into a lovely flower. Hand shaping combined with the use of a pair of tweezers can create beautiful as well as pretty realistic flowers.


leather sunflower brooch
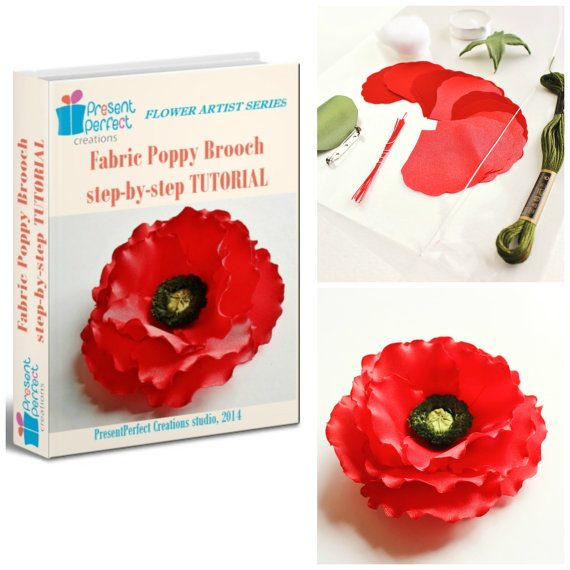
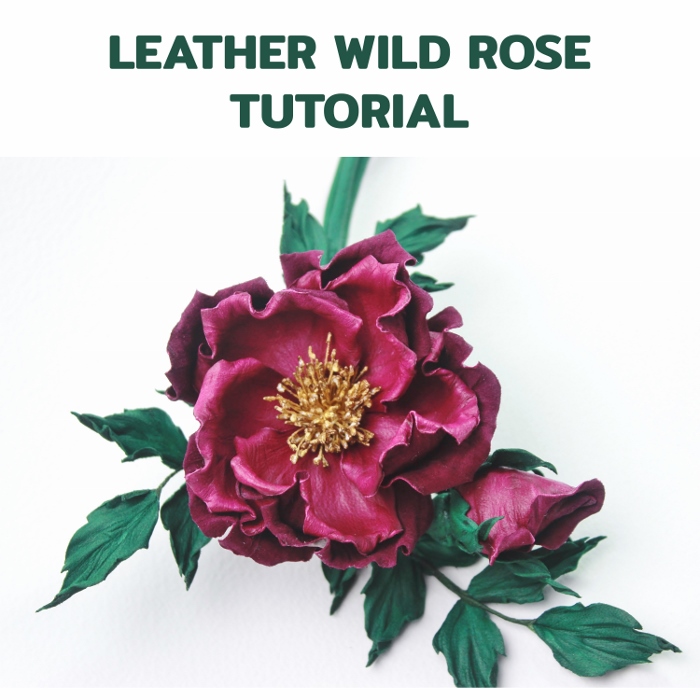
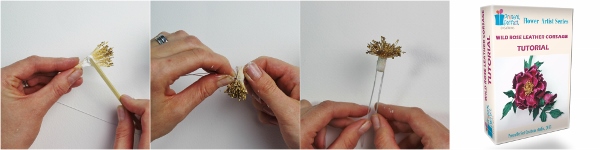
We are happy to offer 3 leather flower making tutorials that require no millinery tools, on Wild Leather Rose leather poppy flower tutorialBrooch , on Leather Sunflower Headband and on Leather Poppy Choker.
They are a good point to start from if you want to explore leather flower making
without the need to invest in a set of millinery tools.
leather grape tutorial
One of our latest no-tool leather tutorials in on the Leather Grapes. Again, using only your hands and some specialist techniques you can create a beautiful bunch of grapes in a variety of  colours and sizes to be used as a brooch, a hat trim or another accessory.
To learn more about the Leather Grape Tutorial click here


silk and lace butterfly tutorial

If you wish to work with more unusual material like lace, the iconic tutorial on Lace and Silk Butterfly can be a good one to explore. Although butterfly wings can be shaped with millinery  tools (and there’s a BONUS on how to do this), the butterfly in the picture can be made without the use of tools. DIY kits for the lace and silk butterfly are also available and sold separately. To learn more about the Lace and Silk Butterfly Tutorial click here.


I hope you will find some of these no tool flower making tutorials for beginners useful. Feel free to share photos of you finished pieces with us ☺

Subscribe to our YouTube Channel for more flower making videos.

shaping fabric flower petals without the use of tools 8

Shaping fabric flower petals without the use of tools

Shaping fabric flower petals without the use of tools: the cold method

shaping fabric flower petals without the use of tools 10
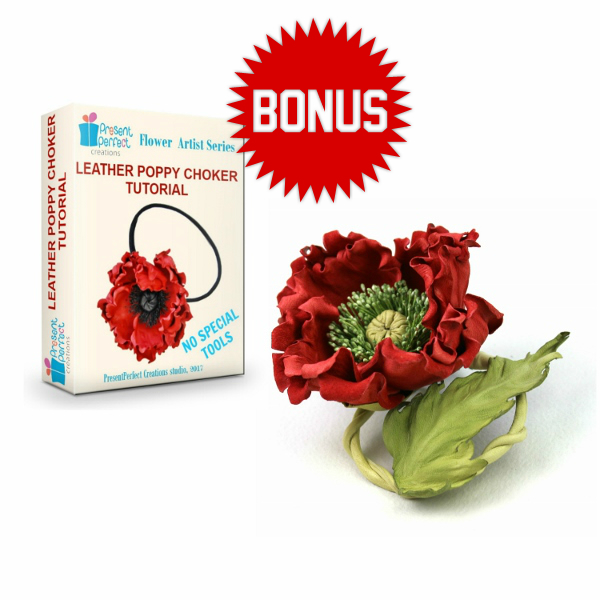
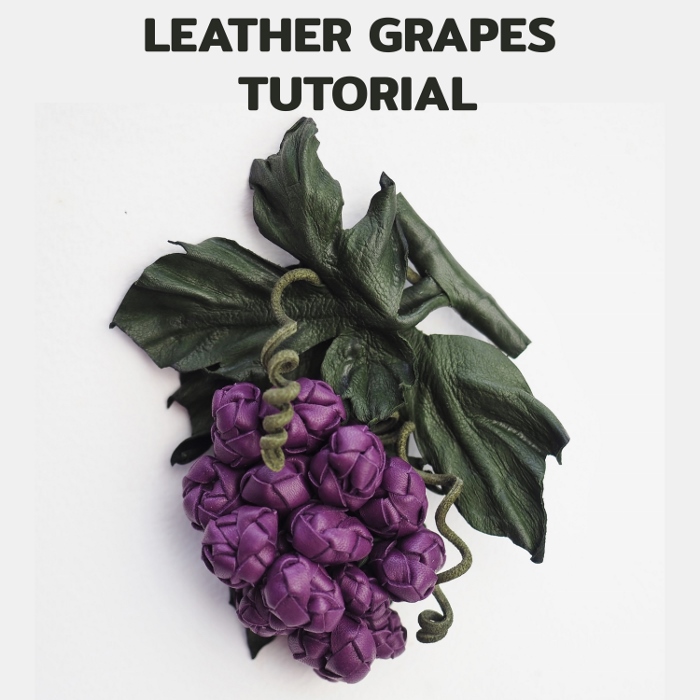
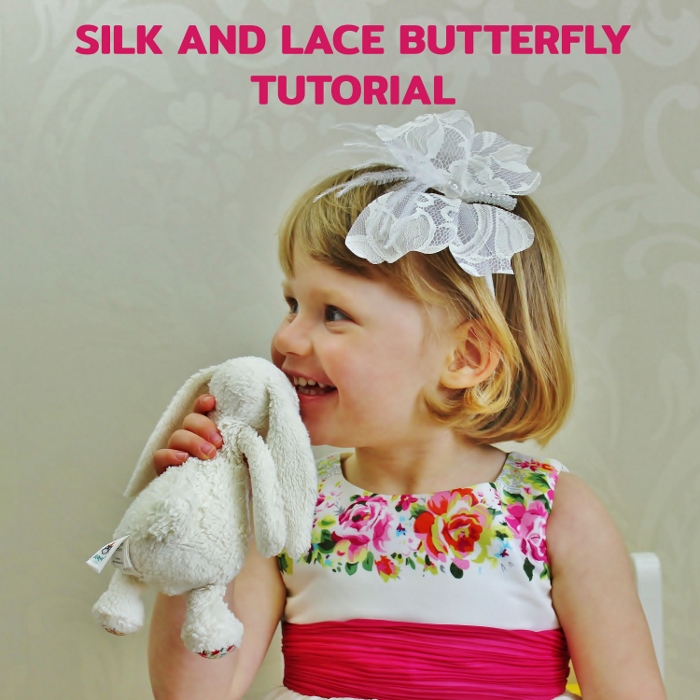
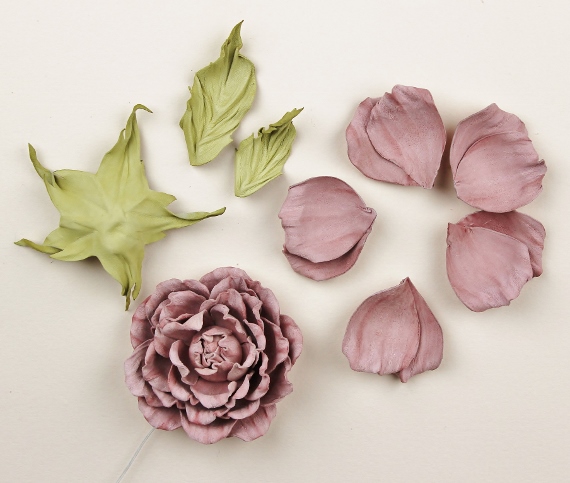
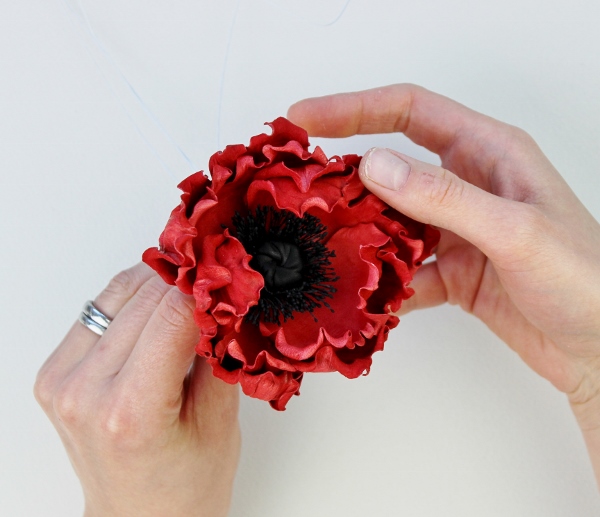
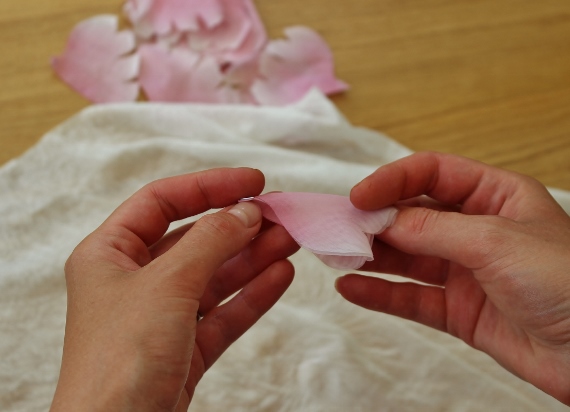
I am well aware of the fact that not everyone has got a set of traditional millinery tools to shape flower petals and leaves. Although this does cause certain restrictions with regards to the techniques that can be used and the final results, there are methods that can be successfully applied without the use of tools.

Below I am explaining how you can shape petals using a so called cold shaping method.
To be able to use this method you will require some fabric petals (silk, rayon or thin cotton) and a piece of thin preferably silk fabric about 40cm*40 cm or slightly larger larger( I am using a silk-cotton mixed fabric here).

shaping fabric flower petals without the use of tools 9


First, moisten the cloth either by spraying it with water from a spray bottle or wetting it under the tap. Next, wring the cloth very well so it is only just about moist, almost dry. If the fabric is too wet it can ruin the dyes on your petals. It will not shape them either.
Now, fold the square of fabric diagonally as shown in the picture.


shaping fabric flower petals without the use of tools 8


Then take a petal and fold it in half lengthwise. In the photo I am using pairs of poppy petals, connected with a staple, so I am going to be shaping two petals at a time.This can work for thin fabrics. For the petals made of thicker fabrics it is advisable to shape them one by one for the best results.


shaping fabric flower petals without the use of tools 7


Place the folded petal in between the two layers of diagonally folded moistened cloth as shown in the picture. The folded side of the petal touches the folded side of the cloth (this is important).


shaping fabric flower petals without the use of tools 5


Now it’s high time we shaped the petal. Place the palm of your left hand over the whole of the petal (which is sitting between the layers) and press firmly onto it, especially the very bottom (the base) of the petal. With your right hand pull the right corner of the the cloth away from the left hand that is pressing down the petal.


shaping fabric flower petals without the use of tools 4


Pressing  the petal firmly (particularly at the very base) with your left palm pull the cloth with an effort with your right hand clockwise following the black arrows. Having done a semi-circle with the right hand ease off and let the cloth gradually go.


shaping fabric flower petals without the use of tools 3


The cloth should form a network of very fine wrinkles under your palm and in turn it will wrinkle the petal that has been placed between the layers of the cloth. The finer the lines of the shaping the better the result.


shaping fabric flower petals without the use of tools 1
You might want to practice on a spare petal first to get an idea of how to shape petals using this method. If you are not happy with the result you can return the same petal back into the cloth and shape again. But try not to do this too many times as it will make the petal creased more than shaped.

         This cold method of shaping fabric flower petals without the use of tools works particularly well with such flowers like peonies, irises and poppies. The top edge or the petal can be curled with a pair of heated tweezers or by hand, which does make  this method totally millnery tool free ☺
I hope you find this information useful and applicable to the flowers you make. If you wish to attend a flower making workshop to practice this method, please consider taking part in SILK POPPY HAIRPIECE WORKSHOP (click on the photo below for more information).

My leather rose tutorial for HATalk e-magazine

Leather Rose Tutorial (intermediate)

Leather English Rose Tutorial (advanvced)

Leather Wild Rose Tutorial (beginner)

introduction to leather flower making ebook


Just to let you know...

Our Introduction to Leather Flower Making ebook is out now and available for immediate download after purchase. 
Learn the basics about working with leather to start making exquisite leather flowers of your own to match any project at hand.


You are well aware that I make flowers not only out of fabric but out of genuine leather too.

In November 2014 I took part in a millinery contest devoted to the First World War Centenary organised by HATalk Social. To express the theme of Remembrance I created a leather button hat with large bright red leather poppies (on the left). The judges were favourable enough to award me the second place out of 100+ contestants from all over the world. Needless to say I was thrilled! Not only have I won some hat blocks but also I have been asked to contribute to their ezine by offering a leather flower tutorial to the subscribers of HATalk monthly e-publication.
This months saw the release of the first part of my exclusive leather rose tutorial that is shown in the picture below.

PresentPerfect

If you have all the necessary equipment for fabric flower making but have never tried making leather flowers I think you should give it a go. Leather flowers require less manipulations but due to the nature of material look as equally (if not more!) impressive as the silk ones. Besides, they are a good robust trimming alternative for those colder months when thin transparent fabrics look a bit out of place.

leather corsage tutorial

If you have not yet invested into a set of tools but would really like to have a go at making flowers why not try leather blooms? The thing is, leather is such a luxurious and beautiful material to work with that often you do not need to do much before you turn it into a lovely flower. Hand shaping combined with the use of a pair of tweezers can create beautiful as well as pretty realistic flowers. 

We are happy to offer a number of leather flower making tutorials that require no millinery tools, on Wild Leather Rose Brooch on Leather Sunflower Headband and on Leather Poppy Choker. They are a good point to start from if you want to explore leather flower making without the need to invest in a set of millinery tools. Moreover, in these tutrorials you will learn how to make 3 different types of accessories (a brooch, a headpiece and a choker).
Flower making kits are available separately. Click on the photos of the tutorials for more information.
 

I have a schedule packed with more forthcoming leather flower tutorials, so if this topic is of interest to you do subscribe to my updates below and be the first to leather poppy flower tutorialknow about new tutorials. As my subscriber you will have a chance to purchase them with an attractive discount too!

CLICK HERE TO SUBSCRIBE TO OUR FLOWER MAKERS' UPDATES&OFFERS

You might also like these articles:

NO TOOL flower making tutorials for beginners

Choosing the right glue for making flowers

How I choose leather for making flowers

All-purpose finish for fabric flowers. How does it work?

At the very beginning of my career in fabric flower making I often made my pieces with 2 small loops on the back side as a way of finishing them. Here is how it looked

pink_carnation_left_side ff (570x485)

stick pin 1 (570x395)
1


This finish is very versatile that is why it is dabbed a multifunctional, all-purpose or universal. Indeed, the flower can be stitched using the loops, it can be pinned with a stick pin or safety pins; with an alligator clip or a couple of bobby pins threaded through the loops it easily turns into a hairpiece etc.


stick pin 2 (570x396)
2


Sometimes I still make flowers with this sort of finish although they are rare these days. Because it is not always clear how to attach a flower finished with 2 loops I have been asked by my customers for some clarifications. That is why I decided to write a blog post explaining in pictures what to do.


stick pin 4 (570x412)
3


Here are the photos I have taken to show how to use the stick pin when attaching a flower. Usually my flowers come with a nice stick pin to be attached to a garment, a bag or a hat as a brooch.


stick pin 5 (570x408)
4


So what one has to do is basically pierce an item of clothing from inside out, then thread the needle of the stick pin through both loops, then pierce the fabric again onto inside and there cover the sharp end with a little protector which is usually supplied with a pin. A small sized hat pin will work well too.


stick pin 6 (570x398)
5


So this is how you attach a flower that has an all-purpose finish. I have prepared a two part article on most popular and useful finishes for fabric flowers which get sent via my newsletter. If you have not yet subscribed to it but would like to get our updates, useful articles and discounts please feel free to subscribe below by filling in your details [grwebform url=”http://app.getresponse.com/view_webform.js?wid=10297802&u=3lMQ” css=”on”/]


intro 3 d cover

As a welcome gift from us you will get a chance

to flick thorough our new e-book that introduces

into the exciting world of fabric flowers as well as

provides some stiffening recipes for you to try.

leather for making flowers

How I choose leather for making flowers

leather hides
As I’ve always said cold months is that period of the year when leather flowers outshine fabric ones. Amongst other reasons I would mention at least the following two:

❀ leather is a more durable material and flowers made of leather are more weather-resistant than silk ones

❀ leather and suede flowers nicely complement winter wardrobe pieces made of thick warm fabrics and wool, accentuate hats, bags and boots.

At the moment I am working on a new tutorial which will be released later this week. As the tutorial is on a leather flower, I thought I’d share some useful tips on how to choose leather for making flowers the way I do it for mine.

In order to create leather blooms (the way I show in my tutorials) we use only genuine leather or suede. No synthetic substitutes can withstand the heat of a flower iron when flowers are being shaped. Moreover, faux leather does not possess the level of flexibility and suppleness needed for making our gorgeous blooms.

first leather rose video course
MY FIRST LEATHER ROSE VIDEO COURSE

It is best to work with good quality materials. This way you will enjoy the process of creation and the final piece will show class. However, good quality does not have to cost the earth.

Leather comes in grades. There are several grades of leather, sometimes marked as Grade 1 or Grade A etc.  the smaller the number the higher the quality (Grade A is higher quality than Grade C). Because petals and leaves are relatively small compared to, say, garment parts, we  do not necessarily have to use leather skins of higher grades. Lower grades as as well as smaller pieces of leather will work just fine.

For leather or suede flowers only thin and soft skins are recommended. The best thickness is 0.5-0.8 mm (1-2 oz in weight), but you can use skins up to 1 mm thick (for certain flowers). Ideally look for lambskins and goat skins  that are suitable foe clothing or glove making (gloving leather).how to choose leather

Sometimes I use pig suede. Although it is a bit on a thicker side and can be uneven, the wide range of rich colours it comes in makes it difficult to resist.

Leather and suede have different finishes. This variety of finishes is used to enhance the natural beauty of leather. The most common ones are aniline, pigmented, patent, metallic, oily, waxy, suede and nubuck. Leathers with different finishes will behave differently when stiffened and shaped to be turned into a flower piece.

Unlike silk leather is much less predictable. That is why it is virtually impossible to recreate a leather flower again. It will be different and for me that is the advantage of working with leather. Creating leather flowers is always a journey into the unknown. No need to worry, the outcome is always uniquely beautiful.

I hope this information will help you choose the right leather for your flowers and enjoy the process of creation even more.

PHOTO TUTORIALS on LEATHER FLOWERS THAT ARE AVAILABLE FOR PURCHASE


tutorial banner


We also offer individual workshops on leather flowers, so if you are interested please click through for more information.


lace butterfly headband

New tutorial out! Lace butterfly: a stunning accessory you can make yourself without special tools.

I think I have not met anyone who did not like butterflies. They are fascinating and delicate creatures full of beauty. No wonder we want to capture it and embody in our designs to enjoy their perfection and elegance as and when we want it.
I love creating butterflies made of delicate lace and pure silk. Such designs look appropriate in wedding themes, they are perfect for special occasions, as little girls’ hair accessories, etc. They make a nice gift too.
I have developed this tutorial in a way that you can make your own stunning lace butterfly accessory without having to use any specialised tools.
By varying the size of the butterfly and uBysing coloured laces you can create an accessory to match any outfit. This lace butterfly can be attached to a headband, a hair clip, a brooch base or just sewn onto a garment, such as a wedding dress.  It can be used in millinery too to decorate hats and fasciantors. The applications are endless. Once you have mastered the art of making lace butterflies you can easily create different accessories in sizes and colours that are required.
You will learn how to
  • make beautifully light feather antennae
  • create a stunning body of seed beads
  • wire the wings so they hold their shape
  • attach the butterfly to a headband / hair clip
butterfly 49 new

WAIT! THAT’S NOT ALL


For those of you who have a set of millinery tools I have prepared a FREE bonus tutorial. The free tutorial explains how to shape the velvet butterfly wings using a set of millinery tools for silk flower making as shown in the picture below. For this butterfly I have used a different template which I have included as well! 
To be able to receive the bonus tutorial you will need to subscribe to my mailing list using the link in the Lace Butterfly Tutorial. 
At the moment the lace butterfly tutorial is available for instant download now from my tutorial shop here.
lace butterfly tutorial
Should you have any questions regarding materials or tools prior to purchasing the tutorial please feel free to contact me either via this blog (comments) or at enquiries@presentperfectcreations.com