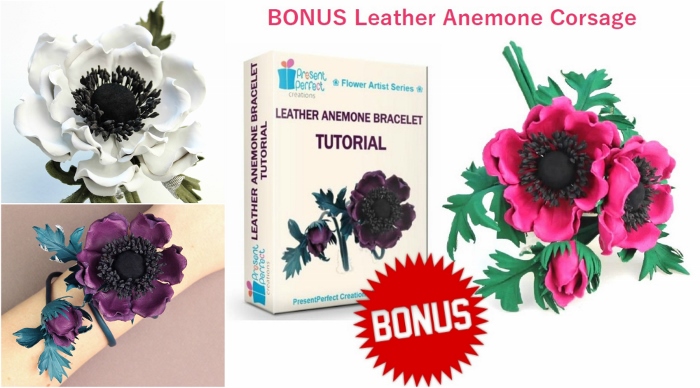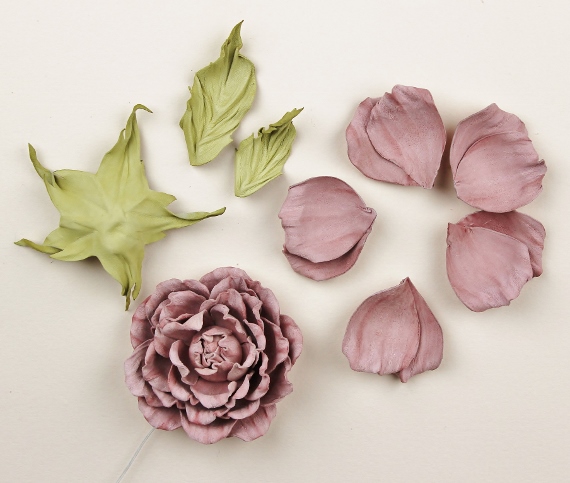
Leather Anemone Collage

FEBRUARY 2019 Flower of the Month: ANEMONE

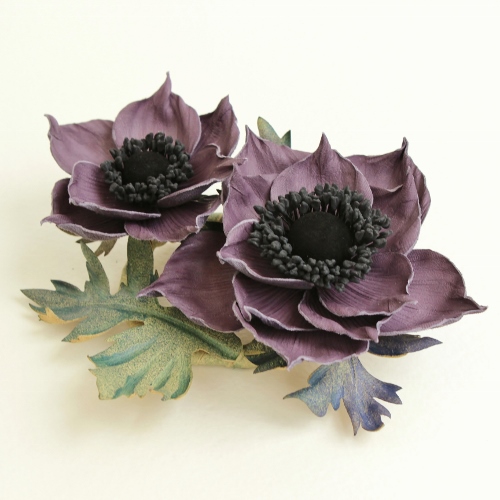
lilac leather anemone broochFirst time leather anemones were featured in my #FlowerBreeze collection back in SS2016. A firm garden favourite, they deserved a detailed tutorial of their own which I am happy to present you with.
 
One of the earliest spring flowers, anemones are a bright uplifting sight after the dark days of winter – pure, simply pretty and cheerful.
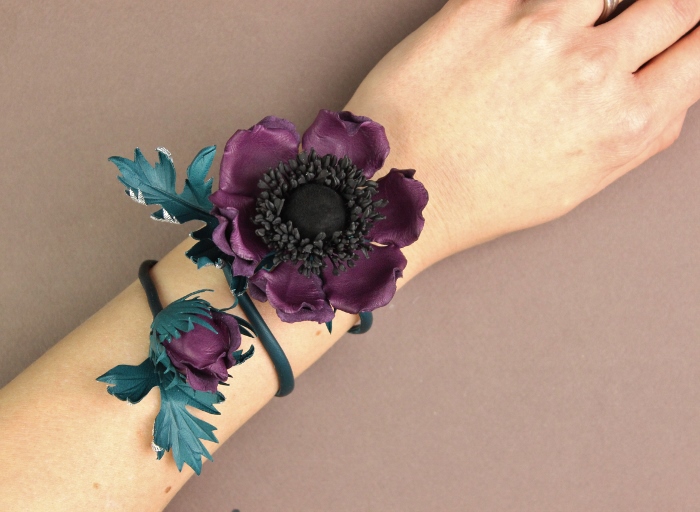
Now with the help of this tutorial you can learn how to create your own anemone bracelet, corsage, buttonhole or another floral accessory with these vibrant blooms in the sizes and colours of your choice.
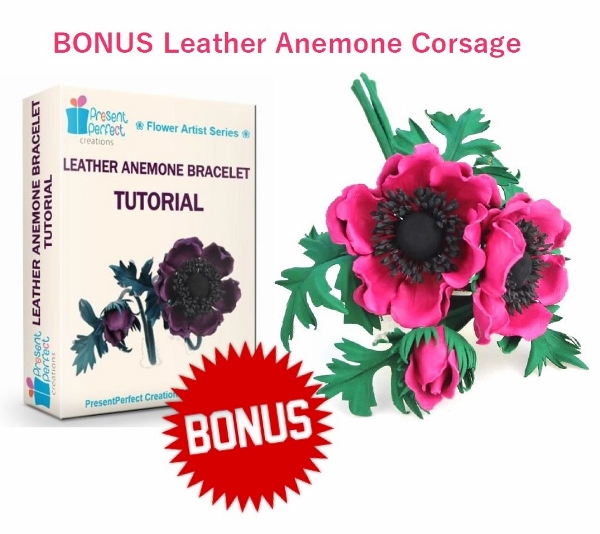
BONUS leather anemone corsage ad (600x534)
For this tutorial I have changed the template and the methods to come up with an improved flower that is charming but not too difficult to make.
As most of my flowers, leather anemone flower can easily be turned into a variety of wearable accessories and trims. The tutorial shows how to make a leather anemone wrap around bracelet. You can turn your leather anemone into a hat trim, a groom’s buttonhole, a headband or a corsage (see the information on the BONUS below) and more.
Straightforward and detailed enough even for a leather flower newbie, this tutorial contains tips that experienced flower artists will find interesting as well. 

The striking centre and the serrated foliage of the leather anemone look really attractive and can be achieved with minimum tools although some patience and practice are required.
But I could not just stop at the anemone bracelet tutorial. So I have prepared a bonus anemone tutorial in addition to the main one. It costs nothing but your review on the main Leather Anemone Tutorial.

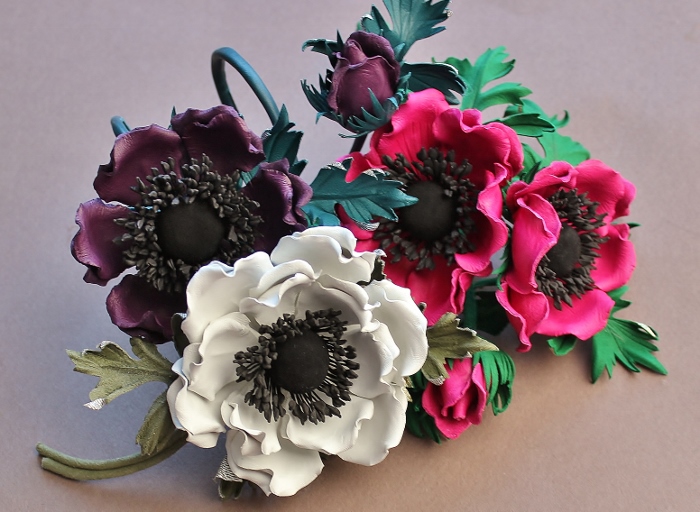
Using the explanations provided in the BONUS tutorial you will be able to assemble a larger anemone corsage arrangement with a large, a medium flower and a bud (see the photo to the left). You will learn how to attach leaves in a different way and see how suede works in leather designs . It contains tips on how to make a double anemone for a more compact flower brooch or a buttonhole. 
So, if you’d like to learn how to make these bright spring blooms and create a variety of accessories with them use this opprtunity to purchase  the tutorial now whilst it is being offered at a special tutorial-of-the-month price (the offer is valid till 28 February 2019)
❀ ❀ ❀ ❀ ❀ ❀ ❀ ❀ ❀ ❀ ❀ ❀ ❀ ❀ ❀ ❀ ❀ ❀ ❀ ❀ ❀ ❀ ❀ ❀ ❀ ❀ ❀ ❀ ❀ ❀ ❀ ❀ ❀ ❀ ❀ ❀ ❀ ❀ ❀ ❀ ❀ ❀ ❀ ❀ ❀ ❀ ❀ ❀ 
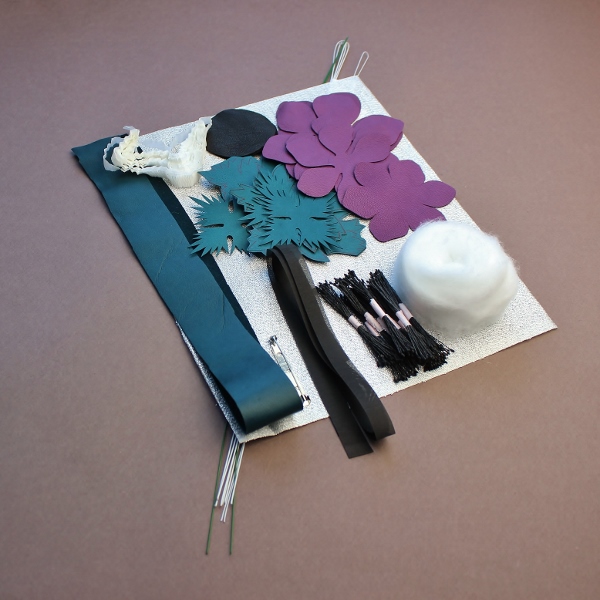
As the flower of the month you can now purchase the leather anemone tutorial + BONUS as well as the DIY kit with a discount (15% OFF). All discounts have already been applied on the website until 28 February 2019. Please click on the photos below to find out more and purchase.
In case if you are lucky enough to already own this tutorial but somehow you have not come round to actually making the anemonies now is the time! 
leather anemone kit
Leather Anemone DIY Kit
Leather Anemone Tutorial + BONUS
colouring stamens for flowers

Colouring stamens for flowers

colouring stamensColouring stamens for flowers made easy!

Although ready made stamens come in a variety of colours and sizes is is often difficult to find ones in suitable colour for a project in question. That’s why I find it easier to colour white stamens myself. This way I make sure that the stamens match my flower in colour and size.

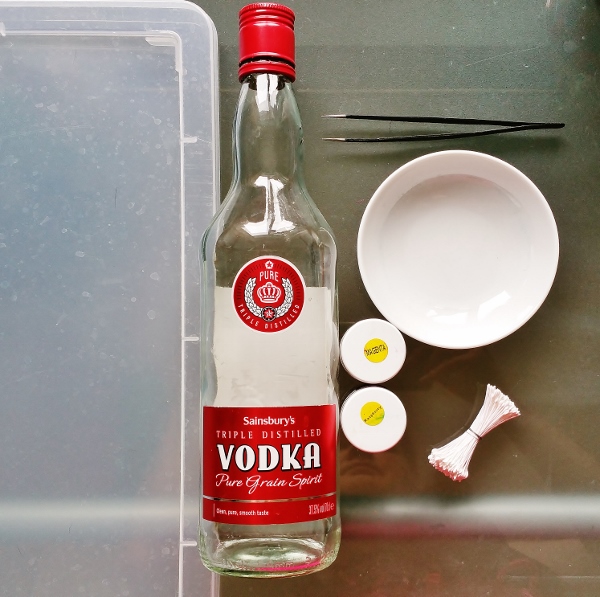
For dyeing stamens we’ll need:
– non porous surface (plastic or glass)
– some vodka (or even better spirit)
– Procion (acid) dyes in chosen colours
– a receptacle (a porcelain dish)
– a pair of tweezers
– a bunch of stamens

Vodka evaporates quicker than water which means the dye will dry before the stamen heads dissolve in the licolouring stamensquid. Water is not as good for this task and even with vodka one should act really quickly.


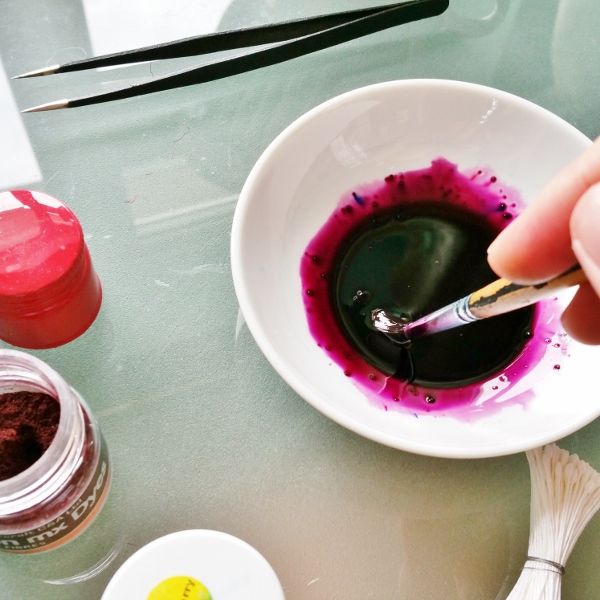
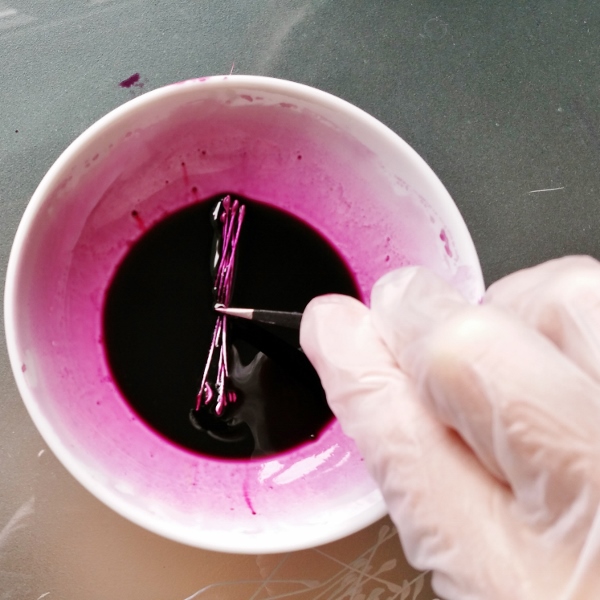
Pour a small quantity of vodka (10-15 ml) into the dish and dissolve some powder dye in it. I find intense colours work better, that’s why I put a generous amount of powder dye into the dish. colouring stamens
Using a brush dissolve the dye well in vodka. It will take a bit longer than dissolving the dye in water, so make sure all the dye grains are dissolved.


Now using a pair of tweezers ( and possibly disposable gloves) dip several stamens at a time into the prepared dye and dye them evenly. Do not try to put all of the stamens at once. This will only dissolve all the stamen heads and ruin the stamens.


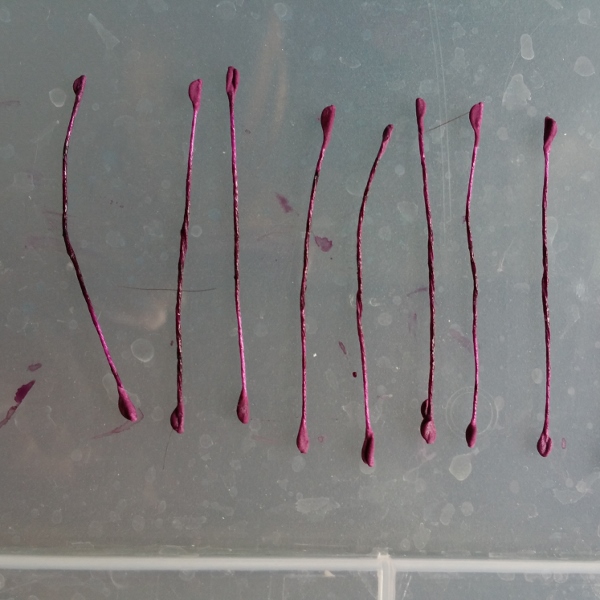
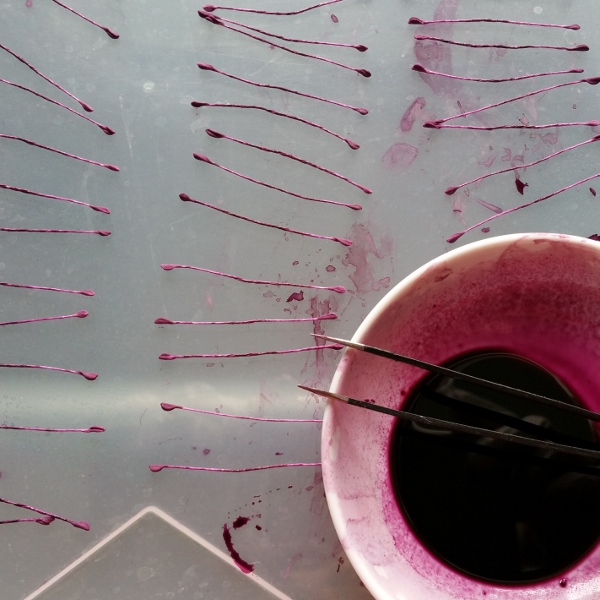
colouring stamensHaving dyed a small bunch of stamens put them onto a prepared non porous surface like glass or plastic and leave to dry. It is important that the stamens are separated (see the photo). Otherwise they will stick together as they are drying.
In this way, portion by porting a small bunch at a time dye all the stamens and lay them out tocolouring stamens dry on the non porous surface. Please do not use paper as the wet stamens stick to it.


I hope this information on colouring stamens for flowers is useful for you and you’ll be confident to dye white stamens for your project now.


Video tutorials on flowers from £39


EXPLORE FLOWER MAKING PHOTO TUTORIALS
EXPLORE FLOWER MAKING VIDEO TUTORIALS
no tool flower making tutorials for beginners

NO TOOL flower making tutorials for beginners

shaping fabric flower petals without the use of tools 8NO tool flower making tutorials for beginners: are there any?

I am well aware of the fact that not every flower making artist (especially a beginning one) has got a set of traditional millinery tools to shape flower petals and leaves. Although this does cause serious restrictions with regards to the techniques that can be used and the final results that can be obtained, there are several methods that could be successfully applied without the use of tools and help make certain flowers. There are several no tool flower making tutorials for beginners too.
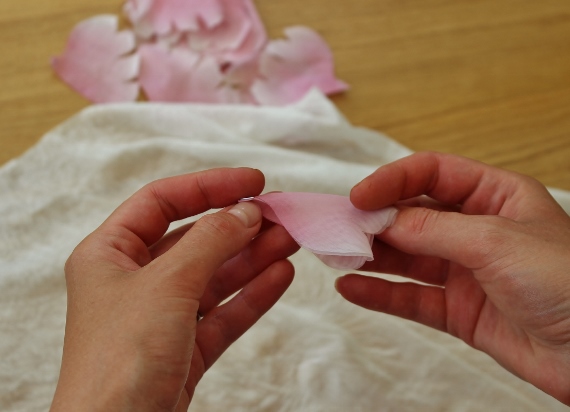
Here on my blog I am explaining how you can shape petals using a so called cold shaping method. This method works great for such flowers as peonies, poppies, irises etc.


Then of course there is a whole branch of flower making that uses artificial fabrics and their qualities. These fabrics can be singed
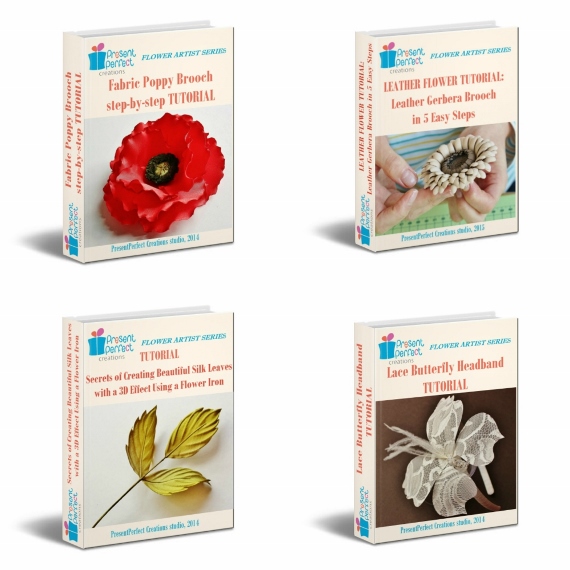
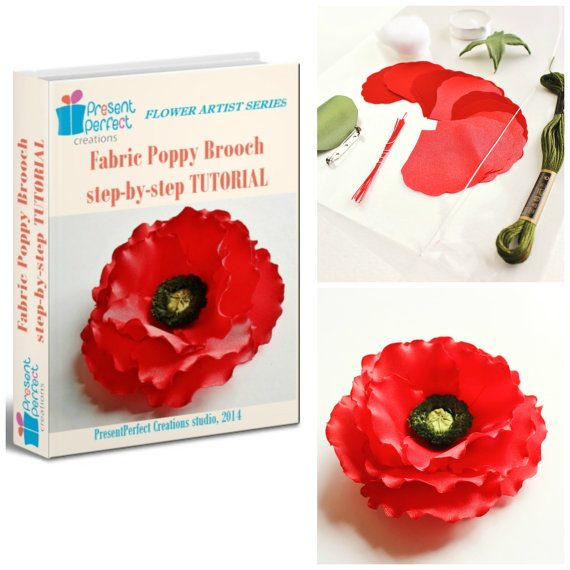
on the flame of a candle to be shaped into petals and leaves. This technique cannot be used for natural fabrics as they simply burn in the flame. To learn more about this technique and make a bright poppy brooch please check out our Fabric Poppy Brooch Tutorial here.


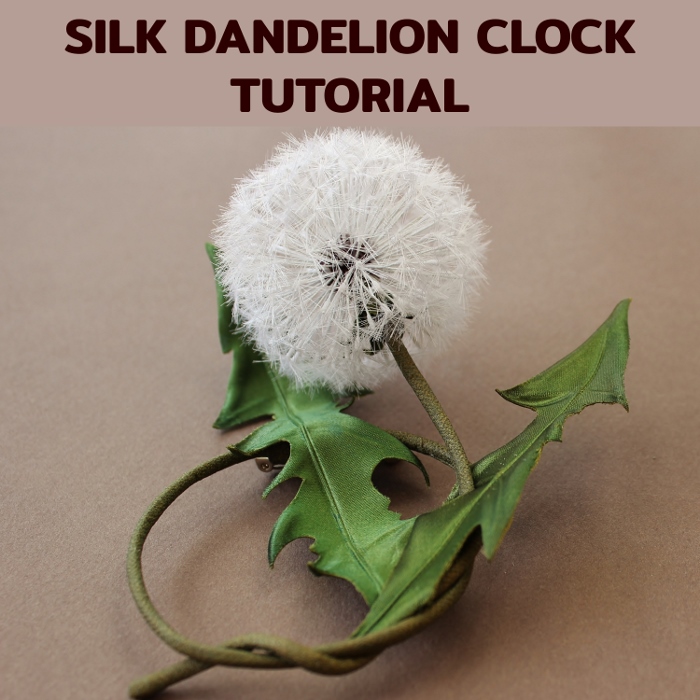
silk dandelion clock tutorial cover


Luckily some fabric flowers do not require tools simply due to their nature and the way they are. This is the case with Silk Dandelion Clock Brooch. Yes, you’ve got it right, to make a dandelion clock out of pure silk you do not need any millinery tools. We do use tools to shape the foliage in the tutorial, so if you wish you can get those tools from our website (hurry as the offer is very limited). Otherwise feel free to omit the tooling.


If you have not yet invested into a set
of tools but would really like to have a go at making flowers why not try leather blooms? The thing is, leather is such a luxurious and beautiful material to work with that often you do not need to do much before you turn it into a lovely flower. Hand shaping combined with the use of a pair of tweezers can create beautiful as well as pretty realistic flowers.


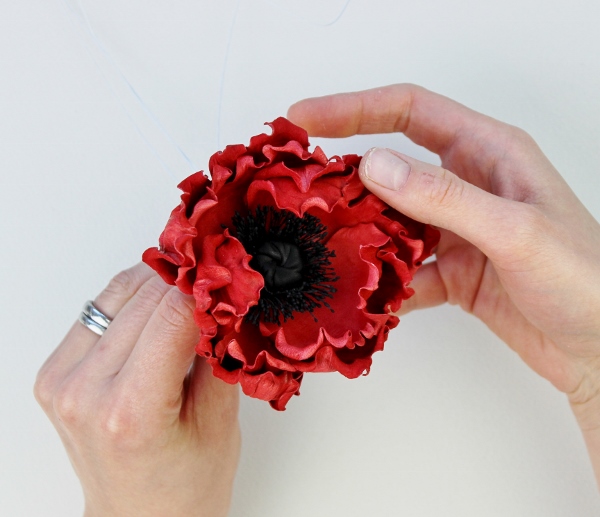
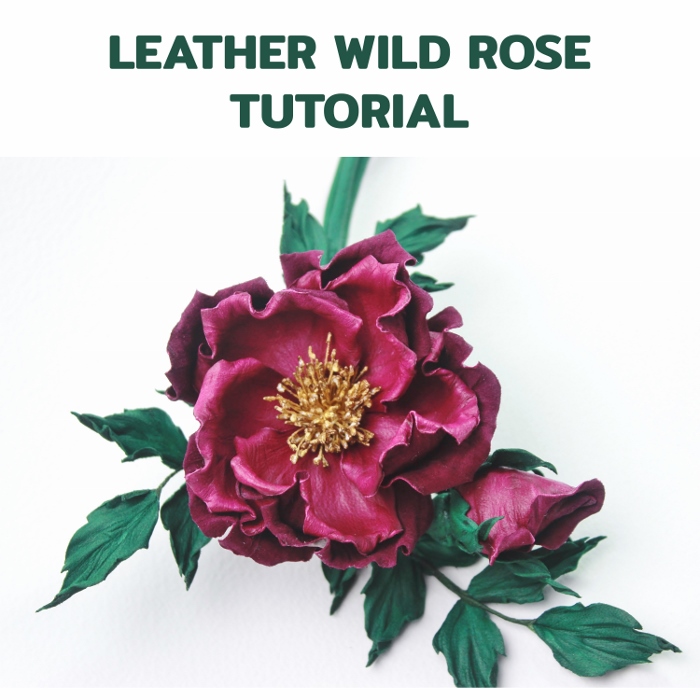
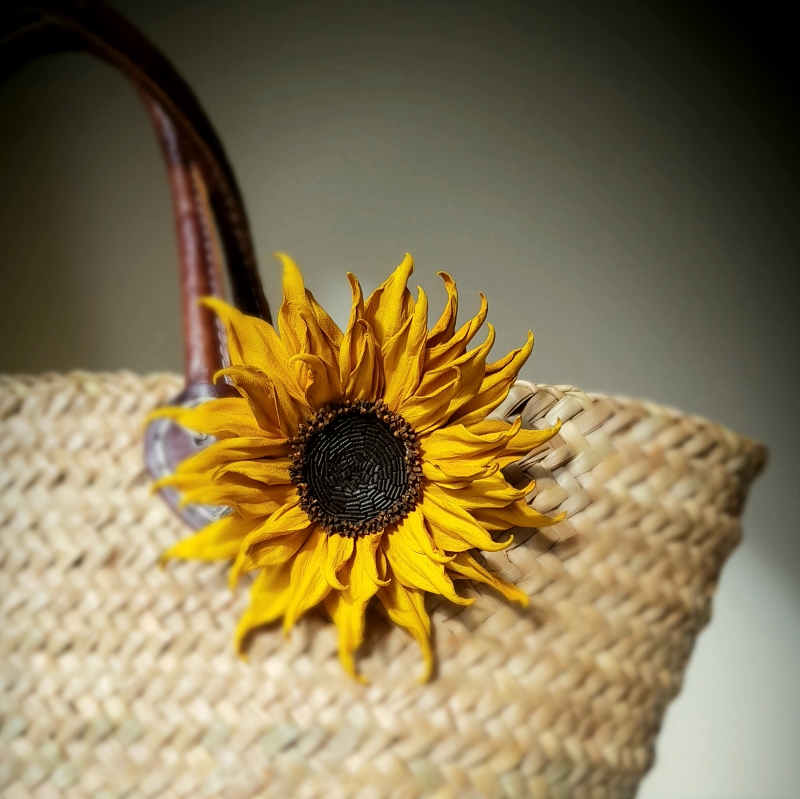
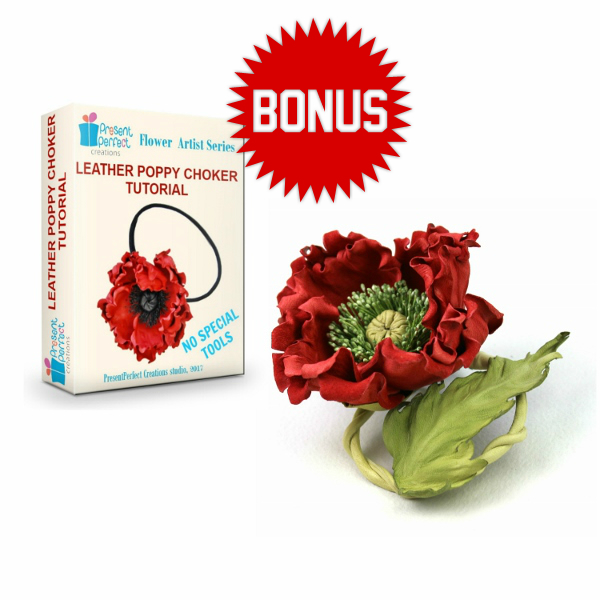
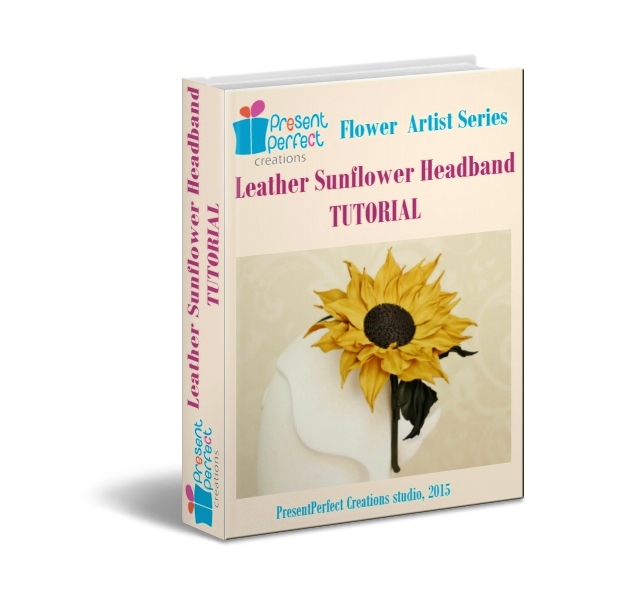
leather sunflower broochWe are happy to offer 3 leather flower making tutorials that require no millinery tools, on Wild Leather Rose leather poppy flower tutorialBrooch , on Leather Sunflower Headband and on Leather Poppy Choker.
They are a good point to start from if you want to explore leather flower making
without the need to invest in a set of millinery tools.
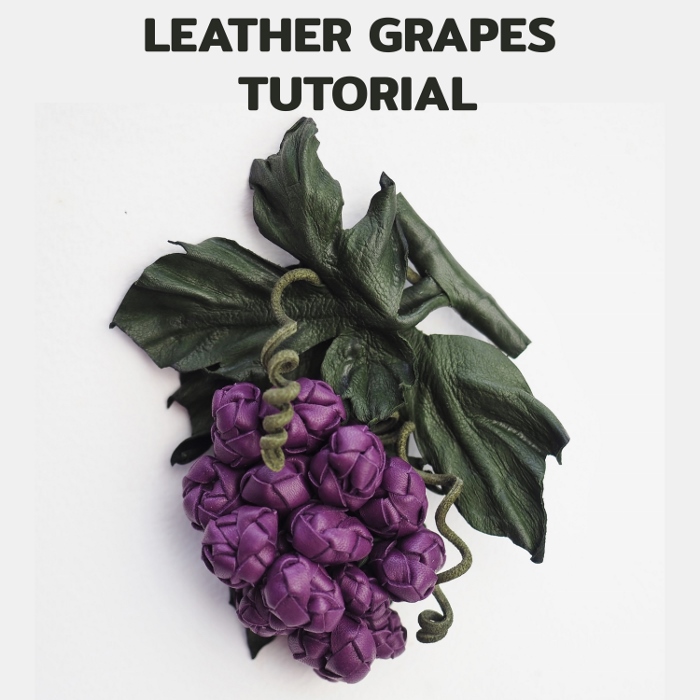
leather grape tutorial
One of our latest no-tool leather tutorials in on the Leather Grapes. Again, using only your hands and some specialist techniques you can create a beautiful bunch of grapes in a variety of  colours and sizes to be used as a brooch, a hat trim or another accessory.
To learn more about the Leather Grape Tutorial click here


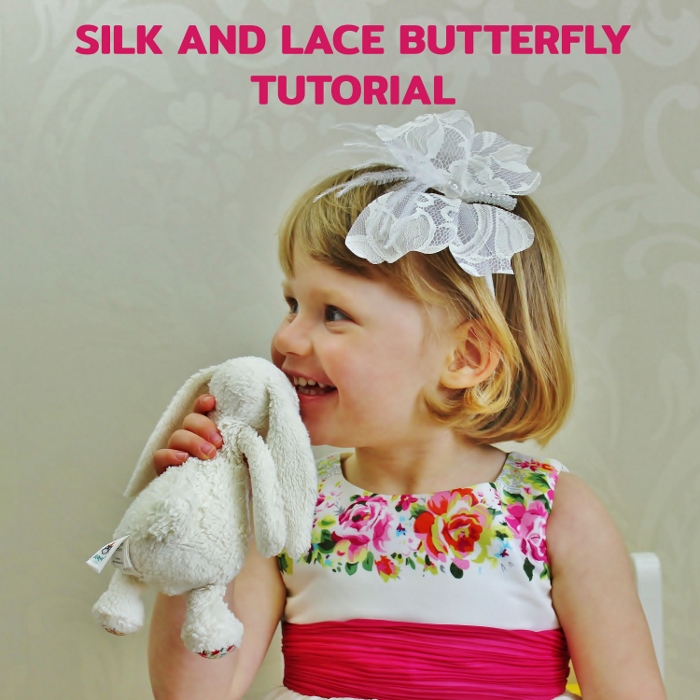
silk and lace butterfly tutorial

If you wish to work with more unusual material like lace, the iconic tutorial on Lace and Silk Butterfly can be a good one to explore. Although butterfly wings can be shaped with millinery  tools (and there’s a BONUS on how to do this), the butterfly in the picture can be made without the use of tools. DIY kits for the lace and silk butterfly are also available and sold separately. To learn more about the Lace and Silk Butterfly Tutorial click here.


I hope you will find some of these no tool flower making tutorials for beginners useful. Feel free to share photos of you finished pieces with us ☺

Subscribe to our YouTube Channel for more flower making videos.

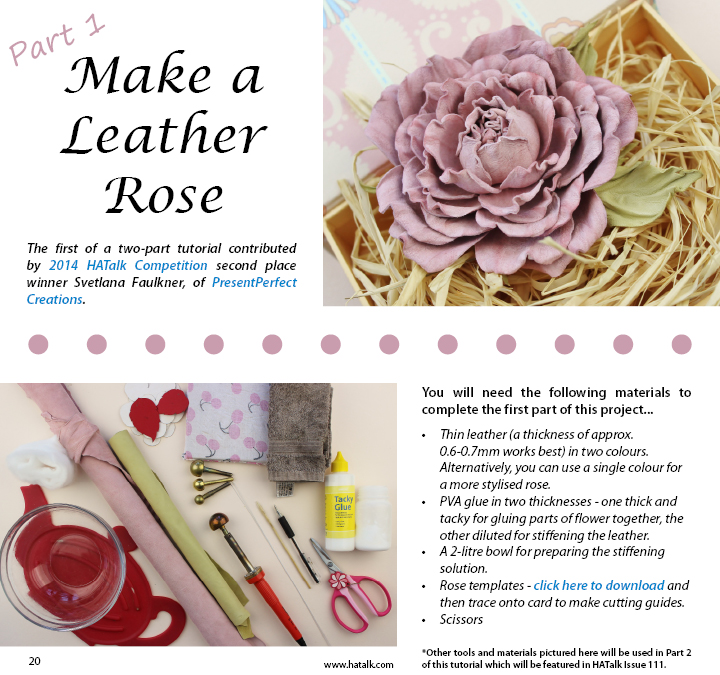
My leather rose tutorial for HATalk e-magazine

Leather Rose Tutorial (intermediate)

Leather English Rose Tutorial (advanvced)

Leather Wild Rose Tutorial (beginner)

introduction to leather flower making ebook


Just to let you know...

Our Introduction to Leather Flower Making ebook is out now and available for immediate download after purchase. 
Learn the basics about working with leather to start making exquisite leather flowers of your own to match any project at hand.


You are well aware that I make flowers not only out of fabric but out of genuine leather too.

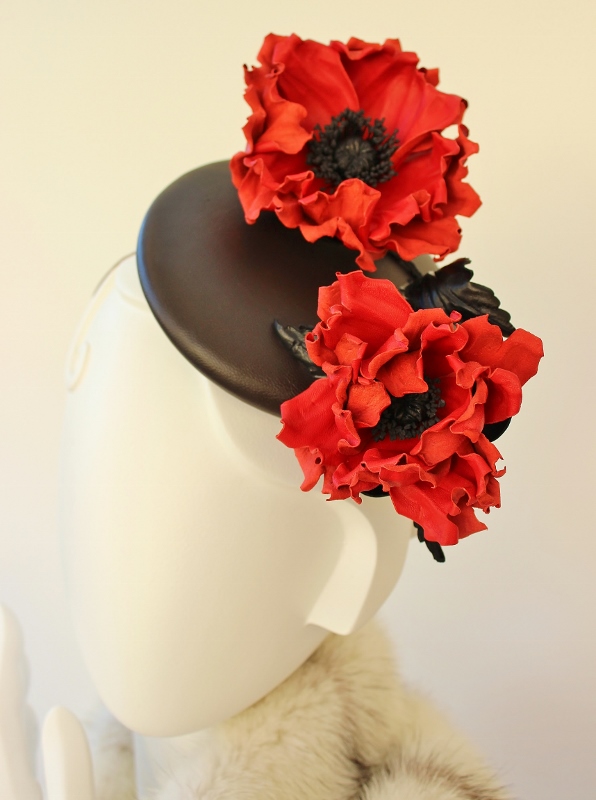
In November 2014 I took part in a millinery contest devoted to the First World War Centenary organised by HATalk Social. To express the theme of Remembrance I created a leather button hat with large bright red leather poppies (on the left). The judges were favourable enough to award me the second place out of 100+ contestants from all over the world. Needless to say I was thrilled! Not only have I won some hat blocks but also I have been asked to contribute to their ezine by offering a leather flower tutorial to the subscribers of HATalk monthly e-publication.
This months saw the release of the first part of my exclusive leather rose tutorial that is shown in the picture below.

PresentPerfect

If you have all the necessary equipment for fabric flower making but have never tried making leather flowers I think you should give it a go. Leather flowers require less manipulations but due to the nature of material look as equally (if not more!) impressive as the silk ones. Besides, they are a good robust trimming alternative for those colder months when thin transparent fabrics look a bit out of place.

leather corsage tutorial

If you have not yet invested into a set of tools but would really like to have a go at making flowers why not try leather blooms? The thing is, leather is such a luxurious and beautiful material to work with that often you do not need to do much before you turn it into a lovely flower. Hand shaping combined with the use of a pair of tweezers can create beautiful as well as pretty realistic flowers. 

We are happy to offer a number of leather flower making tutorials that require no millinery tools, on Wild Leather Rose Brooch on Leather Sunflower Headband and on Leather Poppy Choker. They are a good point to start from if you want to explore leather flower making without the need to invest in a set of millinery tools. Moreover, in these tutrorials you will learn how to make 3 different types of accessories (a brooch, a headpiece and a choker).
Flower making kits are available separately. Click on the photos of the tutorials for more information.
 

I have a schedule packed with more forthcoming leather flower tutorials, so if this topic is of interest to you do subscribe to my updates below and be the first to leather poppy flower tutorialknow about new tutorials. As my subscriber you will have a chance to purchase them with an attractive discount too!

CLICK HERE TO SUBSCRIBE TO OUR FLOWER MAKERS' UPDATES&OFFERS

You might also like these articles:

NO TOOL flower making tutorials for beginners

Choosing the right glue for making flowers

How I choose leather for making flowers

stiffening leather tutorial

How I tame leather. Mini-tutorial on stiffening leather skins

Stiffening leather tutorial

Those of you who have tried working with genuine leather know how temperamental it can be. Leather is a natural product and as a result may have imperfections such as holes or scars, the thickness and stretch can vary too. And it is completely unpredictable when it comes to shaping it with hot flower iron.
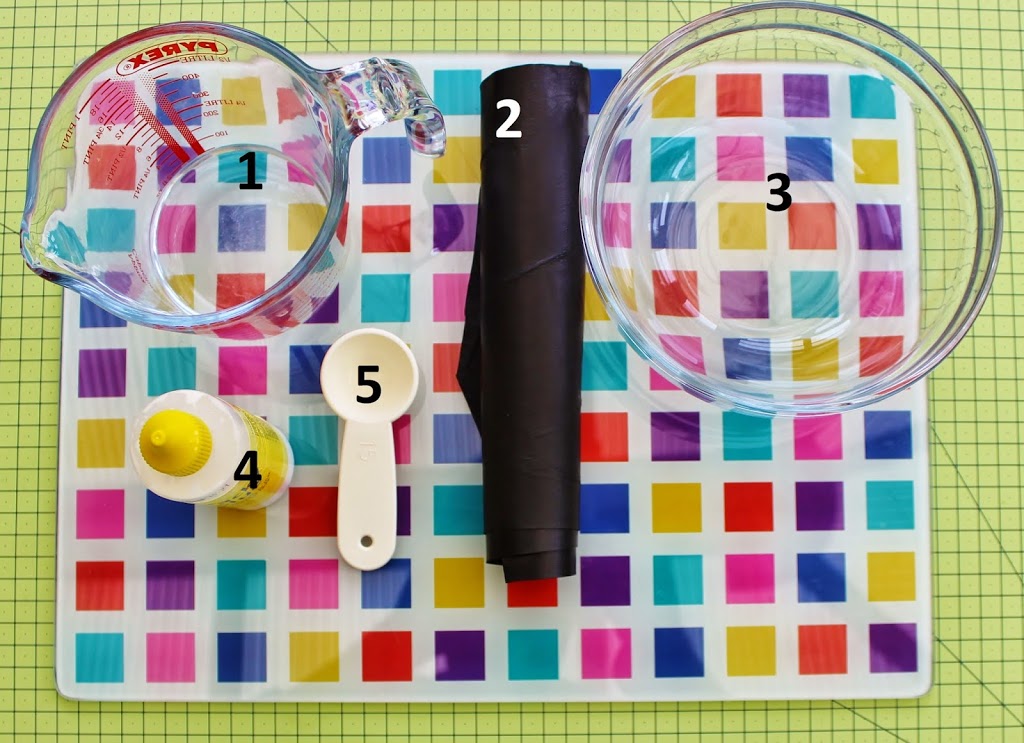
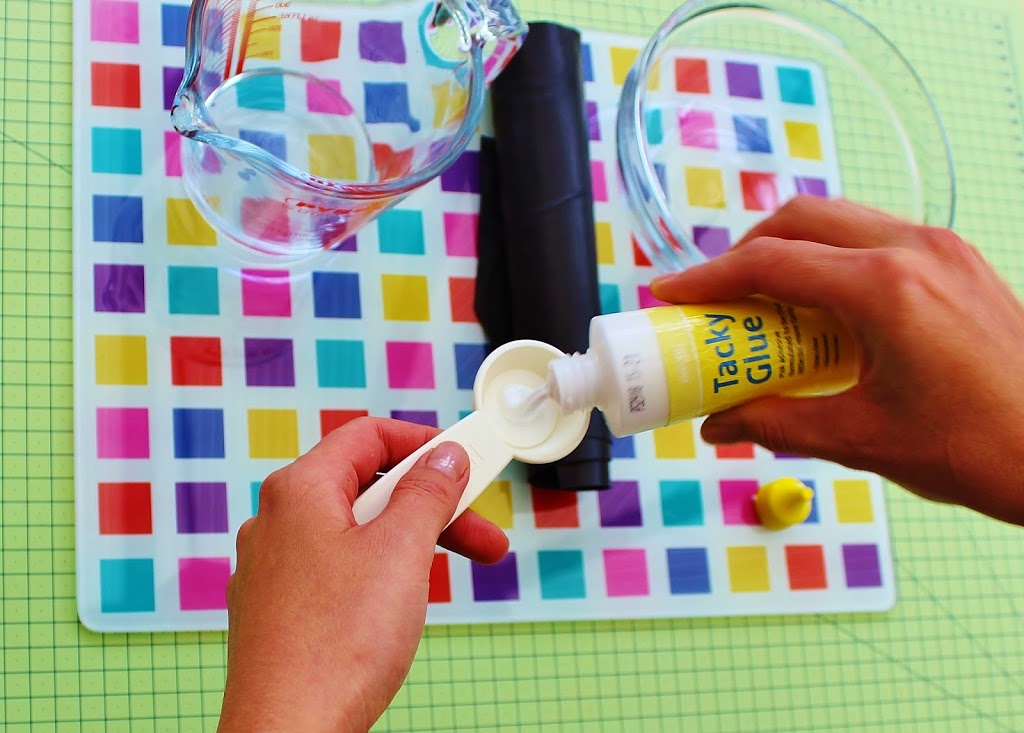
For my floral pieces I stiffen leather is several ways. Today I am going to share one of this ways with you. The result is a flat stiff piece of leather that can be shaped with a flower iron. I use flat stiff leather to make a range of flowers including my camellias, gerberas etc.So here is how I do it. But first of all the kit:

1. Measuring jug
2. A piece of genuine leather for stiffening
3. Bowl
4. White (PVA) glue
5. Measuring spoon
and a piece of plastic or a glass board as seen in the picture.
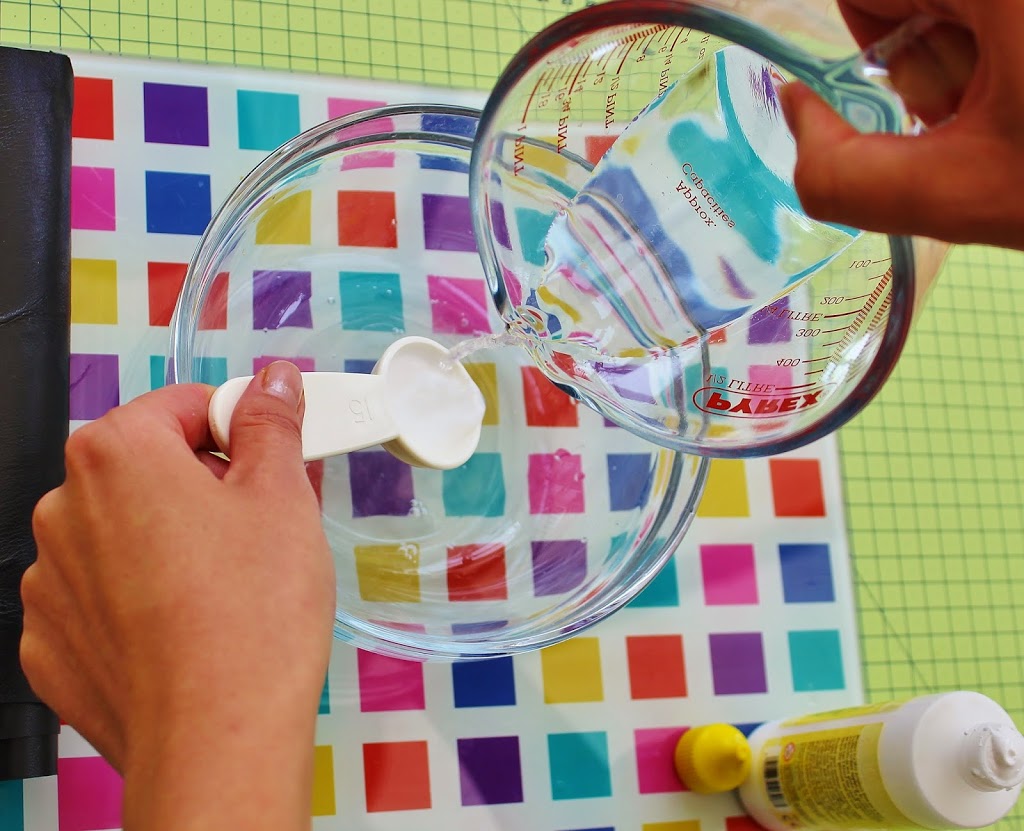
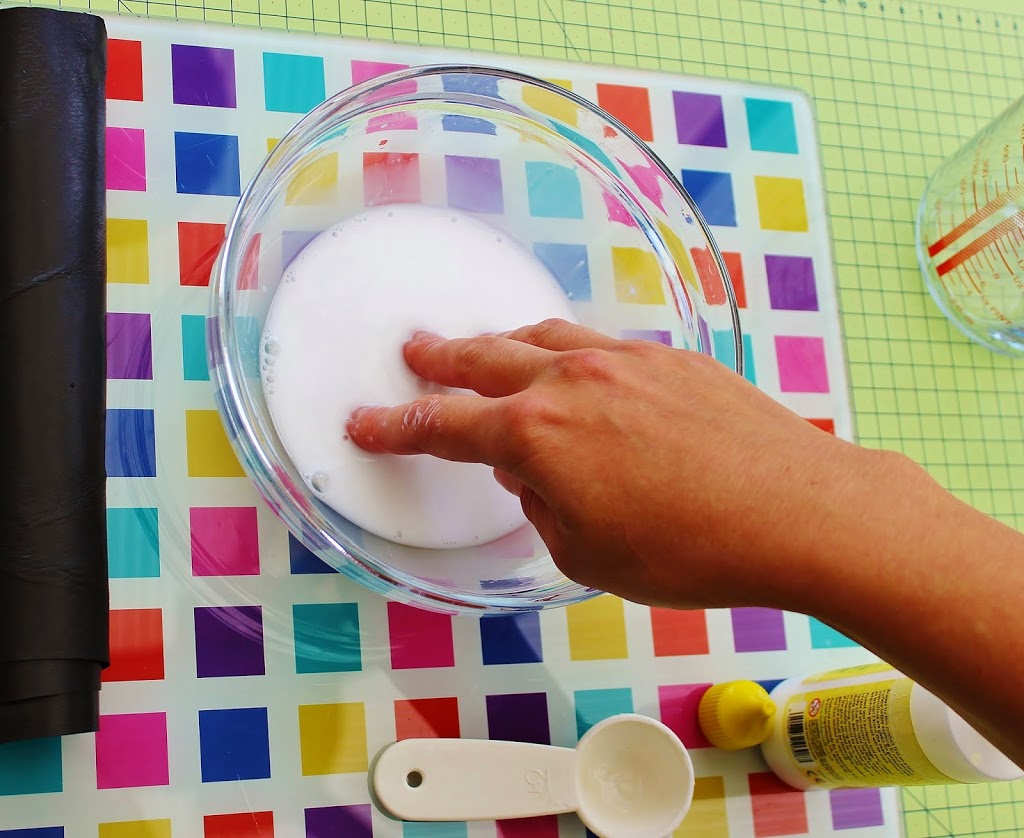
I use a rather thiсk PVA glue intended for craft purposes. The ratio of glue to water can be 1 part of glue  to 5 -10 parts of water depending on how thick your leather is or how tacky your glue is and how stiff you want the leather to be. You might need to experiment with the quantities, but the general guidelines are: the thicker the leather the weaker the solution (less glue). The ready to use solution should look like milk.

I use a measuring spoon to measure the amount of glue.

In the picture 10 ml of glue are being mixed with 100 ml of water.

Dissolve the glue in water to get a solution resembling milk. If you have sensitive skin consider wearing gloves.

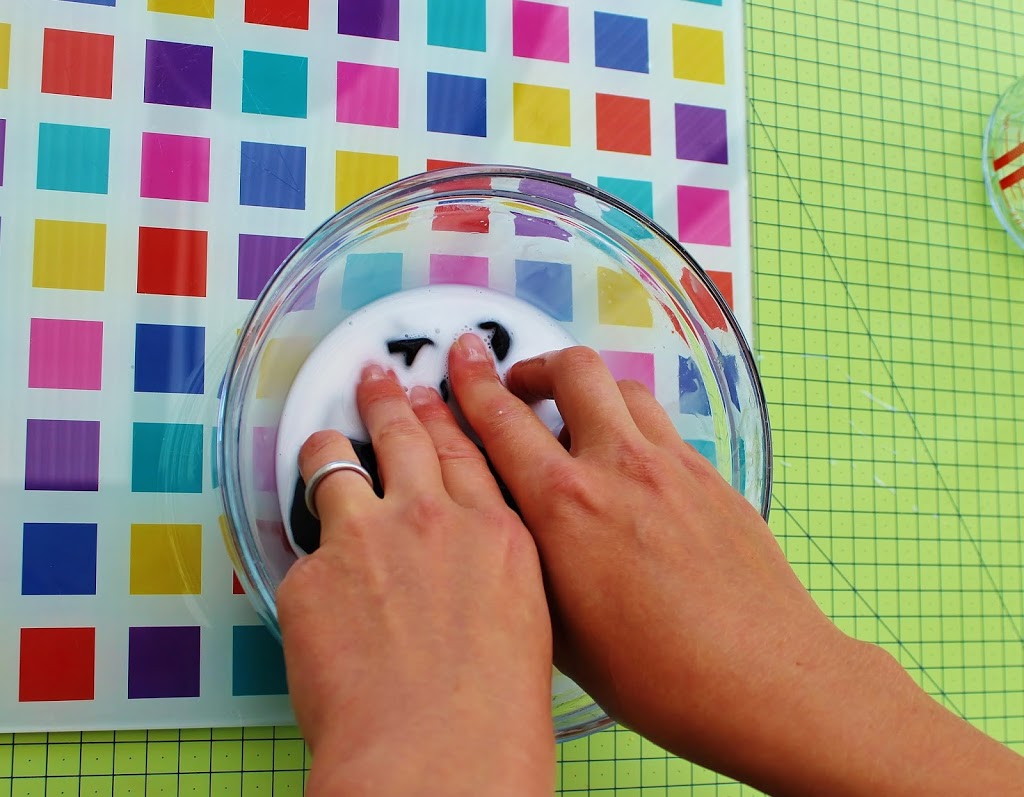
Immerse the piece of leather (about A4 size or so) into the solution and make sure it is well soaked in it.

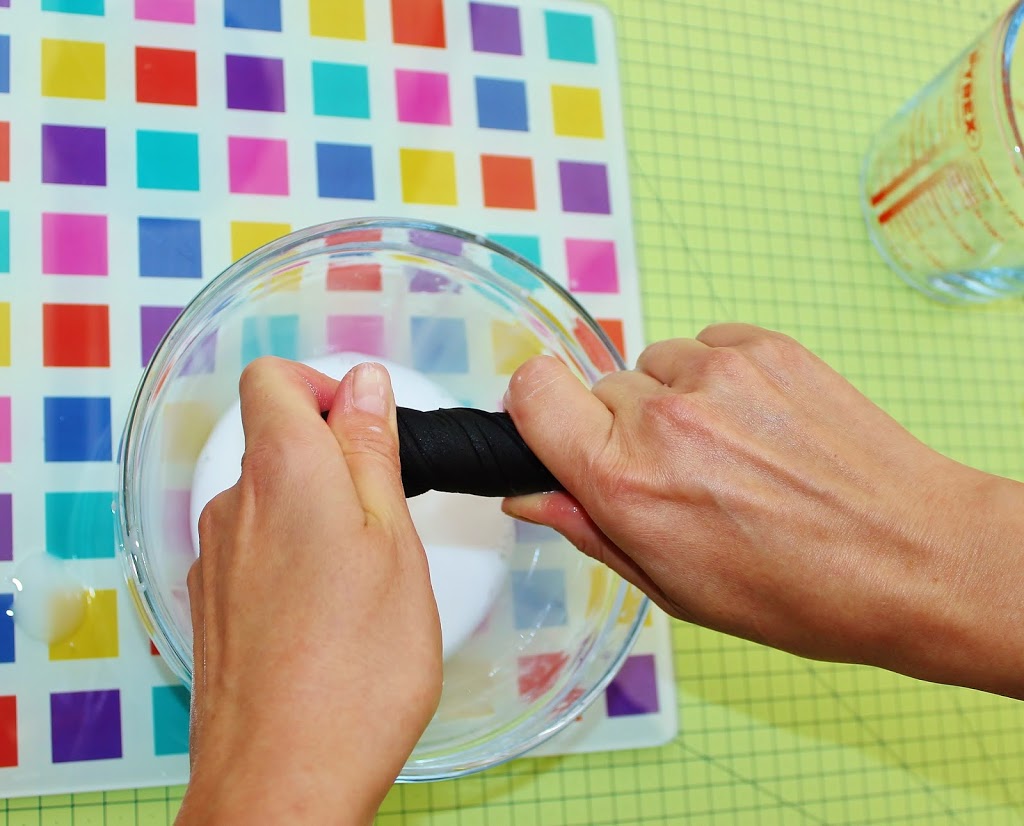
When the whole piece has been soaked, twist it to get rid of extra solution. The leather should be almost dry.

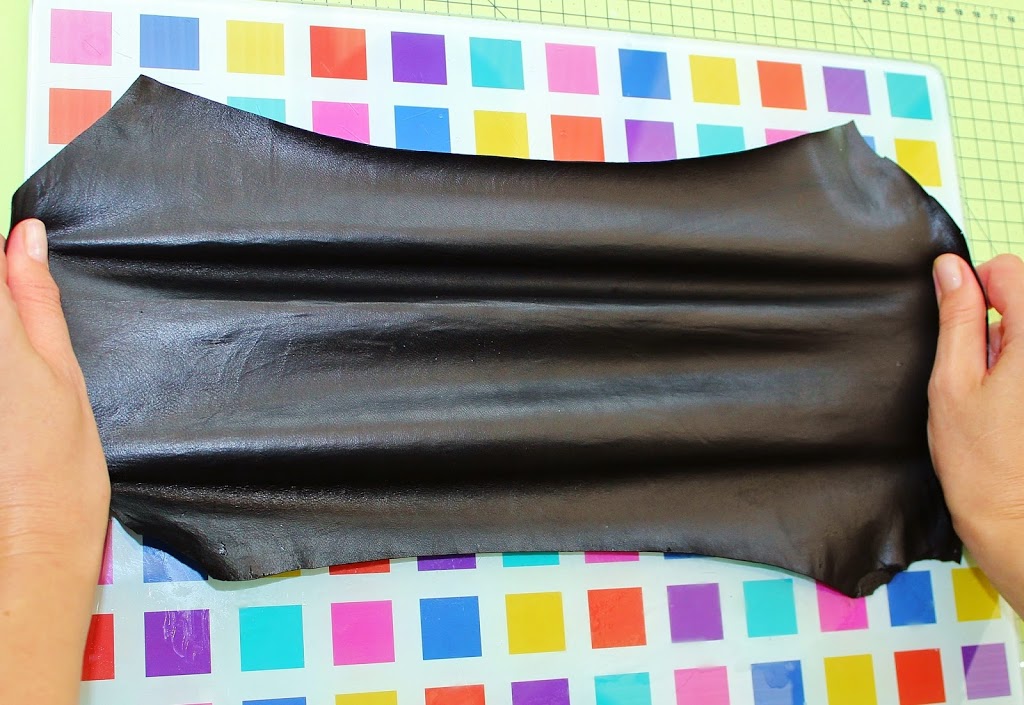
Then stretch it to make it even and thin it a bit more. I tend to use leathers with a thickness of 0.6-0.8 mm or so the sellers say but it is still rather thick for the flower making. Stretching the wet piece of leather in some cases makes it thinner but it all depends on the properties of the particular leather you are using.

I stretch in all directions: horizontally, vertically and diagonally.

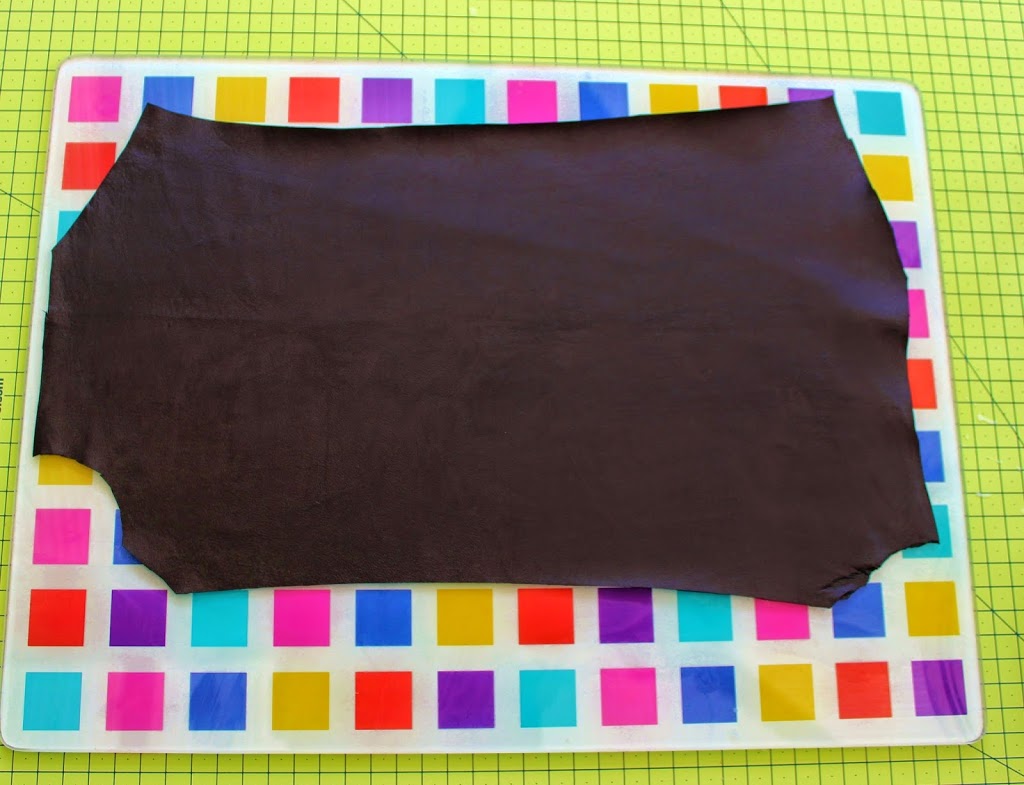
With your both hands flatten the stretch piece of leather on the smooth flat surface (like this glass board).

Leave the flattened and smoothed piece of leather to dry completely before cutting and tooling it. It might take up to 24 hours.


stiffening leather


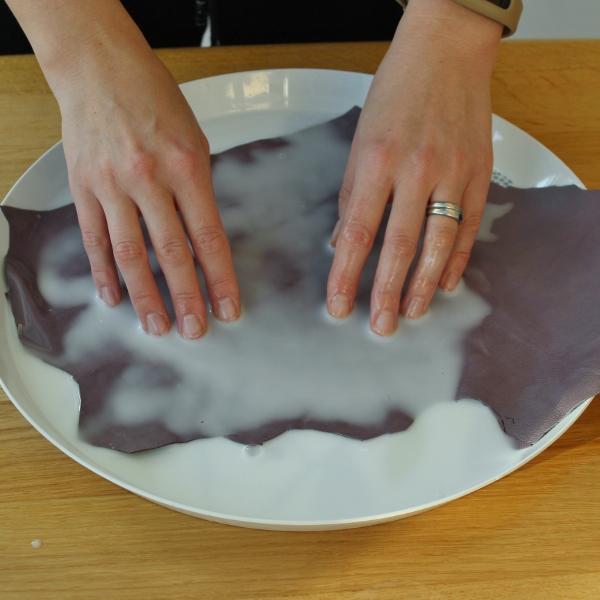
Coloured leather skins are rather delicate and may require more gentle handling than the black leather shown in the photos  above.

Consider using a large kitchen tray where you can place your leather in one layer. Place the piece of leather into the tray (either side up) and pour the warm stiffening solution over it. Let it soak for several minutes. Most probably you will need to help the leather get well saturated by gently rubbing the solution into the leather with your fingertips. Try to do it carefully to avoid making any marks or damage the surface of the leather.
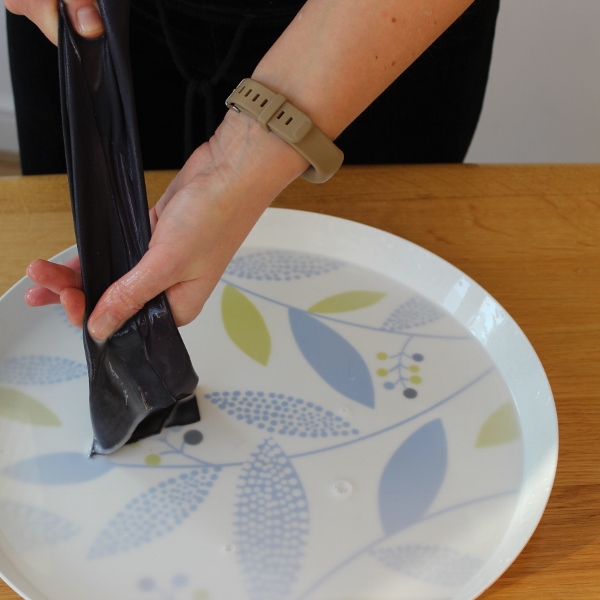
stiffening leather


Once the leather has gone evenly darker all over its surface, lift it and gently squeeze any extra solution out of it by running it between your fingers. Then you can spread it onto a work surface or a glass table evenly as shown above and leave to dry completely.


leather dahlia brooch tutorial

I hope find this stiffening leather tutorial useful.

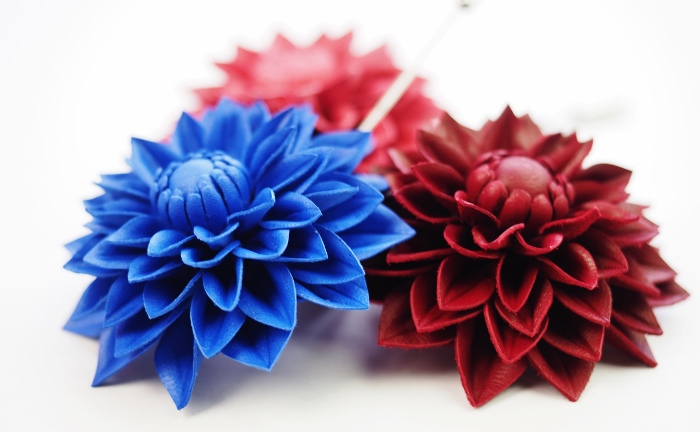
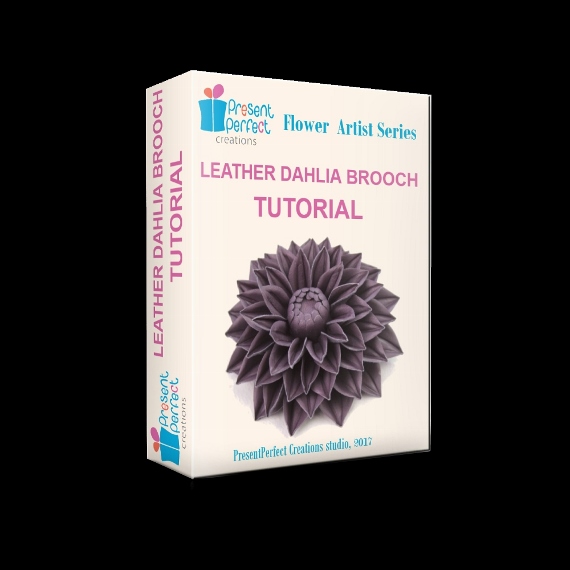
For more detailed instructions on how to stiffen coloured (especially pale) leather skins refer to our detailed LEATHER DAHLIA TUTORIAL.


Good luck with your stiffening!


You are welcome to follow me on Instagram here 

or become my patron on Patreon here