colouring stamens for flowers

Colouring stamens for flowers

colouring stamensColouring stamens for flowers made easy!

Although ready made stamens come in a variety of colours and sizes is is often difficult to find ones in suitable colour for a project in question. That’s why I find it easier to colour white stamens myself. This way I make sure that the stamens match my flower in colour and size.

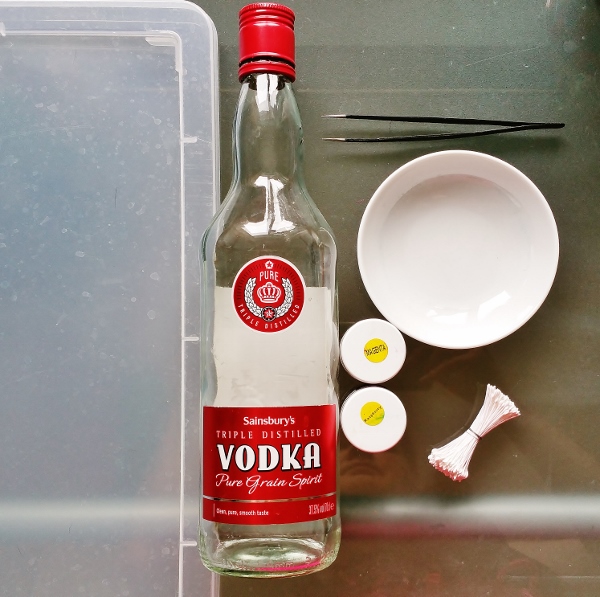
For dyeing stamens we’ll need:
– non porous surface (plastic or glass)
– some vodka (or even better spirit)
– Procion (acid) dyes in chosen colours
– a receptacle (a porcelain dish)
– a pair of tweezers
– a bunch of stamens

Vodka evaporates quicker than water which means the dye will dry before the stamen heads dissolve in the licolouring stamensquid. Water is not as good for this task and even with vodka one should act really quickly.
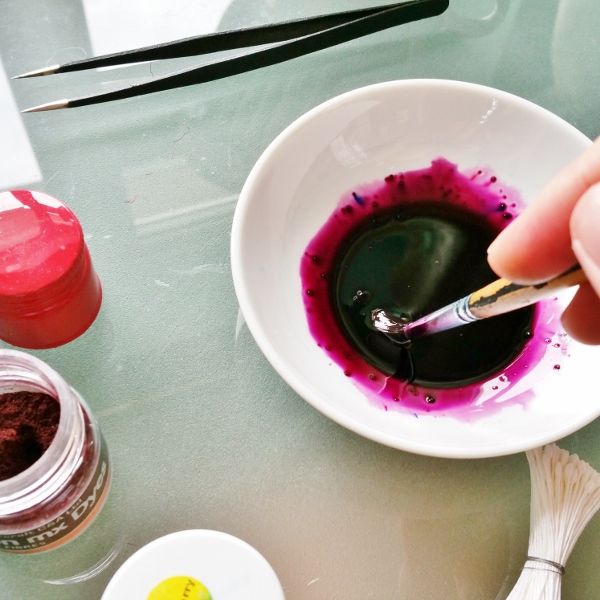
 

Pour a small quantity of vodka (10-15 ml) into the dish and dissolve some powder dye in it. I find intense colours work better, that’s why I put a generous amount of powder dye into the dish. colouring stamens
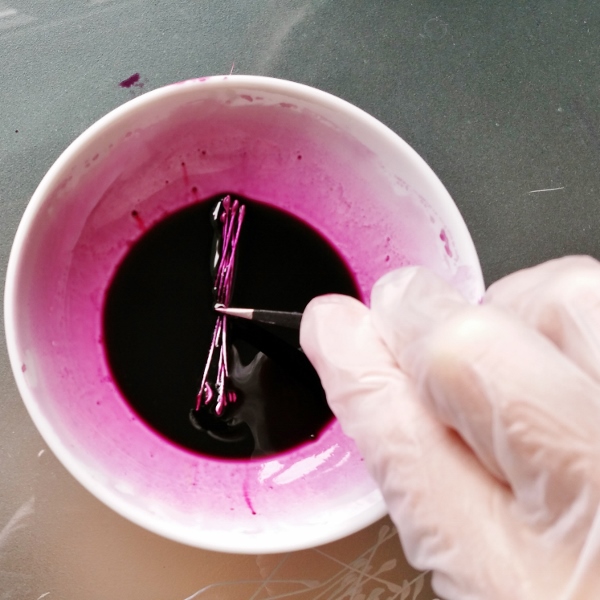
Using a brush dissolve the dye well in vodka. It will take a bit longer than dissolving the dye in water, so make sure all the dye grains are dissolved.


Now using a pair of tweezers ( and possibly disposable gloves) dip several stamens at a time into the prepared dye and dye them evenly. Do not try to put all of the stamens at once. This will only dissolve all the stamen heads and ruin the stamens.
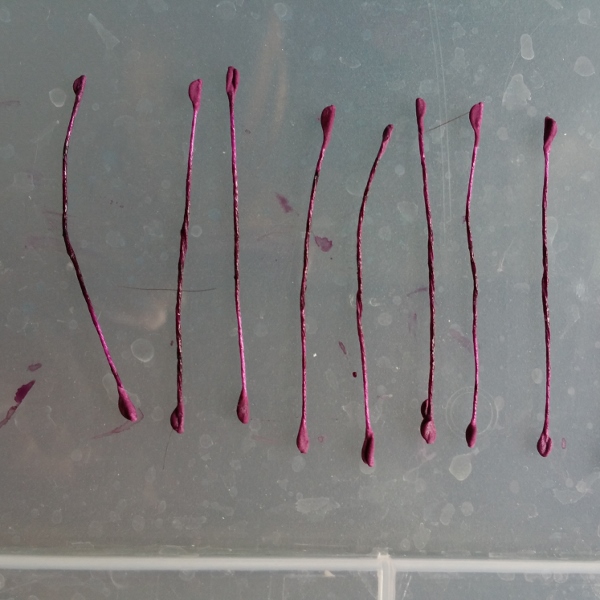
 

colouring stamensHaving dyed a small bunch of stamens put them onto a prepared non porous surface like glass or plastic and leave to dry. It is important that the stamens are separated (see the photo). Otherwise they will stick together as they are drying.
In this way, portion by porting a small bunch at a time dye all the stamens and lay them out tocolouring stamens dry on the non porous surface. Please do not use paper as the wet stamens stick to it.
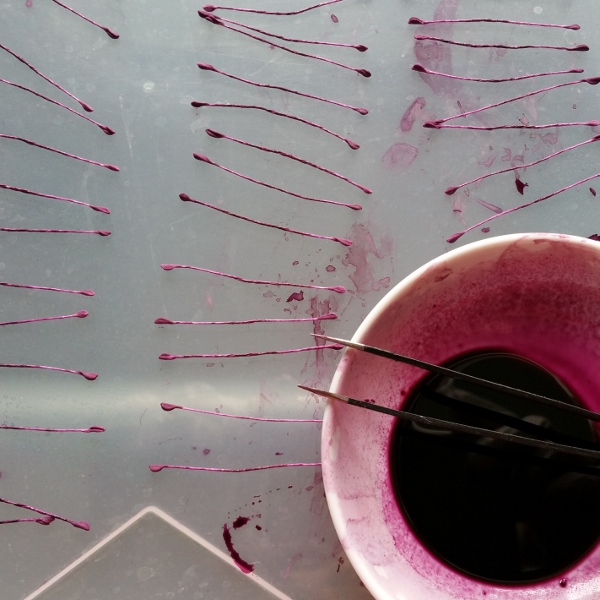
 

I hope this information on colouring stamens for flowers is useful for you and you’ll be confident to dye white stamens for your project now.


Video tutorials on flowers from £39


EXPLORE FLOWER MAKING PHOTO TUTORIALS
EXPLORE FLOWER MAKING VIDEO TUTORIALS
glue for making flowers

Choosing the right glue for making flowers

To glue or not to glue? Let’s talk about choosing the right glue for making flowers

glue for making flowers


You can now buy the glue that has been specifically developed for making flowers. To find out more about this glue click here >>>>>


I receive a lot of emails with questions on different aspects of flower making. One of such burning questions is about choosing the right glue for making flowers with either fabric or leather.
I am not sure if I have mentioned this, but Japan is the country where the craft of making artificial flowers has truly blossomed into a real art. Therefore, there are all sorts of supplies available to those who decide to take it up ranging from various industrially prestiffened fabrics to special dyes and brushes, wires, stamens etc. etc. not to mention the oh-so-important glue.

choosing the right glue for making flowers Whilst it is easy and enjoyable to work with authentic materials, it is not always achievable. None of us live in Japan so we must find a replacement that we could purchase in our own country if we want to make good quality fabric flowers.
I live and work in Britain but I will try to offer alternatives that are going to be widely available (hopefully) as well as explain to you what you should look for.
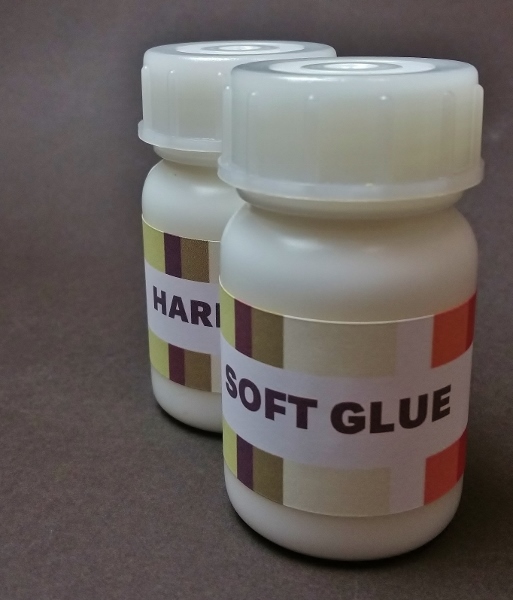
In case if you were wondering I only work with PVA white glue. I never use any superglue or a hot glue gun in my works, although I know that other artists do use them. For the flowers made using the principles of the Japanese school 2 types of PVA glue are recommended. They are called soft and hard.
Soft glue is slightly less thick and takes longer to dry. It is used for gluing parts onto the backing allowing us enough tine to do that.
Hard glue is used for assembling jobs. You will particularly appreciate it when assembling large multipetal roses. Although very tacky and quick drying it still gives us time to reposition petals if we are not entirely satisfied with the way they have been assembled.

choosing the right glue for making flowers


Otherwise, you can get this best replacement for the Japanese hard glue that I have found, SOBO glue available on Amazon.
It is really thick and can is ideal for assembling flowers. It dries quickly and becomes clear once dry.


choosing the right glue for making flowers

As for the soft PVA glue there are several options available. For those of you who are in the UK, I would recommend to check out the tacky PVA glue from Hobbycraft (click here to go to their website)
Another option is PVA based fabric or wood glues which can also be used in flower making.
Also, have a look at this trial pack of tacky fabric glues by Aleene’s which look very promising.

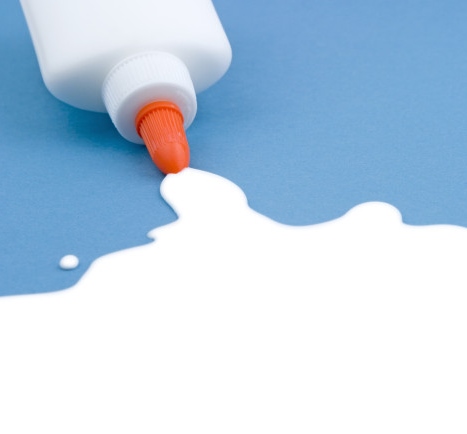
By all means remember that both soft and hard glues are very thick and steer clear from stationary PVA glue that is meant to glue paper and card. Those are usually too runny for the job we do and can be very messy to work with.
I hope you have found this article useful and it will help you choose the right glue to work with.

Should you wish to receive answers to your questions, more in-depth information on how to make flowers out of fabric and leather as well as get discounts on our pdf and video tutorials please feel free to sign up for our updates here

lace orchid circlet

How to stiffen lace and velvet for the new tutorial

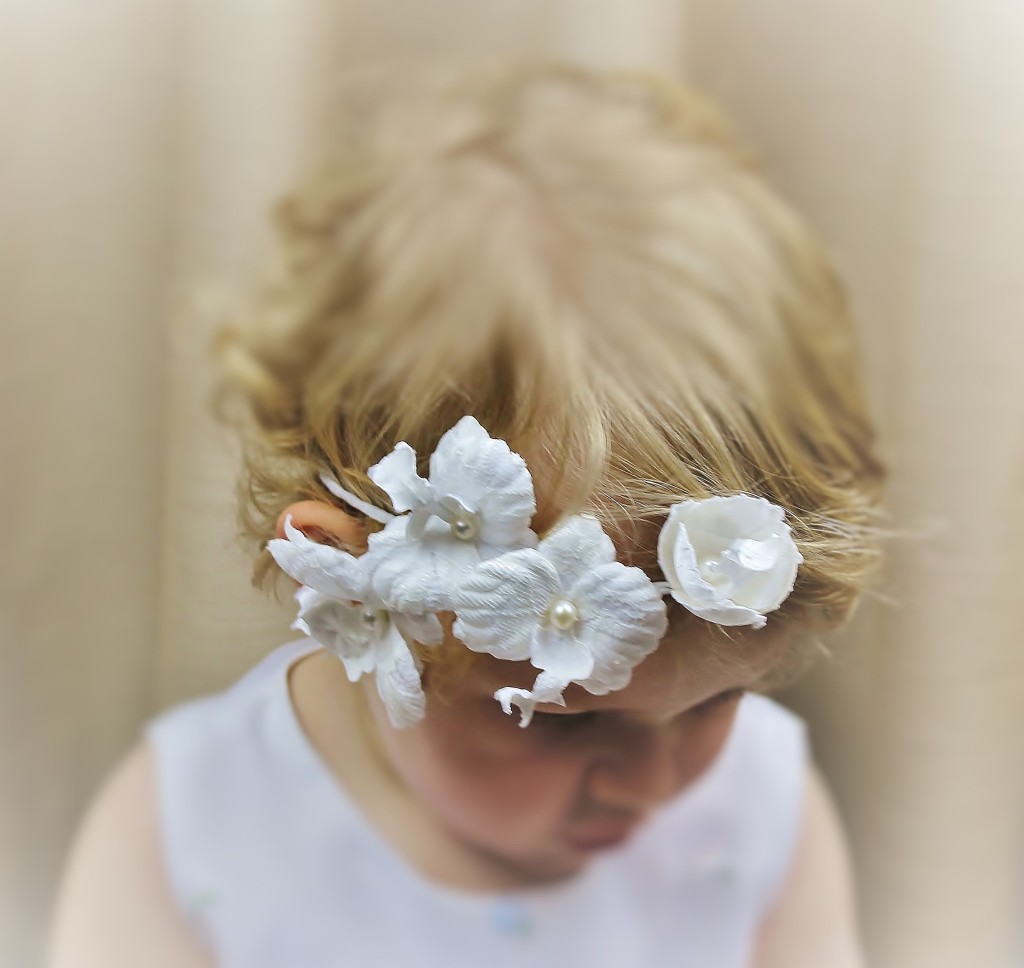
lace orchid headband 2At the moment I am working on a new video tutorial on Silk and Lace Orchid flowers where I will show you and explain how to make an open hair circlet with lace and silk orchids decorated with freshwater pearls.

All the fabrics that are used for making flowers using a flower iron have to be stiffened and lace is no exception here. Please read through a mini-tutorial below to learn how you can prepare your velvet and lace for making flowers.

I often use lace and velvet fabrics for making leaves to enhance my fantasy flowers.

Whilst it is possible to obtain industrially treated delicate fabrics tutorial 1velvet ready for making flowers, I have never seen any ready to use lace fabric. So what to do if you have that nice piece of vintage lace or gorgeously coloured square of velvet you would like to incorporate into your design? Use gelatine? I can tell you from my experience these attempts have not been very successful as the gelatine tends to form a film on the structure of the lace and makes the velvet pile all stuck together. So how to prepare these delicate fabrics for using in flower making?
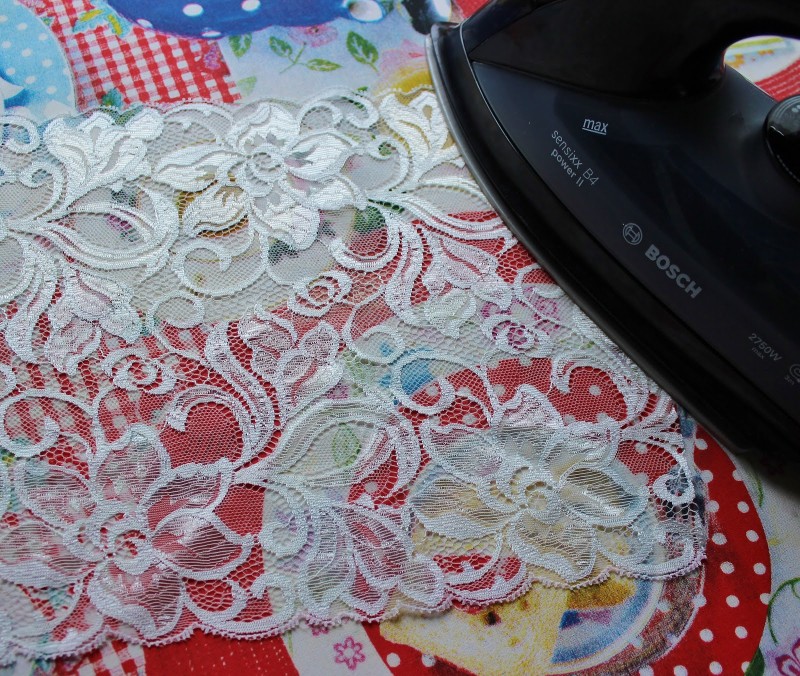
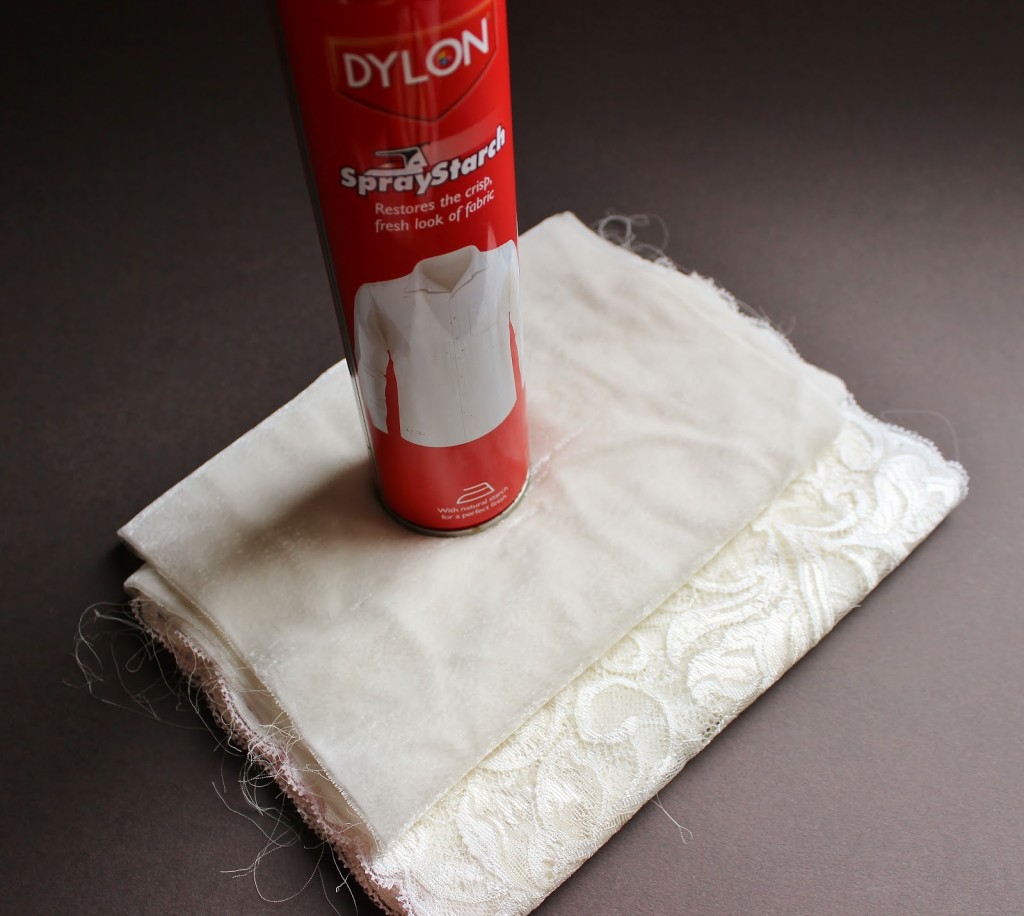
1. What I discovered is that I can use the starch spray for this job. Not only does it give a better result but it is also easier and quicker to use.

I use the spray starch which is normally used for shirts.
delicate fabrics tutorial 2
2. For the lace just follow the instructions on the can, that is spray the piece of lace with the spray starch and iron it. In minutes your lace is stiffened and ready to use.
delicate fabrics tutorial 3
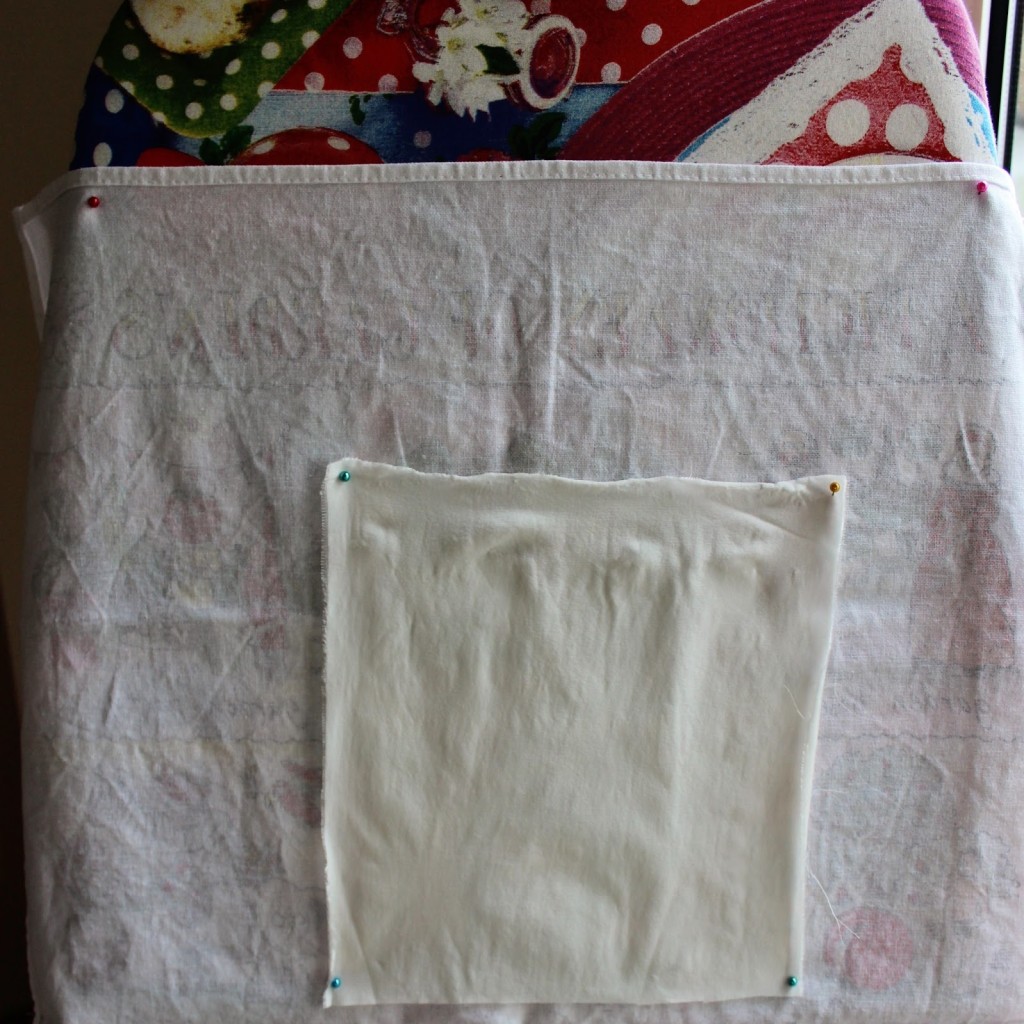
3. As for the velvet I pin it to some vertical surface (an ironing board in my case), and spray the wrong side of the velvet fabric with the starch spray. After that I leave it to dry naturally. You can try and iron it but I have noticed that it makes it too stiff and affects the pile, especially of silk and viscose velvets. After the velvet has dried it is ready to use.The spray starch might give less body to the fabrics than the gelatine that is why it is strongly recommended to back both lace and velvet with another layer of fabric. You can use decorative metallic thread fabrics like this specialist Lame Backing Fabric here, or thin natural silk or rayon pongee fabric.
For more information on how to back petals and leaves check out our other tutorials
I hope you found this information useful and will now be using some beautiful fabrics with more confidence in your designs.
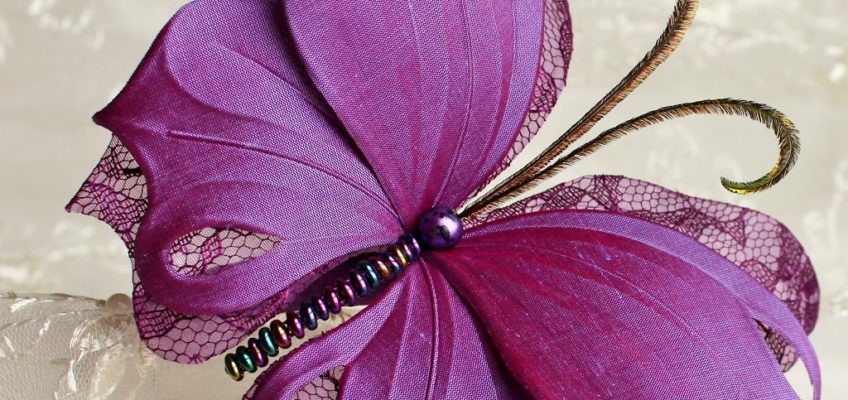
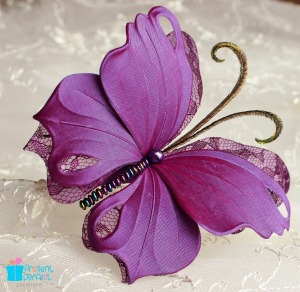
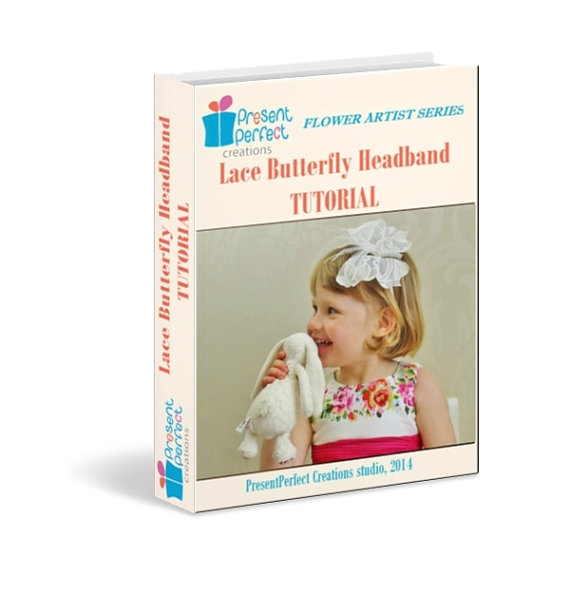
Stiffened lace or velvet as the case may be are ideal for creating delicate butterfly wings. To learn how please check out this .pdf tutorial on a lace butterfly headband
lace butterfly tutorial
 You might also like these articles

3 ways to dye silk petals to achieve the intensity of colour

Colouring stamens for flowers

Choosing the right glue for making flowers

A velvet rose

 Recently I have added a couple of new stunning roses to my portfolio. One of them is this large beauty.

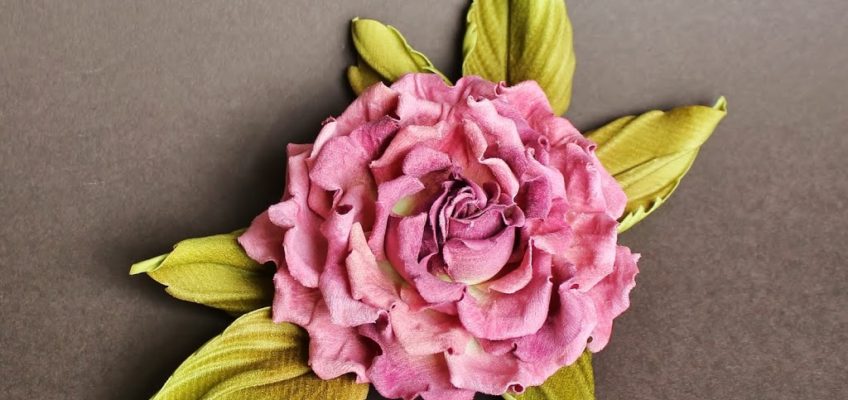
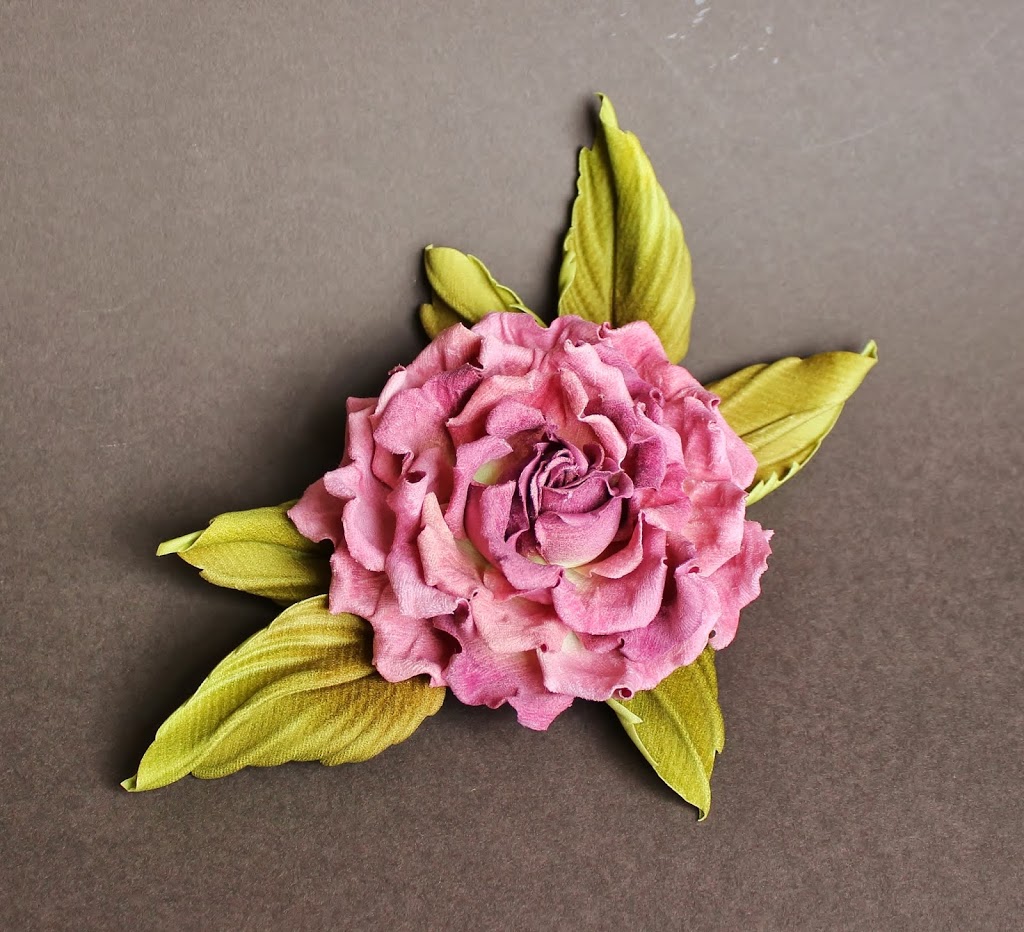
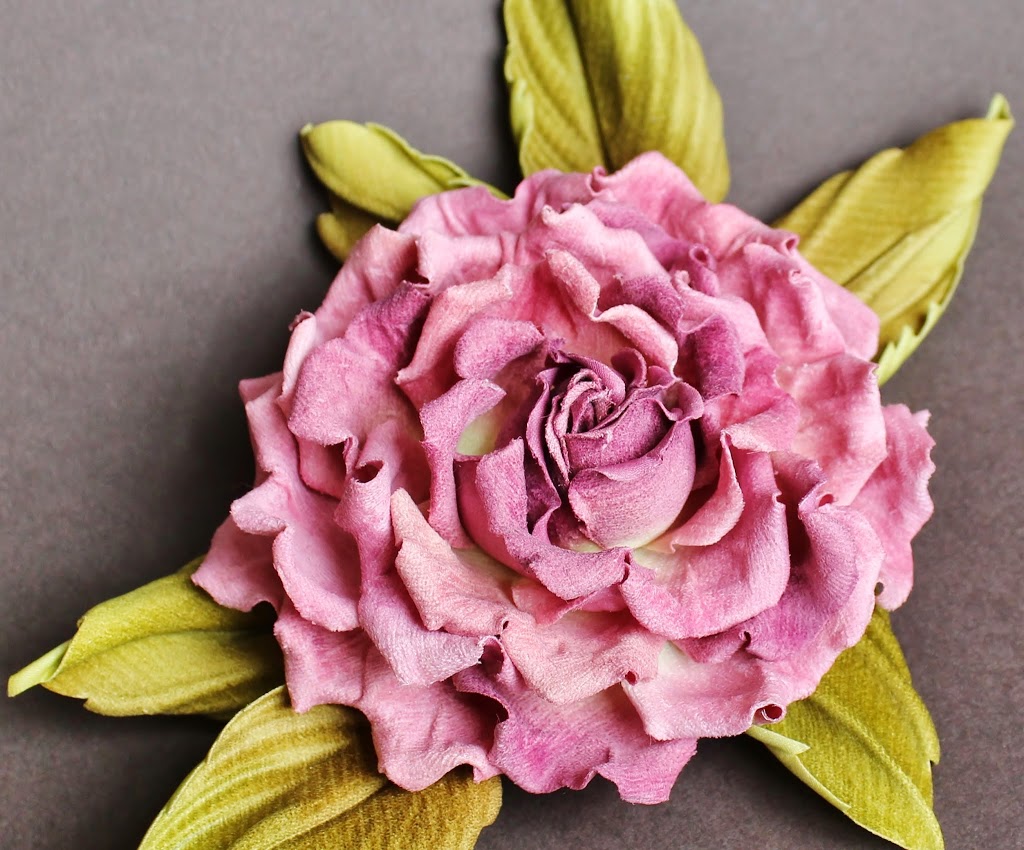
Made of unusual Japanese velvet (100% cotton) with a very short pile the rose is sure to be the highlight of an evening outfit. The flower is painted by hand and can be made in other colours.

All the petals as well as the leaves are doubled with silk organza which gives the rose its beautiful shape and makes it more durable than other silk flowers.

The rose can be finished with a brooch base, a headband or another finding of your choice.

To order the flower please visit my Etsy shop here.

New year – new tools!

I am always on the lookout for new ideas in the world of fabric flowers. This include different technology, tools, materials, ways of presenting the work.
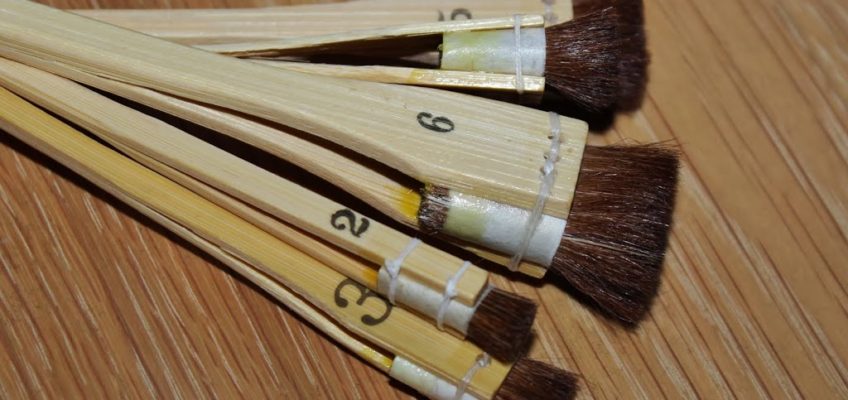
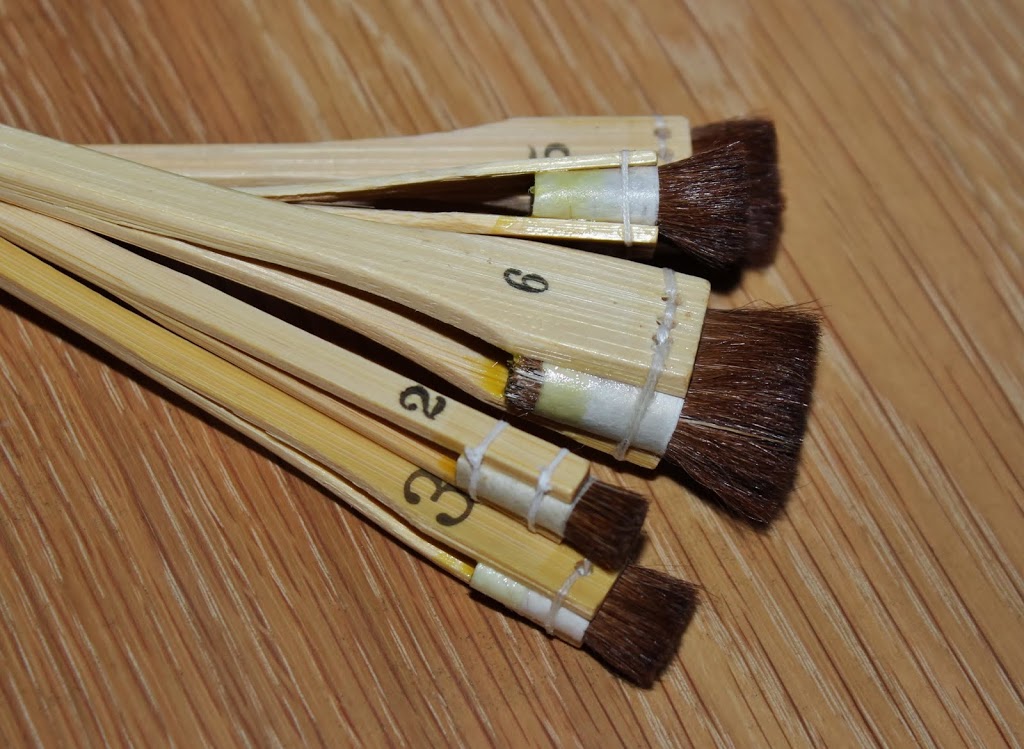
At the end of last year I decided to be generous and get a silk floristry related gift for myself. I simply could not resist these gorgeous Japanese brushes!

They come in different widths for colouring different elements, from tiny flower petals to large stretches of fabric. I have tried them last week and can confirm that they an absolute wonder to work with! The main benefit is that they retain the liquid dye in the hairs and then release it evenly on the fabric. And they do not roll of the palette too ☺

Can’t wait to experiment more with my new brushes. Along with this set I have got some other tools, of which I will tell later. 

Free delivery on Cyber Monday!

Finally Cyber Monday 2013 is upon us. The term itself is very new and was coined only in 2005. But since then this day has become a part of our pre-Christmas shopping offering online deals, discounts and all sorts of promotions.
As announced before this year we are happy to offer a FREE INTERNATIONAL DELIVERY on all ready-to-ship accessories at our online SHOP.

It is a great opportunity to get a fab gift for yourself or your loved ones and save on shipping fees!

Happy browsing at OUR SHOP!


Click here to explore our range of designer butterflies


My newest creation

I do not usually share personal information in my posts but this occasion is a very special one.
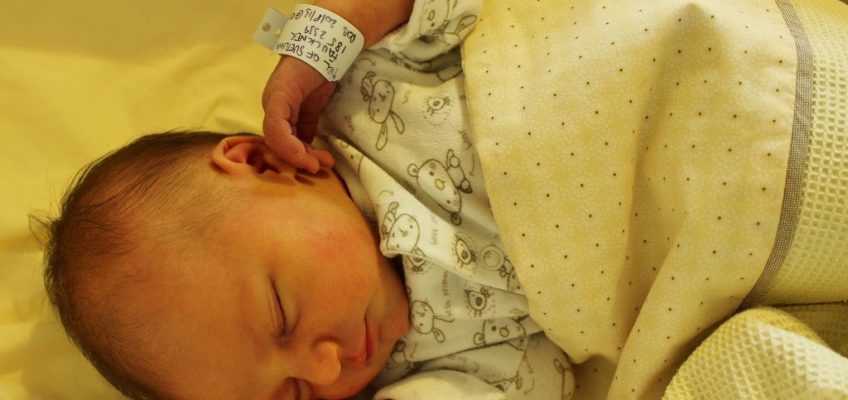
Although this may be a surprise on Tuesday this week (20th of August) I gave birth to our first daughter, Eva. And even if I say so myself, she is an absolute princess. As we all know princesses can be very demanding. Therefore, if I miss a newsletter or two I do apologise in advance. You can still order floral accessories and hairpieces from my Etsy shop and get inspired viewing the pictures of my creations here on my blog

silk dandelion clocks

How to make a dandelion

Dandelions…

Silk Dandelion Clock Eva

I am sure you are very familiar with this plant. It produces bright yellow flowers which then turn into fluffy balls full of seeds.
To most people, especially keen gardeners, a dandelion is just one of those nasty weeds calling for a spray of weed killer.

But how (and why???) would you go about making a dandelion?

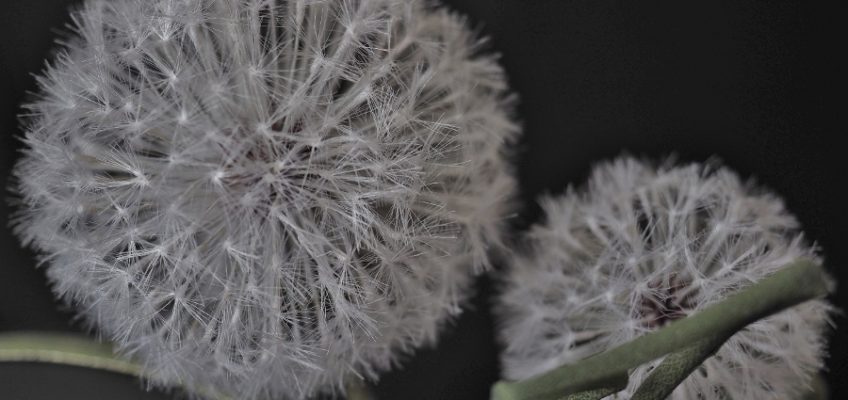
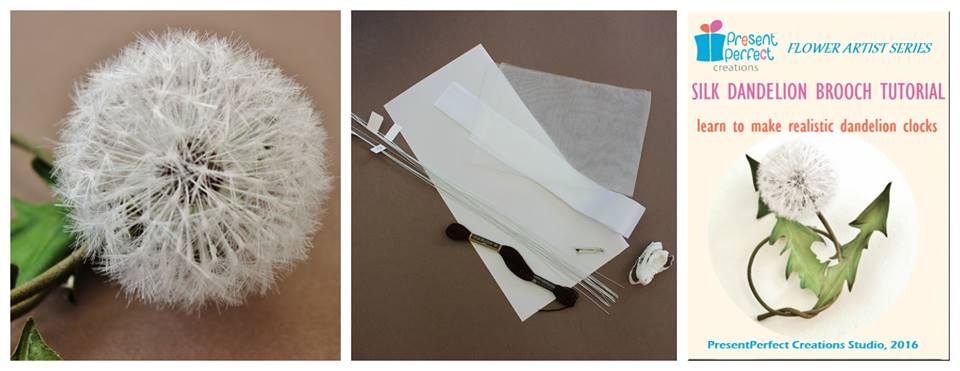
It is impossible to imagine somebody would want to create a dandelion by hand. But here we are. This dandelion clock is hand crafted from scratch using pure silk. The silk dandelion clock measures about 4 cm in diameter. I used more than a hundred of fluffy seeds to make the dandelion.This is the picture of this dandelion halfway through. It looks very realistic. It is as though somebody has just blown on it.

To make this silk flower requires a lot of  manual dexterity, a bit of knowledge about dandelions but above all a serious amount of patience!
Despite its humble looks the silk dandelion is a sophisticated creation verging on a work of art.
If you want to give it a go I am pleased to let you know that no special tools are needed to create it. The fluffy seed head can be turned into a quirky brooch or an original hat embellishment.


Any ideas how you would use this unusual silk flower? If yes, then consider mastering the art of silk dandelion clock with my step-by-step photo tutorial available here

dandelion-trio

flower making tools

My flower making tools

millinery tools
SET OF 2 EXTRA NARROW MILLINERY TOOLS

IMPORTANT ANNOUNCEMENT!

LIMITED OFFER ON SETS OF EXTRA NARROW FLOWER SHAPING TOOLS
If you are interested please click here to find out more  >>>>>>>>>>>>>>>

Those of you who admire handmade silk flowers might have thought about making them yourselves and wondered what magical equipment is required to do the job. So today I would like to give you an insight into the tools I am using for making my flowers.
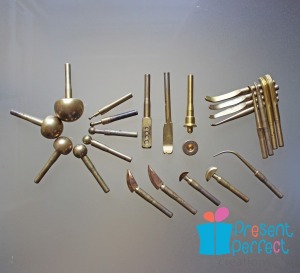
My set consists of flower making tools which belong to both the European and the Japanese flower making schools. They have been acquired over a couple of years through different makers. The best flower making tools are thought to be made of brass as it holds the heat better than stainless steel that is why my tools look yellowish brown in the picture.
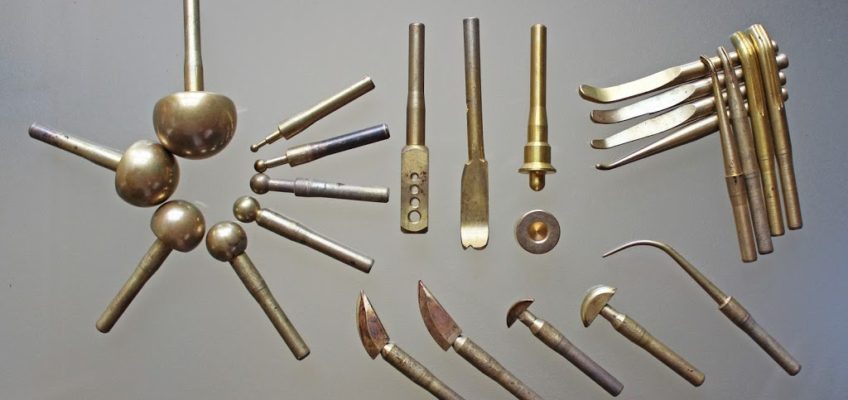
Here is my set:

A soldering iron is needed to work with these brass heads. There are a number of round heads of different diameter, several knives, a rat-tail tool, a tool for making hollow tubes and another one for making lily-of-the-valley tiny flowers, as well as a number of curved both smooth and grooved Japanese tools.

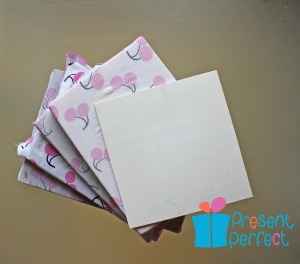
All of them are used to achieve a certain effect on different sized petals and leaves and the choice usually depends on the particular job to be done. For a more impressive result the flower making tools are used on rubber pads which vary in thickness and density.

Here is my collection of pads:

Not only do they allow to achieve different effects when used with tool heads but they also protect the work surface and are a must to have.
The tool set might seem to be an expensive investment but without them it is impossible to create any pure silk flowers from a humble daisy to the most sophisticated rose. Some free tips and how-tos on the subject can be found here on my blog.

Video tutorials on flowers from £39


I now offer range of flower making tutorials in video and photo format for your millinery and accessory projects. For more information on the tutorials please go to my Tutition section 
For the fresh news from the exciting world of handmade fabric flowers, new releases and discounts on tutorials please subscribe to our newsletter if you haven’t done this just yet. Should you wish to learn how to make silk flowers I am happy to share my know-how, knowledge and skills through individual Skype classes. Please contact me via this site or e-mail me at enquiries@presentperfectcreations.com to discuss the details
.

[grwebform url=”http://app.getresponse.com/view_webform.js?wid=10058202&u=3lMQ” css=”on” center=”off” center_margin=”200″/]


`[tiny_coffee]`

Dust off your summer hats

Despite all that rain that has been pouring down on us for the last what? 4 weeks I have not stopped waiting for summer sunshine and warm days. Thinking of which it is time I dug out my summer wardrobe to see what needs some refreshing. As you might have guessed summer is THE season for silk flowers lovers as you can wear them every day and combine literally with anything from a smart dress to a white vest and jeans combination. Believe me, there is a flower for any outfit imaginable ☺
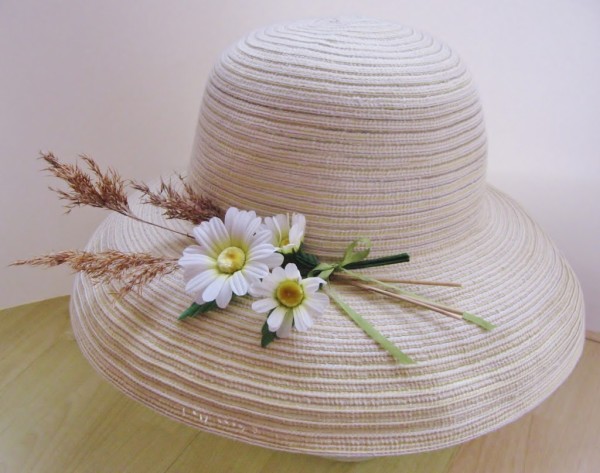
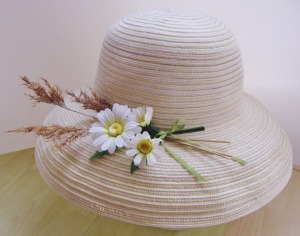
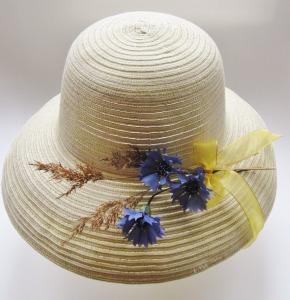
But for now I wanted to share some ideas of how one can decorate a summer hat with silk flowers. In my case it is a simple crushabale natural looking hat but straw hats would look even nicer!

One day I am planning to create a whole bunch of wild flowers to decorate my hat combining chamomiles, clover, wild poppies, blue cornflowers… I just need to find time :-)