velvet for making flowers

Velvet fabrics for making flowers

Velvet fabrics for making flowers

Velvet is a luxurious versatile fabric that is used a lot in flower making. Whether you choose to make certain parts of a flower from it or a whole piece, it is good to know which velvet to choose when and why.

velvet pansy tutorial
Velvet Pansy Tutorial

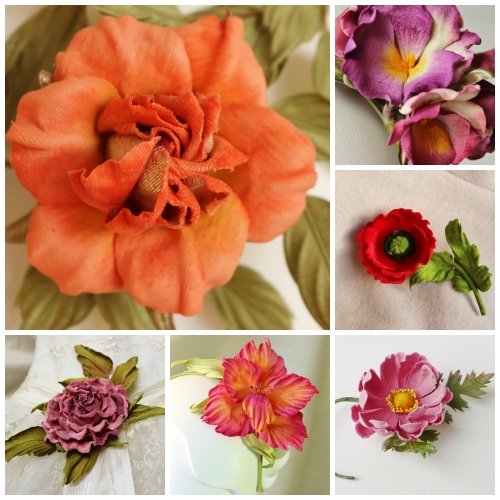
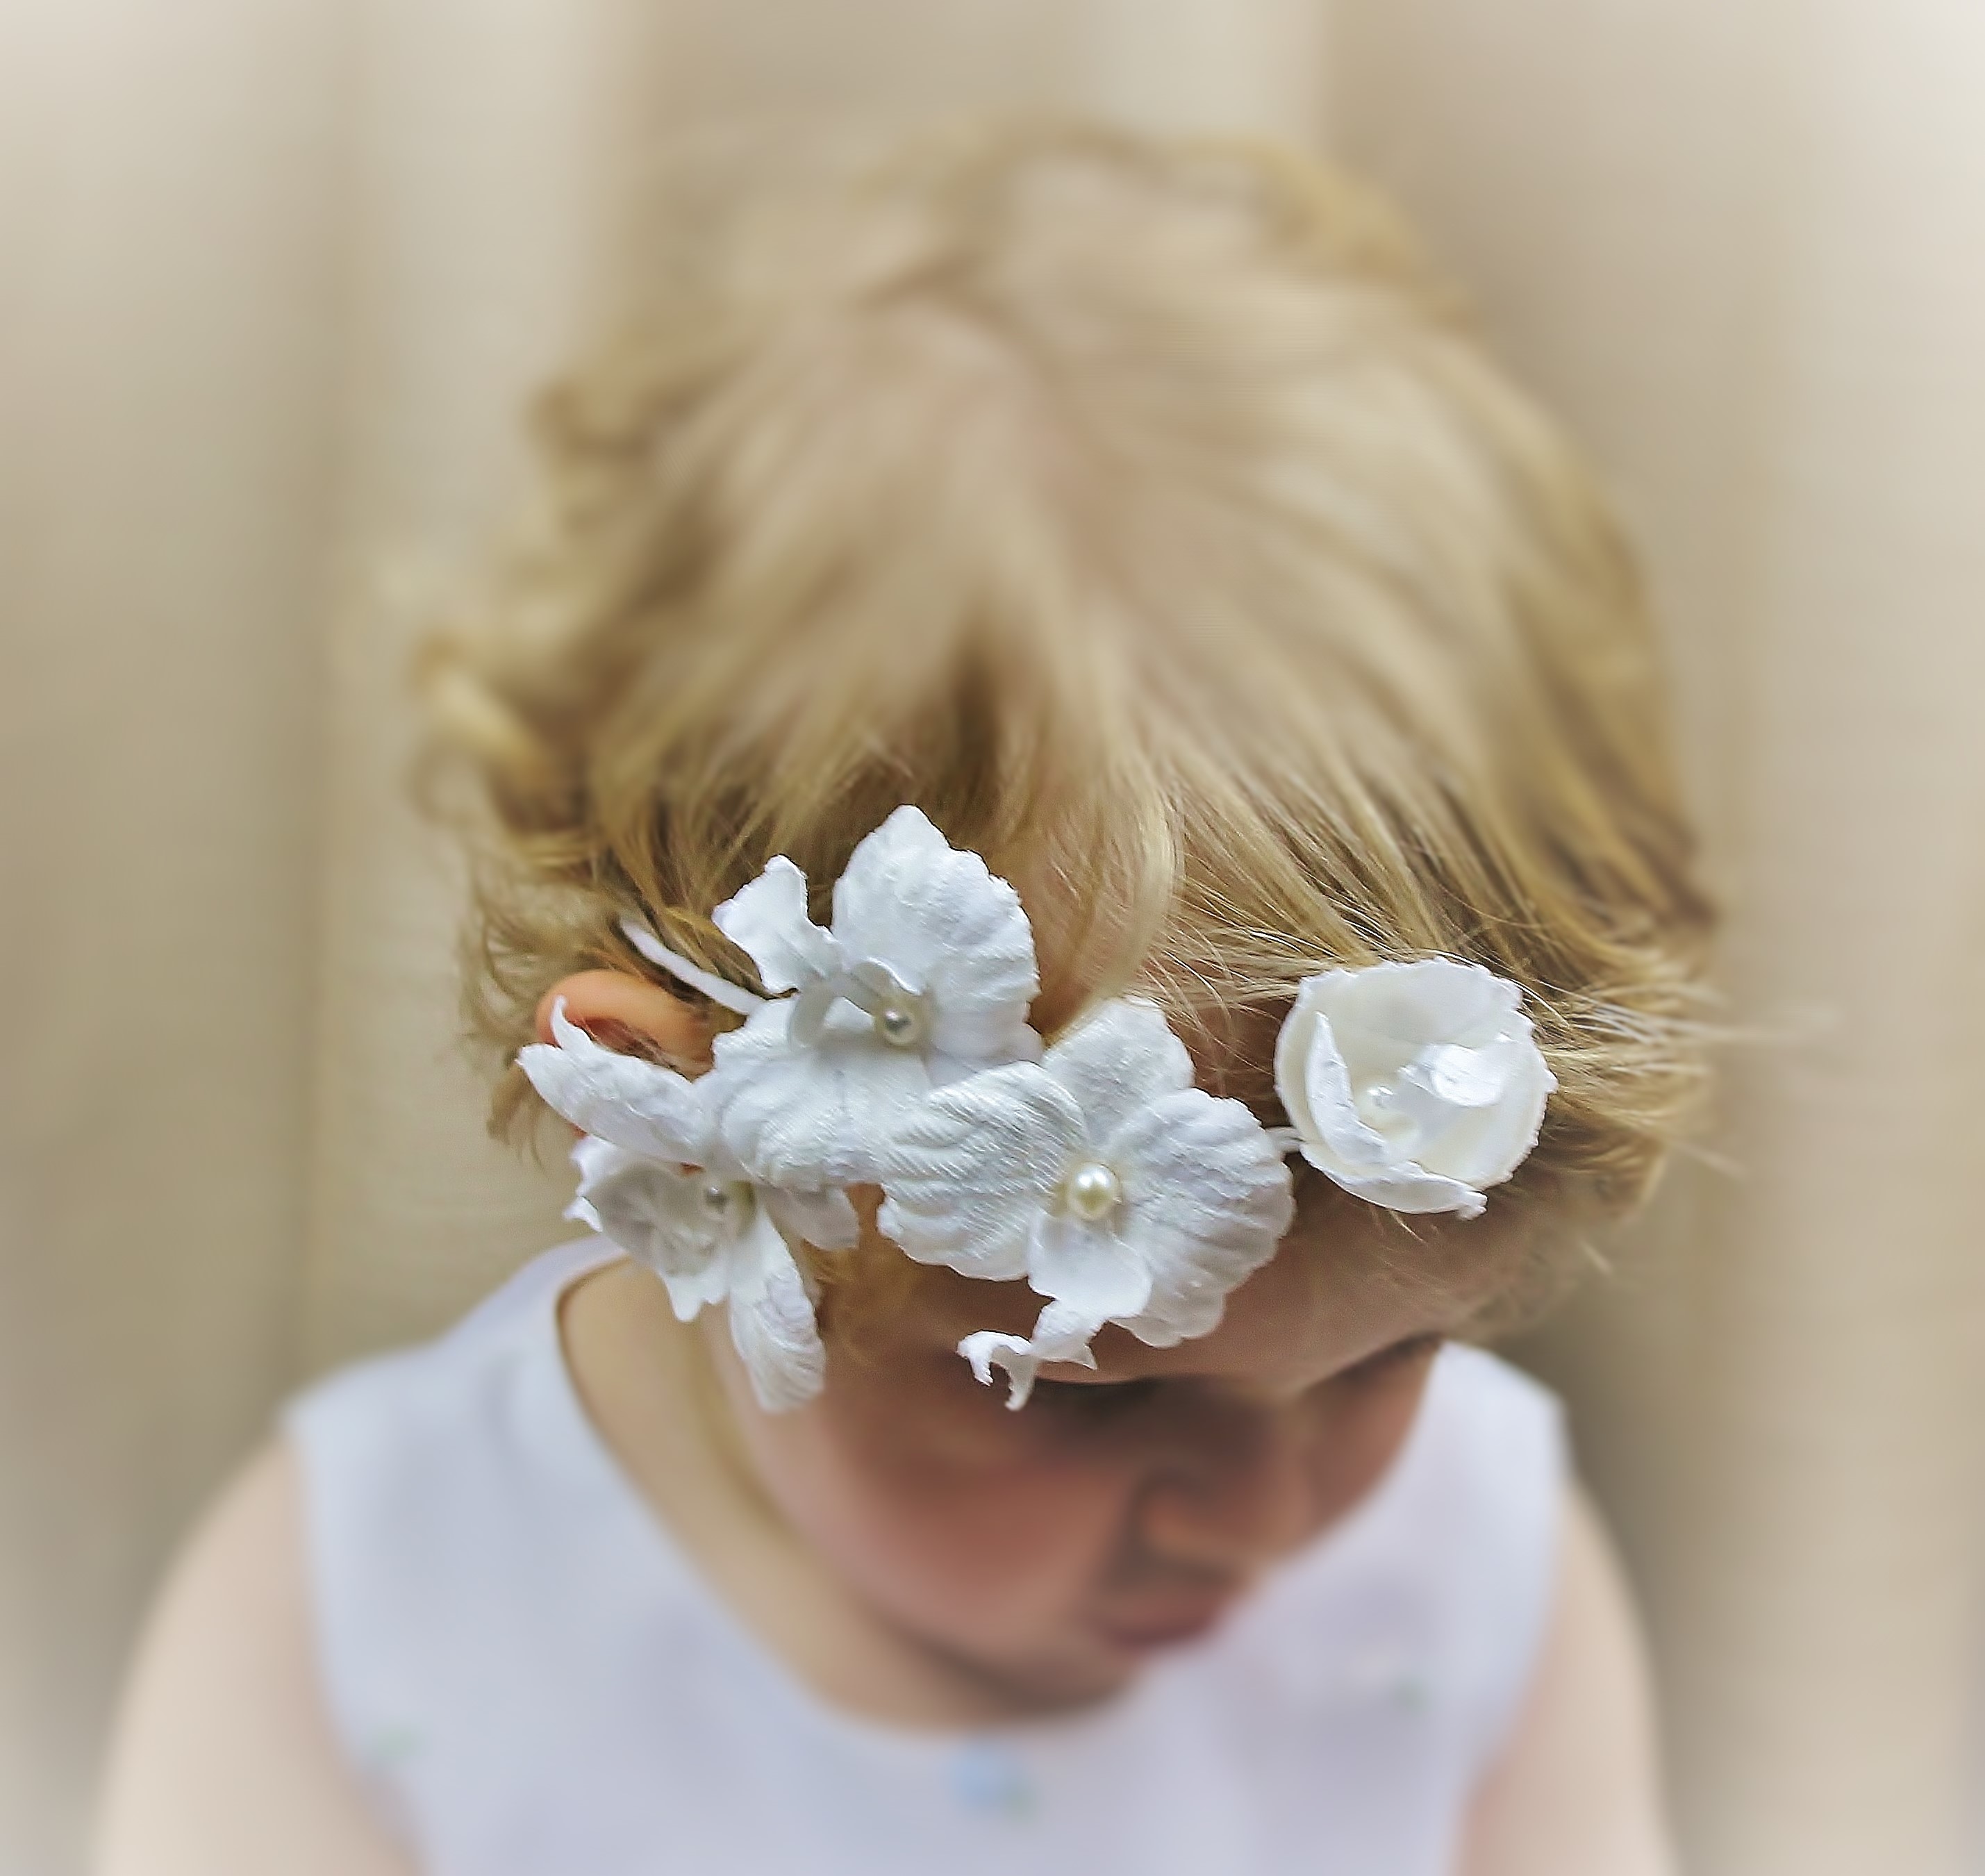
As autumn draws nearer I want to talk about velvet for making flowers. Velvet flowers are great for autumn-winter season and make perfect trims for felt hats too.
Since velvet was introduced for the first time in the Middle East back in 9th century it has always been associated with luxury, nobility, royalty. And indeed it was so expensive in the past that only wealthy people could afford it.

So what is velvet?
Velvet is a kind of woven tufted fabric in which the cut threads are distributed in an even manner in a short dense pile thus giving a very soft and smooth feel. Traditionally velvet was made using silk. Nowadays velvet is made from cotton, linen, mohair and wool along with silk. Lately, synthetic velvets too are being produced.

velvet gladiolus flower 2In flower making we are only interested in velvets made using natural fibers like silk, viscose or cotton. These fabrics dye well with Procion and other silk dyes and can be shaped with millinery tools.
Velvet is perfect for making leaves (with the use of our Realistic Fabric leaves tutorial ), but whole flowers can be created out of it too. Think roses, pansies, gladioli, daffodils, orchids, camellias and many others.
Very often velvet is used for making flower centres or even for wrapping stems (as we did in CAMELLIA JAPONICA video tutorial)
Most of the techniques for working with velvet are very similar to other fabrics but there are some tricks and nuances that make velvet a little bit more delicate to deal with.
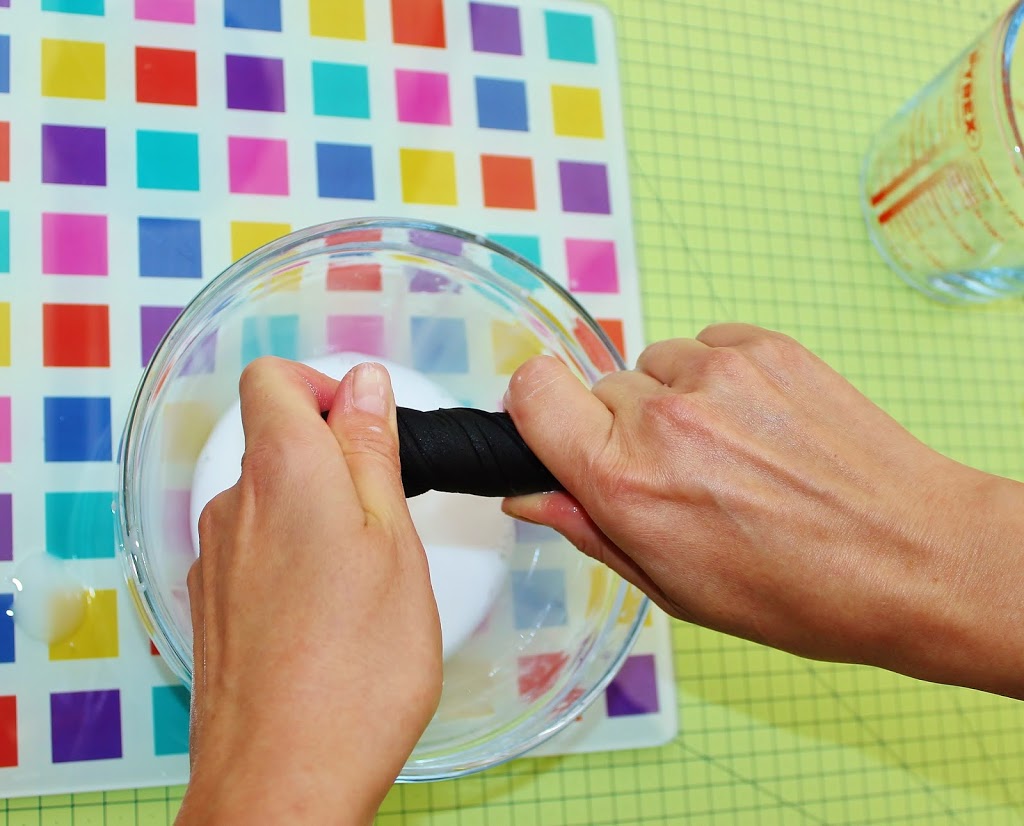
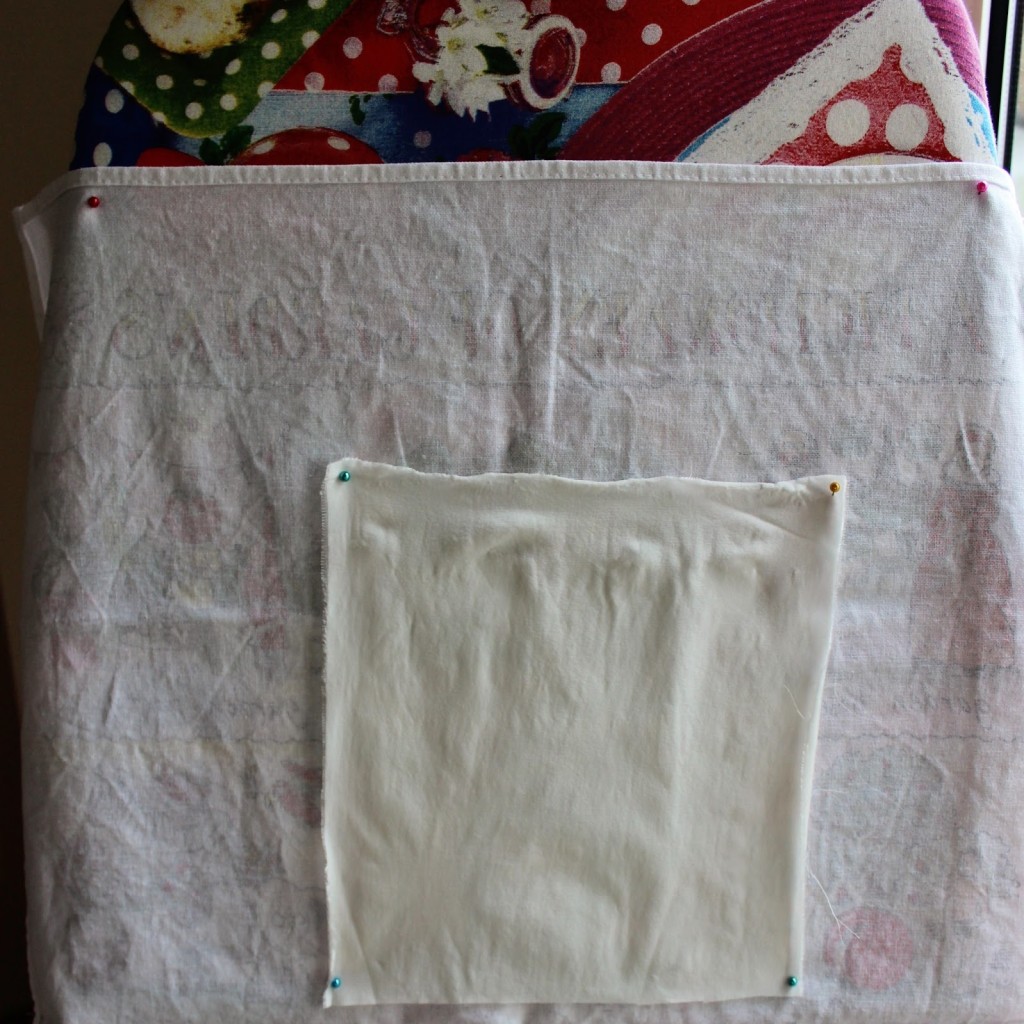
First is colouring. Because of its heavy weight, thickness and pile velvet absorbs a lot of water when being dyed. When left to dry on paper it will also lose a lot of water together with the dye. To achieve a brighter colour with velvet I always recommend drying flower parts on non porous surfaces like glass or plastic.
velvet fantasy flower 4Velvet is always dyed from the right side. Try to be gentle with your brush strokes not to mess up the pile too much.
As you can imagine velvet dries quite slowly too, especially on a non porous surface.
Another thing that can be tricky is shaping.
When shaping velvet take your time and do it slowly, letting the hot tool warm the thick fabric through and mould it into shape.
In most cases velvet flower parts are backed with a thin layer of fabric.
Because velvet has such a gorgeous sophisticated finish I like using lame fabrics for backing to add an extra touch.
Velvet can be backed with satin too.
Like all other fabrics velvet needs to be stiffened before it can be used for making flowers. A while ago I have already described one way velvet can be stiffened (please check out this post to find out how).

cotton velvet


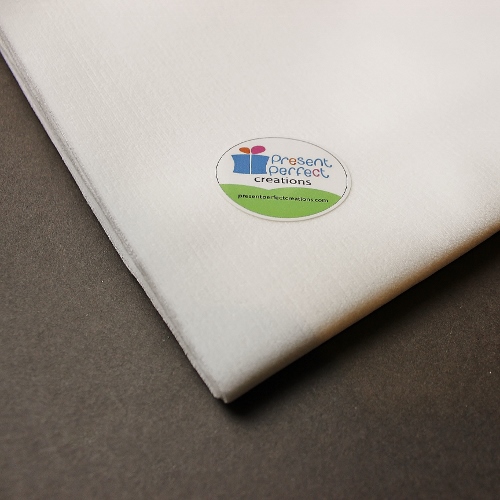
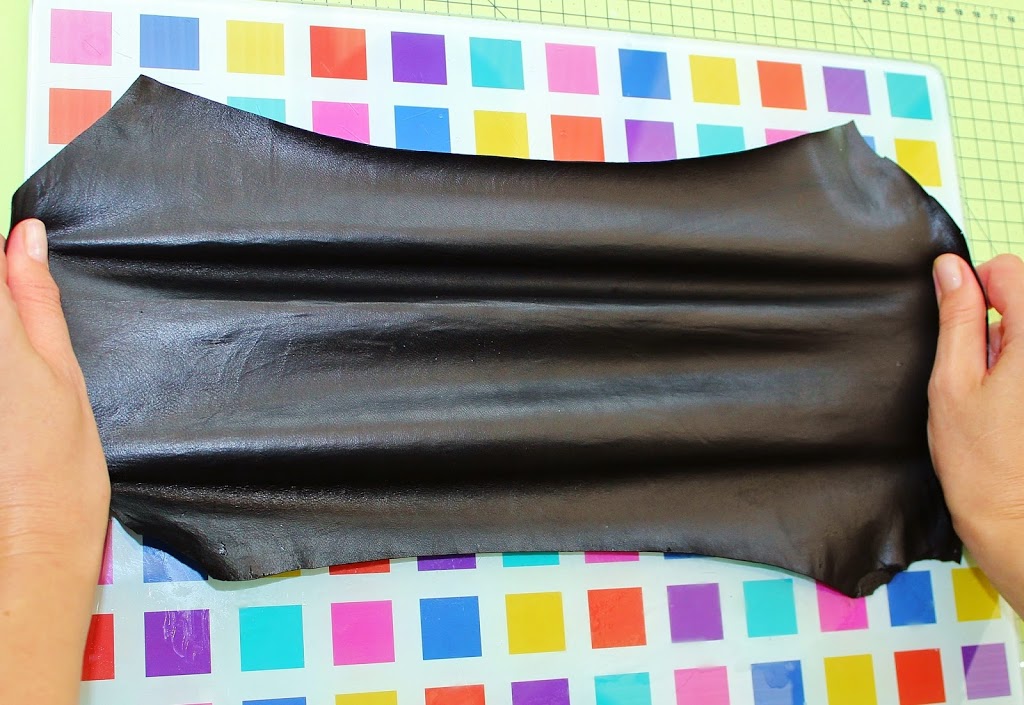
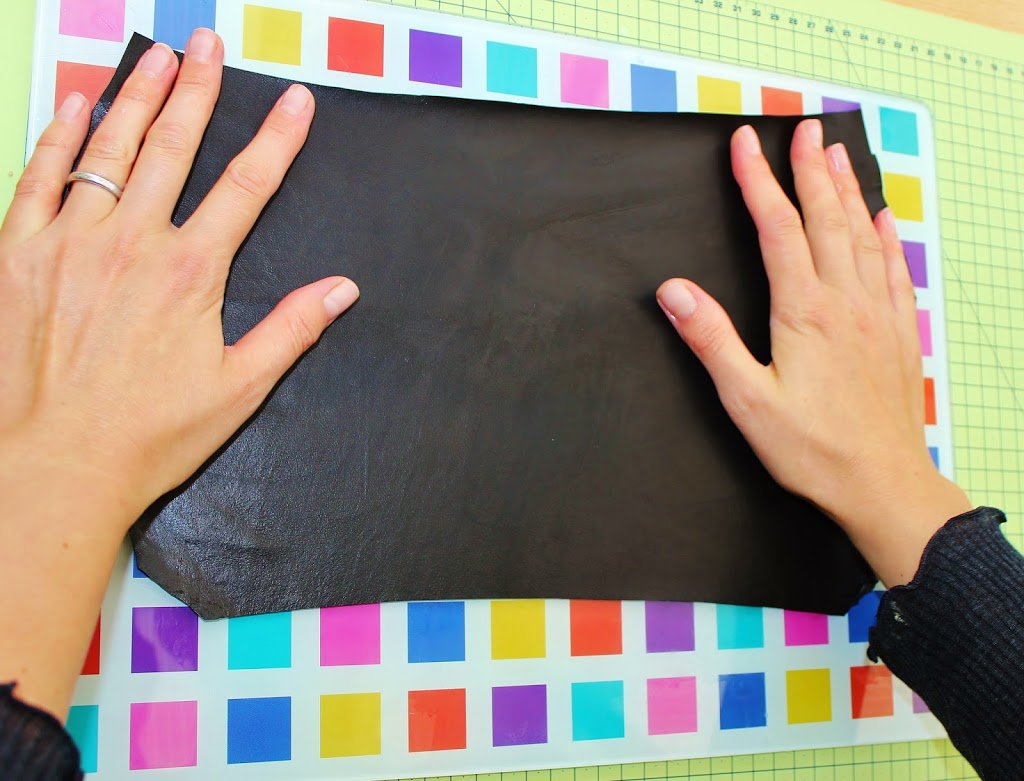
The type of velvet I commonly use in my works is made of cotton and has a very short pile.

It dyes well and is easy to work with.
I have a limited quantity of fat quarters of this velvet  as well as different velveteen fabrics currently available in my shop, so if you’d like to try it in your designs, make sure you get one now.
Ah, and the best bit is that this velvet comes prestiffened. It means it is ready to be used either for leaves, petals or a complete flower. To buy a velvet fat quarter please use the button below


 purchase-velvet-button
press here to purchase velvet fabric


Subscribe to our YouTube Channel for more flower making videos.


lace orchid circlet

How to stiffen lace and velvet for the new tutorial

lace orchid headband 2At the moment I am working on a new video tutorial on Silk and Lace Orchid flowers where I will show you and explain how to make an open hair circlet with lace and silk orchids decorated with freshwater pearls.

All the fabrics that are used for making flowers using a flower iron have to be stiffened and lace is no exception here. Please read through a mini-tutorial below to learn how you can prepare your velvet and lace for making flowers.

I often use lace and velvet fabrics for making leaves to enhance my fantasy flowers.

Whilst it is possible to obtain industrially treated delicate fabrics tutorial 1
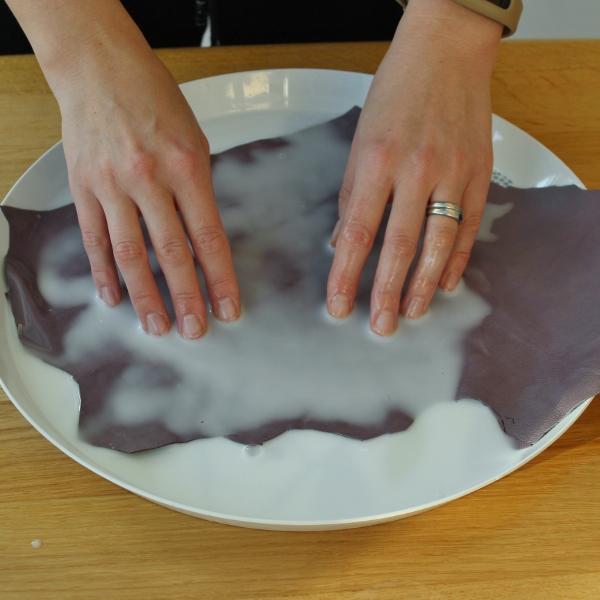
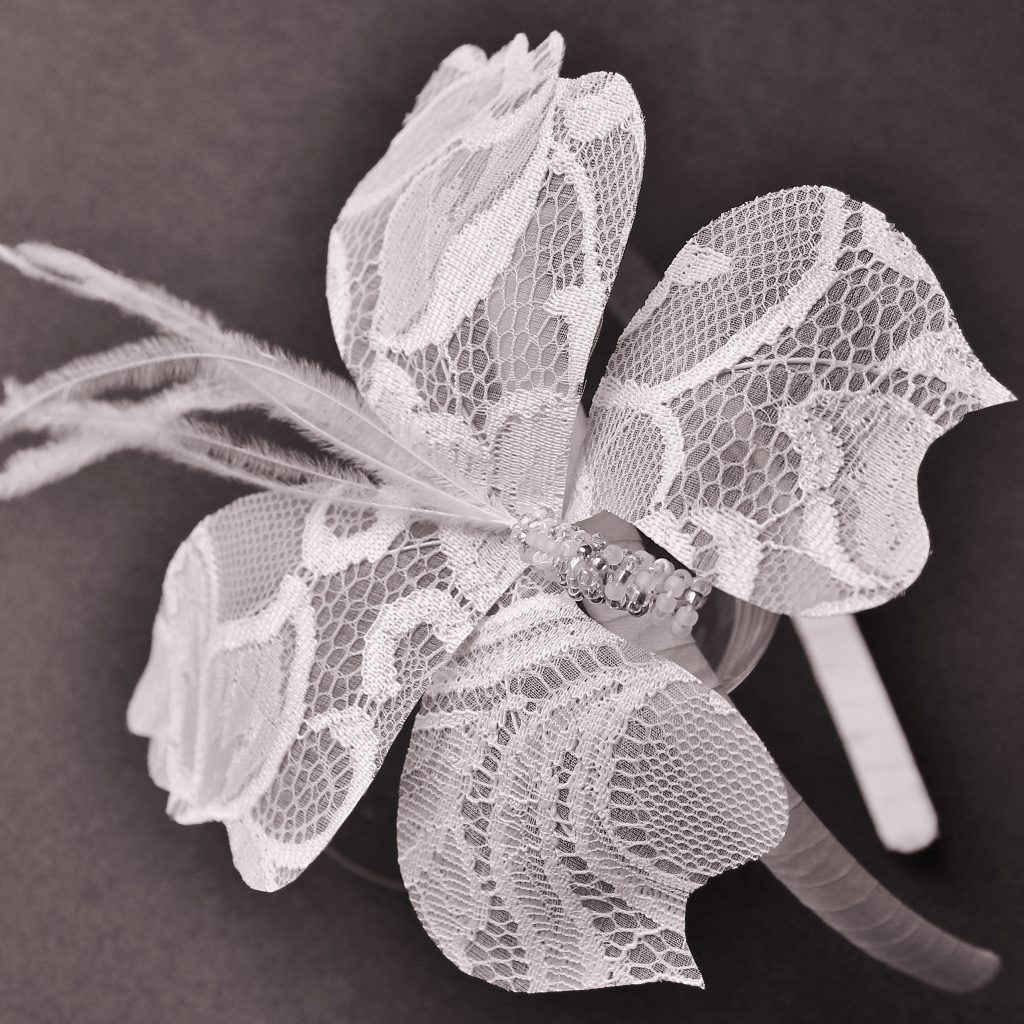
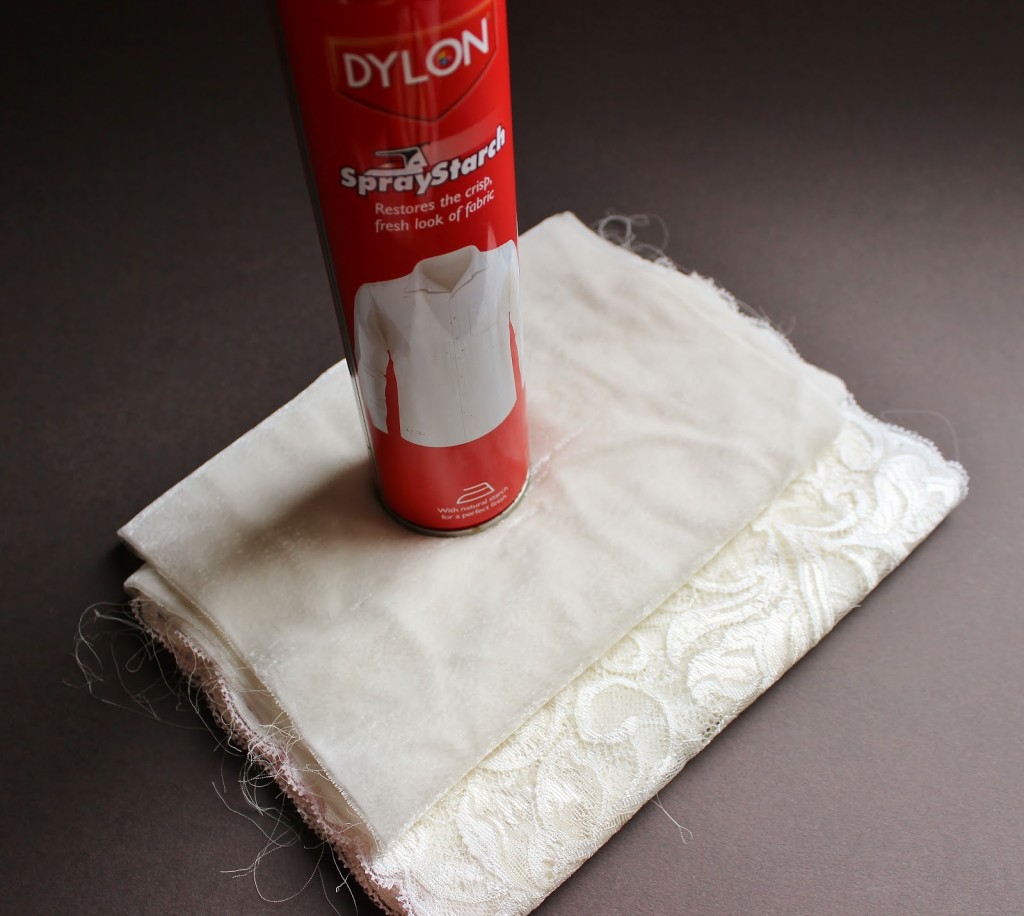
velvet ready for making flowers, I have never seen any ready to use lace fabric. So what to do if you have that nice piece of vintage lace or gorgeously coloured square of velvet you would like to incorporate into your design? Use gelatine? I can tell you from my experience these attempts have not been very successful as the gelatine tends to form a film on the structure of the lace and makes the velvet pile all stuck together. So how to prepare these delicate fabrics for using in flower making?

1. What I discovered is that I can use the starch spray for this job. Not only does it give a better result but it is also easier and quicker to use.

I use the spray starch which is normally used for shirts.
delicate fabrics tutorial 2
2. For the lace just follow the instructions on the can, that is spray the piece of lace with the spray starch and iron it. In minutes your lace is stiffened and ready to use.
delicate fabrics tutorial 3
3. As for the velvet I pin it to some vertical surface (an ironing board in my case), and spray the wrong side of the velvet fabric with the starch spray. After that I leave it to dry naturally. You can try and iron it but I have noticed that it makes it too stiff and affects the pile, especially of silk and viscose velvets. After the velvet has dried it is ready to use.The spray starch might give less body to the fabrics than the gelatine that is why it is strongly recommended to back both lace and velvet with another layer of fabric. You can use decorative metallic thread fabrics like this specialist Lame Backing Fabric here, or thin natural silk or rayon pongee fabric.
For more information on how to back petals and leaves check out our other tutorials
I hope you found this information useful and will now be using some beautiful fabrics with more confidence in your designs.
Stiffened lace or velvet as the case may be are ideal for creating delicate butterfly wings. To learn how please check out this .pdf tutorial on a lace butterfly headband
lace butterfly tutorial
 You might also like these articles

3 ways to dye silk petals to achieve the intensity of colour

Colouring stamens for flowers

Choosing the right glue for making flowers

stiffening leather tutorial

How I tame leather. Mini-tutorial on stiffening leather skins

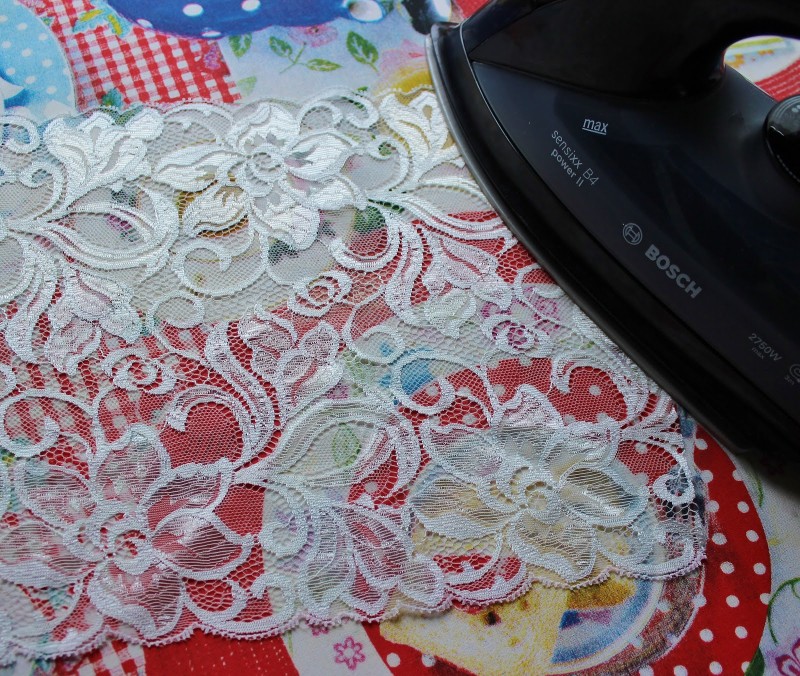
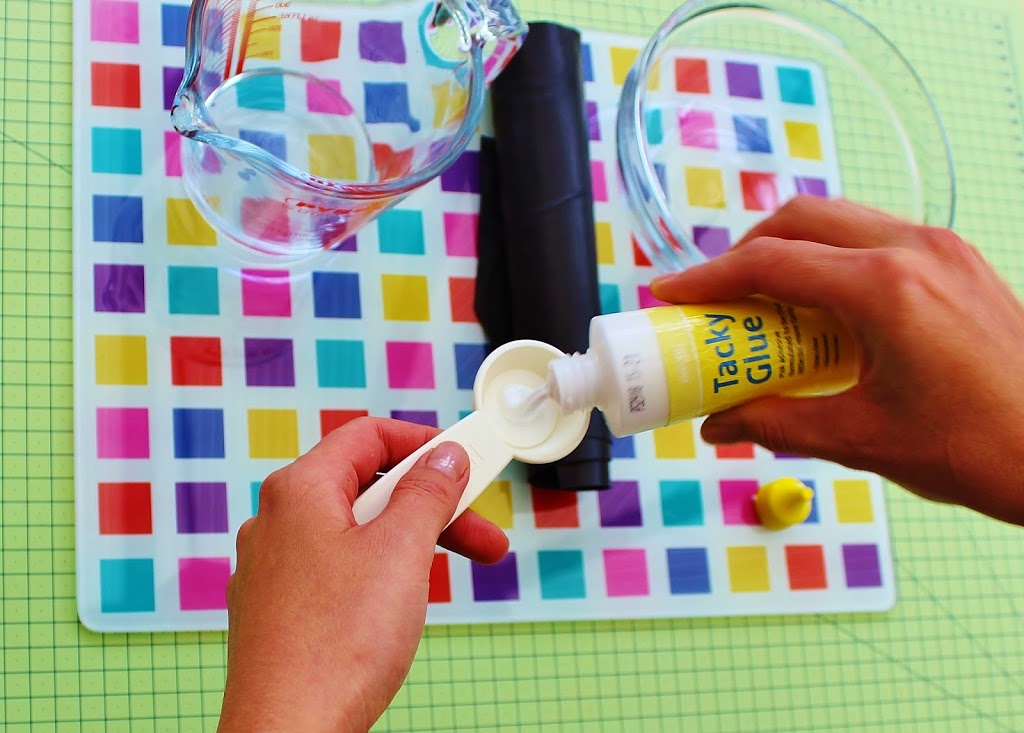
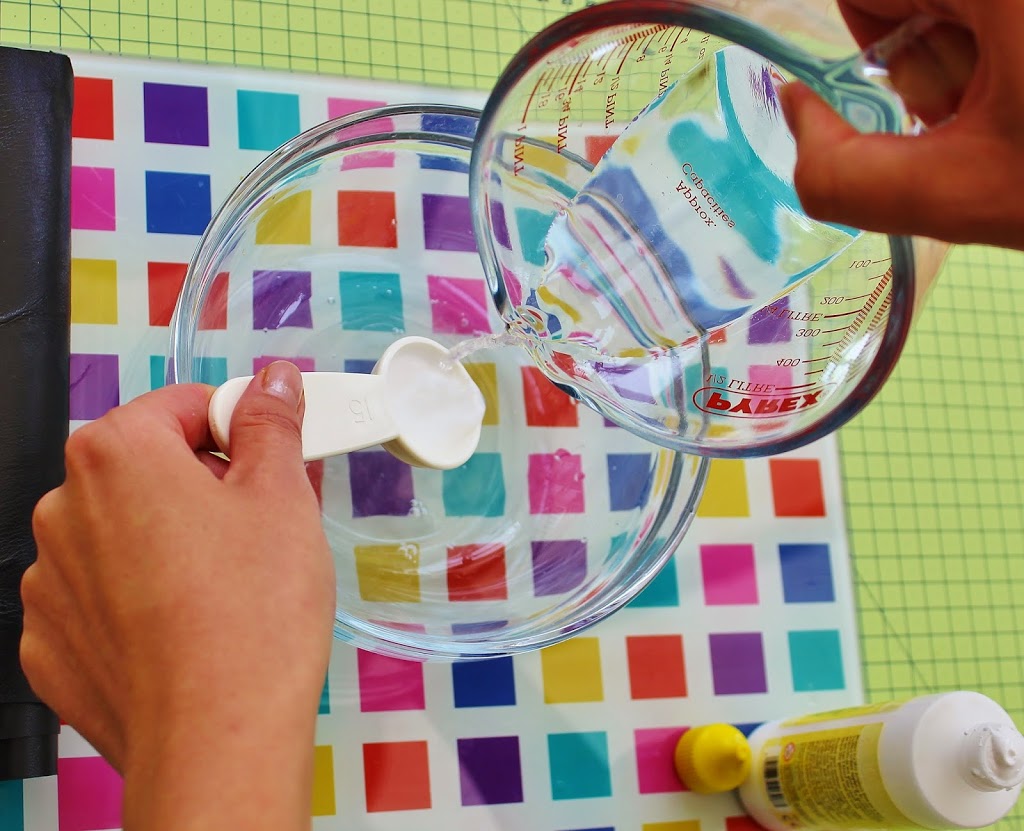
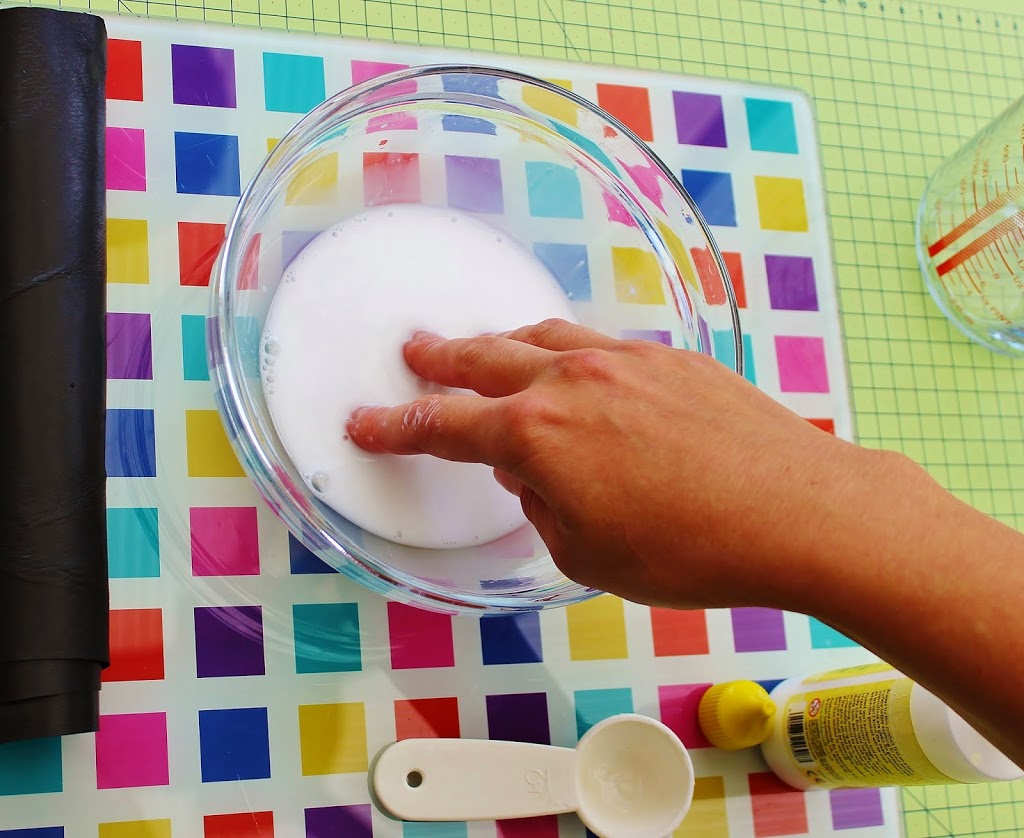
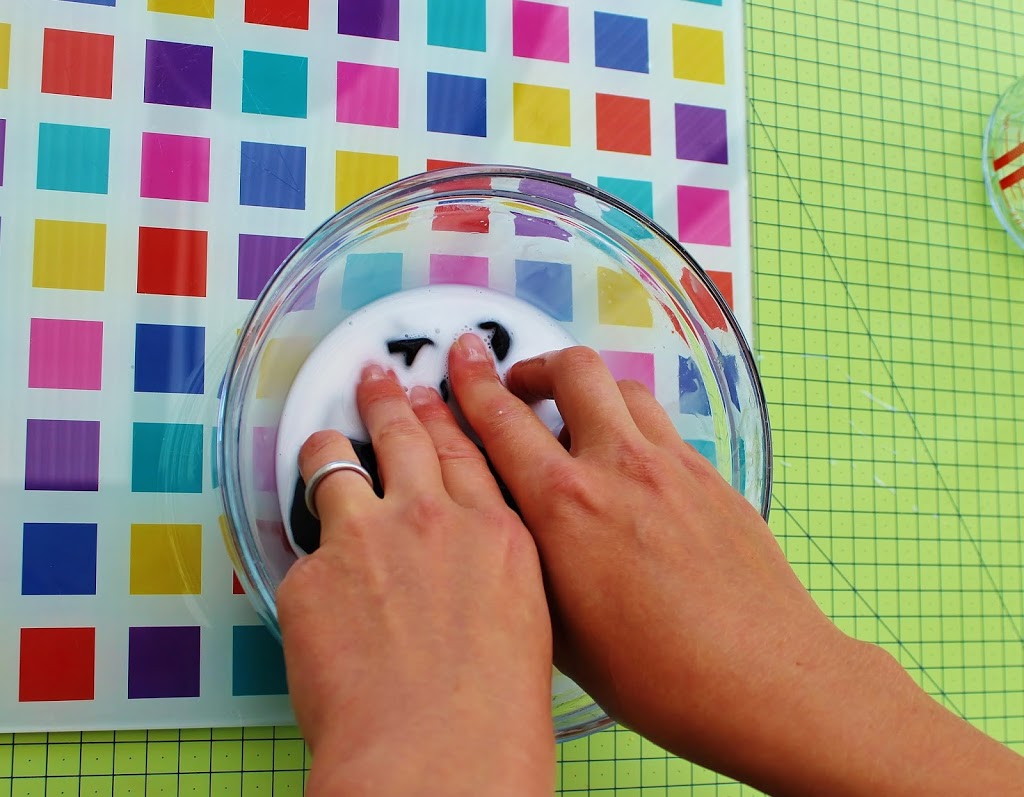
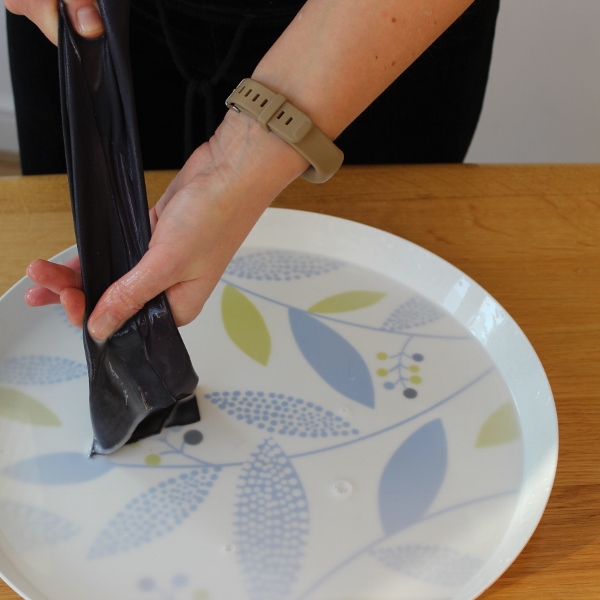
Stiffening leather tutorial

Those of you who have tried working with genuine leather know how temperamental it can be. Leather is a natural product and as a result may have imperfections such as holes or scars, the thickness and stretch can vary too. And it is completely unpredictable when it comes to shaping it with hot flower iron.
For my floral pieces I stiffen leather is several ways. Today I am going to share one of this ways with you. The result is a flat stiff piece of leather that can be shaped with a flower iron. I use flat stiff leather to make a range of flowers including my camellias, gerberas etc.So here is how I do it. But first of all the kit:

1. Measuring jug
2. A piece of genuine leather for stiffening
3. Bowl
4. White (PVA) glue
5. Measuring spoon
and a piece of plastic or a glass board as seen in the picture.
I use a rather thiсk PVA glue intended for craft purposes. The ratio of glue to water can be 1 part of glue  to 5 -10 parts of water depending on how thick your leather is or how tacky your glue is and how stiff you want the leather to be. You might need to experiment with the quantities, but the general guidelines are: the thicker the leather the weaker the solution (less glue). The ready to use solution should look like milk.

I use a measuring spoon to measure the amount of glue.

In the picture 10 ml of glue are being mixed with 100 ml of water.

Dissolve the glue in water to get a solution resembling milk. If you have sensitive skin consider wearing gloves.

Immerse the piece of leather (about A4 size or so) into the solution and make sure it is well soaked in it.

When the whole piece has been soaked, twist it to get rid of extra solution. The leather should be almost dry.

Then stretch it to make it even and thin it a bit more. I tend to use leathers with a thickness of 0.6-0.8 mm or so the sellers say but it is still rather thick for the flower making. Stretching the wet piece of leather in some cases makes it thinner but it all depends on the properties of the particular leather you are using.

I stretch in all directions: horizontally, vertically and diagonally.

With your both hands flatten the stretch piece of leather on the smooth flat surface (like this glass board).

Leave the flattened and smoothed piece of leather to dry completely before cutting and tooling it. It might take up to 24 hours.


stiffening leather


Coloured leather skins are rather delicate and may require more gentle handling than the black leather shown in the photos  above.

Consider using a large kitchen tray where you can place your leather in one layer. Place the piece of leather into the tray (either side up) and pour the warm stiffening solution over it. Let it soak for several minutes. Most probably you will need to help the leather get well saturated by gently rubbing the solution into the leather with your fingertips. Try to do it carefully to avoid making any marks or damage the surface of the leather.

stiffening leather


Once the leather has gone evenly darker all over its surface, lift it and gently squeeze any extra solution out of it by running it between your fingers. Then you can spread it onto a work surface or a glass table evenly as shown above and leave to dry completely.


leather dahlia brooch tutorial

I hope find this stiffening leather tutorial useful.

For more detailed instructions on how to stiffen coloured (especially pale) leather skins refer to our detailed LEATHER DAHLIA TUTORIAL.


Good luck with your stiffening!


You are welcome to follow me on Instagram here 

or become my patron on Patreon here 

Leather rose

I am continuing my experiments with genuine leather, this rich and pliable material, great for making floral accessories.
As a part of my new capsule collection I have created 2 leather roses, different in size and shape.
The new collection called NATURALS will comprise of a range of accessories made using natural materials in natural colours and hues.
So the new roses (both corsages) are created using beige leather  and tan suede. They make an essential wardrobe addition for any girl who prefers natural fabrics such as linen, cotton, raw silk, as well as straw and genuine leather and suede in light colours.

The small closed rose is about 5 cm in diameter. It is finished with a brooch pin.

Small leather rose

The large open rose is complemented with tan-coloured leaves made of genuine suede.

Open leather rose corsage

It is finished with a brooch pin as well as the small one.

These unique leather corsages will make a lovely gift for your Mum, sister or a girlfriend. They are available from my Etsy shop.

If you are interested in learning how to make leather flowers or in purchasing a .pdf tutorial on leather flowers, please feel free to contact me via this blog, my Etsy store or e-mail me at svetlana.faulkner@gmail.com.

Summer: sun, fun and flowers

What do you associate summer with?

 Warm weather, bright sun, blue-blue sky. Summer storms. Walks in the woods. Or, perhaps, in the meadows where amongst the sea of bright flowers you definitely spot a clover. Usually it comes in purple pink colour

Pink clover brooch

but sometimes you come across a white, slightly lime green variety. This summer flower, so tiny and humble, is one of the symbols of summer to me.

White clover oval brooch

 Designer white clover brooch is an intricate accessory for those who appreciate unusual understated one of a kind hand made pieces. It will look equally good pinned to a white office shirt (as in the picture) or to a summer linen jacket, light cotton dress or, perhaps, a hat.

The piece is created entirely by hand from scratch  using different types of pure silk fabrics (hand cut, hand painted, hand shaped and assembled). And I have not forgotten to include a lucky four leaf ☺

The brooch is finished with a brooch base.

Has this brooch made you think better of a simple clover flower? 🙂

lace butterfly headband

New tutorial out! Lace butterfly: a stunning accessory you can make yourself without special tools.

I think I have not met anyone who did not like butterflies. They are fascinating and delicate creatures full of beauty. No wonder we want to capture it and embody in our designs to enjoy their perfection and elegance as and when we want it.
I love creating butterflies made of delicate lace and pure silk. Such designs look appropriate in wedding themes, they are perfect for special occasions, as little girls’ hair accessories, etc. They make a nice gift too.
I have developed this tutorial in a way that you can make your own stunning lace butterfly accessory without having to use any specialised tools.
By varying the size of the butterfly and uBysing coloured laces you can create an accessory to match any outfit. This lace butterfly can be attached to a headband, a hair clip, a brooch base or just sewn onto a garment, such as a wedding dress.  It can be used in millinery too to decorate hats and fasciantors. The applications are endless. Once you have mastered the art of making lace butterflies you can easily create different accessories in sizes and colours that are required.
You will learn how to
  • make beautifully light feather antennae
  • create a stunning body of seed beads
  • wire the wings so they hold their shape
  • attach the butterfly to a headband / hair clip
butterfly 49 new

WAIT! THAT’S NOT ALL


For those of you who have a set of millinery tools I have prepared a FREE bonus tutorial. The free tutorial explains how to shape the velvet butterfly wings using a set of millinery tools for silk flower making as shown in the picture below. For this butterfly I have used a different template which I have included as well! 
To be able to receive the bonus tutorial you will need to subscribe to my mailing list using the link in the Lace Butterfly Tutorial. 
At the moment the lace butterfly tutorial is available for instant download now from my tutorial shop here.
lace butterfly tutorial
Should you have any questions regarding materials or tools prior to purchasing the tutorial please feel free to contact me either via this blog (comments) or at enquiries@presentperfectcreations.com
fabric leaves tutorial

Want to know how to create realistic looking silk rose leaves with a 3D effect? Here’s how I do it

 
A lot of you have commented on the 3D effect my silk millinery leaves have wondering how I manage to achieve it. Now you can do it too with my new updated and extended e-book tutorial, which is available for purchase from my tutorials store for just £6.


fabric leaves tutorial
https://presentperfectcreations.com/product/millinery-fabric-leaves-photo-tutorial-pdf-format/

Packed with tips and hints this 20 page .pdf ebook  will teach you how to create impressive fabric millinery leaves for you projects every time. I have included the patterns too.

You can use an array of different fabrics, such as silks, velvet, lace to make just the right leaves you require. No more fruitless searches online when you can make them in a matter of minutes.

Who is this tutorial for:

  • milliners
  • accessory designers
  • silk flower makers
  • those, who know how to work with a flower iron and would like to improve their results.


I would NOT recommend this tutorial for:

  • complete novices in silk flower making
  • those, who DO NOT have a flower iron


The tools and the flower iron tips that are required for making the leaves are shown in the pictures below. Please have a look and if you are not sure you have all the tools you need please contact me via this blog before buying the tutorial to clarify any questions you might have.


The flower iron tips I was using in the tutorial
The flower iron tips that can be used alternatively

red workshop schedule for June and July (500x500)


For some  fresh news and insparation from the exciting world of handmade fabric flowers as well as tips, discounts and much more please subscribe to our newsletter if you haven’t done this just yet. Should you wish to learn how to make silk flowers I am happy to share my know-how, knowledge and skills through individual and group hands on workshops in our studio in Stamford, Lincs. For the current schedule please visit our workshop page.


[grwebform url=”http://app.getresponse.com/view_webform.js?wid=10058202&u=3lMQ” css=”on” center=”off” center_margin=”200″/]


flower making tools

My flower making tools

millinery tools
SET OF 2 EXTRA NARROW MILLINERY TOOLS

IMPORTANT ANNOUNCEMENT!

LIMITED OFFER ON SETS OF EXTRA NARROW FLOWER SHAPING TOOLS
If you are interested please click here to find out more  >>>>>>>>>>>>>>>

Those of you who admire handmade silk flowers might have thought about making them yourselves and wondered what magical equipment is required to do the job. So today I would like to give you an insight into the tools I am using for making my flowers.
My set consists of flower making tools which belong to both the European and the Japanese flower making schools. They have been acquired over a couple of years through different makers. The best flower making tools are thought to be made of brass as it holds the heat better than stainless steel that is why my tools look yellowish brown in the picture.
Here is my set:

A soldering iron is needed to work with these brass heads. There are a number of round heads of different diameter, several knives, a rat-tail tool, a tool for making hollow tubes and another one for making lily-of-the-valley tiny flowers, as well as a number of curved both smooth and grooved Japanese tools.

All of them are used to achieve a certain effect on different sized petals and leaves and the choice usually depends on the particular job to be done. For a more impressive result the flower making tools are used on rubber pads which vary in thickness and density.

Here is my collection of pads:

Not only do they allow to achieve different effects when used with tool heads but they also protect the work surface and are a must to have.
The tool set might seem to be an expensive investment but without them it is impossible to create any pure silk flowers from a humble daisy to the most sophisticated rose. Some free tips and how-tos on the subject can be found here on my blog.

Video tutorials on flowers from £39


I now offer range of flower making tutorials in video and photo format for your millinery and accessory projects. For more information on the tutorials please go to my Tutition section 
For the fresh news from the exciting world of handmade fabric flowers, new releases and discounts on tutorials please subscribe to our newsletter if you haven’t done this just yet. Should you wish to learn how to make silk flowers I am happy to share my know-how, knowledge and skills through individual Skype classes. Please contact me via this site or e-mail me at enquiries@presentperfectcreations.com to discuss the details
.

[grwebform url=”http://app.getresponse.com/view_webform.js?wid=10058202&u=3lMQ” css=”on” center=”off” center_margin=”200″/]


`[tiny_coffee]`

A strawberry plant

I know it is still winter and we are actually about to enter a cold spell after all that mild weather of last months but my fabric strawberry plant is ready and growing from a tiny Long Tom terracotta pot. Yes, you have guessed right and I did finish my berry project.
Here how it look

I think it is rather sweet 🙂
But I have in mind another idea on how to use it to make it wearable. Or ever 2 ideas. the original one was to make a little brooch/corsage with it which I still might attempt one day. But before that I would like to make a headband decorated with leaves and strawberries. I think it will really look cool. So keep your eyes peeled to this page folks ☺

What about a leather flower?

I purchased some differently coloured leather pieces back in November and could not find time to turn them into flowers. Finally time has been chosen and last week I tried my luck in creating my first real leather flower. It is a cross breed between a rose and a camellia. Well I think it is a rose but my husband said it looked more like a camellia. It is made of greyish beige genuine leather including a pair of leaves. For the leaves to stand out and not to blend with the petals I tinted them lightly with a golden spray. The leather camellia is finished with a brooch pin (see pictures). I must say it is a perfect accessory for the winter period when silk flowers are somewhat fragile and light. The leather corsage would look good not only decorating an outfit, but a belt or a handbag too.
Here are some pictures of the leather camellia flower brooch

You can always order a custom flower from my Etsy shop.
Please stay updated with my latest news through my Facebook page
And a Happy New Year to you! 🙂
1 2