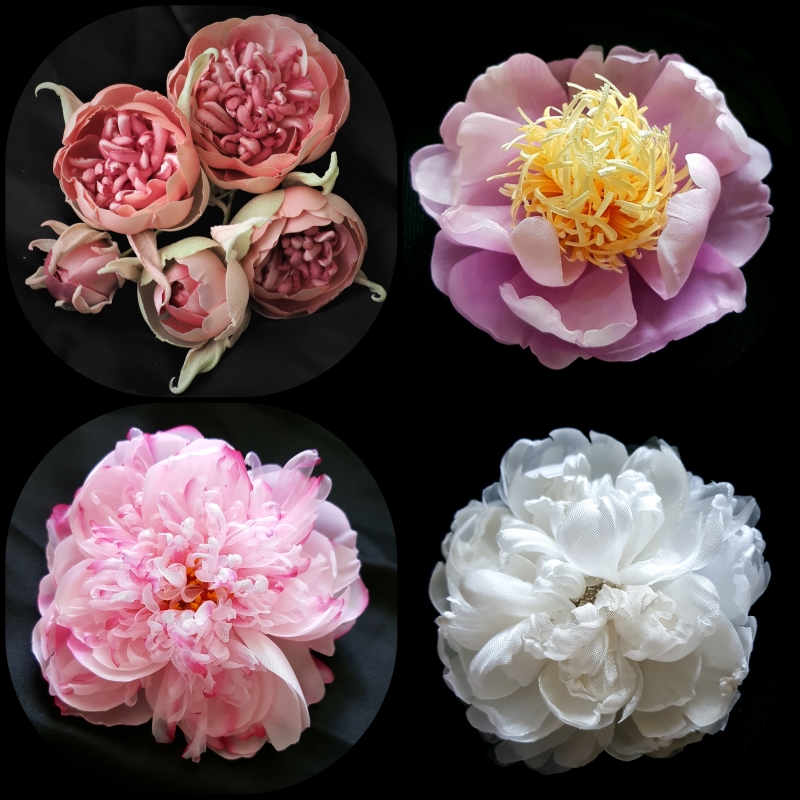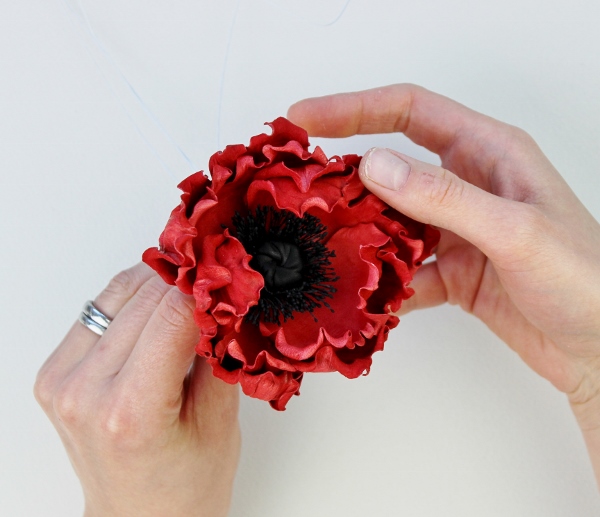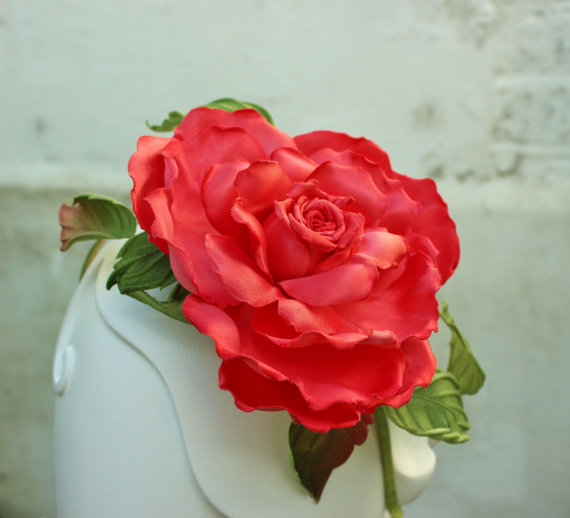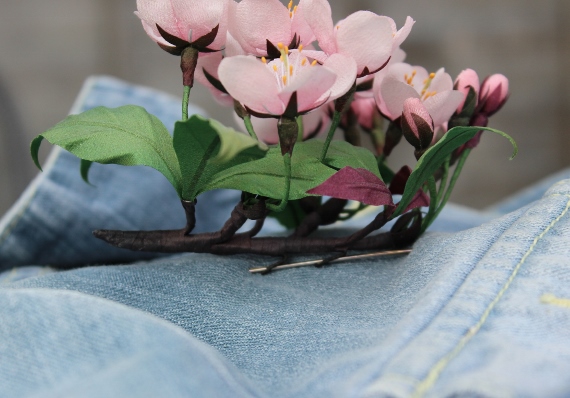
denim wild rose brooch

New Video Course on Fabric Flowers in partnership with Domestika


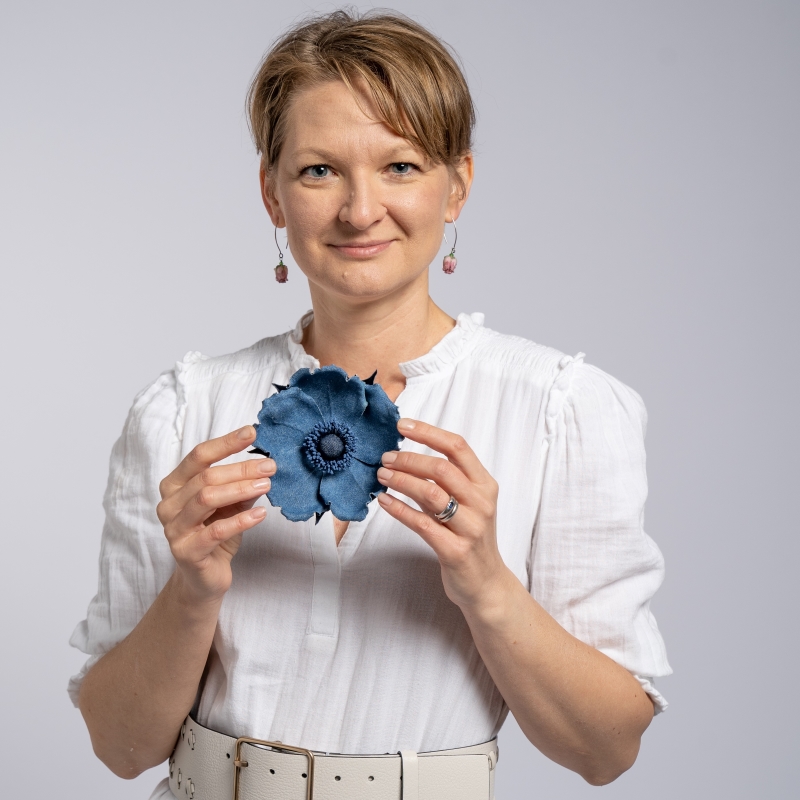
If you follow me on social media, you have probably already noticed some of my posts on the textile flower course I have been preparing in collaboration with Domestika, the largest global creative community.

The filming and shooting for this course was done last July in London, where a team of professionals helped me create this beginner friendly yet exciting video tutorial on textile flowers made with denim.
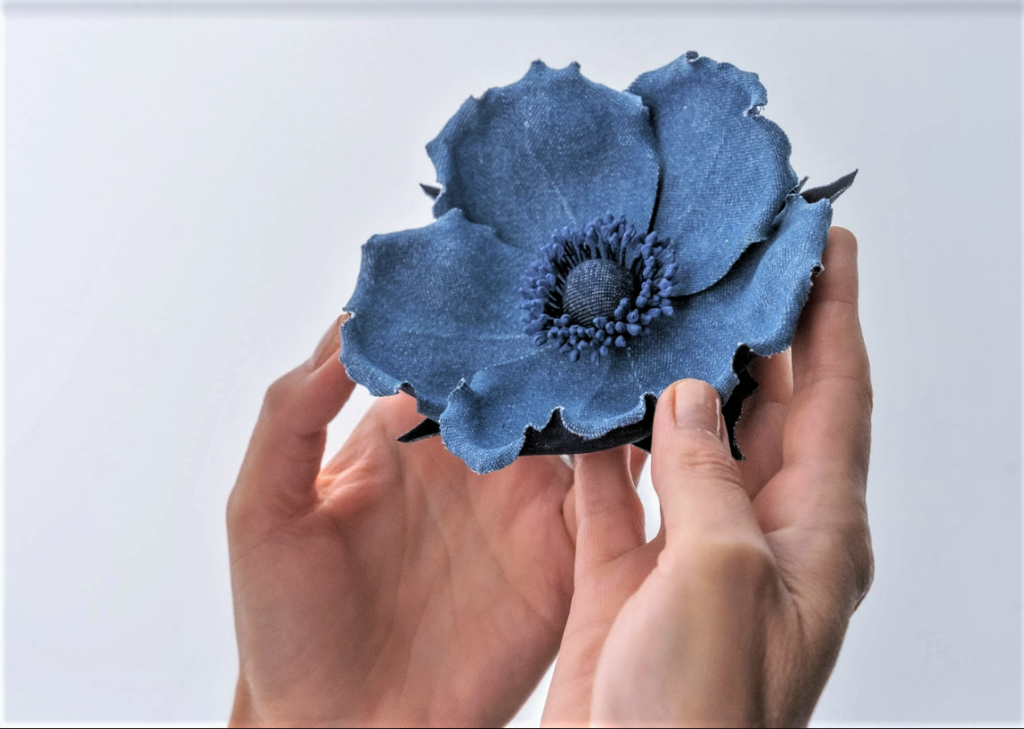
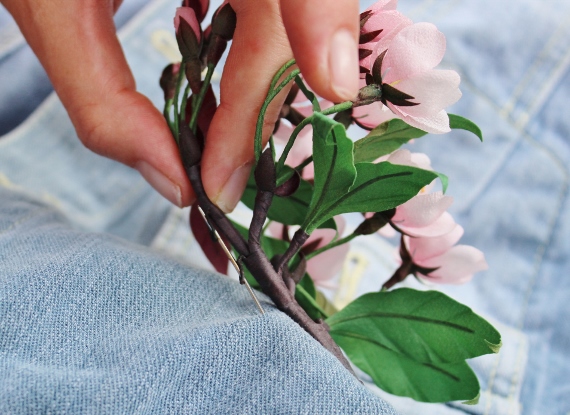
In the course I show and teach how to create two very different roses using such well known and universally loved material as denim.

The course is aimed at beginner flower makers, because you will not need any specialist tools here, just your hands, patience, my guidance and an odd pair of tweezers. So even if you have not made any textile flowers before, you are welcome to join this course.


diy kit denim wild rose


NEW
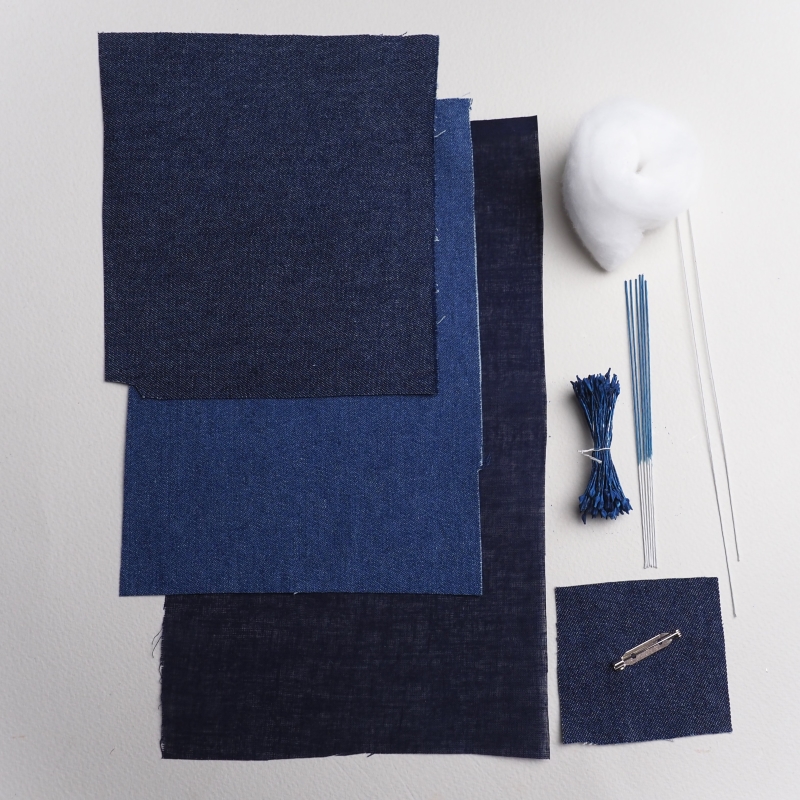
You can now order a DIY kit for making your own Denim Wild Rose if you prefer to work with specially designed kits.

The kits are avaialble from my online shop here


However, as it always happens with flower tutorials, even flower artists with experience will be able to find some useful tips and tricks to use in these as well as other flower designs they make.
Amongst other techniques I have included my method of finishing open roses (and other similar flowers) absolutely flat which I extensively employ in many of my designs, including leather flowers.
Another great benefit, thanks to Domestika, is that the course comes with subtitles in
❀ English
❀ Spanish
❀ Portuguese
❀ German
❀ French
❀ Italian
❀ Polish
❀ Dutch
So if the language was an obstacle on your way to learning textile flowers before, it is not an issue any more 🙂 You can choose your language and enjoy the creative process.

In the course I am sharing a number of ideas on how you could make other accessories with the flowers we’ve covered. By changing the size, the finish, the fabric, the stamens etc you will be able to create infinite number of roses suitable for every occasion and taste.

Now I would like to invite you to watch the introductory trailer to my Domestika course after which you will be able to purchase it from Domestica website at the special launch price if you decide to join

I am really excited about this course and so happy it is finally out and available for students to learn, experiment and enjoy the therapy of handmaking. I hope you will be able to join me on this course.
To watch the trailer and purchase the course use the button below.
denim wild rose brooch
flower making demonstrations

Welcome to Live Online Flower Making Demonstrations

In 2021 I introduced a new educational format to what PresentPerfect Creations Studio has already had to offer, mainly Live Online Demonstrations.
These 90 or so minute long live Zoom meetings give me an opportunity to cover some topics and subjects that ae difficult to fit into a tutorial or a video course. For example, compare a tooled and no tool version of the same flower, or show how to make a design using both types of materials (leather and textile). A great number of the demonstrations so far have featured flowers that can be made without the use of specialist tools, yet still look stunning and impactful.

Another benefit of such live meetings is the communication between me and my students, the opportunity to ask and answer questions and make the distance between us somewhat disappear. This benefit is particularly important in the times of the pandemic, when opportunities to get together are still rather limited.

Have I mentioned that the recordings of all live online demonstrations are available to watch for the registered participants after the event is over?

Recordings of past events can be purchased. For future demostrations consider joining my Patreon (see below).

NEW Patreon membership

If you enjoy my live demos and come to most of them consider becoming my patron on Patreon, where for a monthly fee you will be able to enjoy a number of benefits including access to this month demonstration as well as some special discounts for patrons, preview of new work etc. Choose FLORA FAN tier here to join

For a monthly fee (currently $20 USD for the first 30 patrons) as a member of the club you are able to enjoy the following perks and benefits:
❀ Monthly Live Online Demonstration from the moment of joining onwards
❀ Members Discounts on my FLOWER TUTORIALS and COURSES
❀ Exclusive mini tutos
❀ Professional book reviews and recommendations
❀ Sneak peek behind the scenes
❀ Exclusive preview of new work and more…
Past demonstration recordings are not included but can be purchased separately: 


If you like the idea of taking part in such demonstrations, feel free to check out the schedule here. Meanwhile find below the list of all the past demonstrations, access to the recordings of which can now be purchased on the website here.


I would love to see you at my forthcoming live online demonstrations.


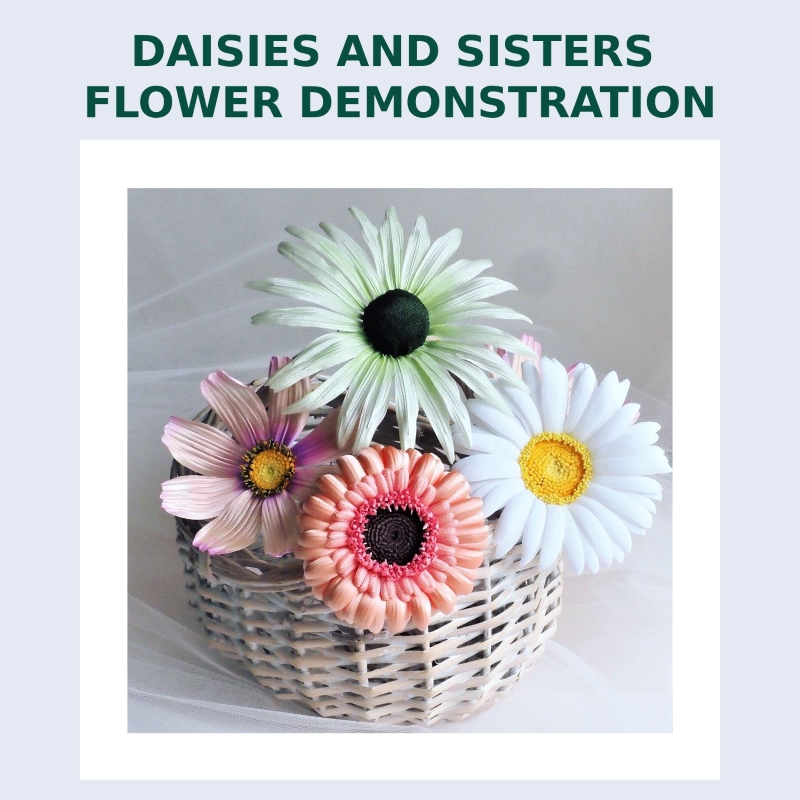
DAISIES AND SISTERS FLOWER DEMO COVER

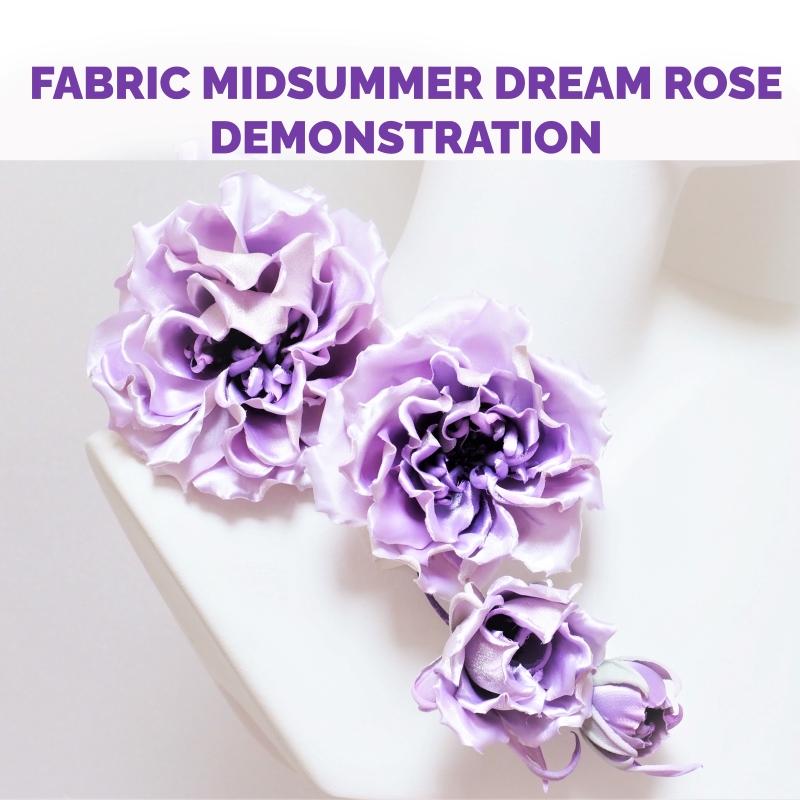
fabric Midsummer dream Rose demonstration cover

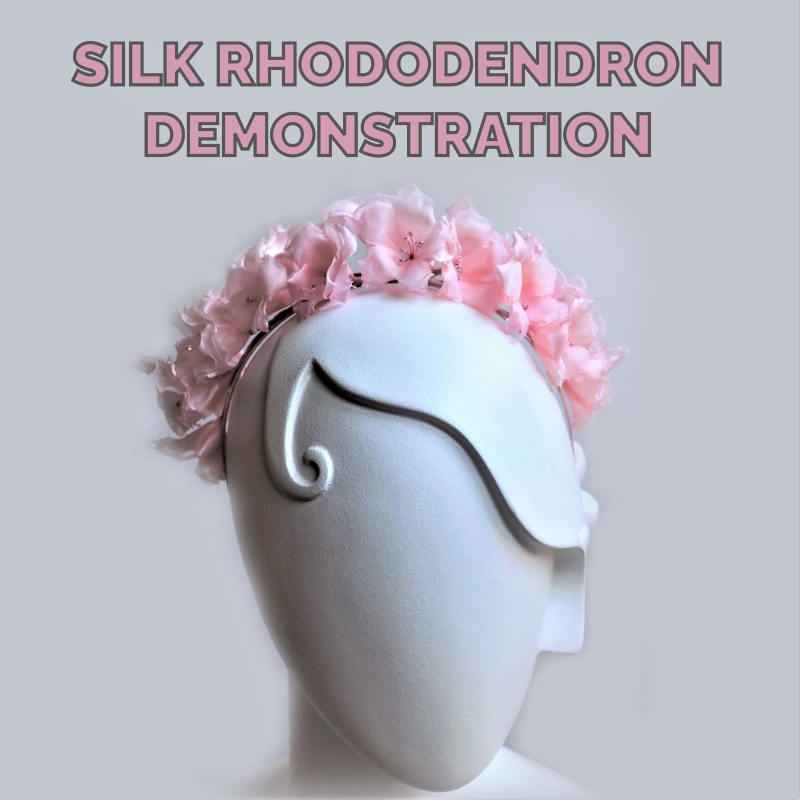
SILK RHODODENDRON deminstration cover

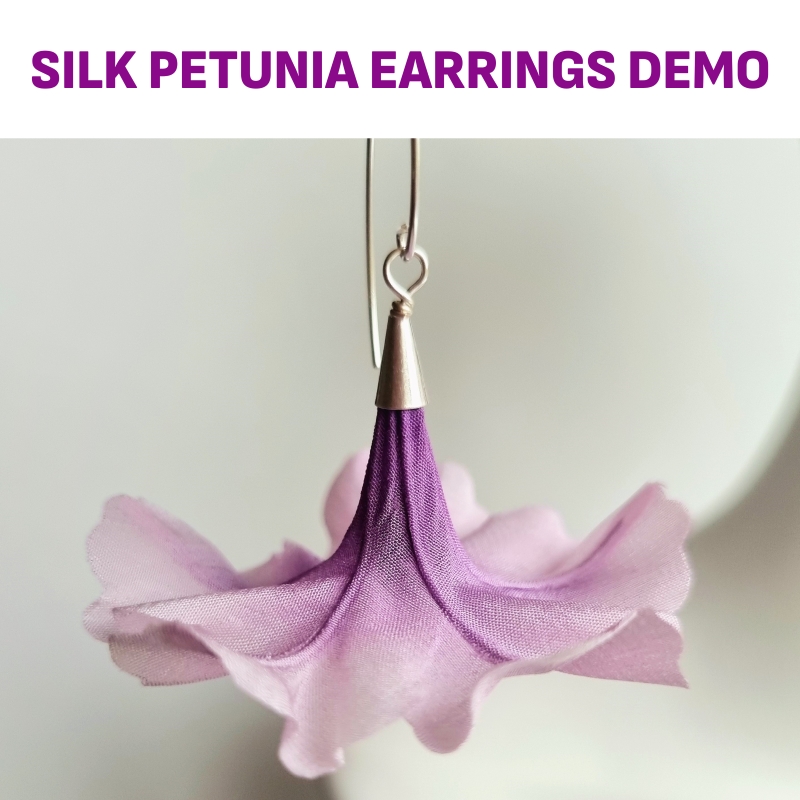
silk petunia flower earrings demo

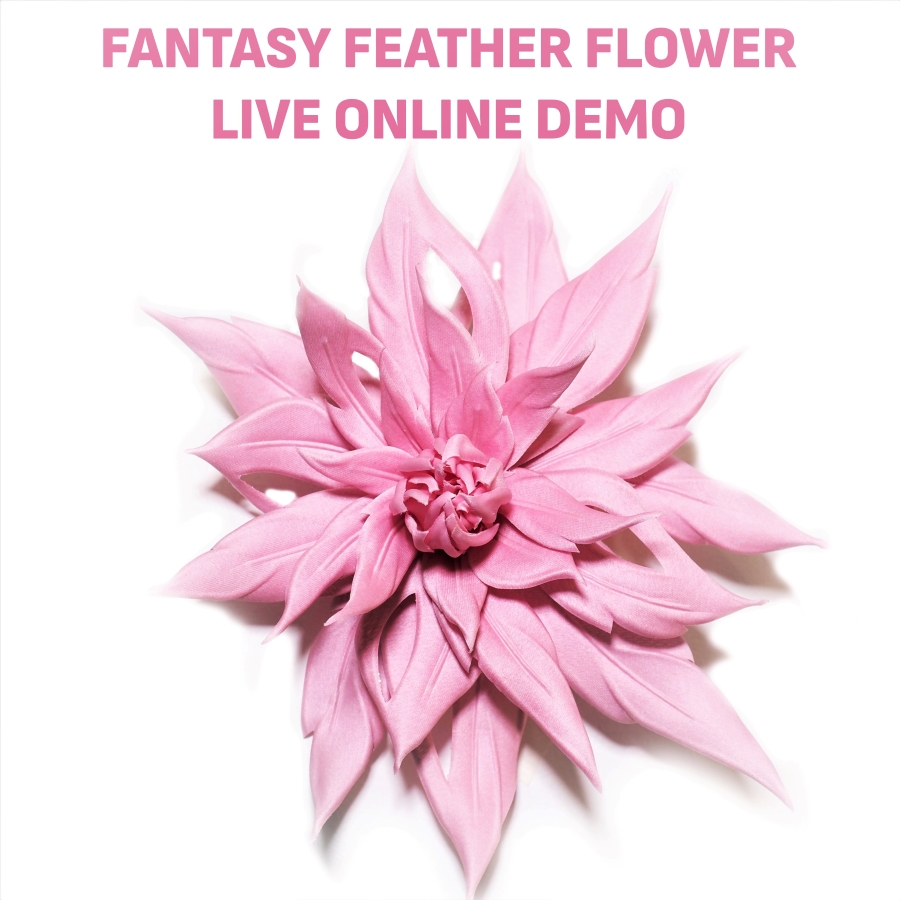
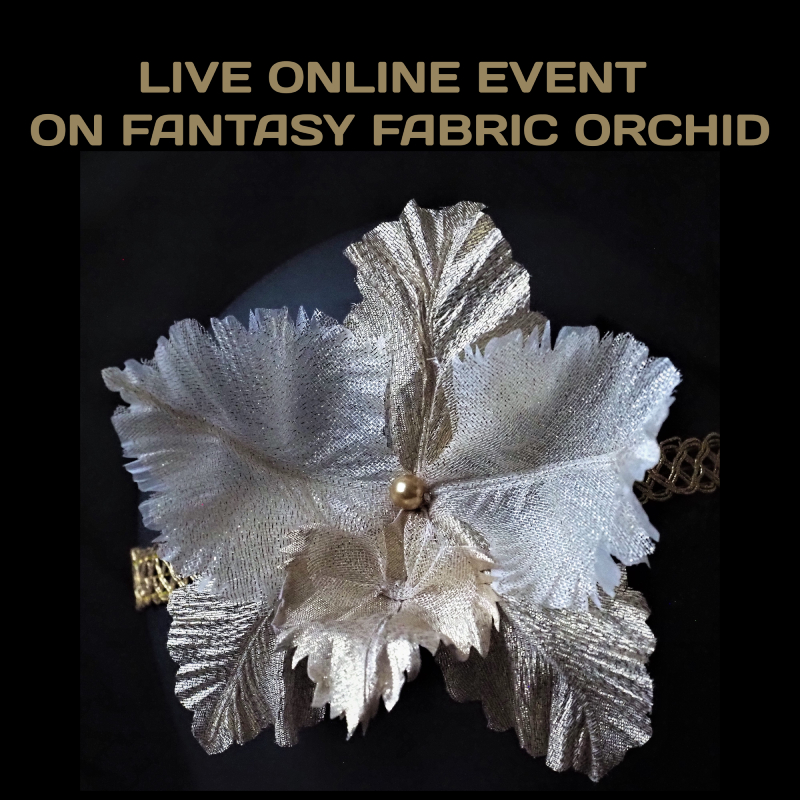
fabric fantasy feather flower demo

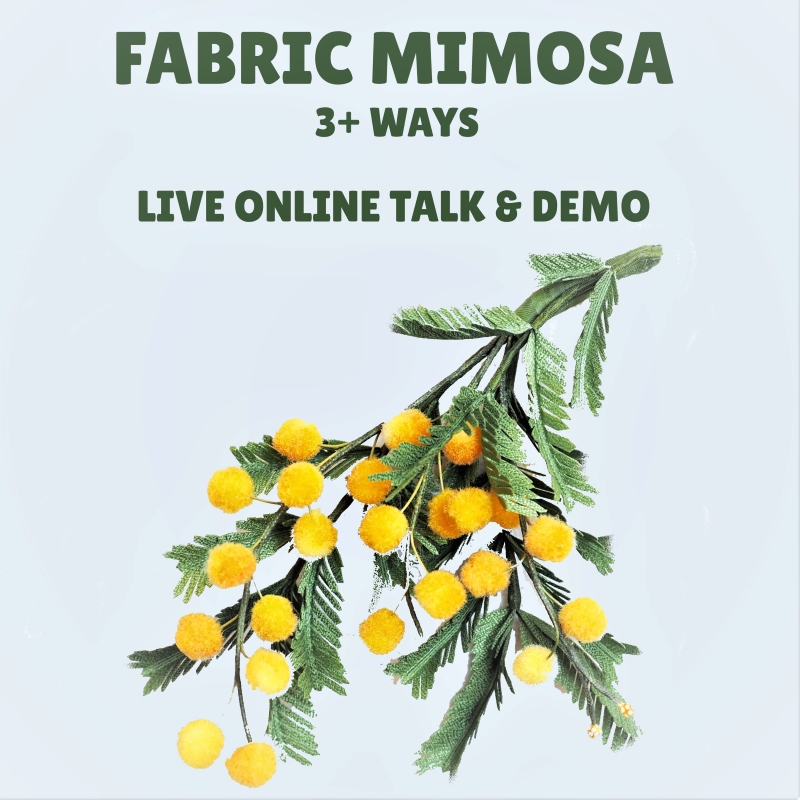
FABRIC MIMOSA

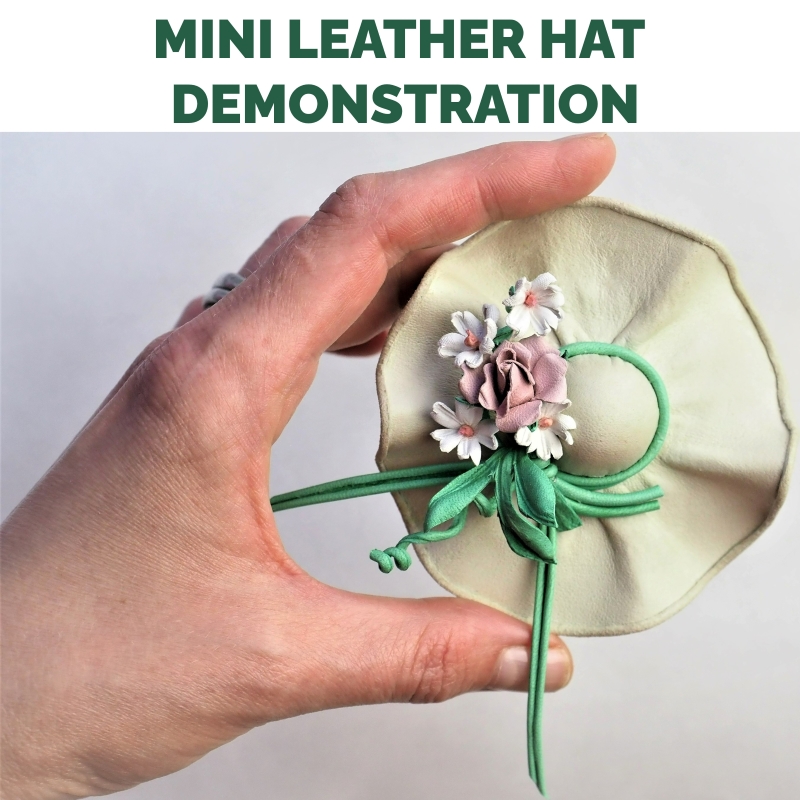
miniature leather hat demonstration

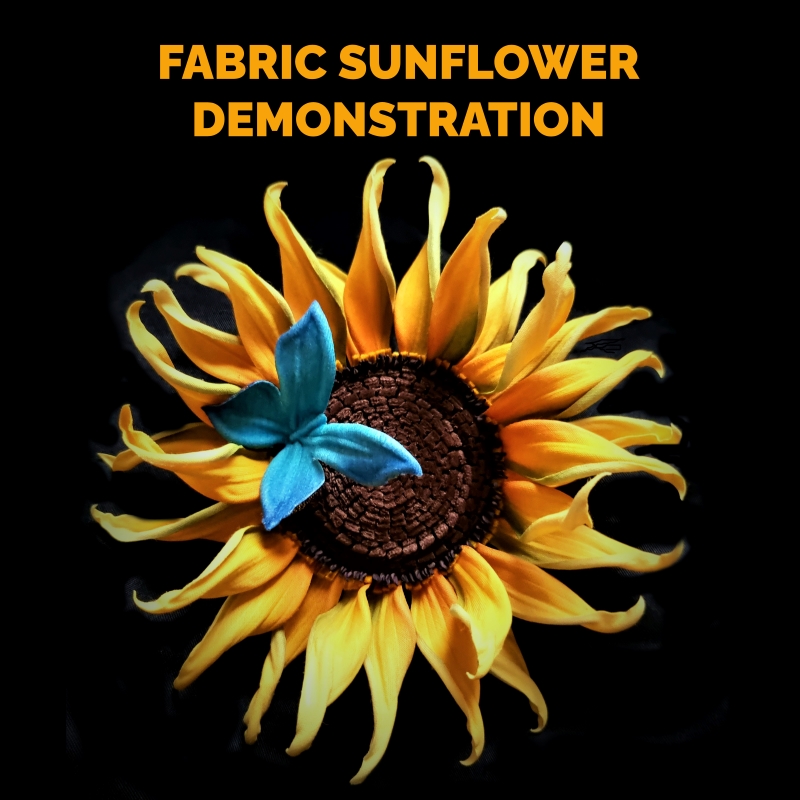
FABRIC SUNFLOWER demonstration


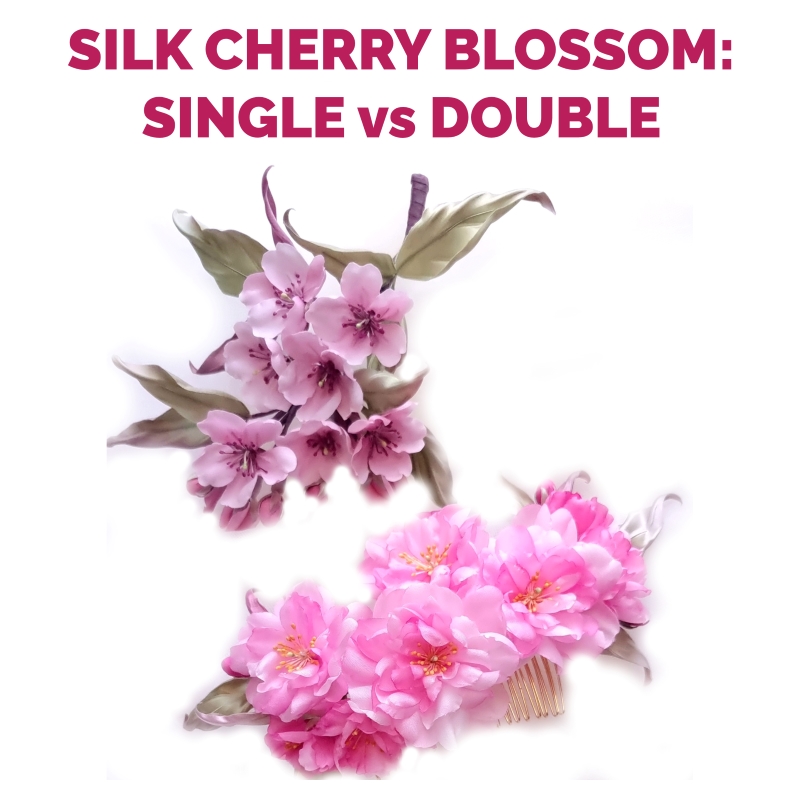
SILK CHERRY BLOSSOM DEMONSTRATION


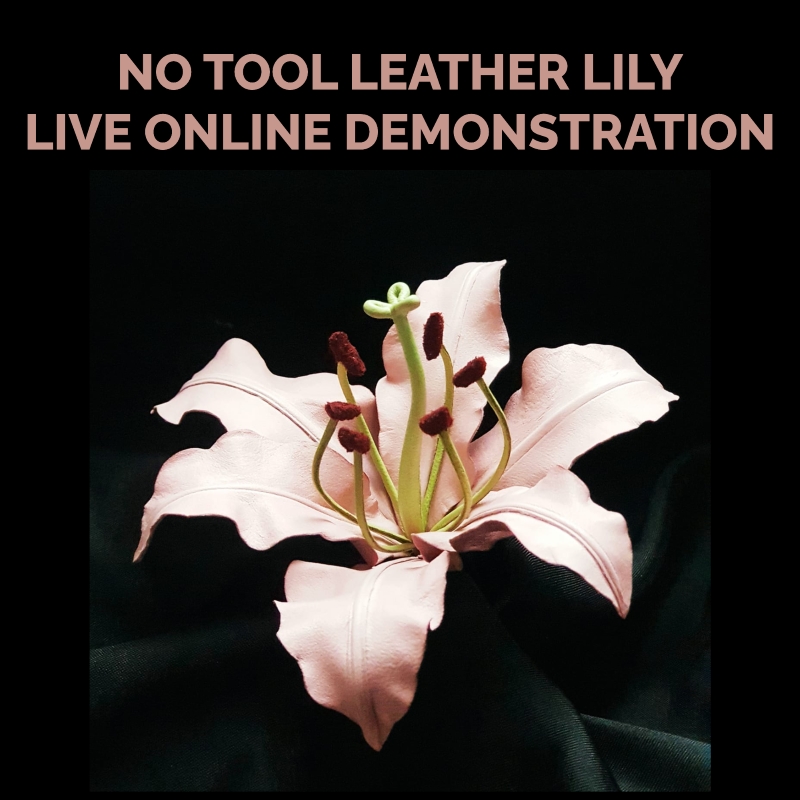
NO TOOL LEATHER LILY DEMO

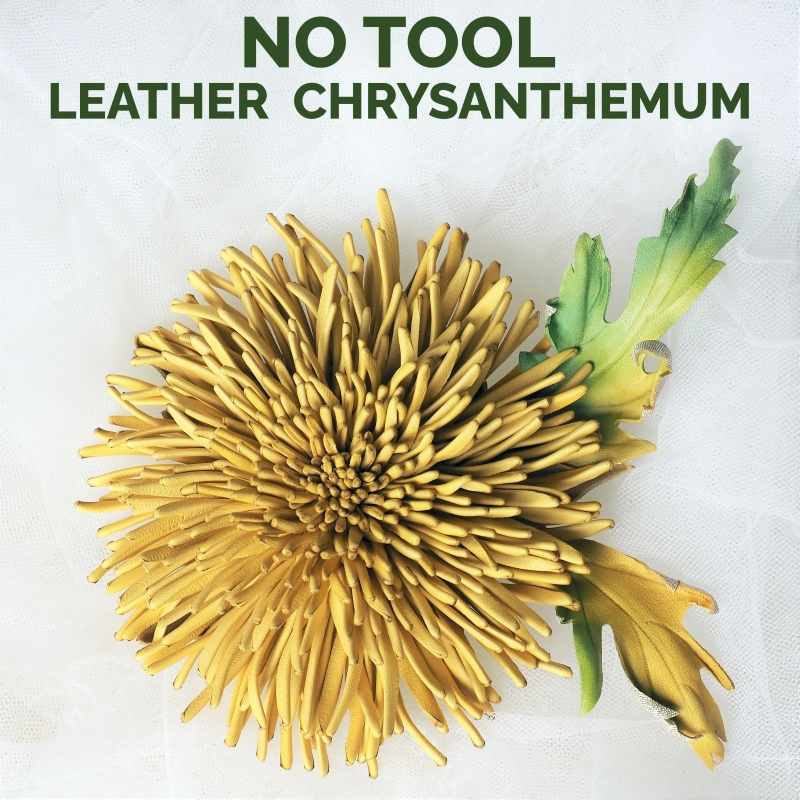
leather chrysanthemums online event

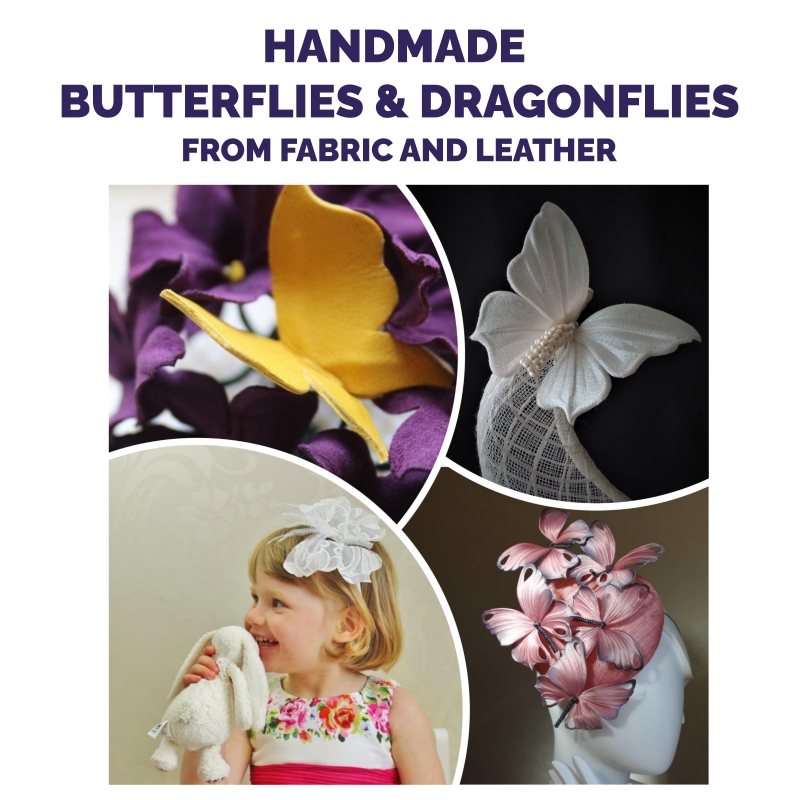
online event on handmade butterflies and dragonflies

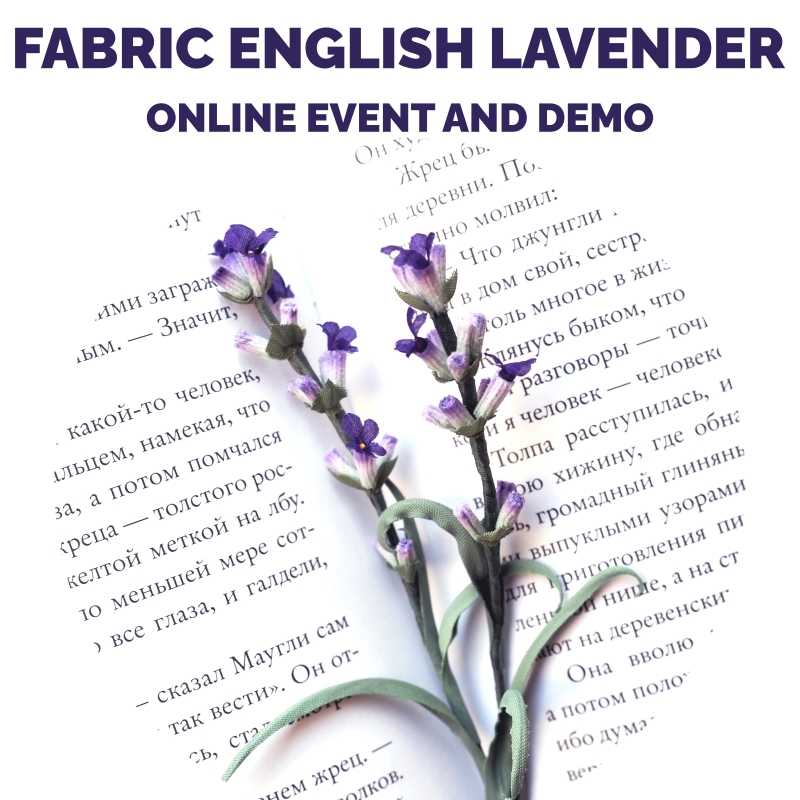
FABRIC ENGLISH LAVENDER EVENT COVER

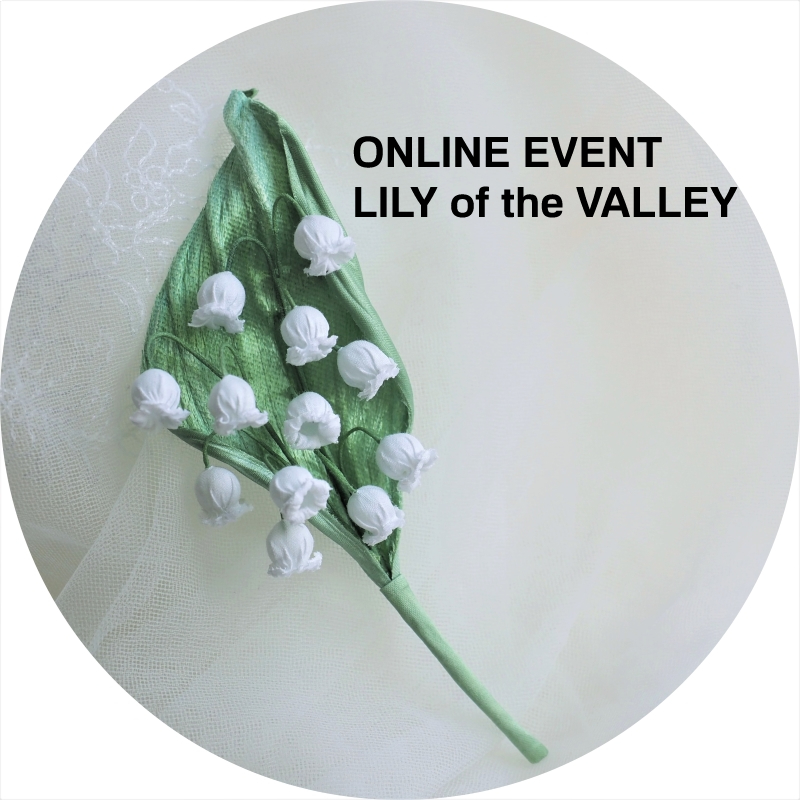
retro lily of the valley event only

no tool flower making tutorials for beginners

NO TOOL flower making tutorials for beginners

shaping fabric flower petals without the use of tools 8NO tool flower making tutorials for beginners: are there any?

I am well aware of the fact that not every flower making artist (especially a beginning one) has got a set of traditional millinery tools to shape flower petals and leaves. Although this does cause serious restrictions with regards to the techniques that can be used and the final results that can be obtained, there are several methods that could be successfully applied without the use of tools and help make certain flowers. There are several no tool flower making tutorials for beginners too.
Here on my blog I am explaining how you can shape petals using a so called cold shaping method. This method works great for such flowers as peonies, poppies, irises etc.


Then of course there is a whole branch of flower making that uses artificial fabrics and their qualities. These fabrics can be singed
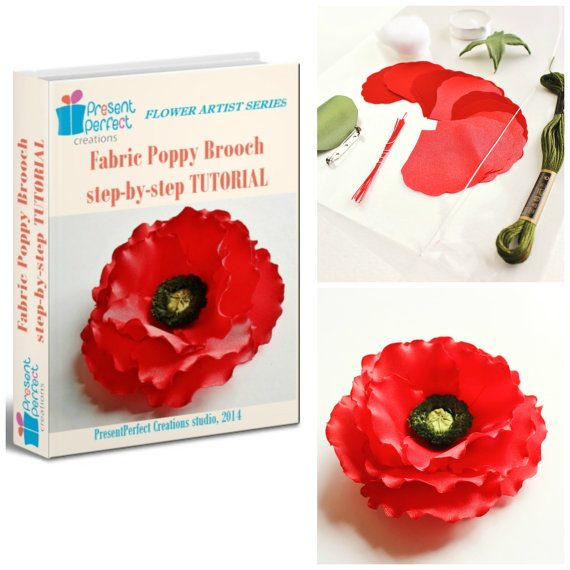
on the flame of a candle to be shaped into petals and leaves. This technique cannot be used for natural fabrics as they simply burn in the flame. To learn more about this technique and make a bright poppy brooch please check out our Fabric Poppy Brooch Tutorial here.


silk dandelion clock tutorial cover


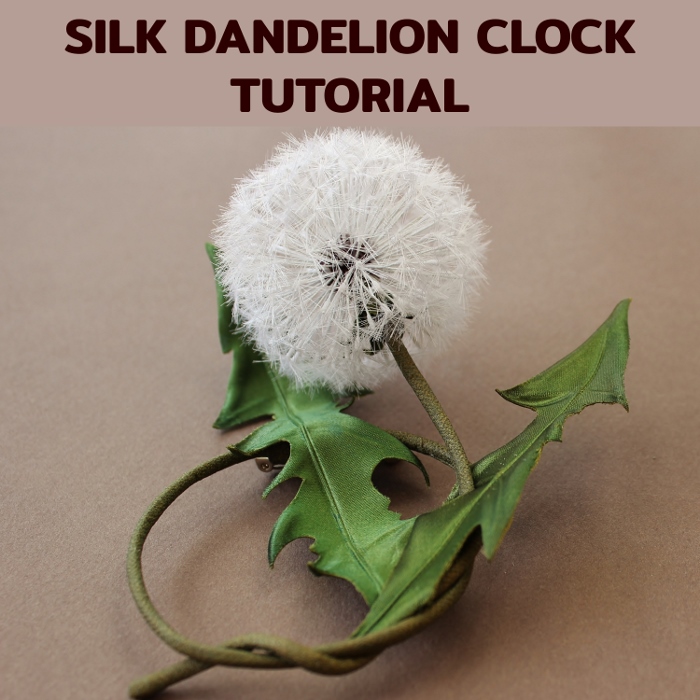
Luckily some fabric flowers do not require tools simply due to their nature and the way they are. This is the case with Silk Dandelion Clock Brooch. Yes, you’ve got it right, to make a dandelion clock out of pure silk you do not need any millinery tools. We do use tools to shape the foliage in the tutorial, so if you wish you can get those tools from our website (hurry as the offer is very limited). Otherwise feel free to omit the tooling.


If you have not yet invested into a set
of tools but would really like to have a go at making flowers why not try leather blooms? The thing is, leather is such a luxurious and beautiful material to work with that often you do not need to do much before you turn it into a lovely flower. Hand shaping combined with the use of a pair of tweezers can create beautiful as well as pretty realistic flowers.


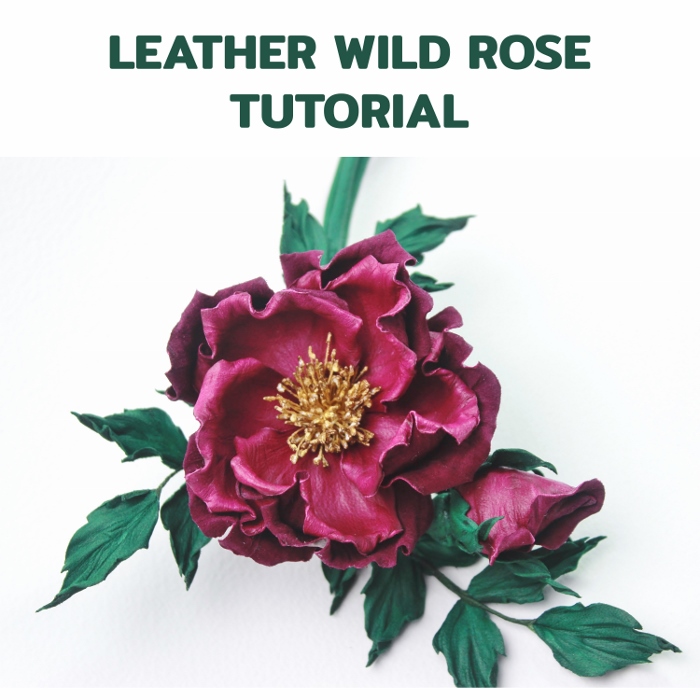
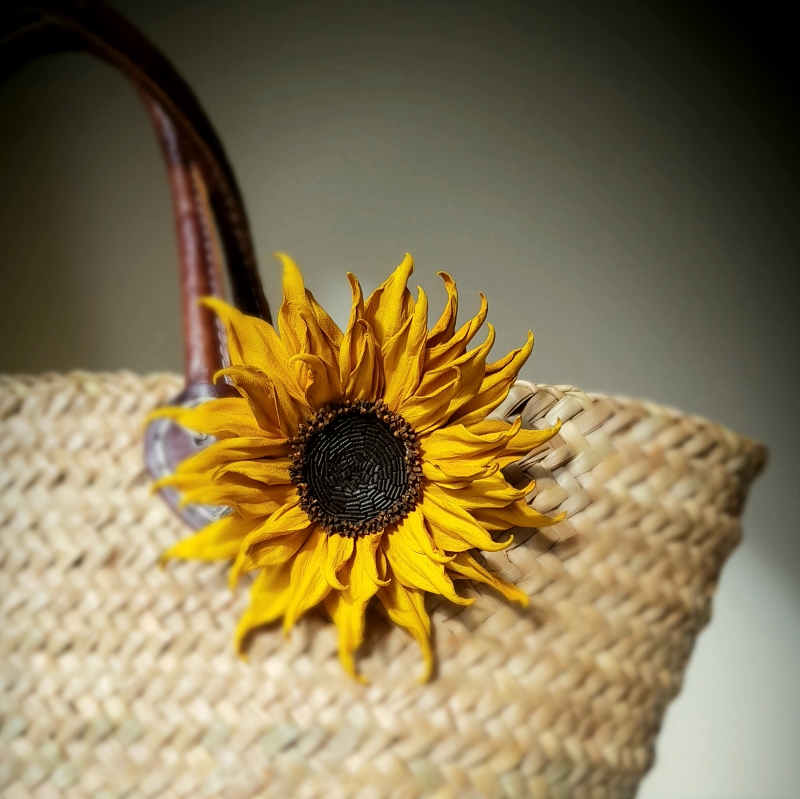
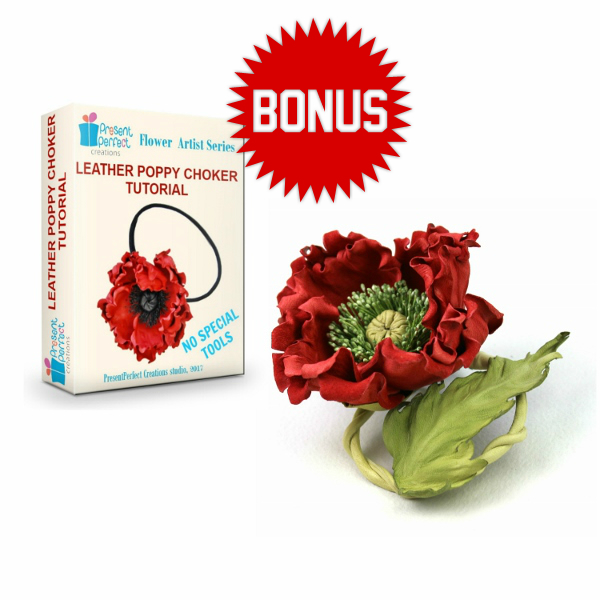
leather sunflower broochWe are happy to offer 3 leather flower making tutorials that require no millinery tools, on Wild Leather Rose leather poppy flower tutorialBrooch , on Leather Sunflower Headband and on Leather Poppy Choker.
They are a good point to start from if you want to explore leather flower making
without the need to invest in a set of millinery tools.
leather grape tutorial
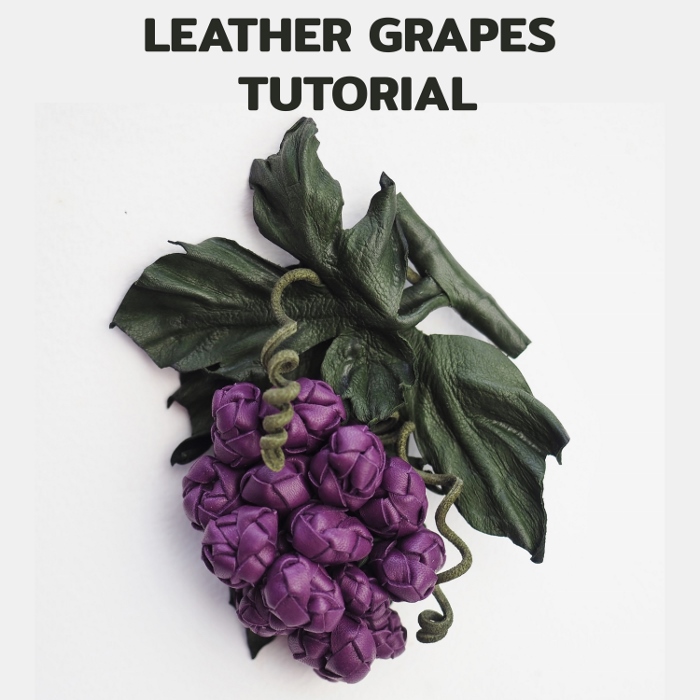
One of our latest no-tool leather tutorials in on the Leather Grapes. Again, using only your hands and some specialist techniques you can create a beautiful bunch of grapes in a variety of  colours and sizes to be used as a brooch, a hat trim or another accessory.
To learn more about the Leather Grape Tutorial click here


silk and lace butterfly tutorial

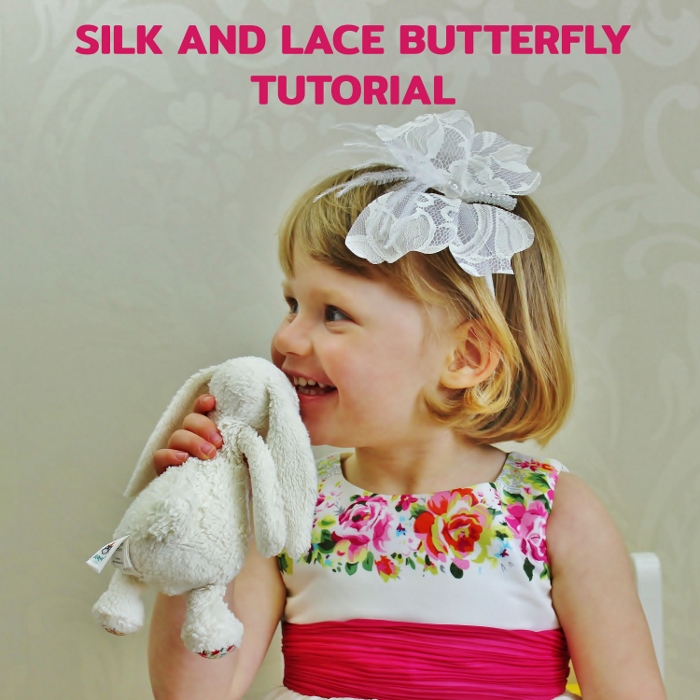
If you wish to work with more unusual material like lace, the iconic tutorial on Lace and Silk Butterfly can be a good one to explore. Although butterfly wings can be shaped with millinery  tools (and there’s a BONUS on how to do this), the butterfly in the picture can be made without the use of tools. DIY kits for the lace and silk butterfly are also available and sold separately. To learn more about the Lace and Silk Butterfly Tutorial click here.


I hope you will find some of these no tool flower making tutorials for beginners useful. Feel free to share photos of you finished pieces with us ☺

Subscribe to our YouTube Channel for more flower making videos.

shaping fabric flower petals without the use of tools 8

Shaping fabric flower petals without the use of tools

Shaping fabric flower petals without the use of tools: the cold method

shaping fabric flower petals without the use of tools 10I am well aware of the fact that not everyone has got a set of traditional millinery tools to shape flower petals and leaves. Although this does cause certain restrictions with regards to the techniques that can be used and the final results, there are methods that can be successfully applied without the use of tools.

Below I am explaining how you can shape petals using a so called cold shaping method.
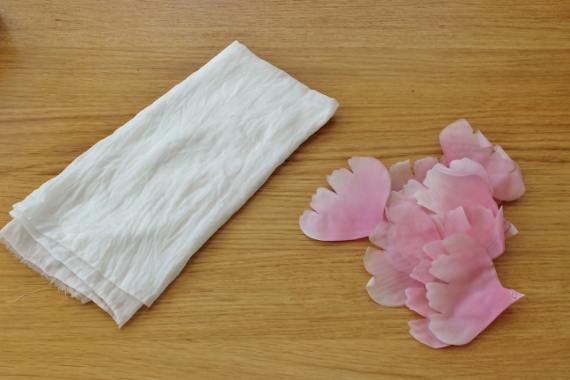
To be able to use this method you will require some fabric petals (silk, rayon or thin cotton) and a piece of thin preferably silk fabric about 40cm*40 cm or slightly larger larger( I am using a silk-cotton mixed fabric here).

shaping fabric flower petals without the use of tools 9


First, moisten the cloth either by spraying it with water from a spray bottle or wetting it under the tap. Next, wring the cloth very well so it is only just about moist, almost dry. If the fabric is too wet it can ruin the dyes on your petals. It will not shape them either.
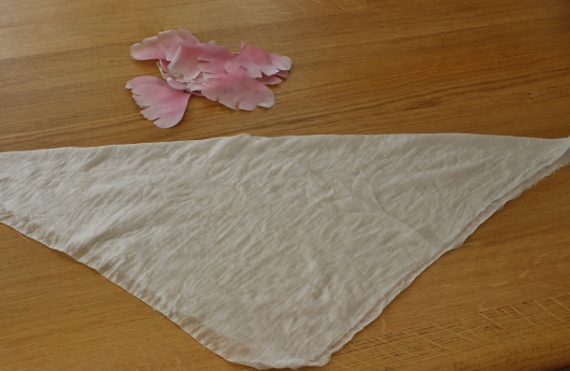
Now, fold the square of fabric diagonally as shown in the picture.


shaping fabric flower petals without the use of tools 8


Then take a petal and fold it in half lengthwise. In the photo I am using pairs of poppy petals, connected with a staple, so I am going to be shaping two petals at a time.This can work for thin fabrics. For the petals made of thicker fabrics it is advisable to shape them one by one for the best results.


shaping fabric flower petals without the use of tools 7


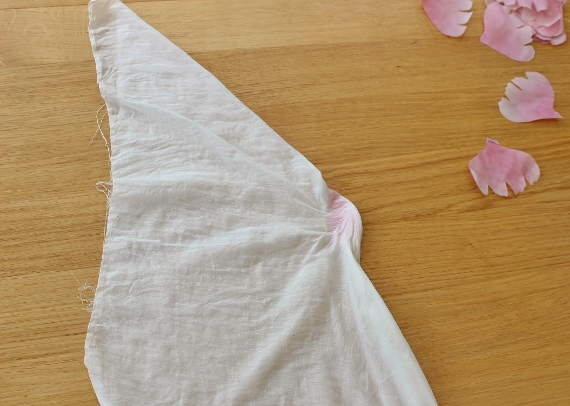
Place the folded petal in between the two layers of diagonally folded moistened cloth as shown in the picture. The folded side of the petal touches the folded side of the cloth (this is important).


shaping fabric flower petals without the use of tools 5


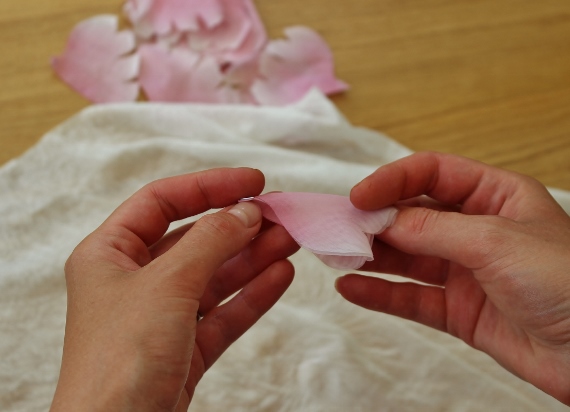
Now it’s high time we shaped the petal. Place the palm of your left hand over the whole of the petal (which is sitting between the layers) and press firmly onto it, especially the very bottom (the base) of the petal. With your right hand pull the right corner of the the cloth away from the left hand that is pressing down the petal.


shaping fabric flower petals without the use of tools 4


Pressing  the petal firmly (particularly at the very base) with your left palm pull the cloth with an effort with your right hand clockwise following the black arrows. Having done a semi-circle with the right hand ease off and let the cloth gradually go.


shaping fabric flower petals without the use of tools 3


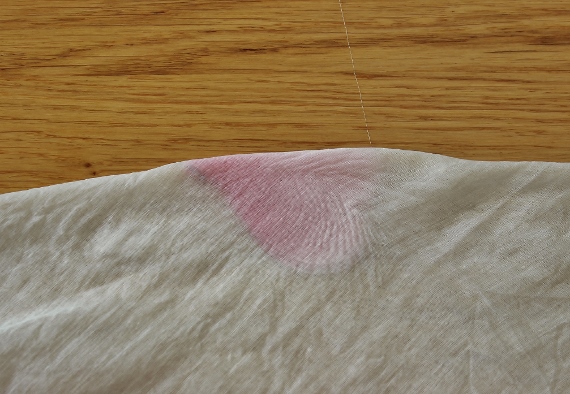
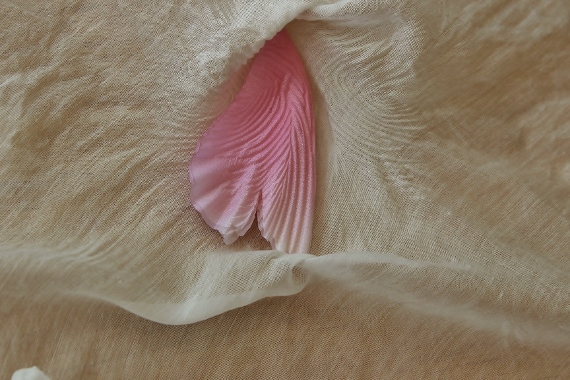
The cloth should form a network of very fine wrinkles under your palm and in turn it will wrinkle the petal that has been placed between the layers of the cloth. The finer the lines of the shaping the better the result.


shaping fabric flower petals without the use of tools 1
You might want to practice on a spare petal first to get an idea of how to shape petals using this method. If you are not happy with the result you can return the same petal back into the cloth and shape again. But try not to do this too many times as it will make the petal creased more than shaped.

         This cold method of shaping fabric flower petals without the use of tools works particularly well with such flowers like peonies, irises and poppies. The top edge or the petal can be curled with a pair of heated tweezers or by hand, which does make  this method totally millnery tool free ☺
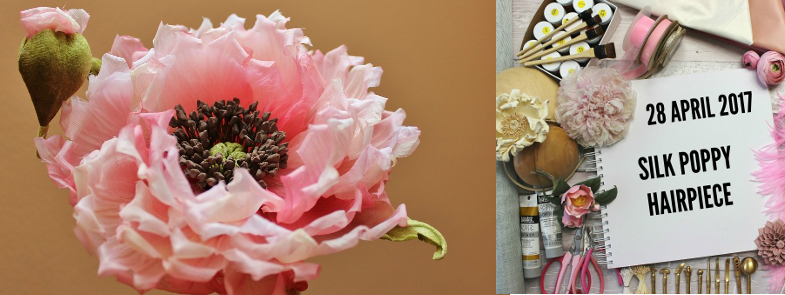
I hope you find this information useful and applicable to the flowers you make. If you wish to attend a flower making workshop to practice this method, please consider taking part in SILK POPPY HAIRPIECE WORKSHOP (click on the photo below for more information).

Backing of handmade flower petals and leaves

silk camelliasTo back or not to back [ handmade flower petals and leaves with fabric ]? If you have not yet decided on this one, I hope this article will help you make up your mind.
So let’s see why, how and with what we back flower petals and leaves. If you have been following PresentPerfect Creations for a while and had a chance to see our tutorials you might have noticed that I always back foliage with a layer of fabric and quite often (depending on the project though) I do the same with flower petals.

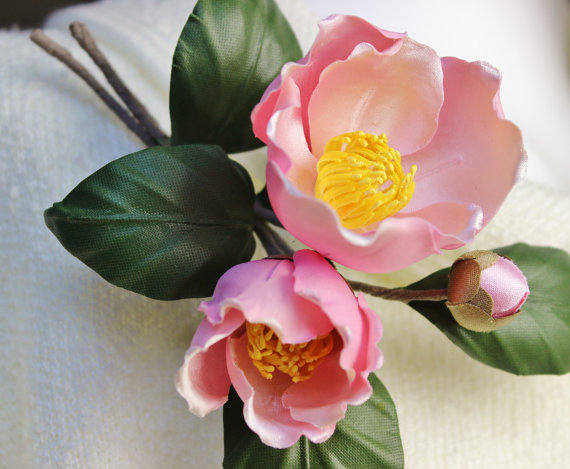
On one hand, flower petals should look thin and delicate, but on the othcamellia japonica comp screen JPEGer hand since we make wearable flower pieces they need to be durable and robust enough to withstand wear, pressure and possible damage to some extent at least. Reinforcing handmade flower petals and leaves with another layer of fabric really helps achieve certain durability. Have a look at the camellia flowers above. Would you be able to guess that they are actually cardboard hard? They certainly do not look it and that’s the trick: whilst backing petals with another layer of fabric to give them a look of delicacy and fragility that we see in fresh flowers at the same time.

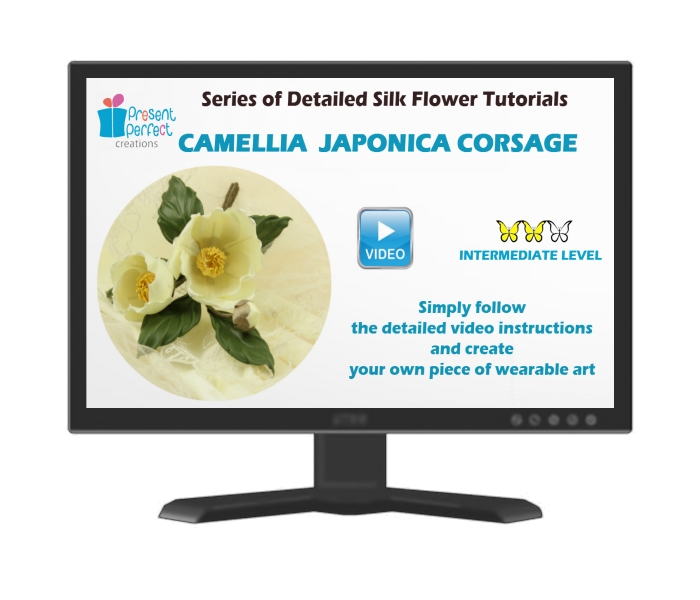
There are different ways of achieving this look and make your stiff durable flowers appear full of life. The techniqueoversized flower headpieces will vary from flower to flower but as a rule we use a flower iron and a pair of tweezers to shape parts. My SILK CAMELLIA JAPONICA CORSAGE video tutorial explains the process in detail.
If you happen to attend one of my workshops on an OVERSIZED ROSE HEADPIECE, you have experienced petal backing to full extent. Indeed this oversized rose is made of large satin petals that are all backed with a layer of thin silk. This job requires precision, speed, dexterity and neatness. The good news is, practice makes perfect. If you wish to join me for a workshop on this oversized silk rose please send your enquiry to enquiries@presentperfectcreations.comlace orchid headband 2

Although not all flower petals get backed, a certain range of materials would benefit from being backed on every occasion. Amongst those are lace, velvet, denimetc.
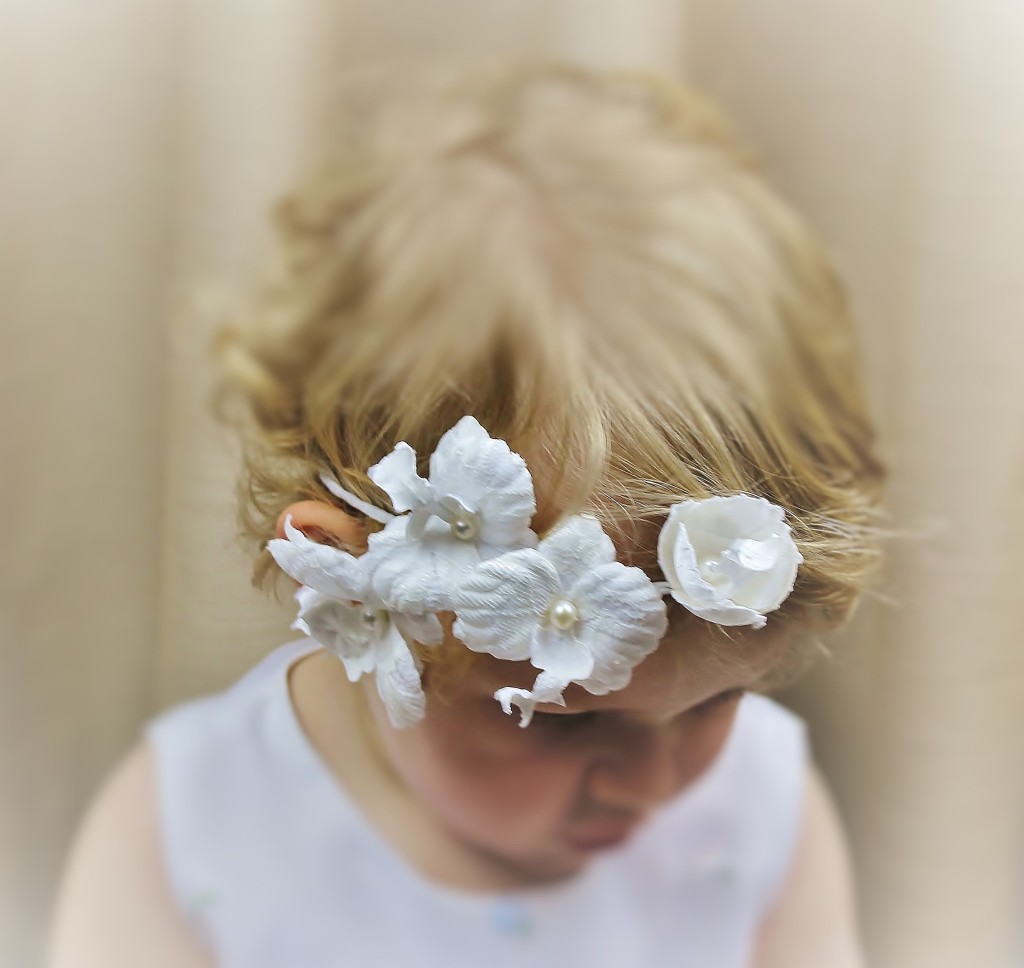
LACE ORCHID HAIR CIRCLET video tutorial teaches you how to work with lace and turn it into delicate ethereal flowers that are also robust. White lace flowers are perfect for bridal pieces but if you take coloured lace or dye white lace yourself you can make evening wear floral pieces and much more.
Another video course on a DENIM ROSE BUD shows how to work with denim.
So, leather rose spray corsagewhat fabric(s) to choose for backing?
The choice is more than you might think. For petals some thin fabrics like pongee or organza are used in most cases. But if your petals are made of heavier fabric (velvet, denim or similar), you can go for thin or thick satins, or decorative fabrics with metallic threads.
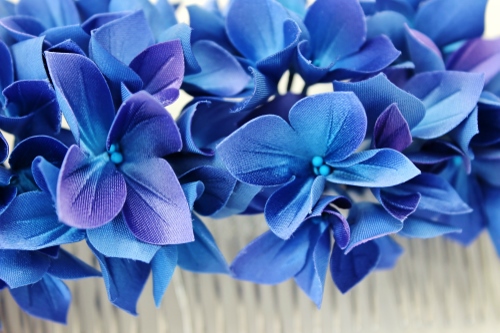
When backing leaves you can choose from an array of different fabrics ranging from very thin (think pongee, organza) to satins to decorative metallic fabrics to velvet should you blue silk hydrangeawish. There is no hard and fast rule about which fabric to use. Depending on your main fabric try to choose a backing fabric that will complement your design and give it a beautiful finish.

I personally love the durability and definition of backed flower parts be it petals, leaves or butterfly wings, that is why I use this method on a regular basis in my works. To learn more about how you can create handmade flower petals and leaves by backing them with a layer of fabric please have a look at some of the photo tutorials by PresentPerfect Creations studio below:

leather-baccara-tutorial-bonus-sq

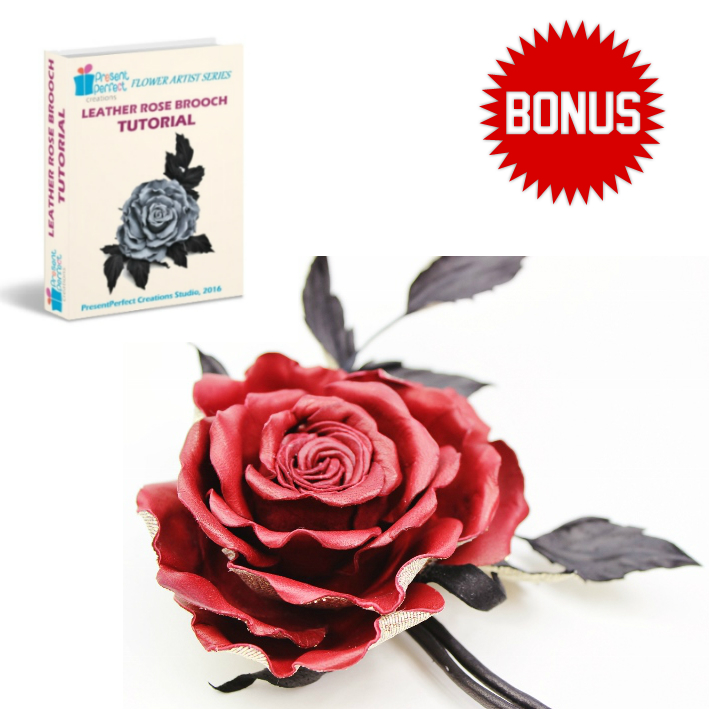
A detailed BONUS photo tutorial on Leather Rose Brooch. Yes, you got it right, you can back leather petals and leaves with fabric too! And this bonus tutorial that comes as a freebie together with LEATHER ROSE BROOCH photo tutorial will teach you exactly how you can do that.

learn-more-button


fabric leaves tutorial

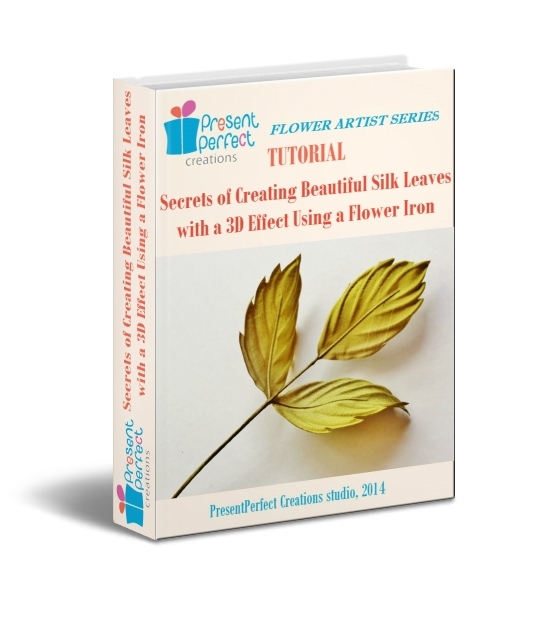
A step-by-step photo tutorial on how to create MILLINERY LEAVES that are just right for your project. Still looking for suitable leaves online and in shops? Look no further. A flower iron and this tutorial is everything you need to create any fabric leaves your project calls for.

learn-more-button


lace butterfly tutorial

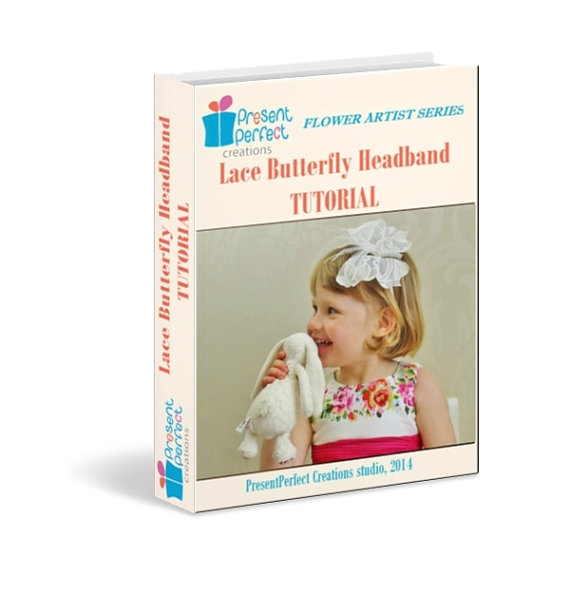
A step-by-step photo tutorial on how to create our SIGNATURE SILK AND LACE BUTTERFLY ON A HEADBAND. As a bonus you will also get FREE tutorial on how to shape a velvet butterfly with a flower iron (details inside the main tutorial once you’ve got it)

learn-more-button


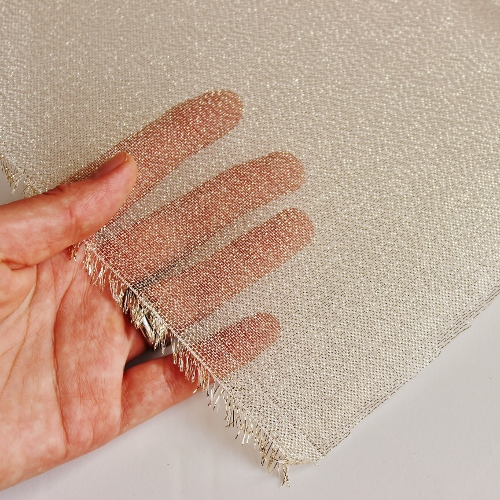
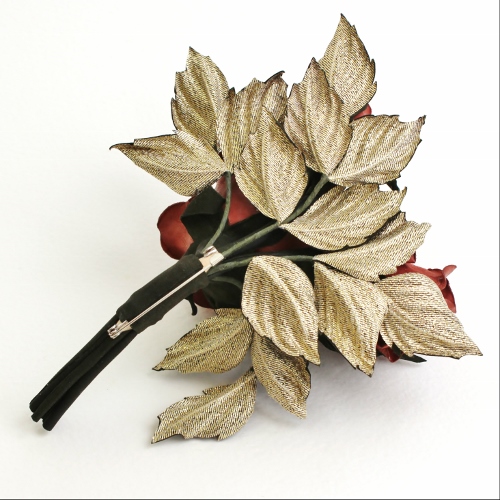
Should you wish to try and use some decorative fabric with metallic threads in your work (think Christmas ☺) please check this beautiful semitransparent rayon fabric with golden metallic thread. It will look great at the back of leaves as well as petals. The fabric comes prestiffened and is ready to be used in flower making.

button

`[tiny_coffee]`

must have fabrics for making flowers

3 must have fabrics for making flowers

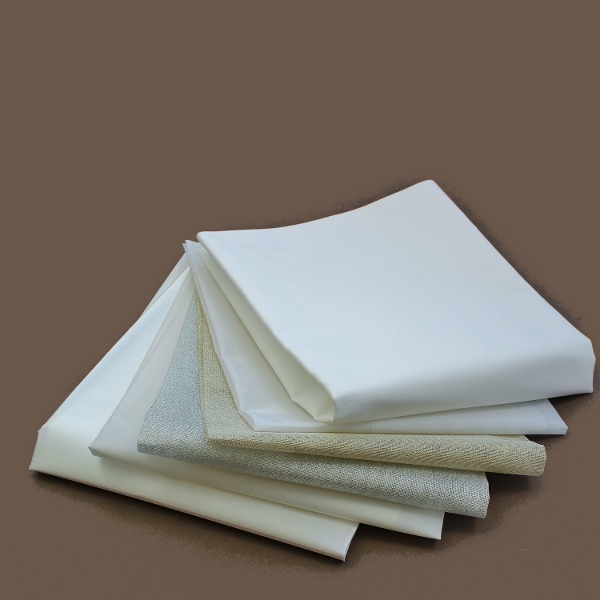
taster fabric packOne of the evergreen questions I get to hear is about what must have fabrics for making flowers are considered the best and should be used.


SHOP OUR RANGE OF PROFESSIONAL  FABRICS FOR FLOWER MAKING HERE 


I must admit navigating in the sea of fabrics can be very daunting especially if you are quite new to the art of flower making. What exactly is satin and do you really need pure silk? Questions, questions, questions…
In short, flowers can probably be made with any fabric, but the end result will differ. If you wish to make detailed realistic delicate flowers you will need to choose certain fabrics that have proven to work well for couture flowers.
Here I present my short guide to the 3 must have fabrics you’ll require when you start making flowers. These 3 fabrics are a good starting point for the beginner.  Once you have become more experienced and confident you will be able to expand the list of fabrics that can be used in flower making (we’ll talk about some other fabrics during the next weeks).
Before I start, let’s clarify the difference between a fabric and a finish. Fabrics are cotton, silk, linen, rayon or polyester, to name a few. Finishes are terms like crepe, taffeta, and satin. That said, “satin” does not mean silk fabric as satin can be made out of polyester, rayon or other fibers. Not all of the fabrics will be equally good for our purpose.
Let’s have a look as the three must have fabrics for making flowers you could do when starting out in flower making.
Silk Crepe de Chine
is light and fine plain woven dress fabric. Crepe de Chine  has a slightly crepe character, a feature produced by the use of weft, or filling, yarns spun with the twist running in reverse directions.
This fabric is great for us for several reasons:

 ~ it is very forgiving, pliable, pleasant and easy to work with

~ it frays very very little if at all which makes it suitable for small and large flowers

~ it has no right or wrong side which works well for some designs

I would strongly recommend using this type of fabric for flower petals. It dyes well too.
I have a tutorial on SILK CLOVER that demonstrate how to work with Crepe de Chine, which is perfect for this small flower.


Very unusual humble flower of clover is perfect for summer flower crowns and hat trims. Fiddly to make out of fabric but well worth the effort for that special project you have in mind.


LEARN MORE ABOUT THE FABRIC CLOVER TUTORIAL


Silk Satin

When we think of silk, the texture we usually visualise is satin.This fabric is formed with a satin weave and can be made out of various fibers including silk, nylon, or polyester. It is smooth and soft to the touch, and usually quite lightweight. Satin has a subtle sheen, meaning it will catch and reflect the light.
This fabric is your first choice when making fabric leaves. It allows to imitate the glossy smooth surface of real foliage.
But it will make beautiful rose petals too (as well as any other petals). So experiment with it and try using it for both: fabric leaves and fabric petals.
Unlike crepe, satin fabric has the right (shiny) side and wrong (matte, crepe-like) side to it.
Silk satin is a popular fabric with flower makers and customers alike so I have prepared a number of tutorials that use satin.
 This video tutorial on silk camellias is marked “Intermediate” but will be perfectly suitable for beginners. Learn to cut flower parts, paint them with silk colours, shape with millinery tools and assemble into one of a kind floral jewellery or hairpieces.
 LEARN MORE ABOUT THE CAMELLIA FLOWER VIDEO TUTORIAL

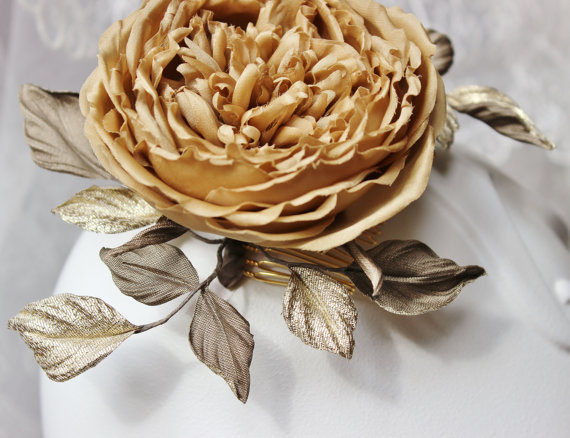
A more complicated video tutorial on a large English rose hair comb is recommended for the flower makers with some experience. Satin silk can be used for both the petals and the foliage.
 LEARN MORE ABOUT THE ENGLISH ROSE VIDEO TUTORIAL

Concise and easy to follow photo tutorial on silk leaves shows how to back leaves with a layer of thin silk and shape them with millinery tools to achieve a realistic look. You also get several leaf templates. 
 LEARN MORE ABOUT THE FABRIC LEAVES PHOTO TUTORIAL


Silk pongee

is a plain woven thin fabric. It is also known as China silk or Habutai (Habotai). The fabric is lighter in weight than other silks. Quite often it is used for lightweight scarves.

In flower making pongee is a secret agent. That is it’s not really seen but often plays a vital role in creating silk floral designs. It is widely used for backing leaves and petals as well as wrapping stems of flowers with silk. It can also be used for small filling petals in large roses, peonies or other fairly large multipetal flowers.
I also use it for a number of jobs in leather flower making. Definitely a must have fabric for your stash.
 The fabrics I have listed above are just few out of a whole range of different fabrics that can be used for making flowers.
But they are great to begin with. I would recommend you should obtain pure silk fabrics for the following reasons:

❀ they are easy to work with and will provide a predictable result
❀ they dye easily and beautifully
❀ they will take the heat of a flower iron and tools well
Best places to purchase these silks are online batik and art shops. If you google them in your area you will be able to find local suppliers.If you are a UK based maker, please feel free to contact me if you need any assistance finding shops to bgolden backing fabricuy these silks, I will be happy to help.

There are a lot of other fabrics to talk about with regards to flower making. We discuss them in detail in our newsletter. Stay tuned! If you have not yet, feel free to join the list below.

Some professional prestiffened fabrics for flower making are available in our online shop.

Currently we are offering the following professional fabrics for you to try and fall in love with with:

➡ FABRIC TASTER PACK 

➡ GOLDEN, SILVER or PEARL LAME SATIN

➡ RAYON ORGANZA FABRIC

➡ THIN RAYON BACKING FABRIC

➡ RAYON SATIN FABRIC

➡ GOLDEN, SILVER or PEARL BACKING FABRIC

➡ WHITE or BLACK COTTON VELVET FABRIC

Should you require any specialist fabrics for your project, feel free to get in touch with us at enquiries@presentperfectcreations.com to place a custom order.
 

Subscribe to our YouTube Channel for more flower making videos.
lace orchid circlet

How to stiffen lace and velvet for the new tutorial

lace orchid headband 2At the moment I am working on a new video tutorial on Silk and Lace Orchid flowers where I will show you and explain how to make an open hair circlet with lace and silk orchids decorated with freshwater pearls.

All the fabrics that are used for making flowers using a flower iron have to be stiffened and lace is no exception here. Please read through a mini-tutorial below to learn how you can prepare your velvet and lace for making flowers.

I often use lace and velvet fabrics for making leaves to enhance my fantasy flowers.

Whilst it is possible to obtain industrially treated delicate fabrics tutorial 1velvet ready for making flowers, I have never seen any ready to use lace fabric. So what to do if you have that nice piece of vintage lace or gorgeously coloured square of velvet you would like to incorporate into your design? Use gelatine? I can tell you from my experience these attempts have not been very successful as the gelatine tends to form a film on the structure of the lace and makes the velvet pile all stuck together. So how to prepare these delicate fabrics for using in flower making?
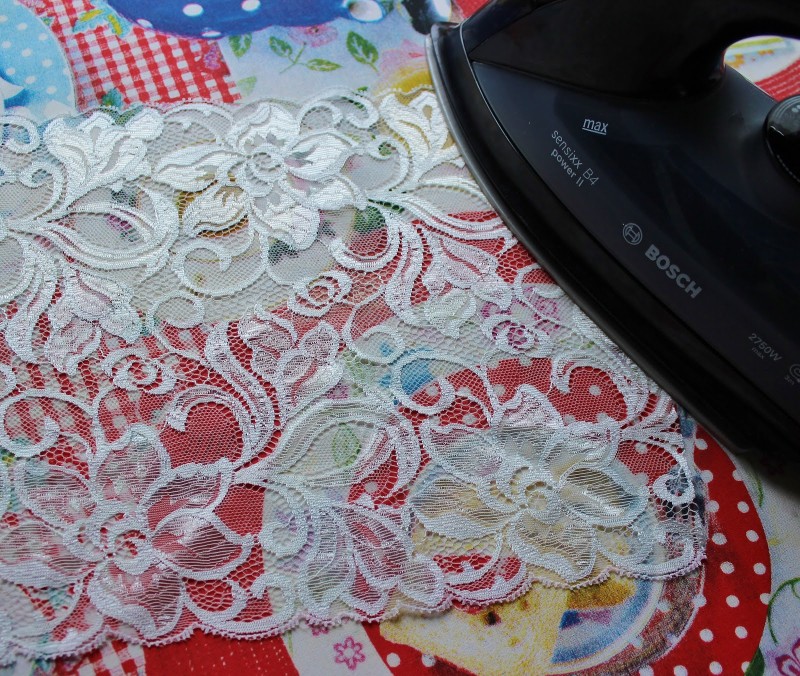
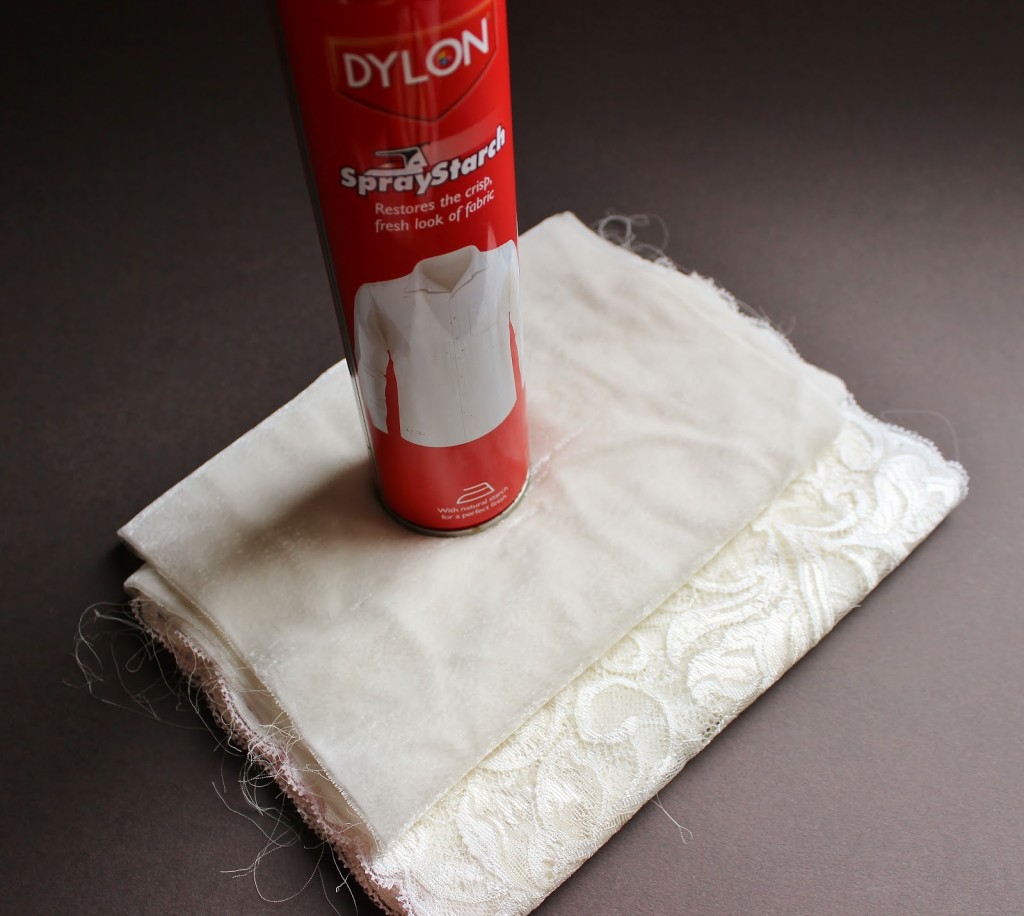
1. What I discovered is that I can use the starch spray for this job. Not only does it give a better result but it is also easier and quicker to use.

I use the spray starch which is normally used for shirts.
delicate fabrics tutorial 2
2. For the lace just follow the instructions on the can, that is spray the piece of lace with the spray starch and iron it. In minutes your lace is stiffened and ready to use.
delicate fabrics tutorial 3
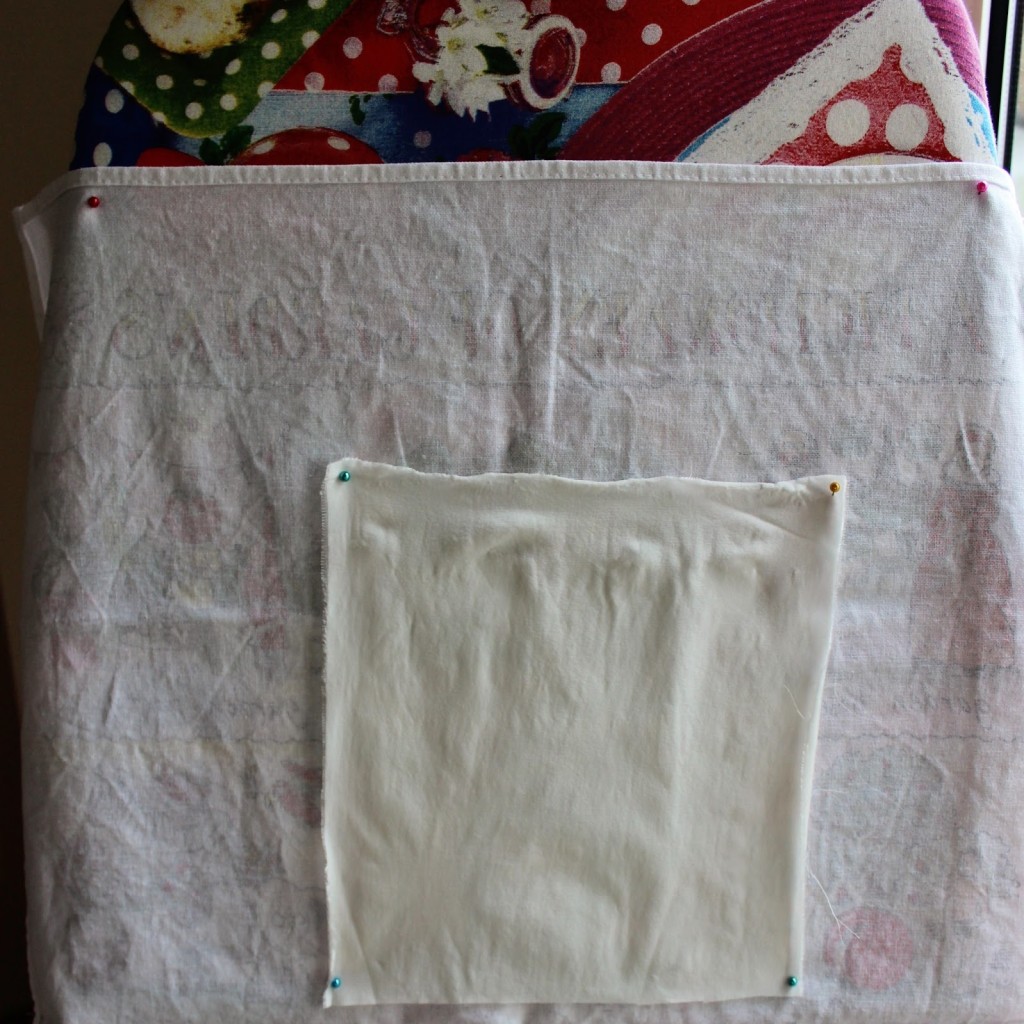
3. As for the velvet I pin it to some vertical surface (an ironing board in my case), and spray the wrong side of the velvet fabric with the starch spray. After that I leave it to dry naturally. You can try and iron it but I have noticed that it makes it too stiff and affects the pile, especially of silk and viscose velvets. After the velvet has dried it is ready to use.The spray starch might give less body to the fabrics than the gelatine that is why it is strongly recommended to back both lace and velvet with another layer of fabric. You can use decorative metallic thread fabrics like this specialist Lame Backing Fabric here, or thin natural silk or rayon pongee fabric.
For more information on how to back petals and leaves check out our other tutorials
I hope you found this information useful and will now be using some beautiful fabrics with more confidence in your designs.
Stiffened lace or velvet as the case may be are ideal for creating delicate butterfly wings. To learn how please check out this .pdf tutorial on a lace butterfly headband
lace butterfly tutorial
 You might also like these articles

3 ways to dye silk petals to achieve the intensity of colour

Colouring stamens for flowers

Choosing the right glue for making flowers

All-purpose finish for fabric flowers. How does it work?

At the very beginning of my career in fabric flower making I often made my pieces with 2 small loops on the back side as a way of finishing them. Here is how it looked

pink_carnation_left_side ff (570x485)

stick pin 1 (570x395)
1


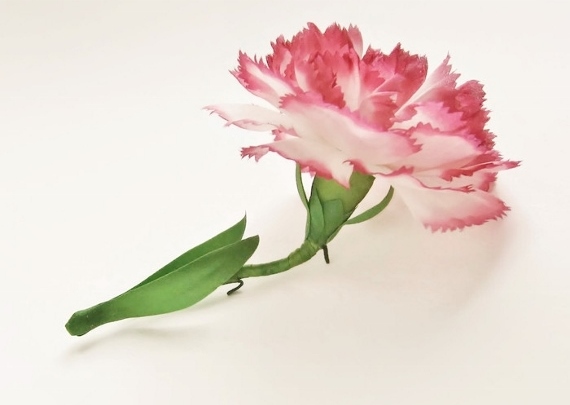
This finish is very versatile that is why it is dabbed a multifunctional, all-purpose or universal. Indeed, the flower can be stitched using the loops, it can be pinned with a stick pin or safety pins; with an alligator clip or a couple of bobby pins threaded through the loops it easily turns into a hairpiece etc.


stick pin 2 (570x396)
2


Sometimes I still make flowers with this sort of finish although they are rare these days. Because it is not always clear how to attach a flower finished with 2 loops I have been asked by my customers for some clarifications. That is why I decided to write a blog post explaining in pictures what to do.


stick pin 4 (570x412)
3


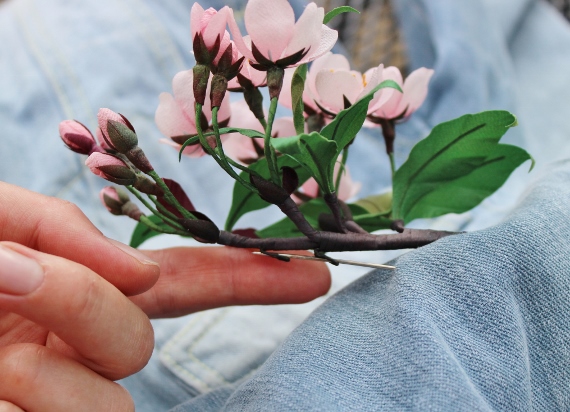
Here are the photos I have taken to show how to use the stick pin when attaching a flower. Usually my flowers come with a nice stick pin to be attached to a garment, a bag or a hat as a brooch.


stick pin 5 (570x408)
4


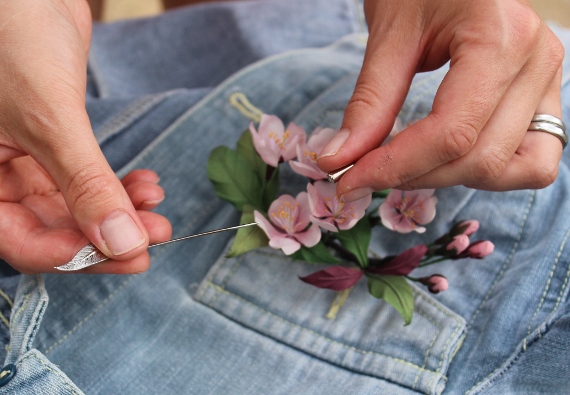
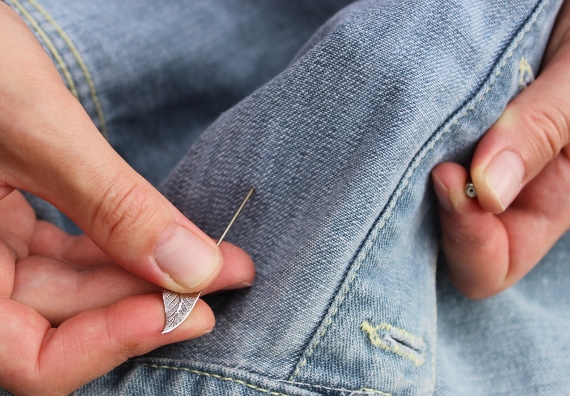
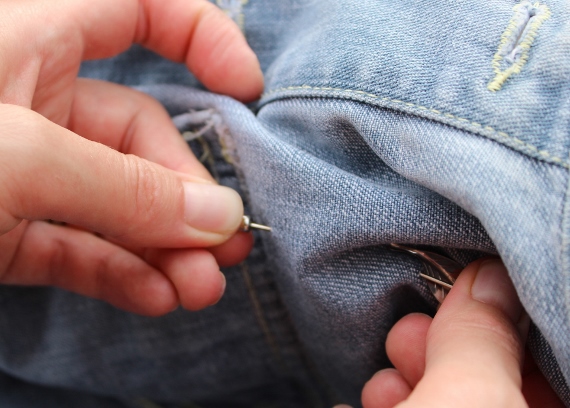
So what one has to do is basically pierce an item of clothing from inside out, then thread the needle of the stick pin through both loops, then pierce the fabric again onto inside and there cover the sharp end with a little protector which is usually supplied with a pin. A small sized hat pin will work well too.


stick pin 6 (570x398)
5


So this is how you attach a flower that has an all-purpose finish. I have prepared a two part article on most popular and useful finishes for fabric flowers which get sent via my newsletter. If you have not yet subscribed to it but would like to get our updates, useful articles and discounts please feel free to subscribe below by filling in your details [grwebform url=”http://app.getresponse.com/view_webform.js?wid=10297802&u=3lMQ” css=”on”/]


intro 3 d cover

As a welcome gift from us you will get a chance

to flick thorough our new e-book that introduces

into the exciting world of fabric flowers as well as

provides some stiffening recipes for you to try.

Do you use any of these fabric stiffeners?

Choosing and using fabric stiffeners

Introduction to fabric flower making ebook

Some of you know that I have recently worked on an e-book about fabric flowers and what one should know before they start making their own fabric flowers. The book has been released very is available for purchase here. You will find a lot of useful information re making fabric flowers that you did not know before.

Meanwhile I would like to share a chapter from the book with you today. This chapter talks about different ways of stiffening fabric before cutting out parts of flowers from it. I have included a number of recipes to try and test.
It might so happen that for different types of fabric you would have to use different stiffeners as they are made from different ingredients and thus work better or worse depending on a chosen fabric. For example, gelatine is not a good choice for lace as it covers the delicate fabric with a film filling all the little holes and gaps between the threads. I would recommend to try a spray starch for lace fabrics. Anyway, finding the best possible stiffener takes time and experimentation, so I wish you lots of patience and fun!
Here is the extract from my e-book. Please feel free to ask your questions in the comments below.

Recipes of stiffening solutions to try

All the fabrics must be stiffened before being cut out. This prevents fraying of the edges and allows you to shape the leaves and petals with the flower iron. It also helps the completed flower keep its shape. There are several different sizing options available. Each of them involves different ingredients giving you a choice of options to try and test.

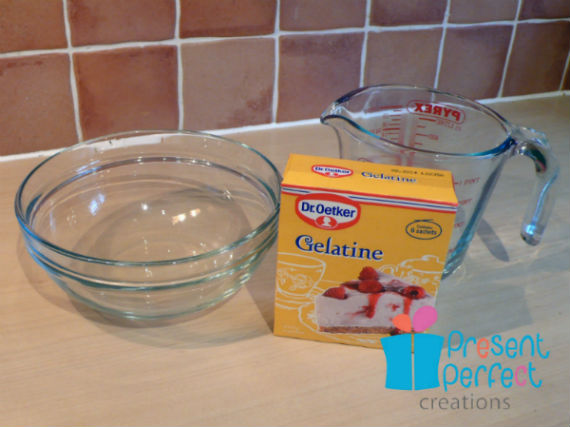
  • One of the most popular options is gelatine sizing. Use powdered gelatine from a reliable manufacturer that you can obtain from your local supermarket. For 200 ml of cold water take 2 level teaspoons of granulated gelatine and place it in a heat resistant glass bowl. Pour the water over it stir and leave to soak for about 1 hour . Generally the concentration depends on the thickness of the fabrics used – the thicker the fabric the less gelatine is needed. This concentration will do for medium-weight fabrics such as satins, crepes, habotai fabrics etc. For organza and chiffon you might want to use a bit more gelatine. Heat the soaked gelatine over a pot of gently boiling water (bain Marie).Constantly stir until all the granules dissolve and take the solution off the heat before it starts boiling. Then dip a piece of fabric into the solution (please be careful and watch your fingers as it will be boiling hot!), take it out and let it drain for a few moments. Then peg in onto a clothes line to dry completely.

1 stiff logo

  • The oldest stiffening solutions used starch, which you can still use today.  Here is a recipe to try. Mix: a tablespoon of cornflour (or cornstarch which is the same) and mix it well with a tablespoon of water. Pour this mixture into 200 ml of boiling water; continue heating and stirring until the mixture has thickened and no lumps appear. Take off the heat and stir in a tablespoon of good quality PVA glue like Sobo. You can apply the stiffening solution by placing a piece of fabric on a flat smooth surface like glass or plastic and using a sponge or a wide flat brush to spread the mixture evenly on the surface of the fabric. If the fabric has a right and a wrong side to it apply the solution onto the wrong side. Then peg in onto a clothes line to dry completely.
  • I successfully use spray starch (the one that is used for starching shirt collars) for stiffening such delicate fabrics like velvet and lace. Just spray the wrong side of your chosen fabric until it is well saturated and let it dry completely on a flat surface before using it.

delicate fabrics tutorial 1

  • Another option is to use wallpaper paste as sizing. Following the manufacturers instructions mix some wallpaper paste with water. Apply to a flat piece of fabric with a brush or a sponge and then hang it up to dry.
  • White PVA glue can also be used for stiffening fabrics. Here is one of the recipes: Mix 200 ml of warm water with 2 tablespoons of good quality thick PVA glue, stir well and then add a tablespoon of vodka or spirit and give a final stir. To stiffen a piece of fabric dip it into the prepared solution, let it drip and then hand up to

stiffy

There are other recipes for stiffening solutions one can prepare. There are also proprietary stiffeners that you can get from craft shops or online.

  • One of them which is readily available and can be bought on Amazon and elsewhere online is Stiffy. It is a water based stiffener which means you can experiment with the strength of the solution. I would recommend to start by mixing 1 part of Stiffy with 5 parts of water. Depending on the thickness of your chosen fabric you can vary the proportions and find the perfect solution which works for you.

To save yourself time and effort you can use industrially stiffened fabrics for making flowers. But even if you do so for most of your designs there will be times when you will need to stiffen unusual fabrics for some of your projects like denim, wild silk, linen etc. This is why I recommend to try a couple of solutions mentioned above and choose one that is easy to use, made of readily available ingredients and has shown  the best results to utilise in future.